Decorating with Toddlers and Pets

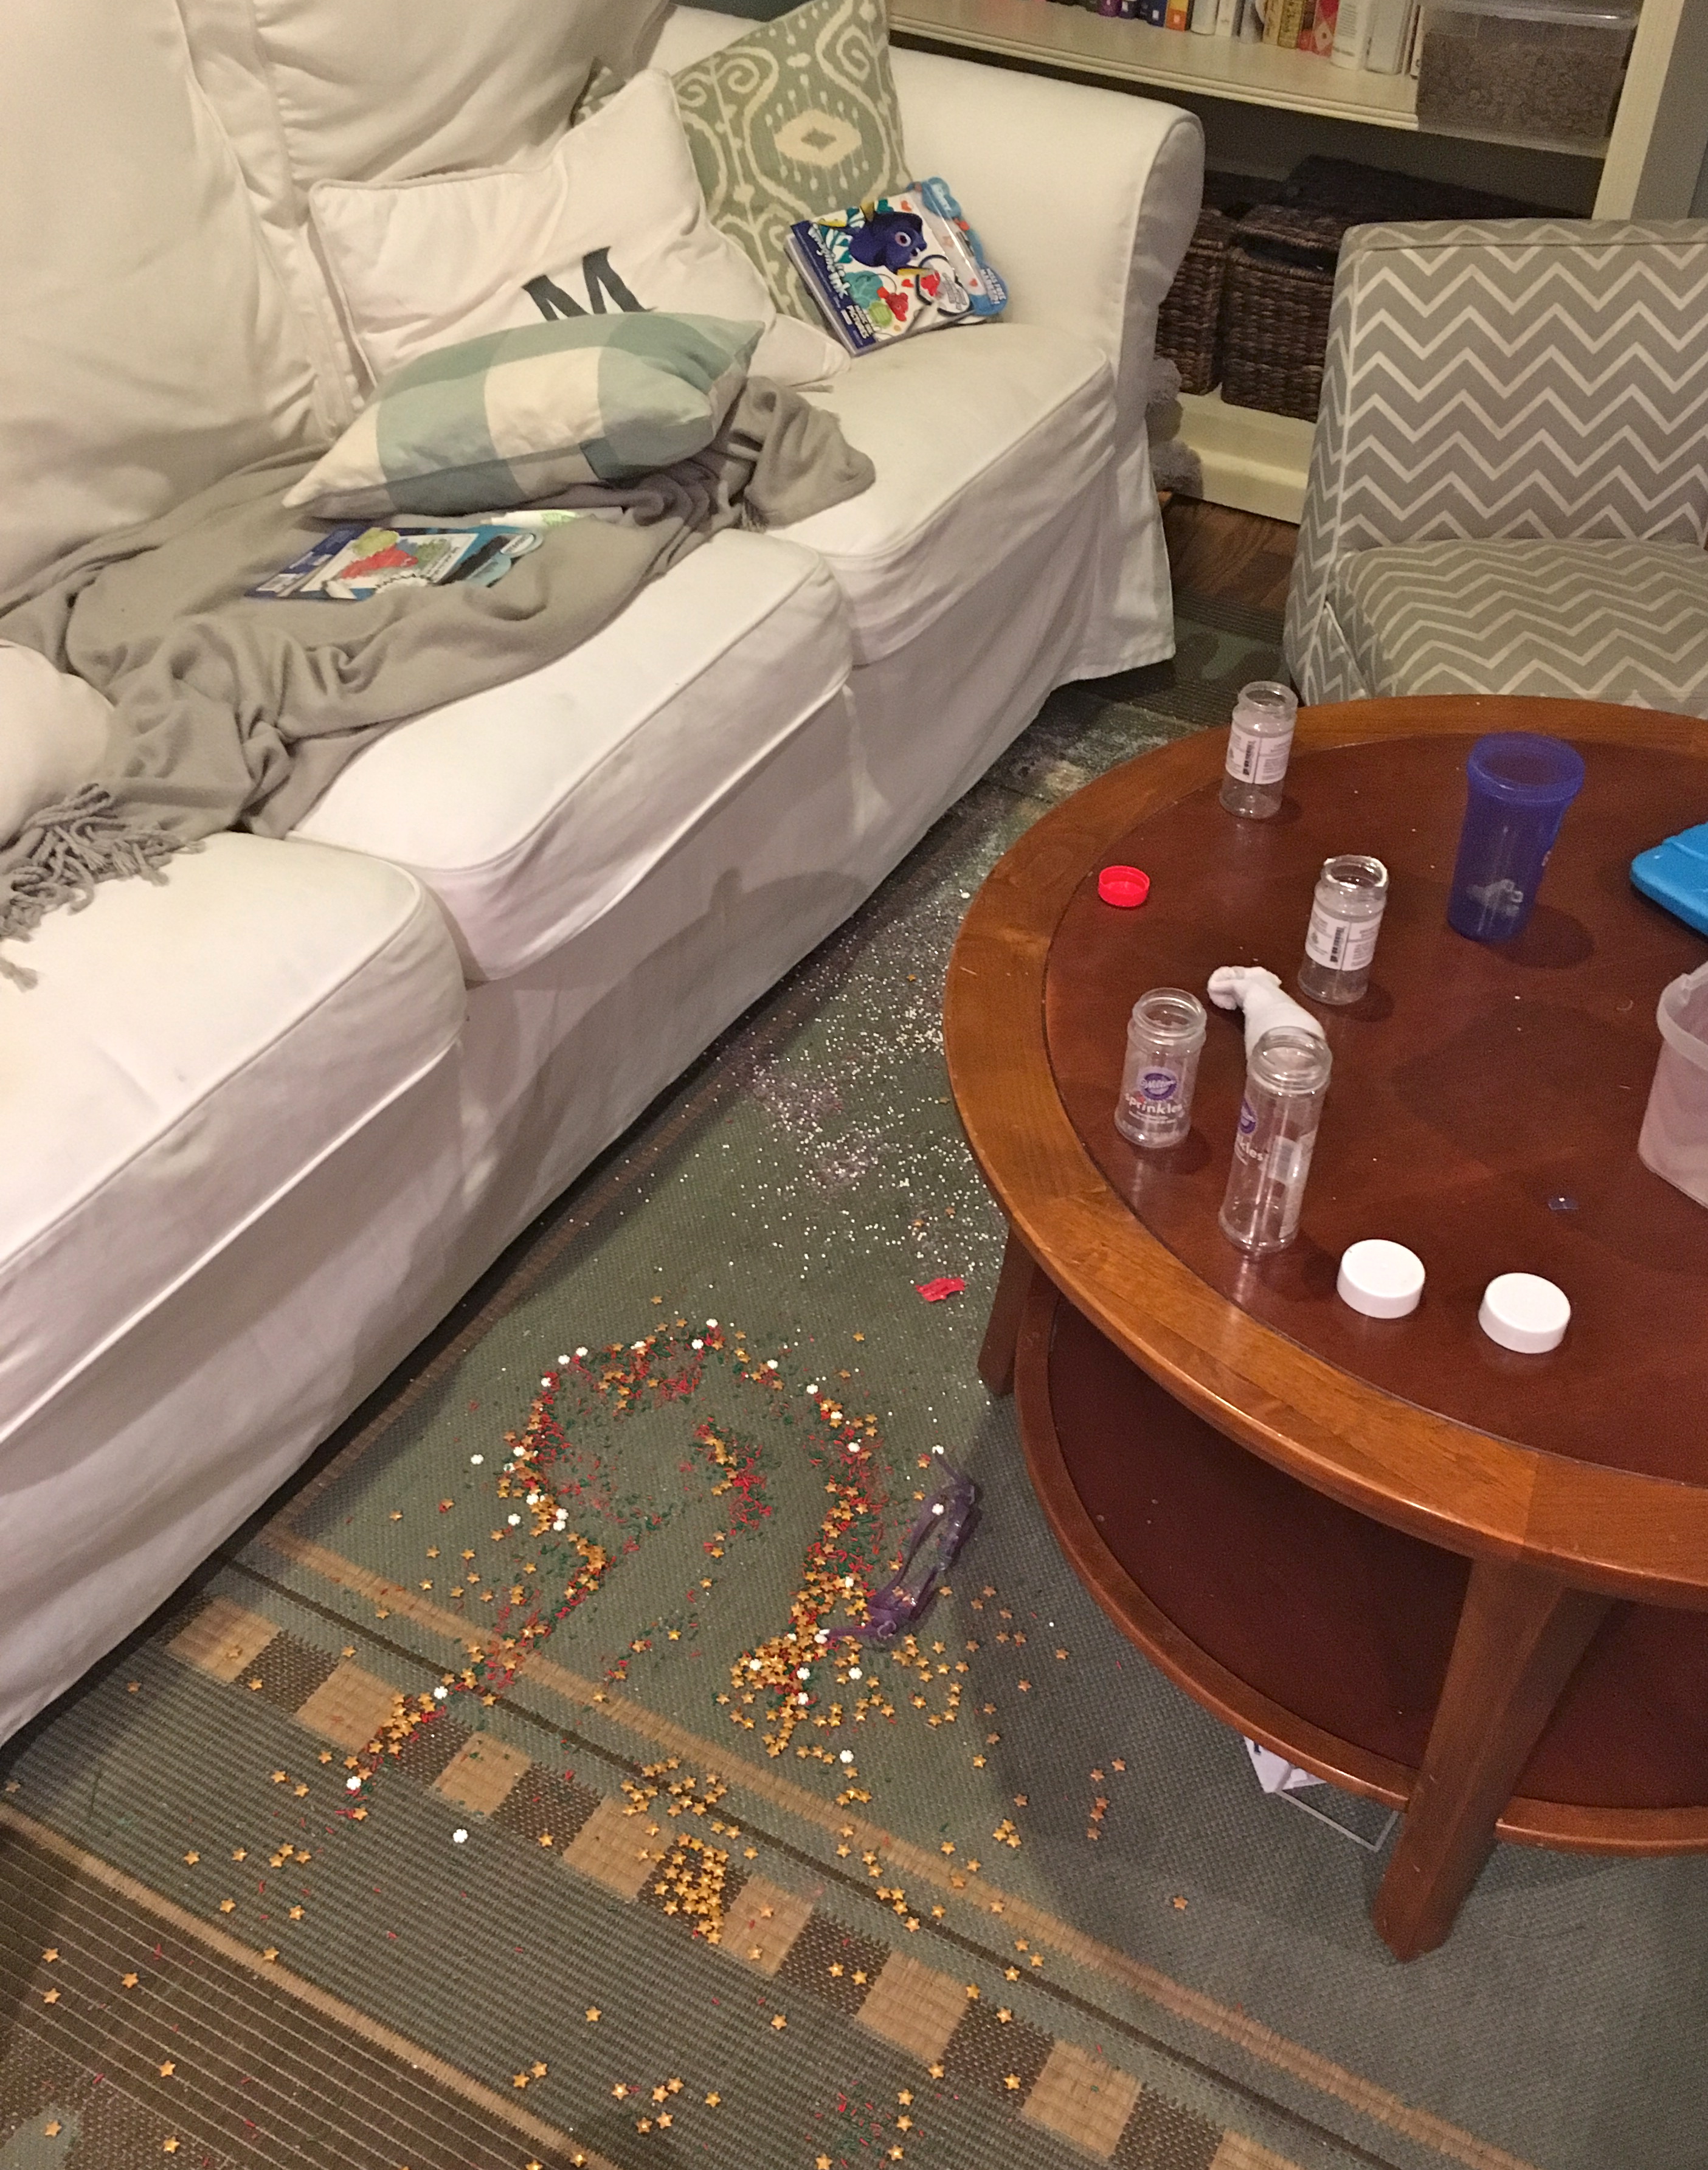
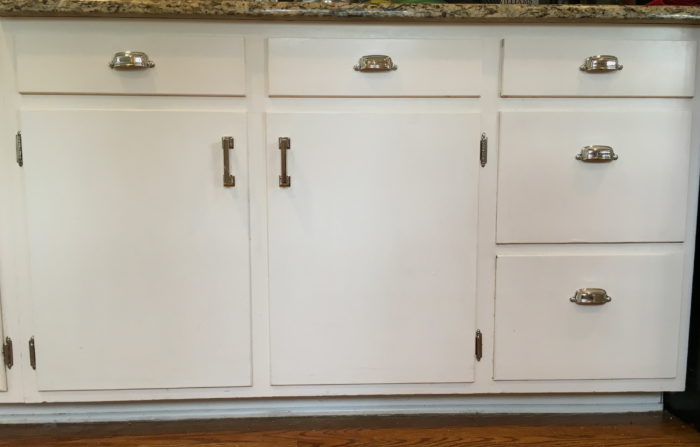
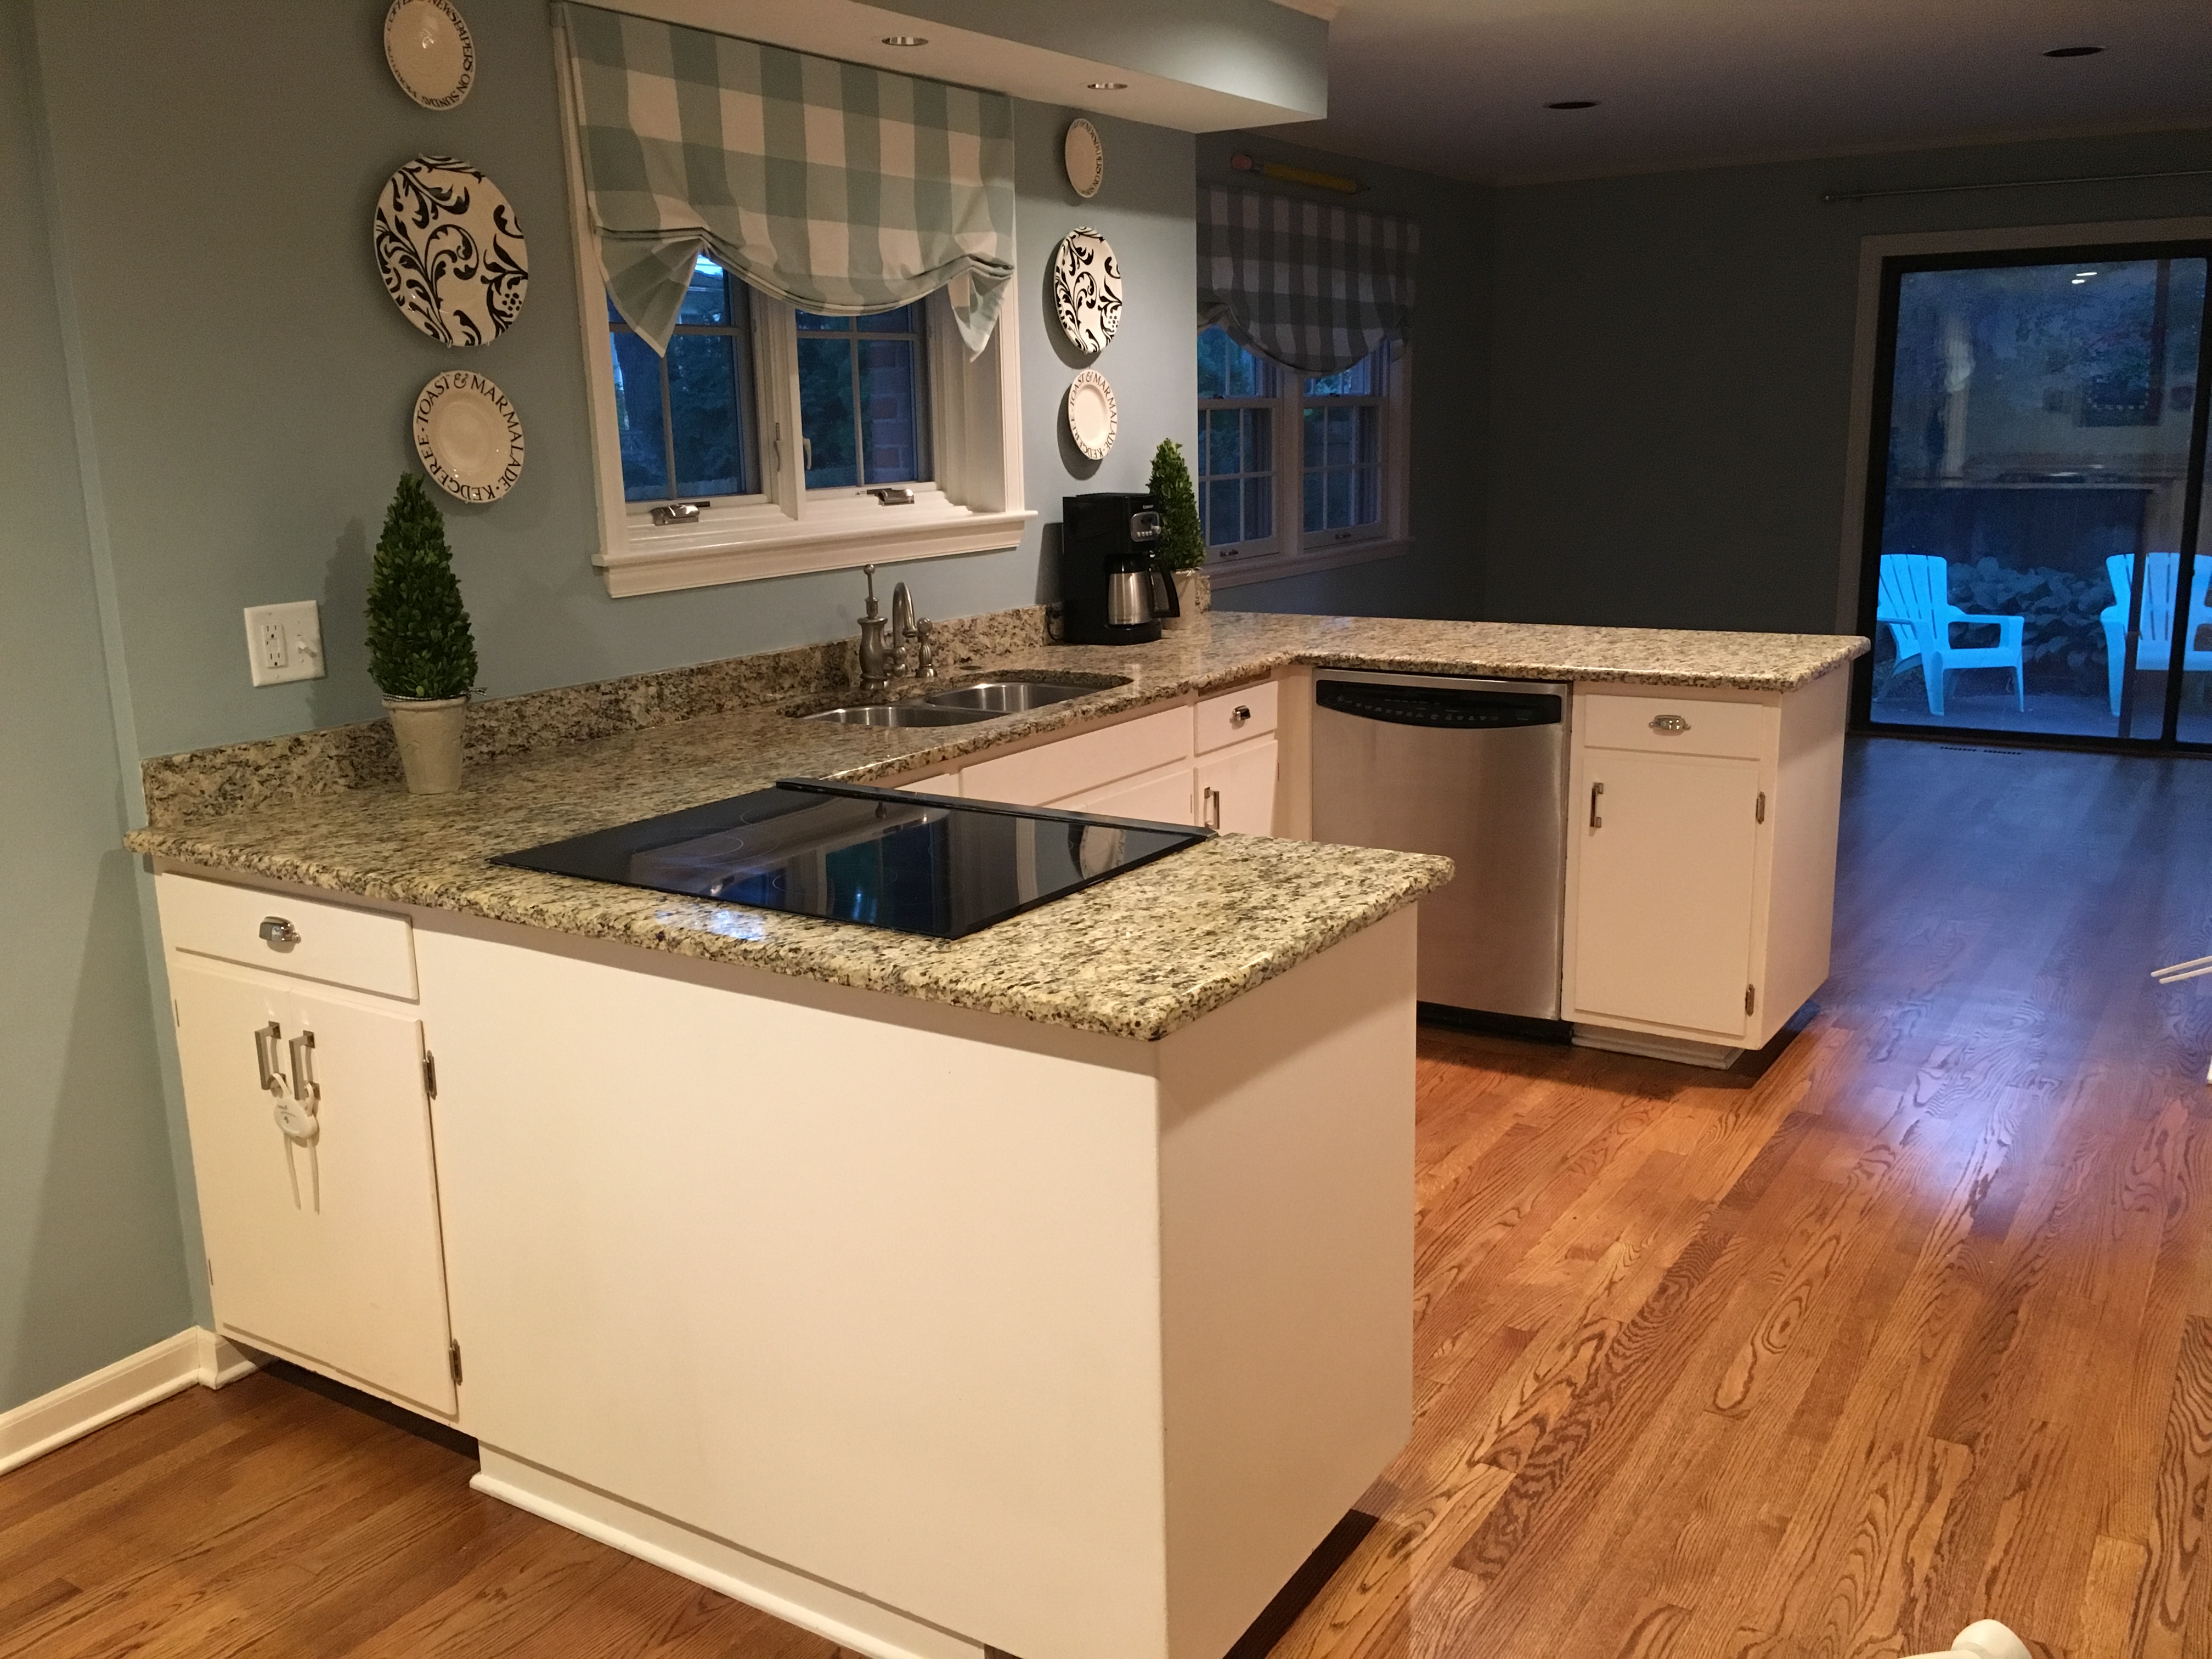
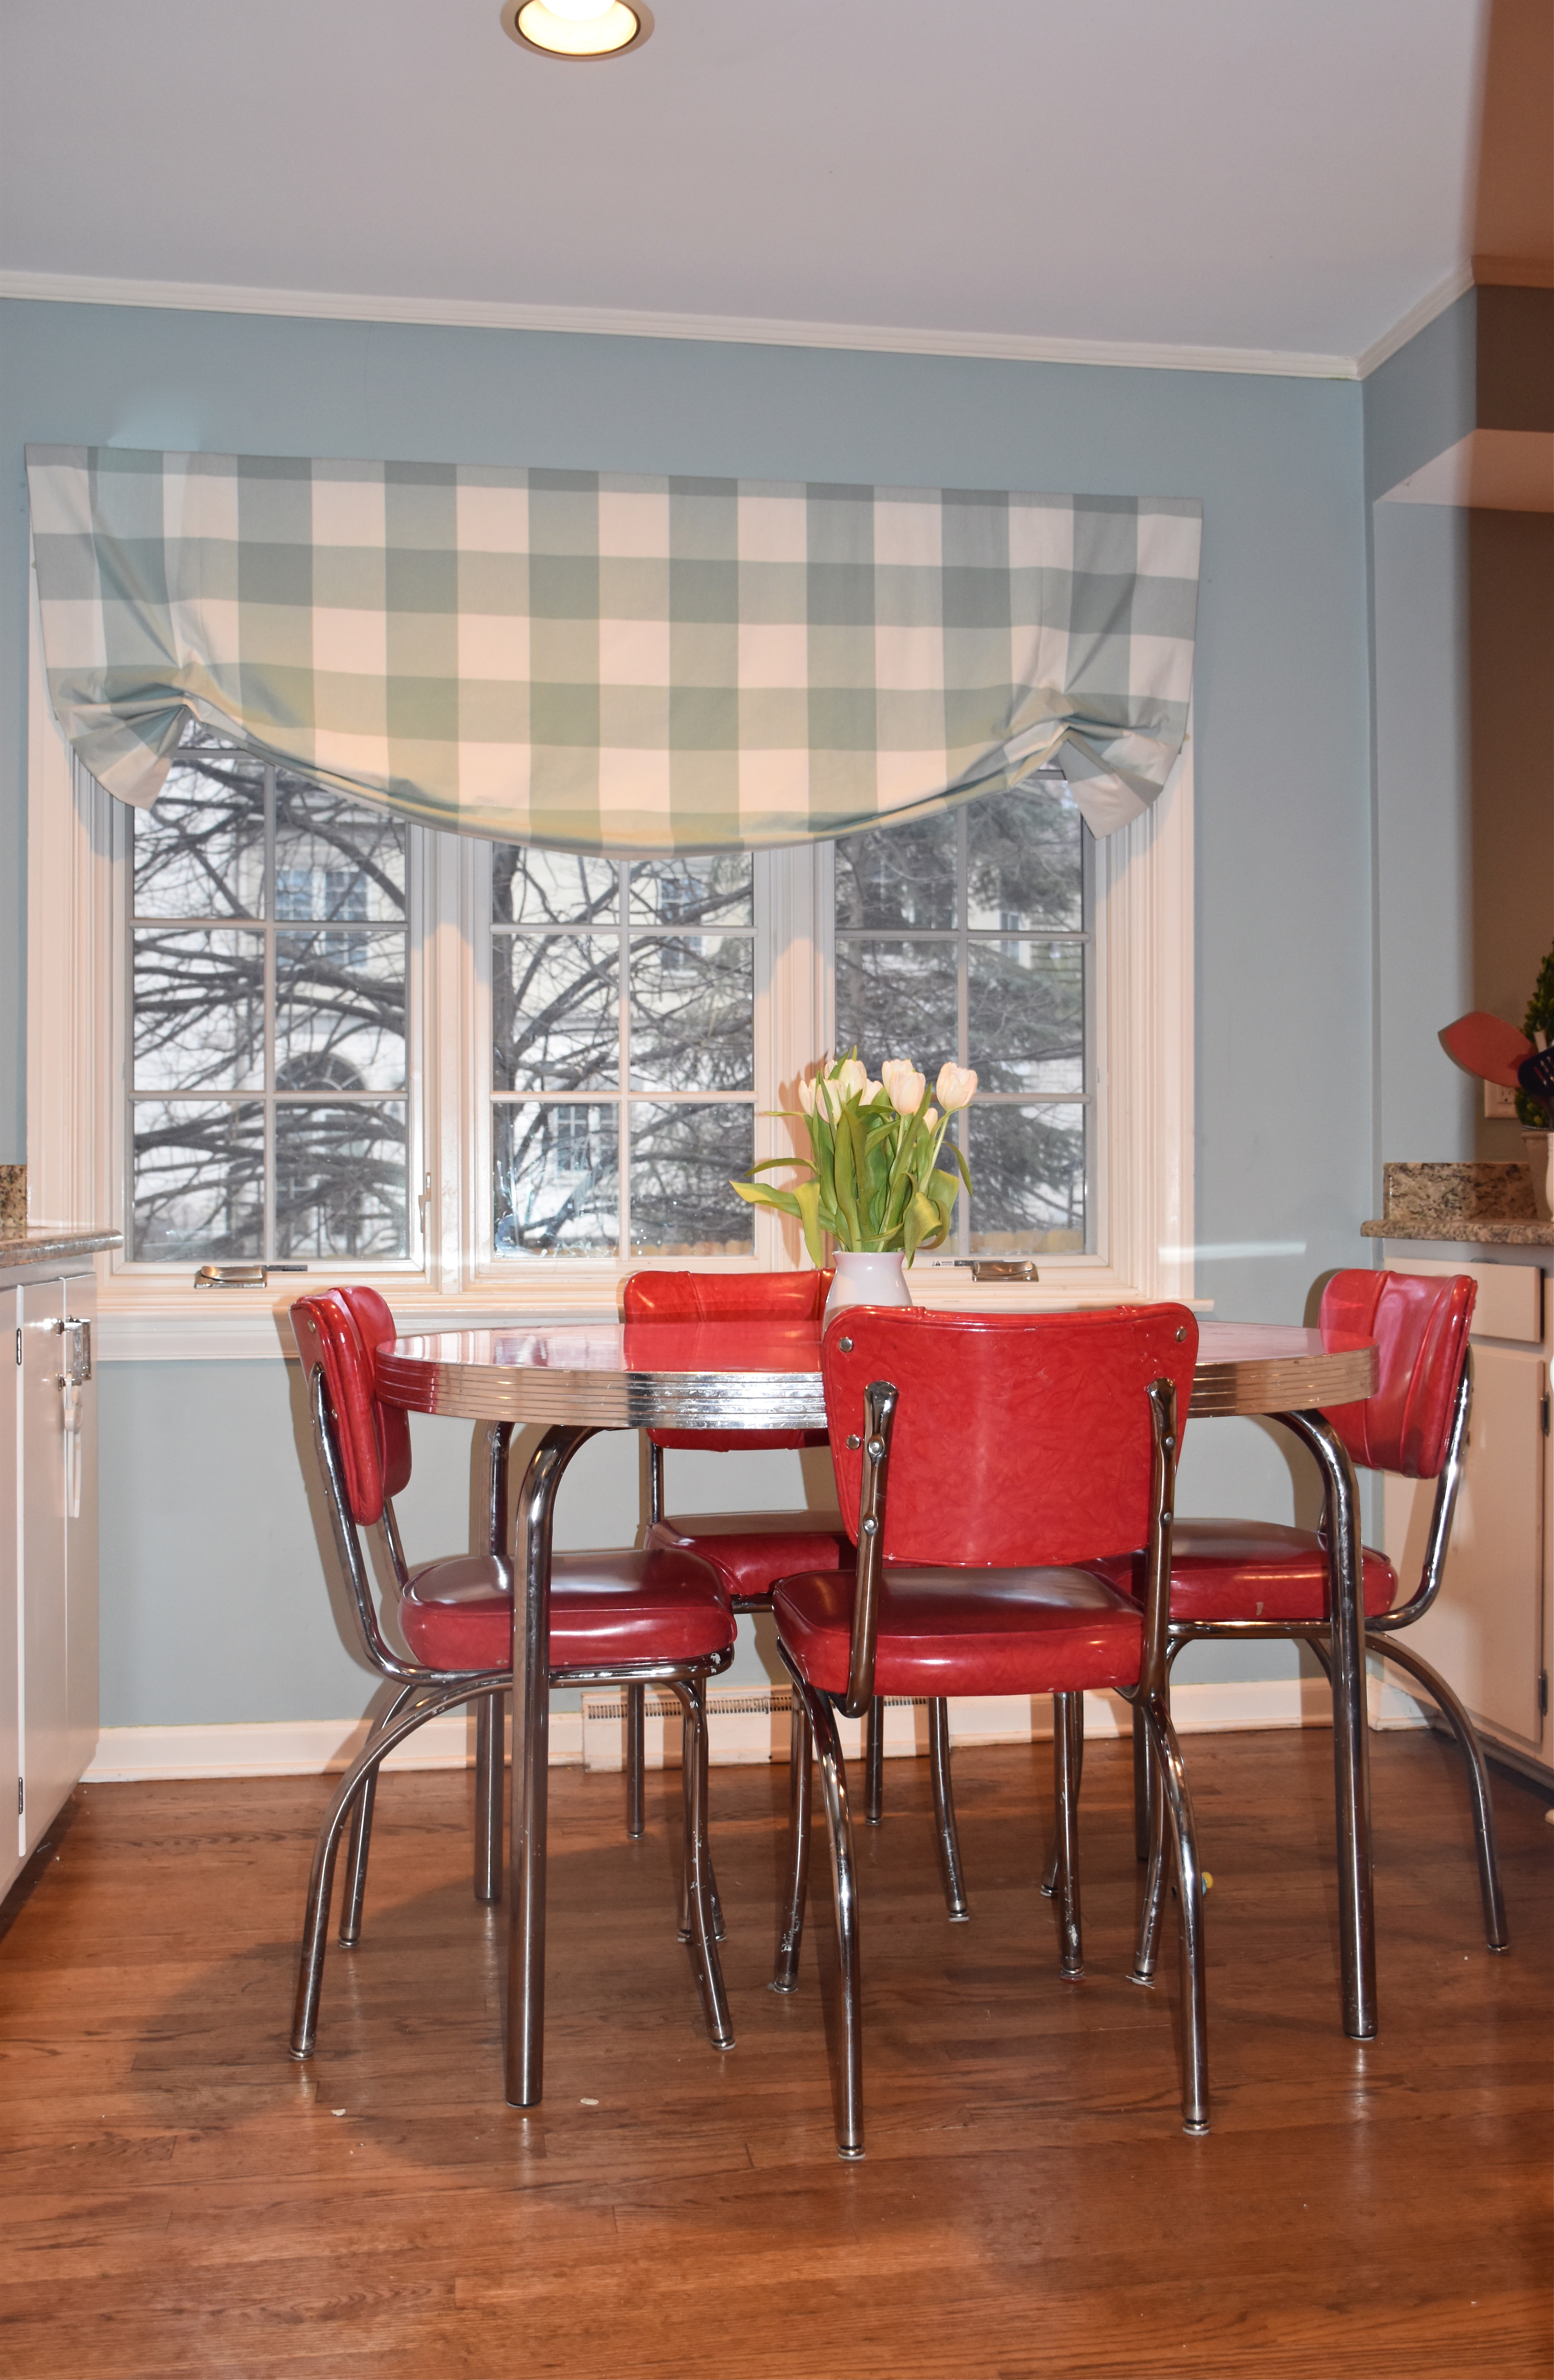
This is our den/playroom. It’s the most used room in our house. 

I was sitting in the living room when suddenly I heard a crash and the unmistakable shatter of glass. I was in the next room and I thought my girls were sitting on the sofa watching the movie Tangled, but it turns out that they wanted to make it more of an interactive experience. My oldest had decided to hold onto the drapes and then swing on them like they were Rapunzel’s hair. The drapery rod was of course not up for the challenge and by the time I ran into the room it was dangling from one bracket and the pretty mercury glass finial was in a million tiny pieces on the floor. I made sure everyone was safe and then reached for the broom and vacuum to clean up the mess. Then after my girls were in bed and had a little talking to, I went to work repairing the wall and drapery rod.

As a general rule these things only happen when your husband is gone and you are really tired and not feeling like cleaning and re-decorating the house. A few months ago we were taking with a neighbor whose three year old son had caused all kinds of damage while they were trying to sell their home and the discussion amongst several couples at the gathering was can you really decorate and have anything nice with young children? Even though we have had our fair share of messes and misadventures, I still don’t want to resign myself to living in a house that looks like a daycare. I believe that living in a home that you love and feel good about is important. I have put a few things up but I really have tried to be smart about the fabrics and accessories I choose. I have also learned some lessons along the way. So I thought I would share a few of those things today.

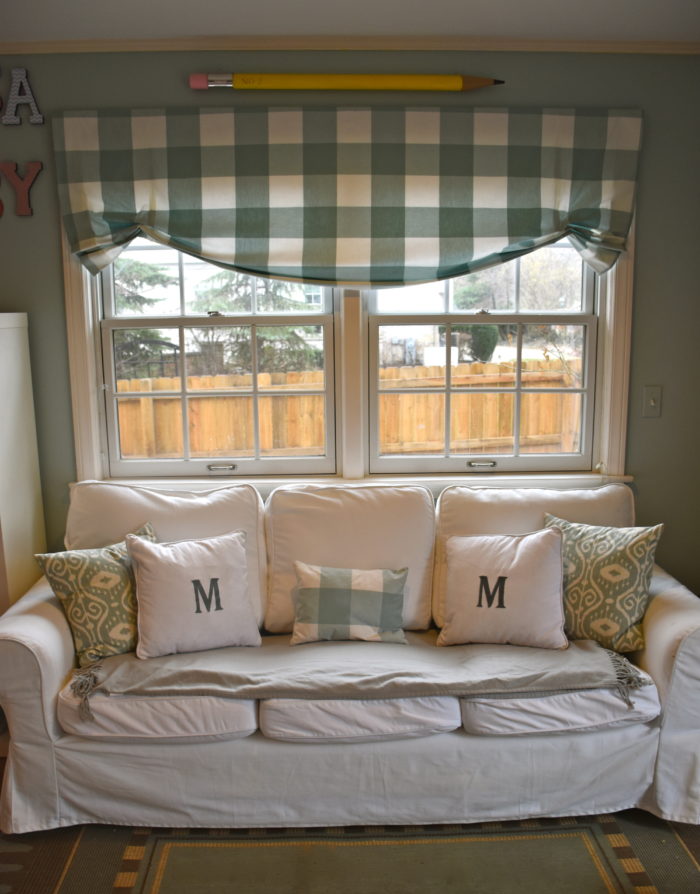
Slipcovers and Sofa Blankets Will Keep Your Sofa Clean

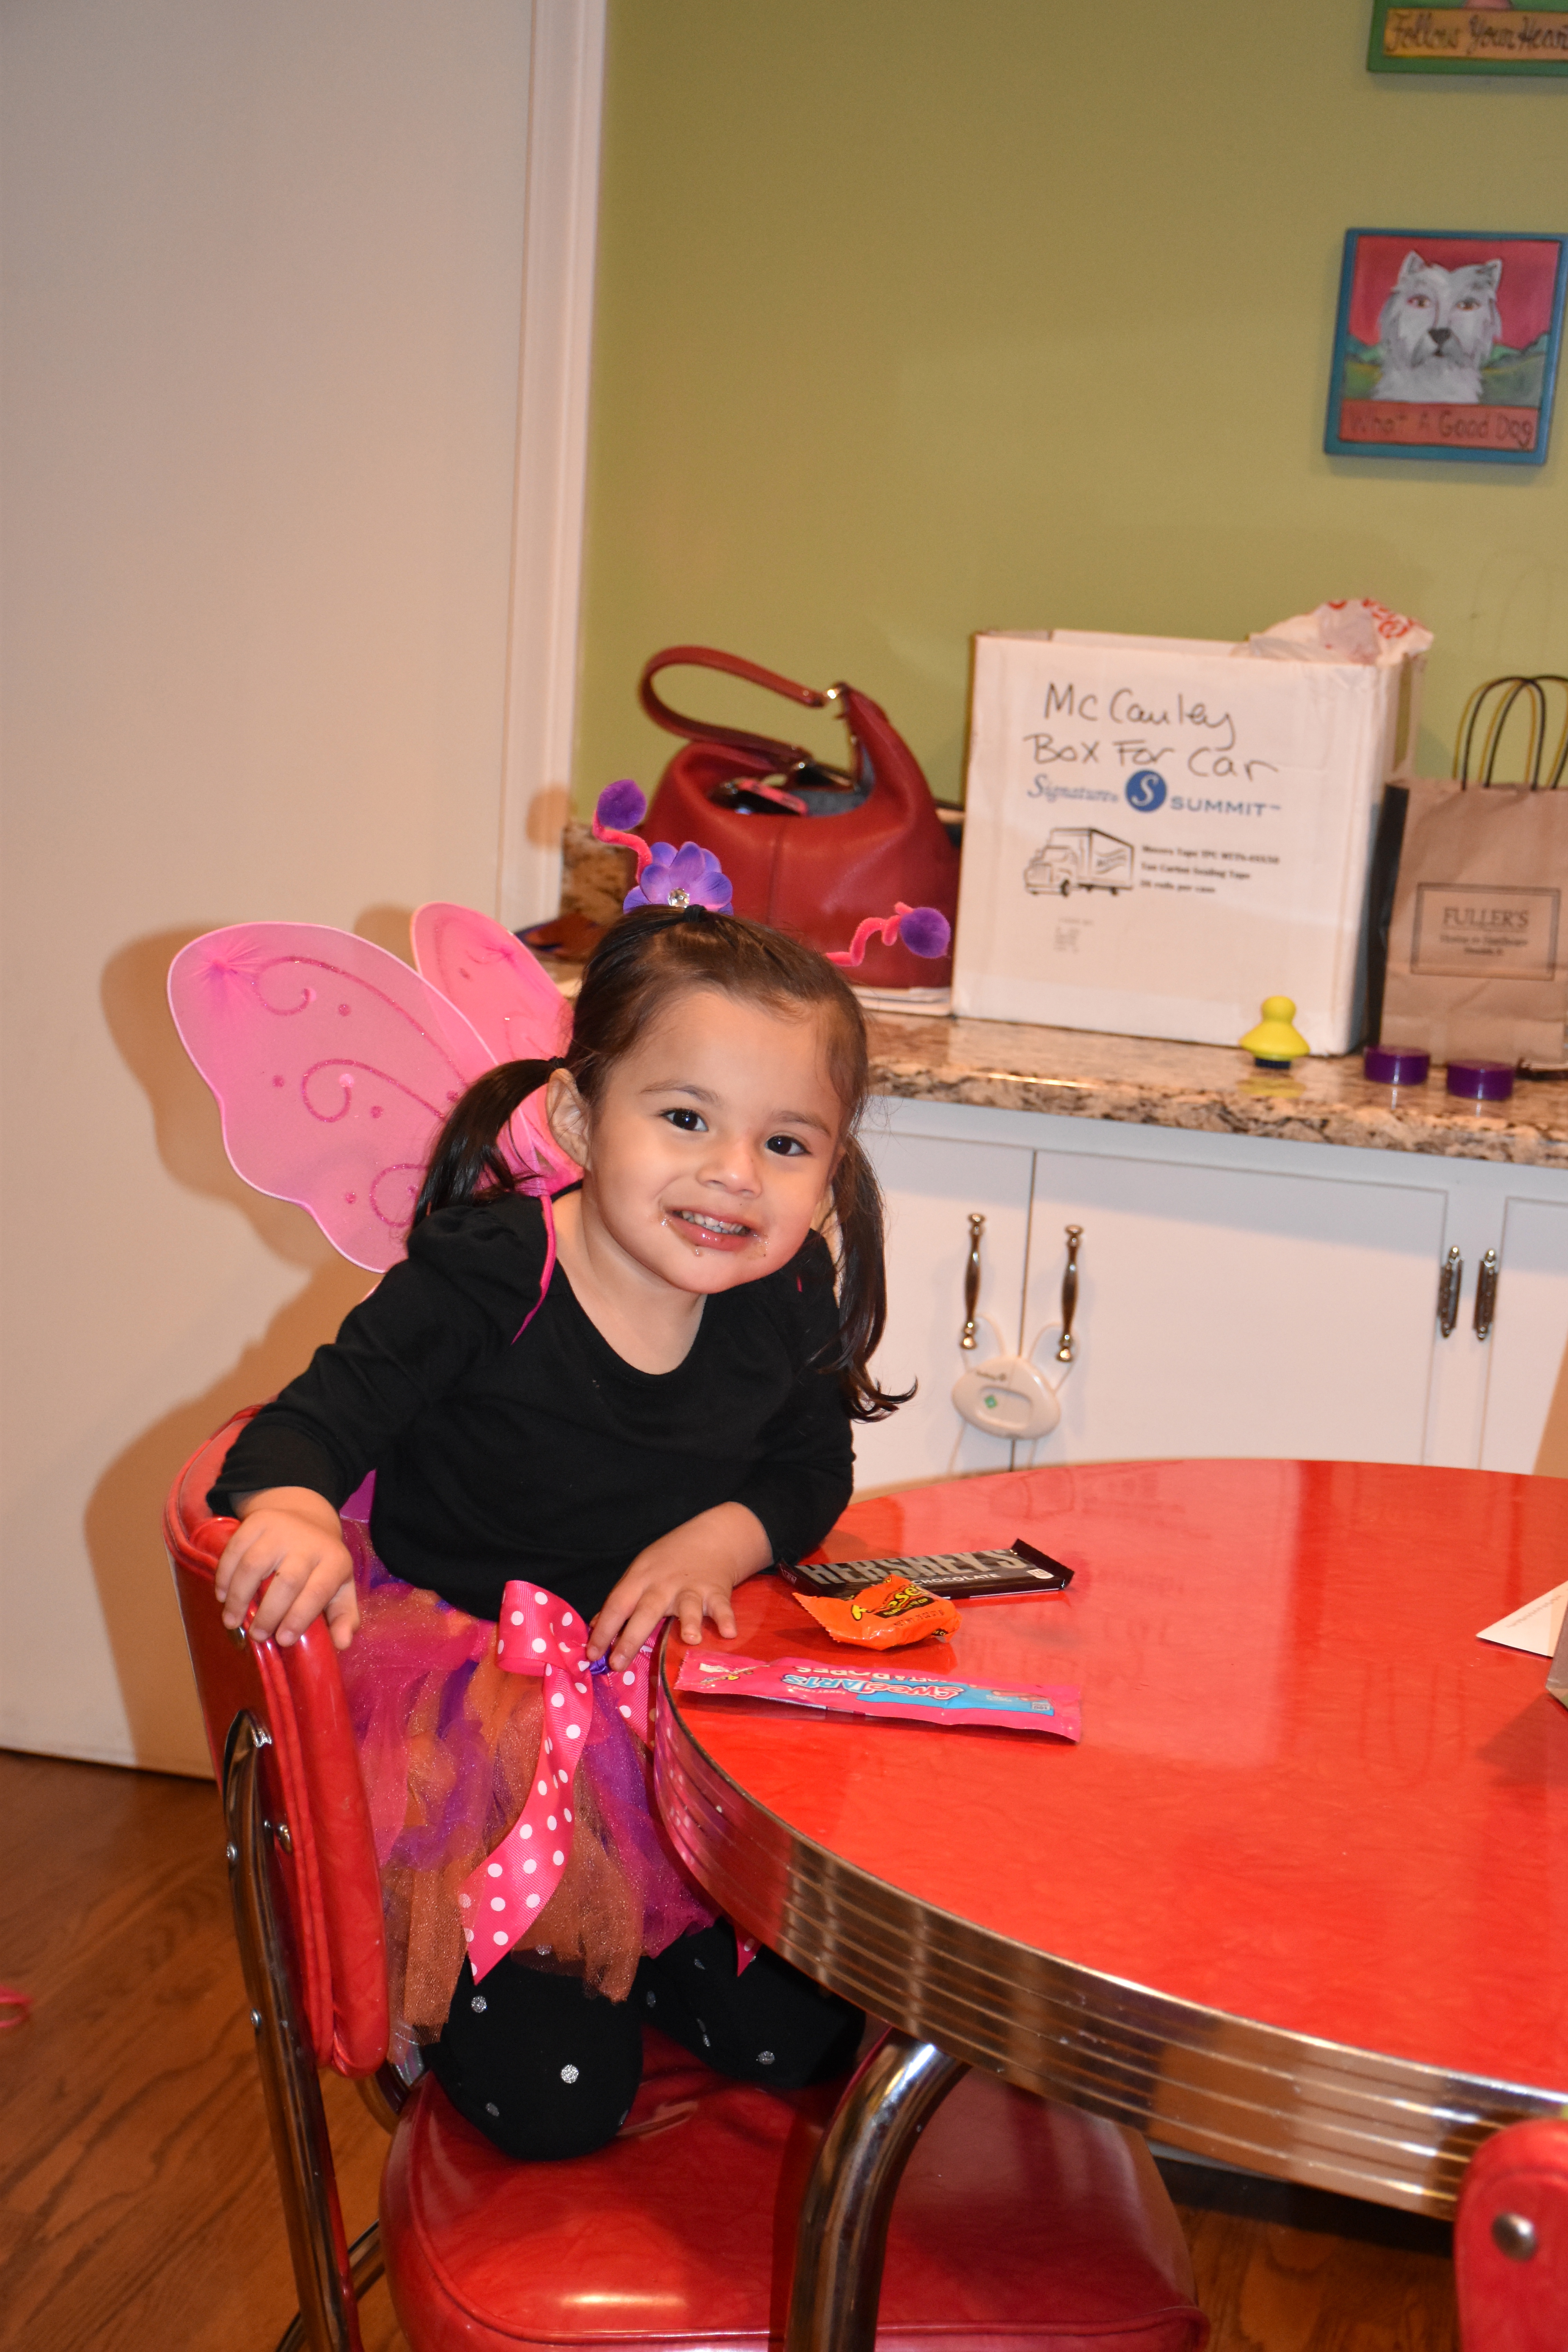
I love slipcovers because no matter what mess my girls and dog have made, my slipcovers have washed clean. My mom sent me a picture she had gotten from a friend that showed a two year old little girl who was standing in front of her mom’s white sofa. Her hands and face were covered in chocolate and the Hershey’s syrup bottle was next to her on the couch where she had been creating her masterpiece. The little girl was crying and it was clear that she understood that she was in big trouble. The mom was desperate for help and had sent the picture out wanting cleaning advice. I completely understood that mom’s pain because I have had lots of Jackson Pollock inspired chocolate milk artworks on my sofa and chair.

My girls got into cookie sprinkles a few weeks ago and emptied 5 bottles on the rug.

The thing that has saved me has been slipcovers. I Scotch Guarded them when I first got them which has helped repel some of the stains and made them easier to wash. I also pretreat the stains with Clorox color safe bleach. That stuff is amazing. The other thing I have is a blanket that covers the seat of the sofa which also helps protect it from muddy feet.

Indoor/Outdoor Rugs and Plastic Sheeting Can Save Your Rugs and Floor

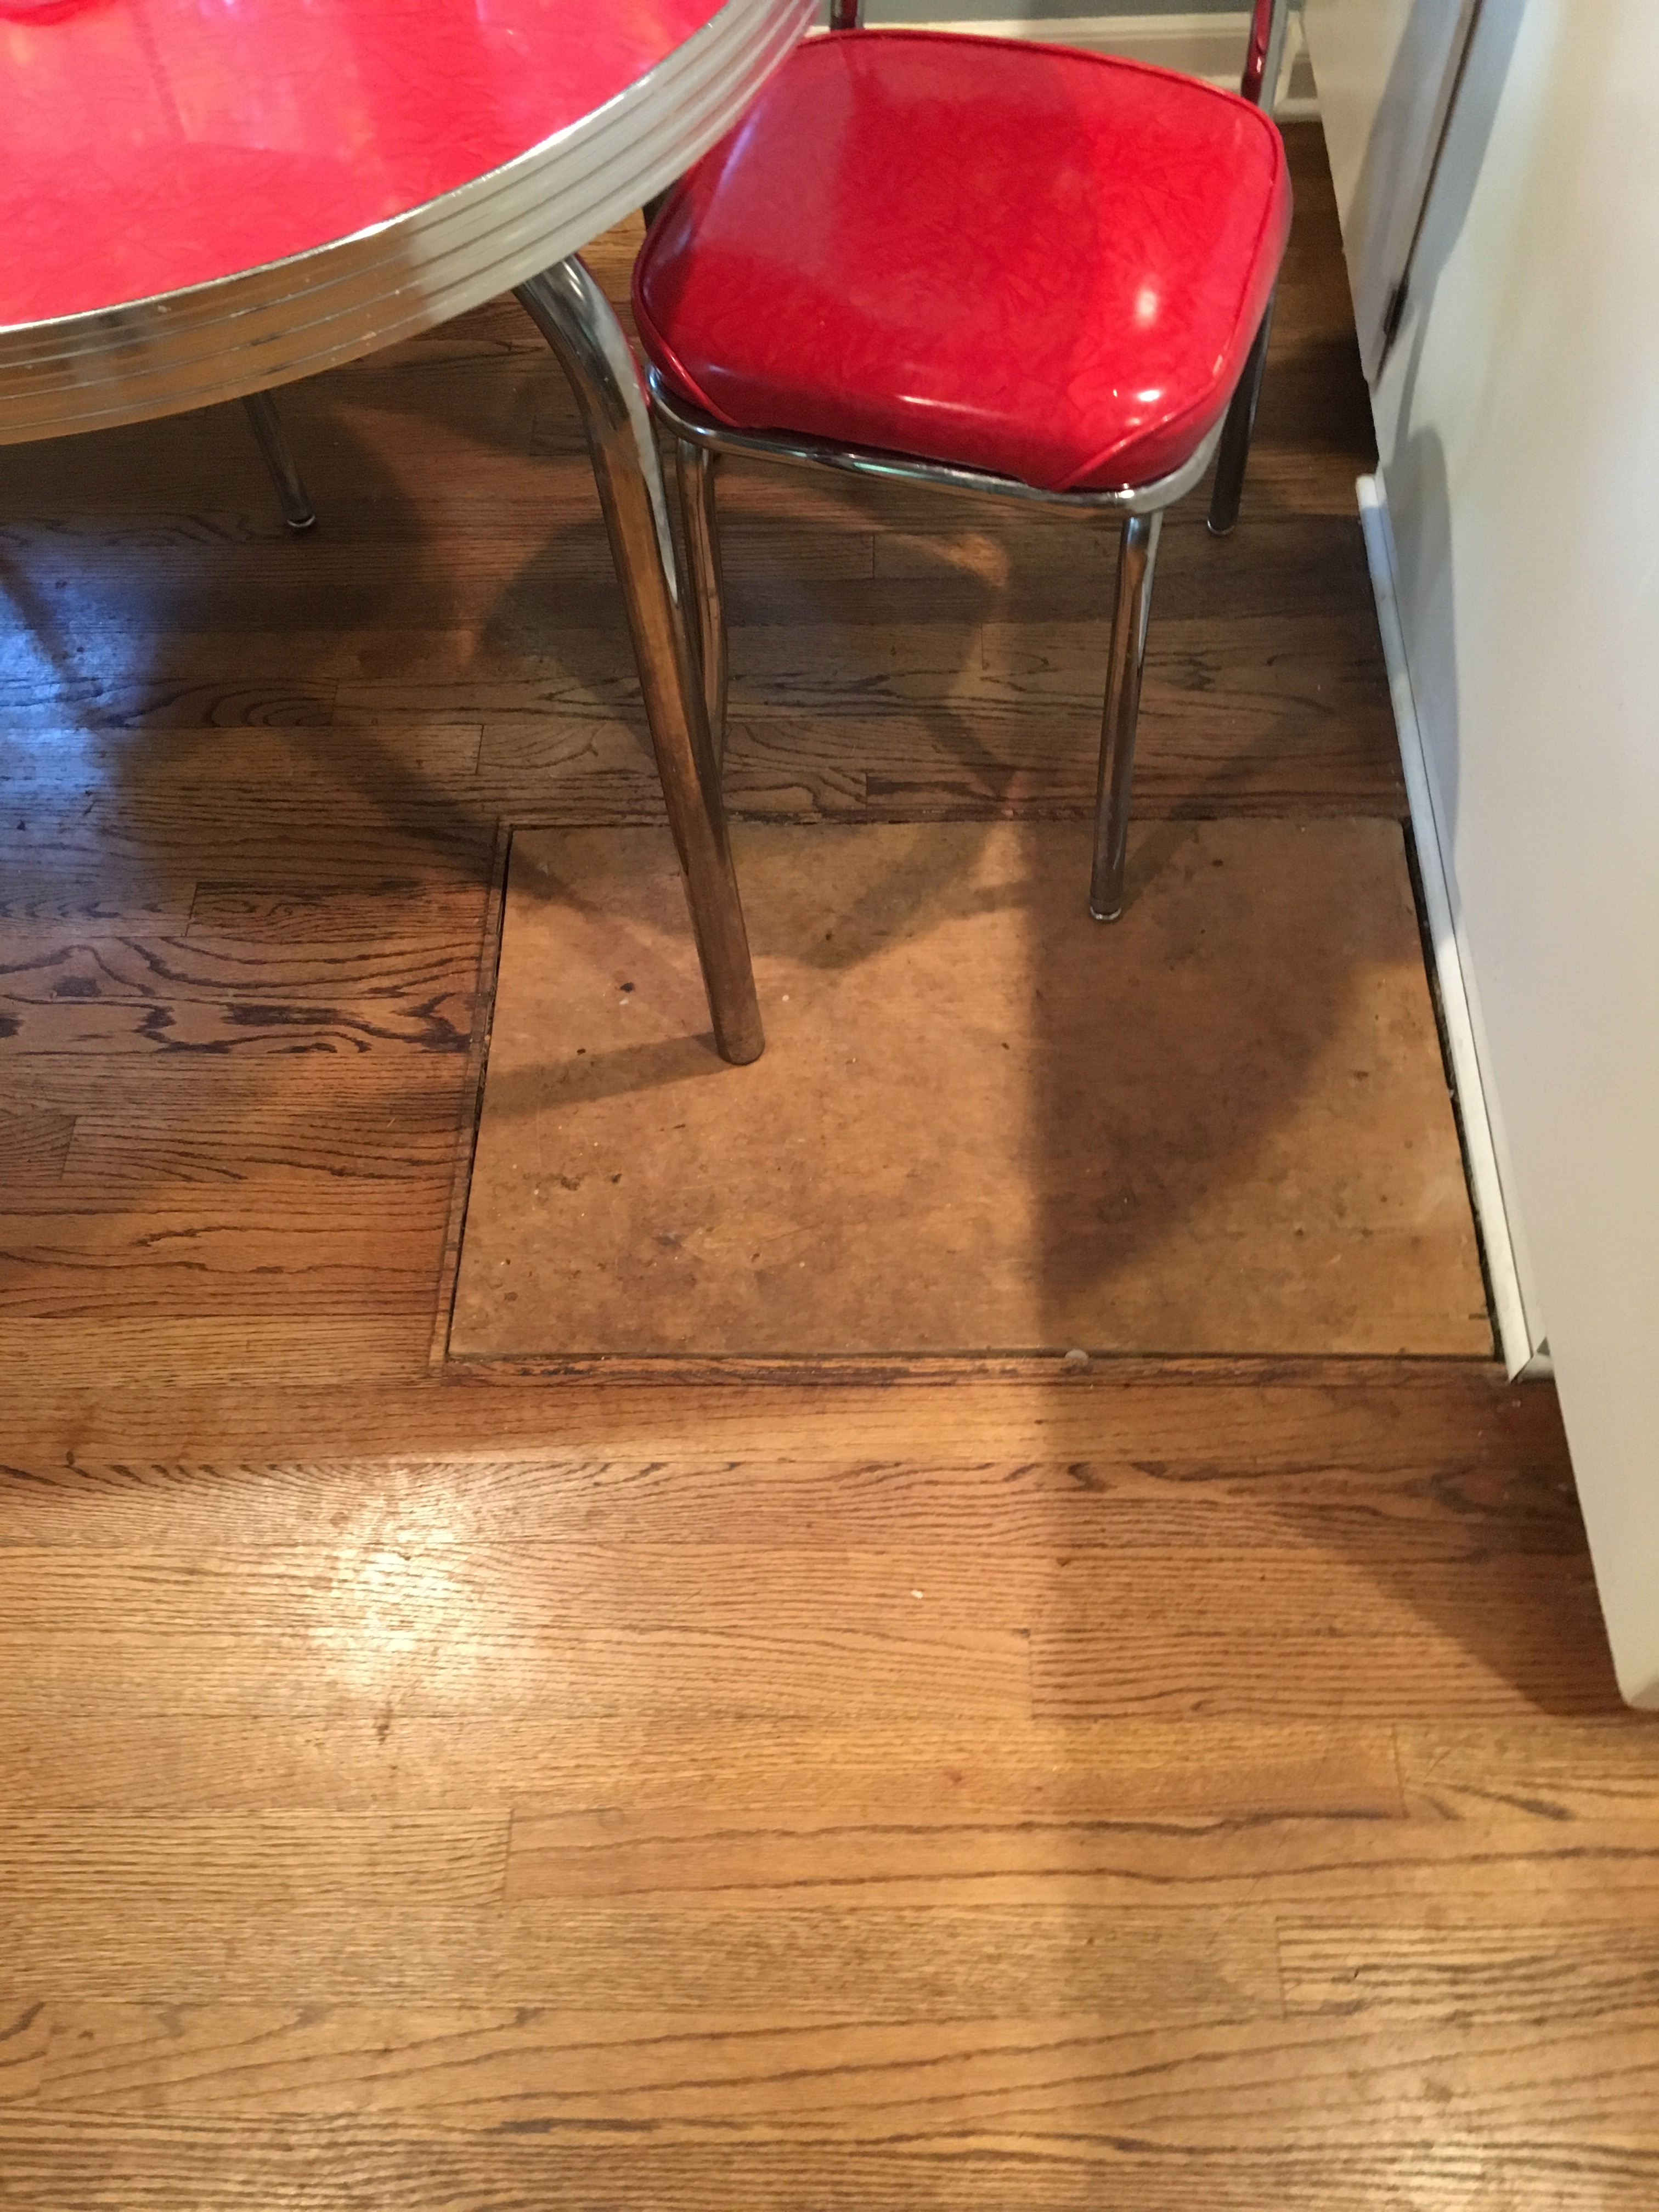
My adorable dog Emmy has taught me a lot about rugs. The a hard earned lesson about dogs and rugs is get a good quality rug pad and underneath that pad put down a piece of thick plastic sheeting. Before I discovered this trick we had to repair a part of our dining room’s hardwood floor. Residual moisture from cleaning up doggy accidents caused issues with the hardwood below. The thick plastic can be found at Home Depot or Lowes and it is the best way to protect your floor from moisture damage.

My dog, Emmy, has such a cute face that you can’t help but forgive any messes she makes.

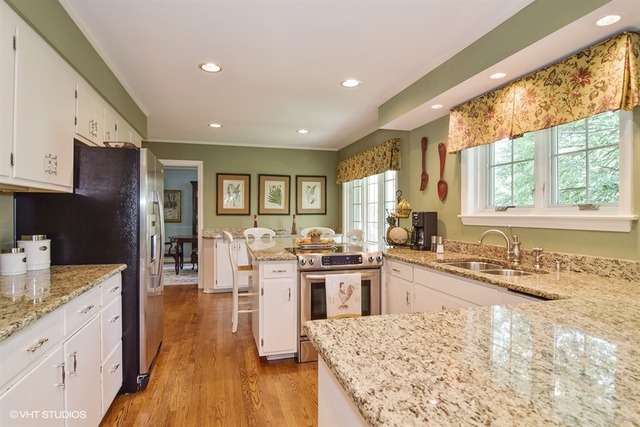
The other thing I like to do is to use outdoor grade rugs in high traffic areas. Outdoor rugs are easy to vacuum and can even be taken outside to scrub and spray with a hose. There are lots of great options so style doesn’t have to take a backseat to durability and function.

Choose Pretty but If Necessary Replaceable Accessories

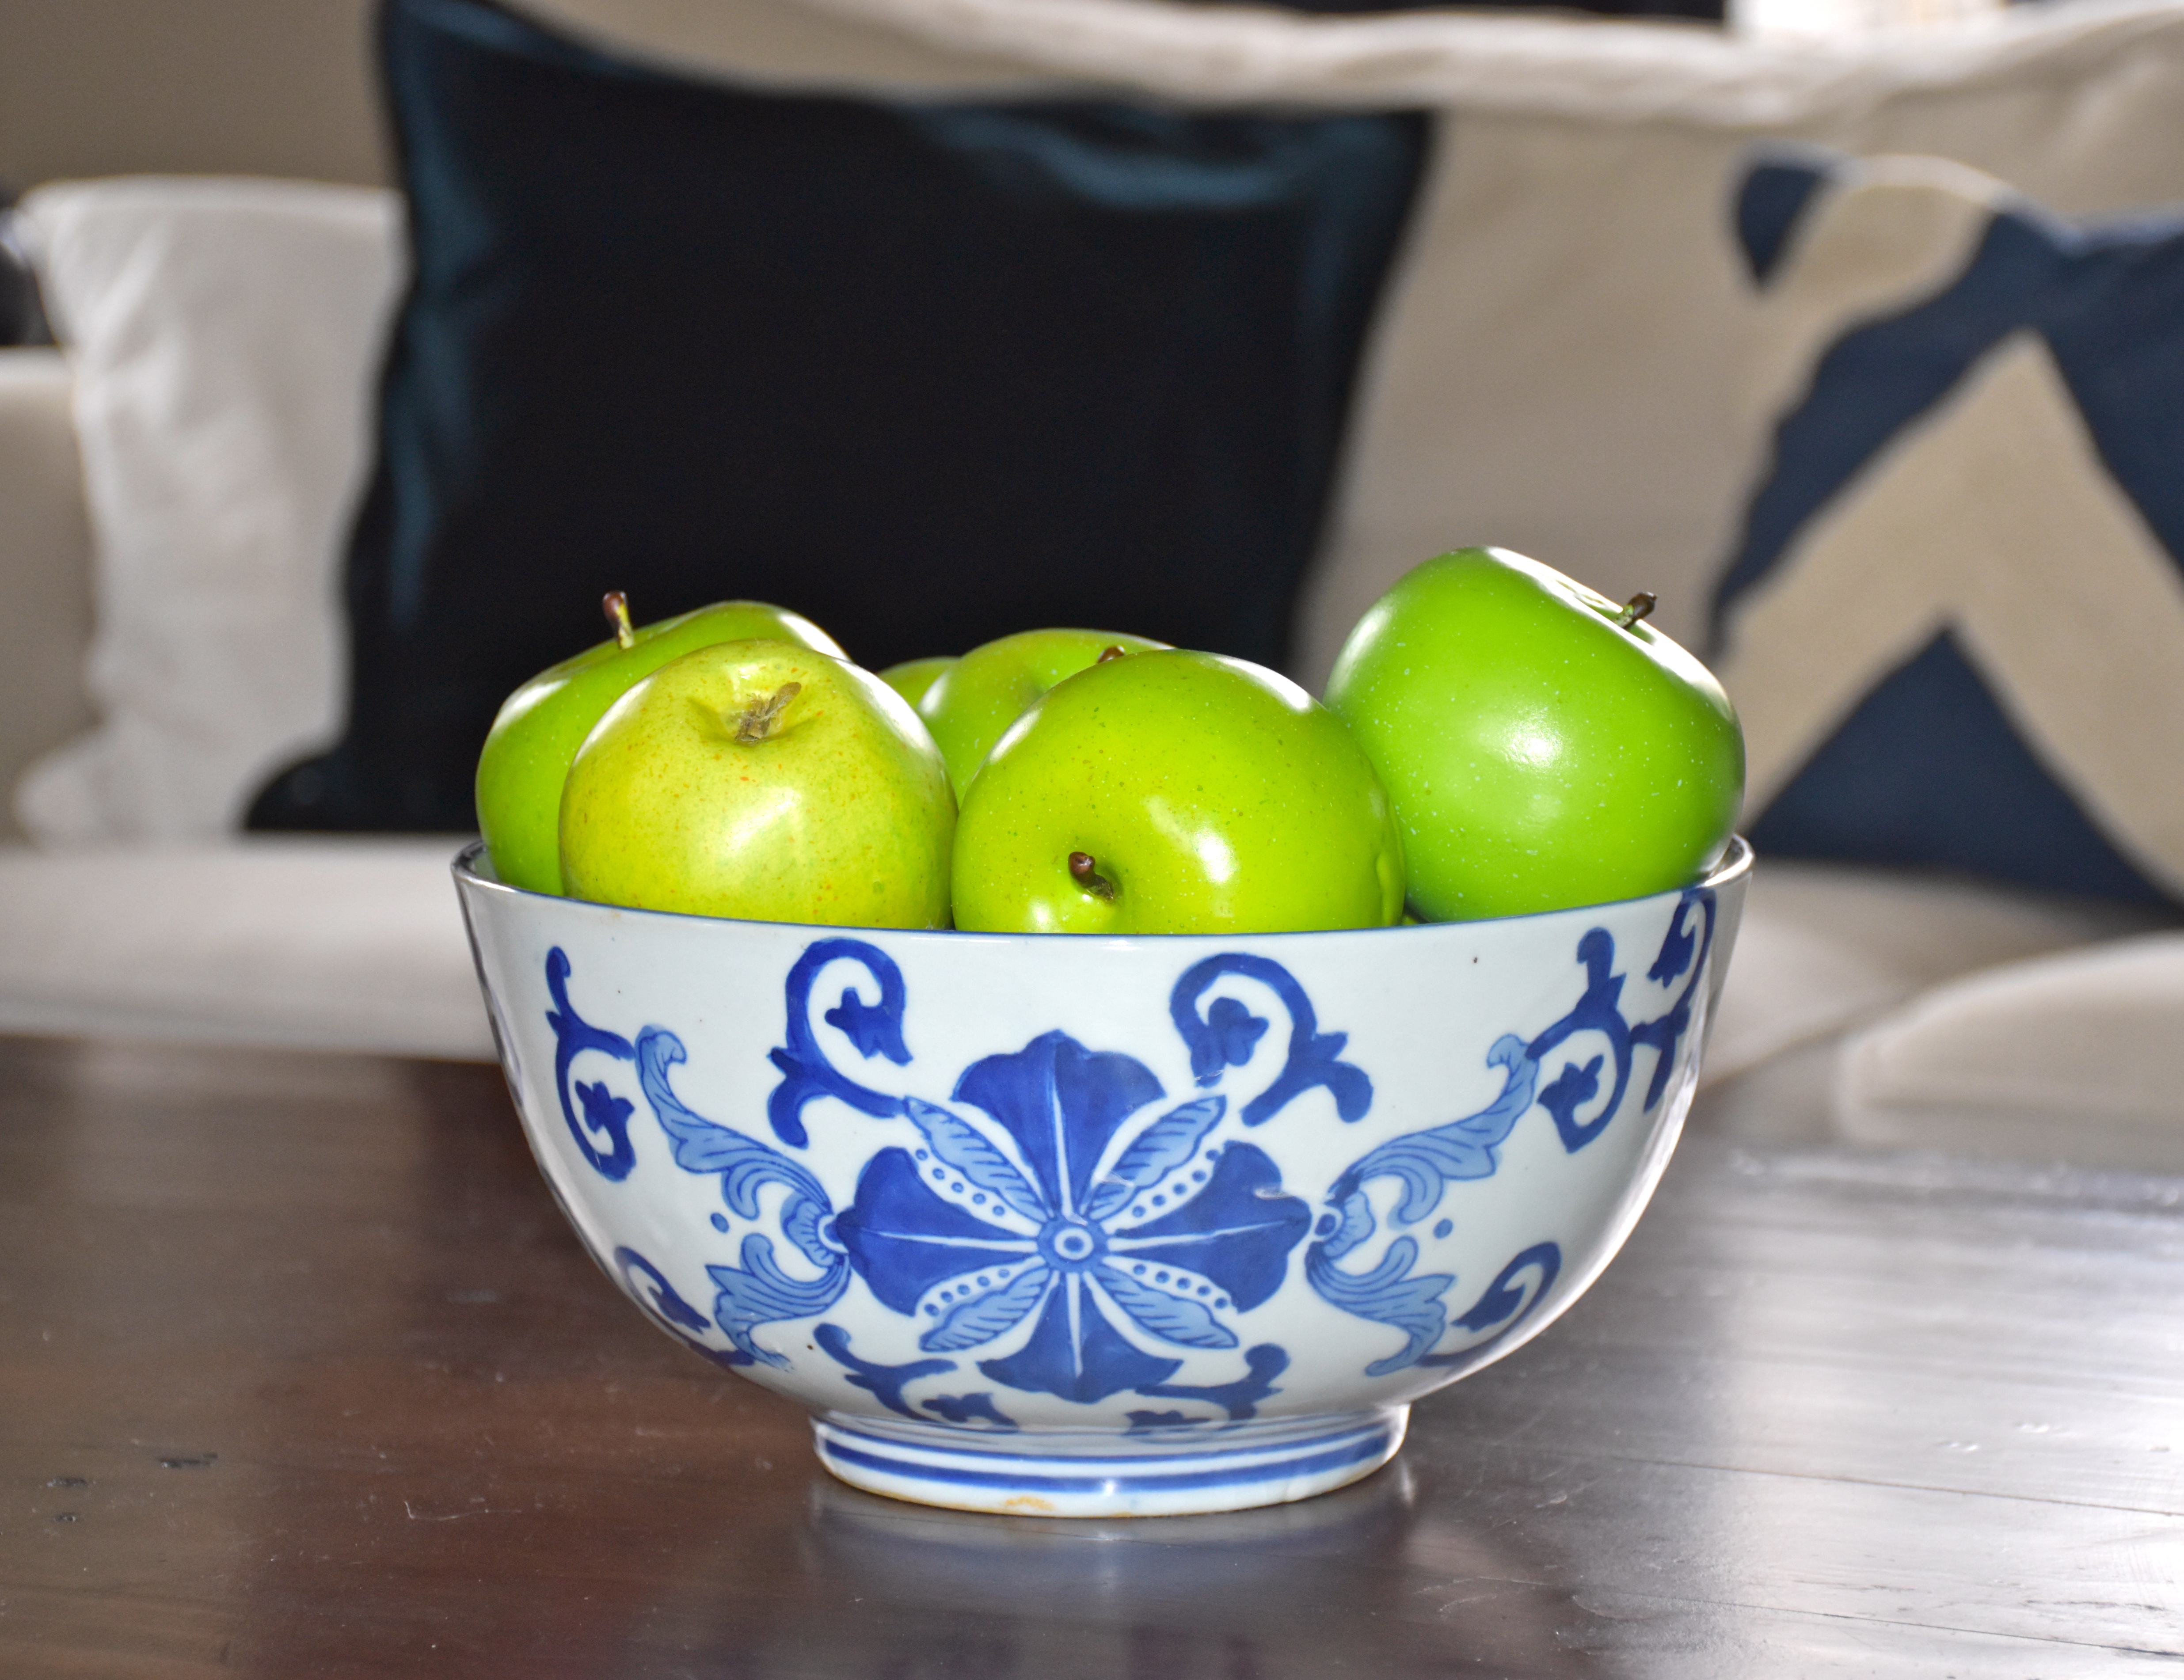
I love the show Fixer Upper but I always have to laugh when they style a kid friendly space with a bowl or bucket of crayons on the table. It may make for a good picture but crayons in a bowl are just an open invitation for tiny muralists to create new works of art in your home. When decorating with kids in mind I think there are better options. Stores like Home Goods, Target and Hobby Lobby have some great accessories that are reasonable priced. I have a large bowl on my coffee table filled with seasonal items like faux green apples, pinecones or small pumpkins depending on the season. My girls may pull things out of the bowl to count them or play with them but they haven’t done any major damage, and it adds a much needed punch of color to my room.

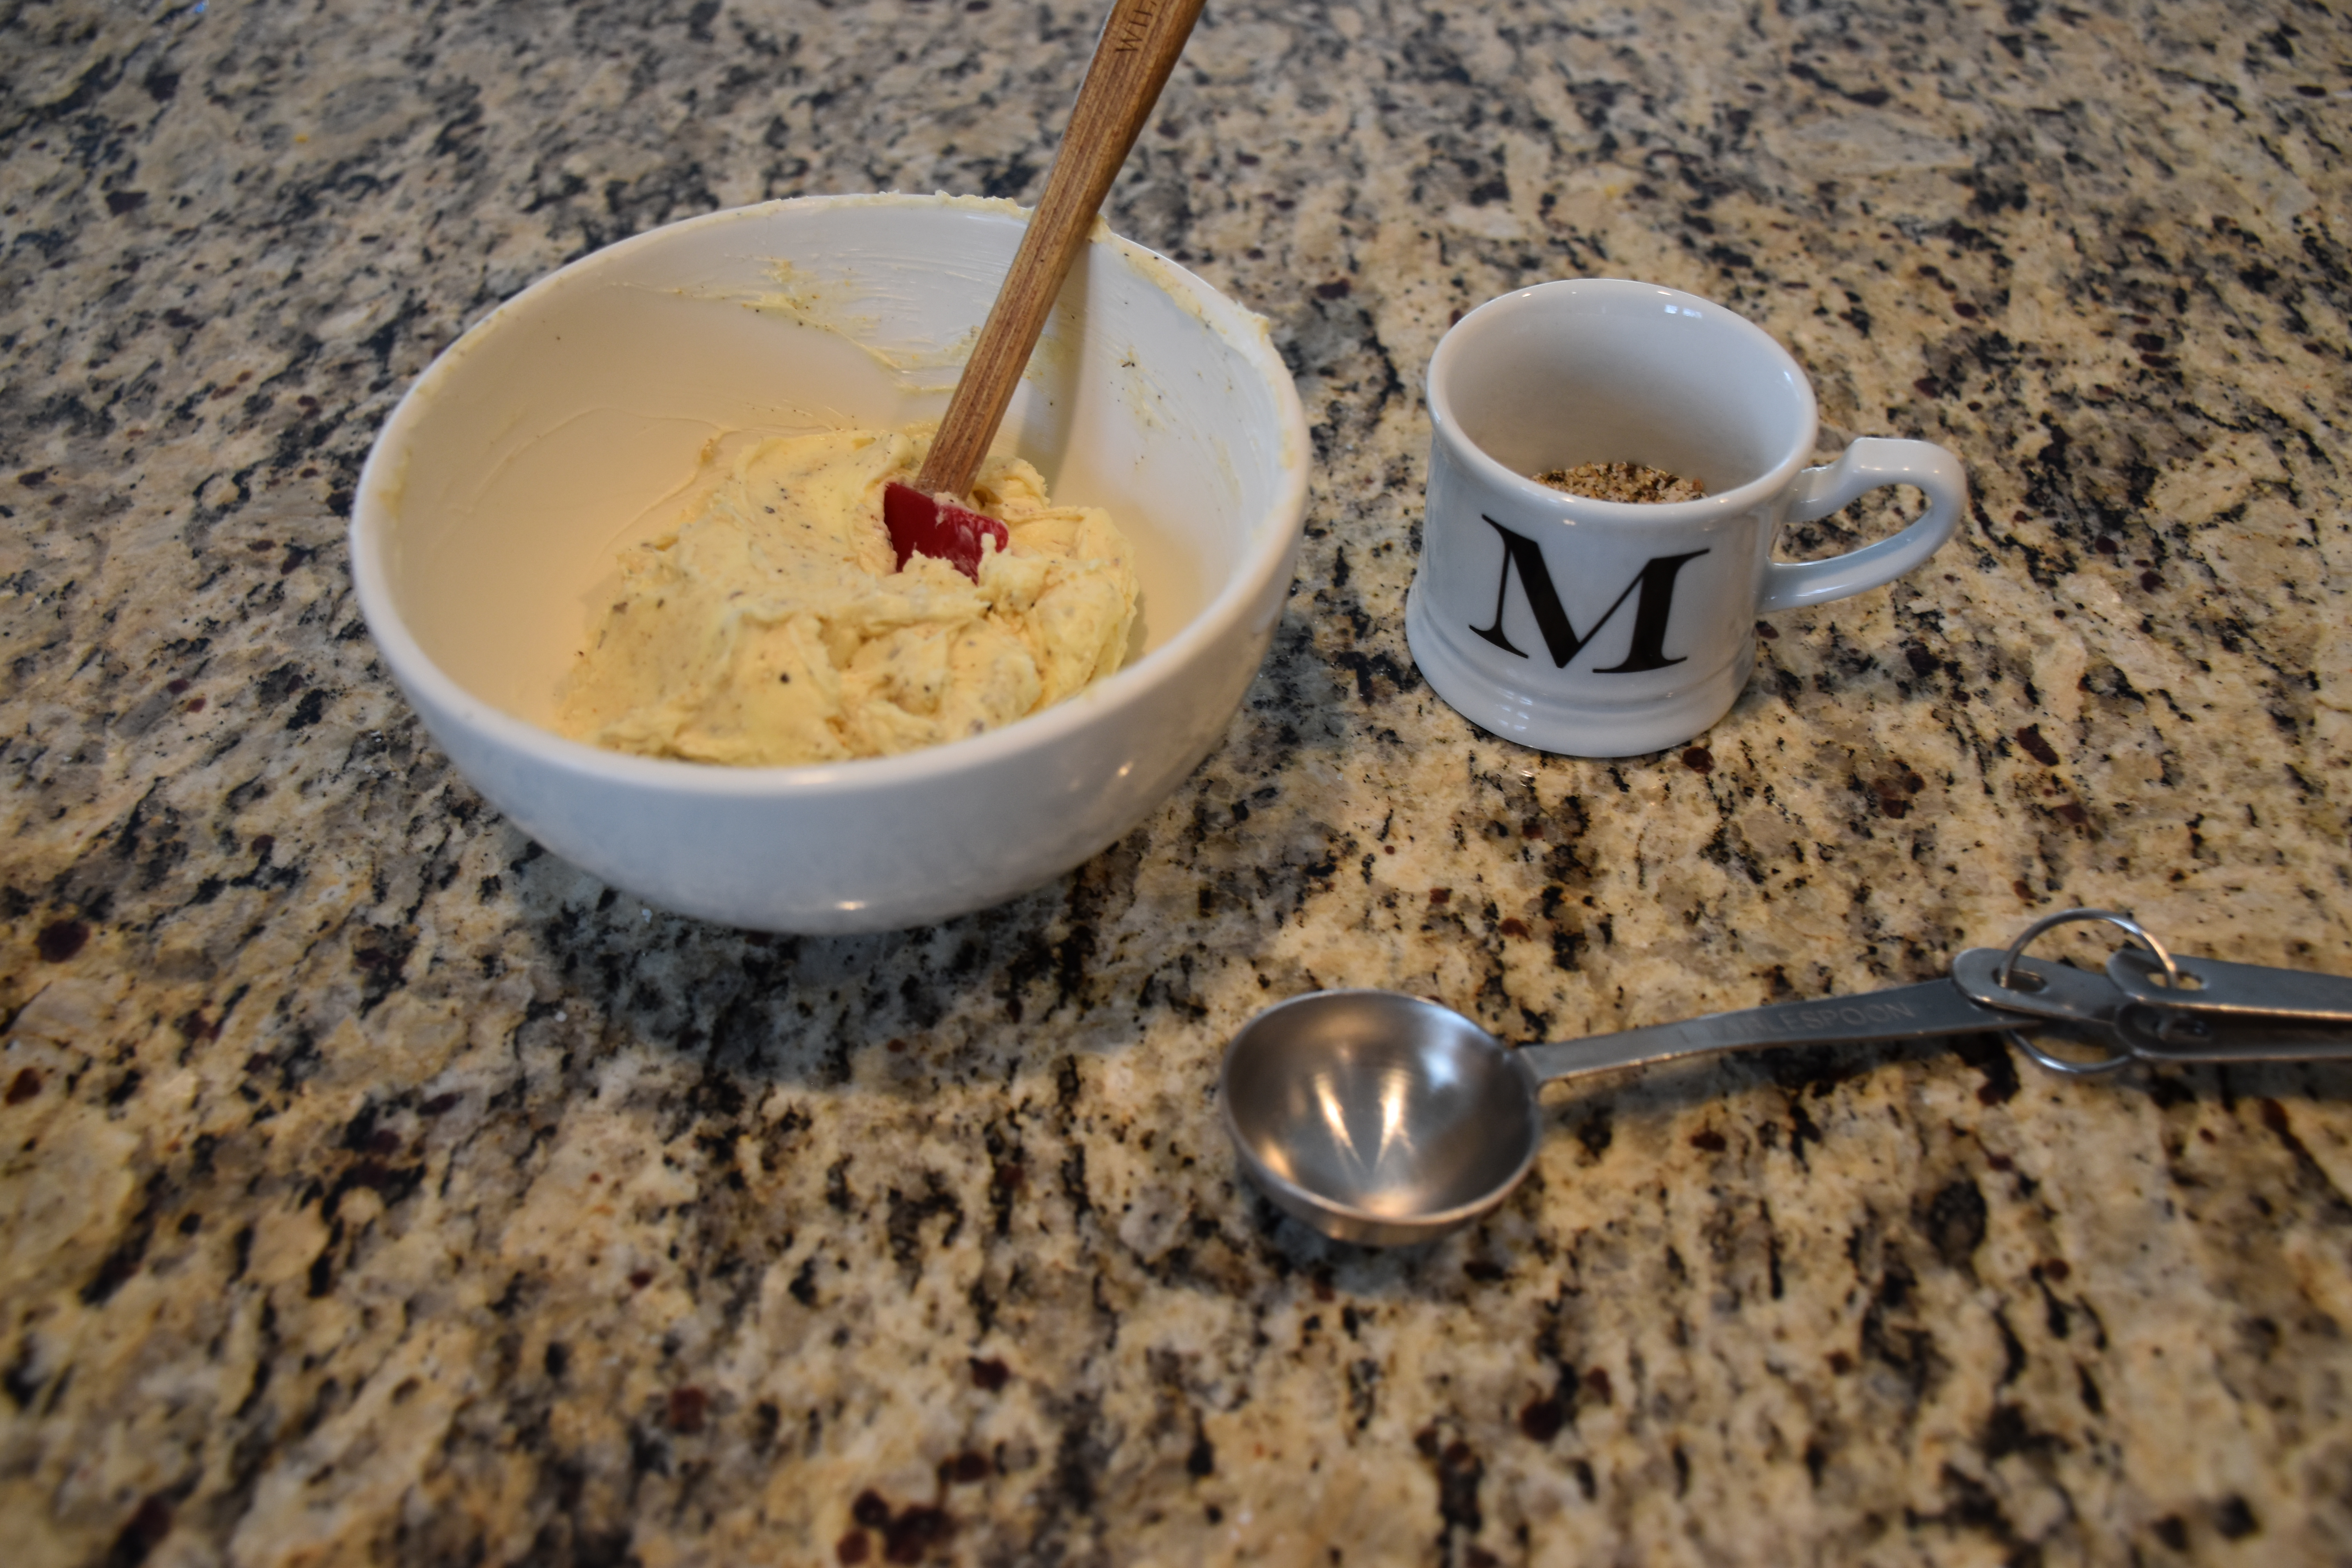
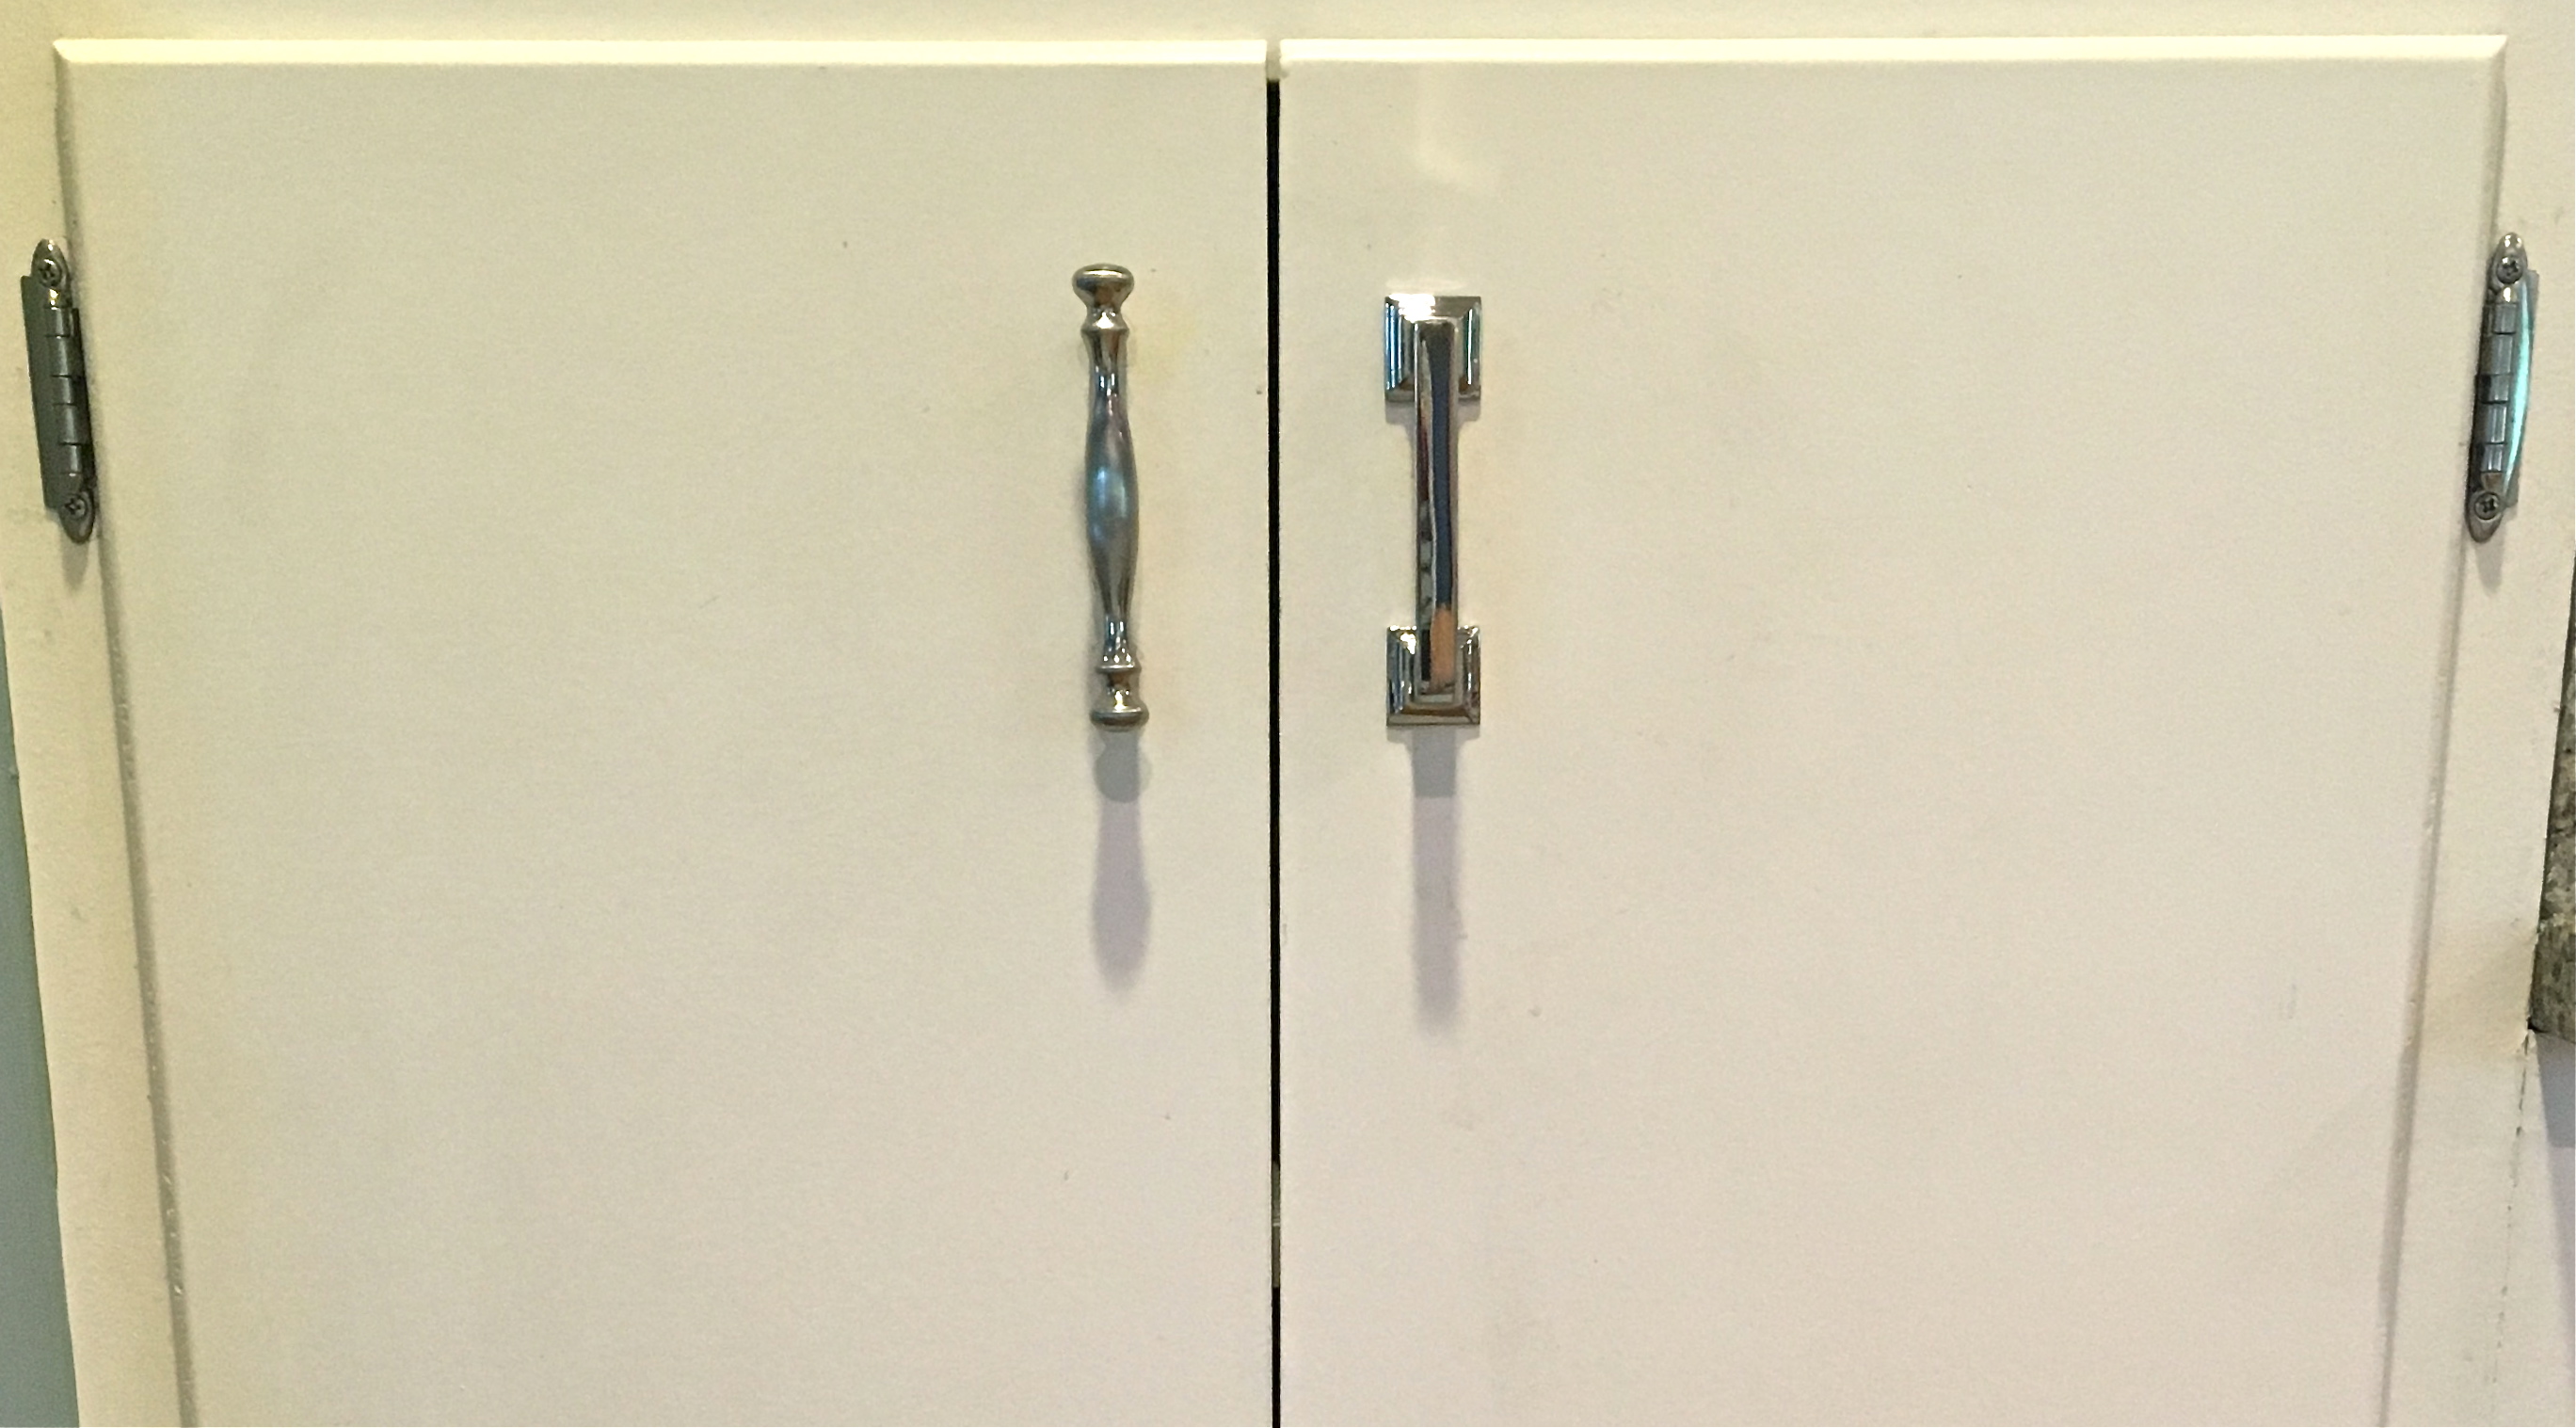
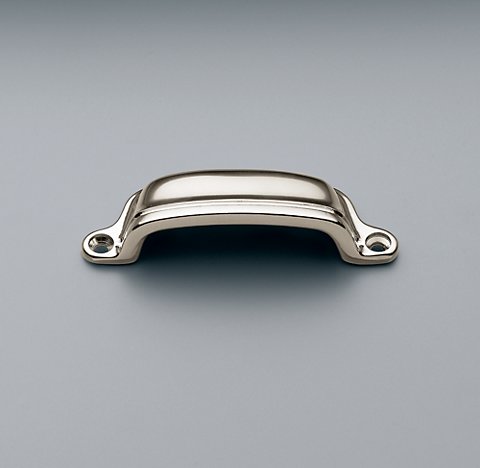
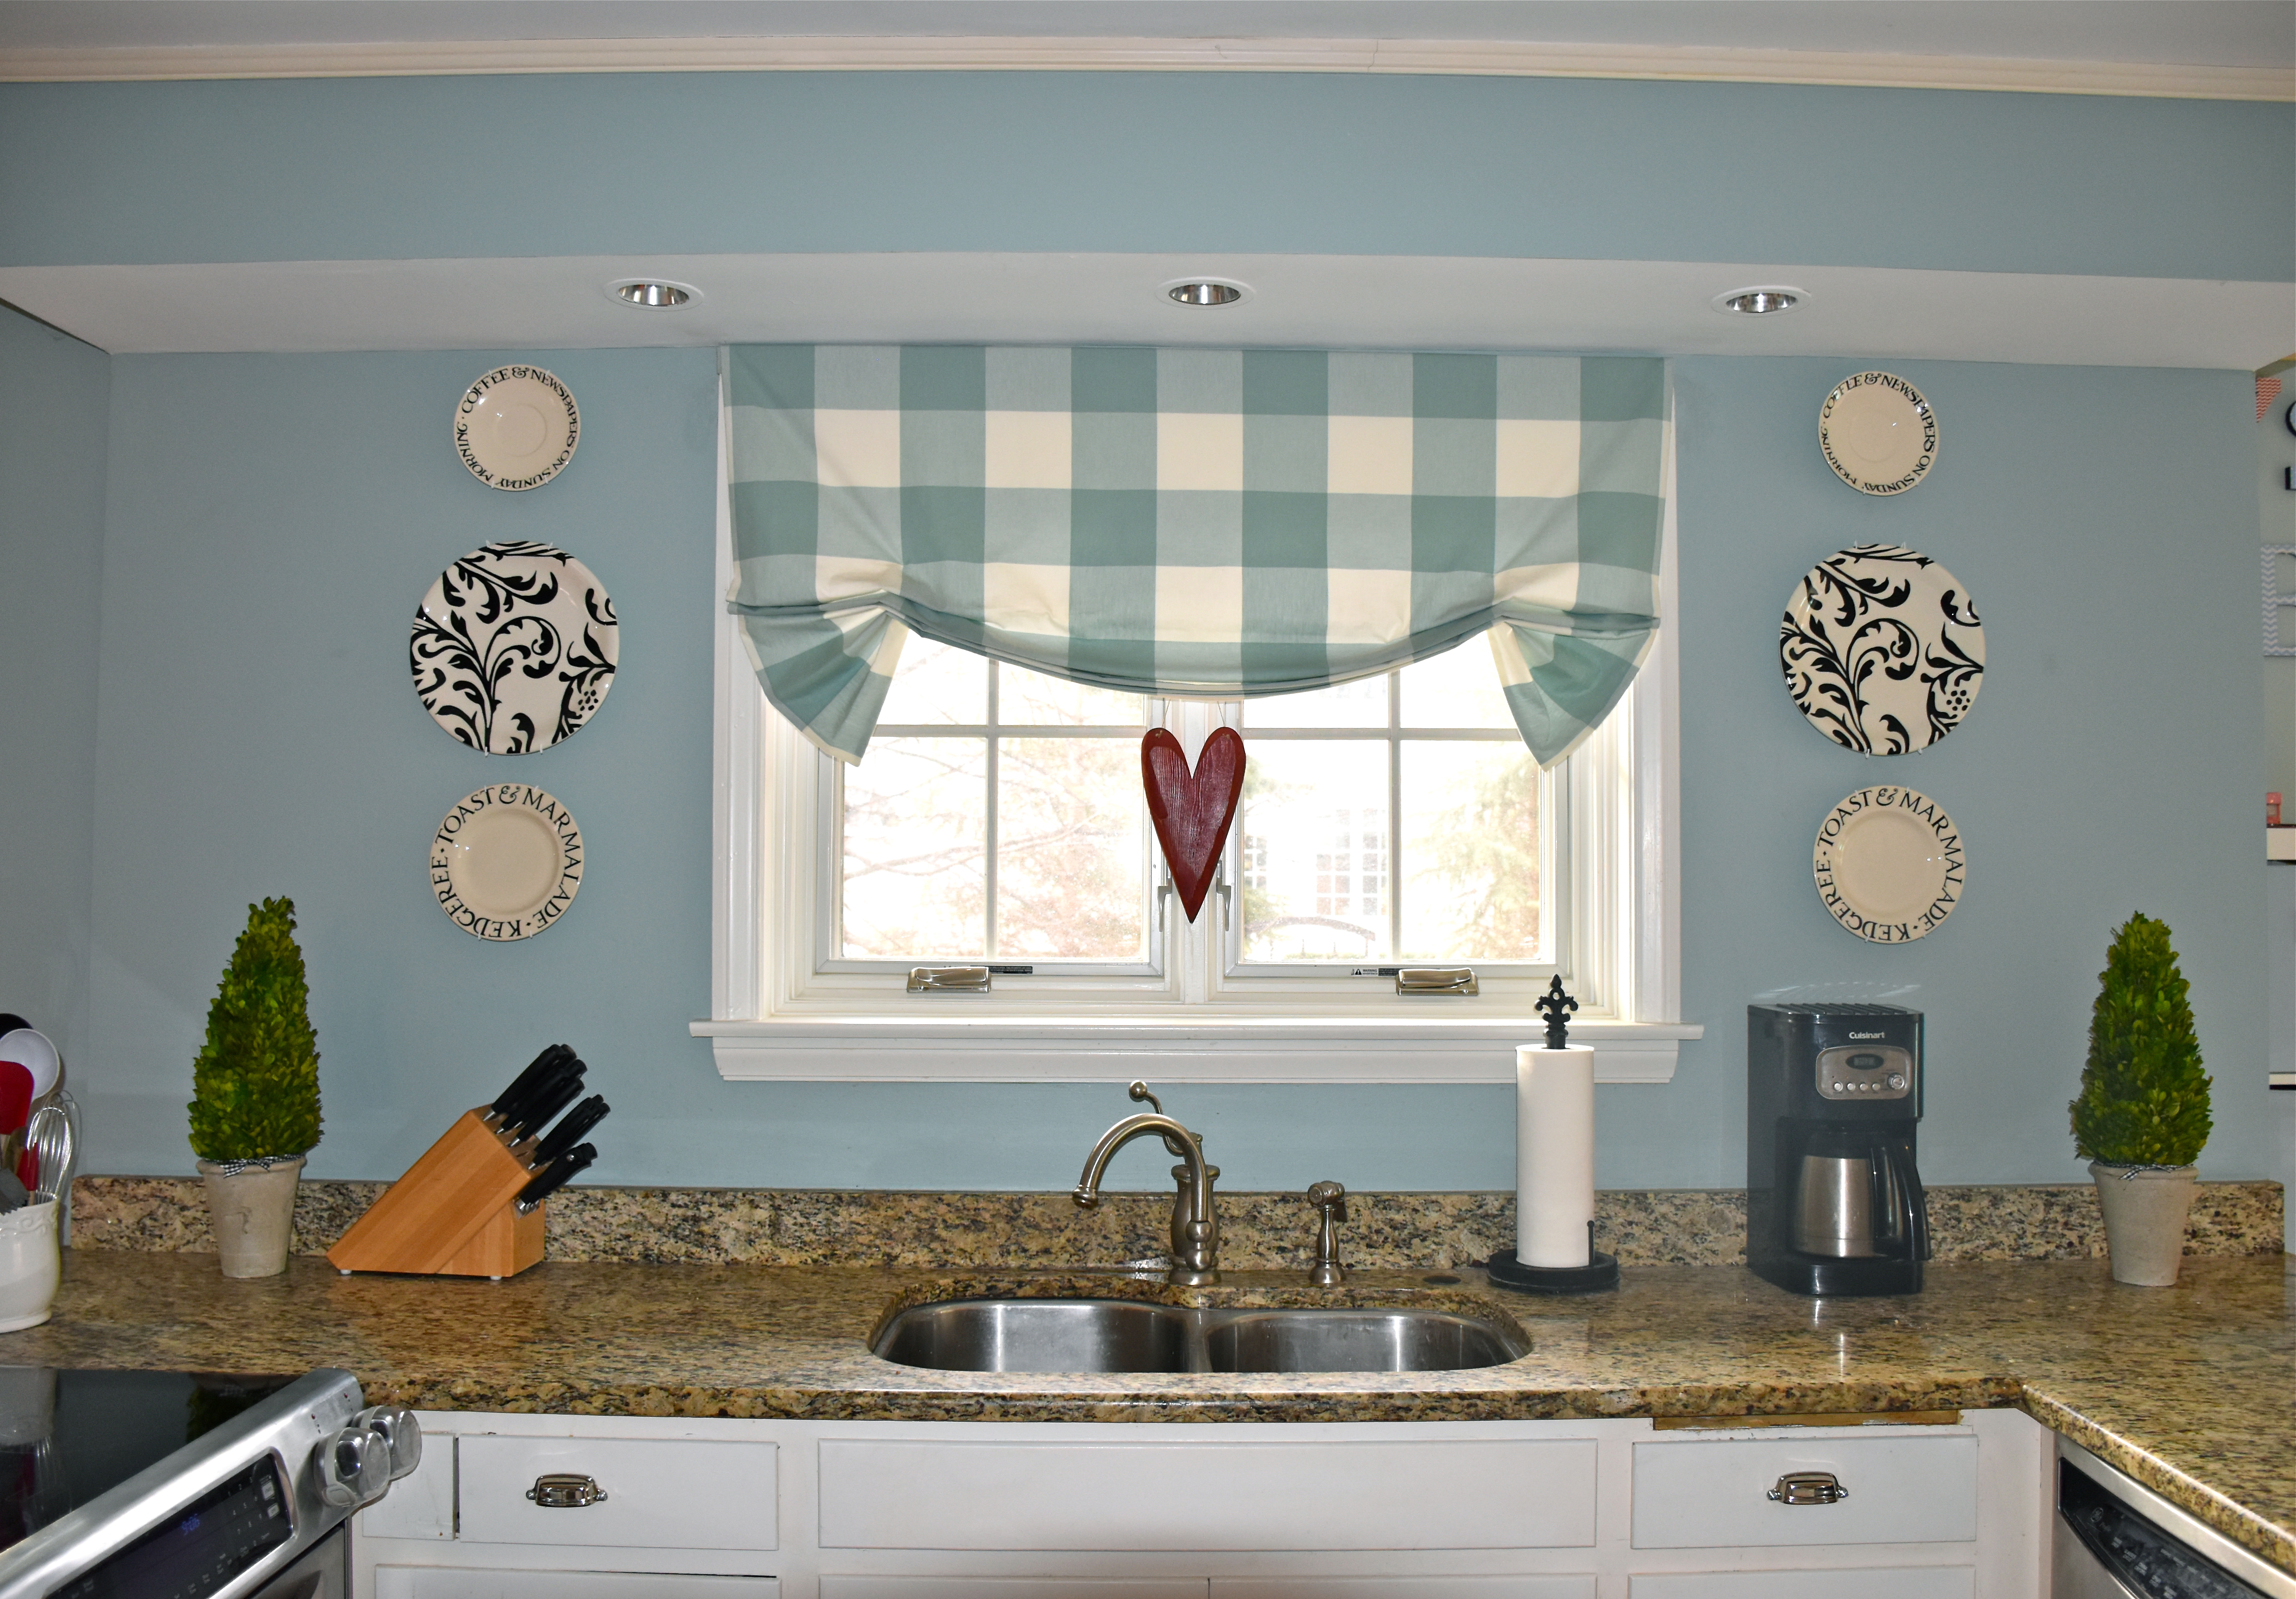
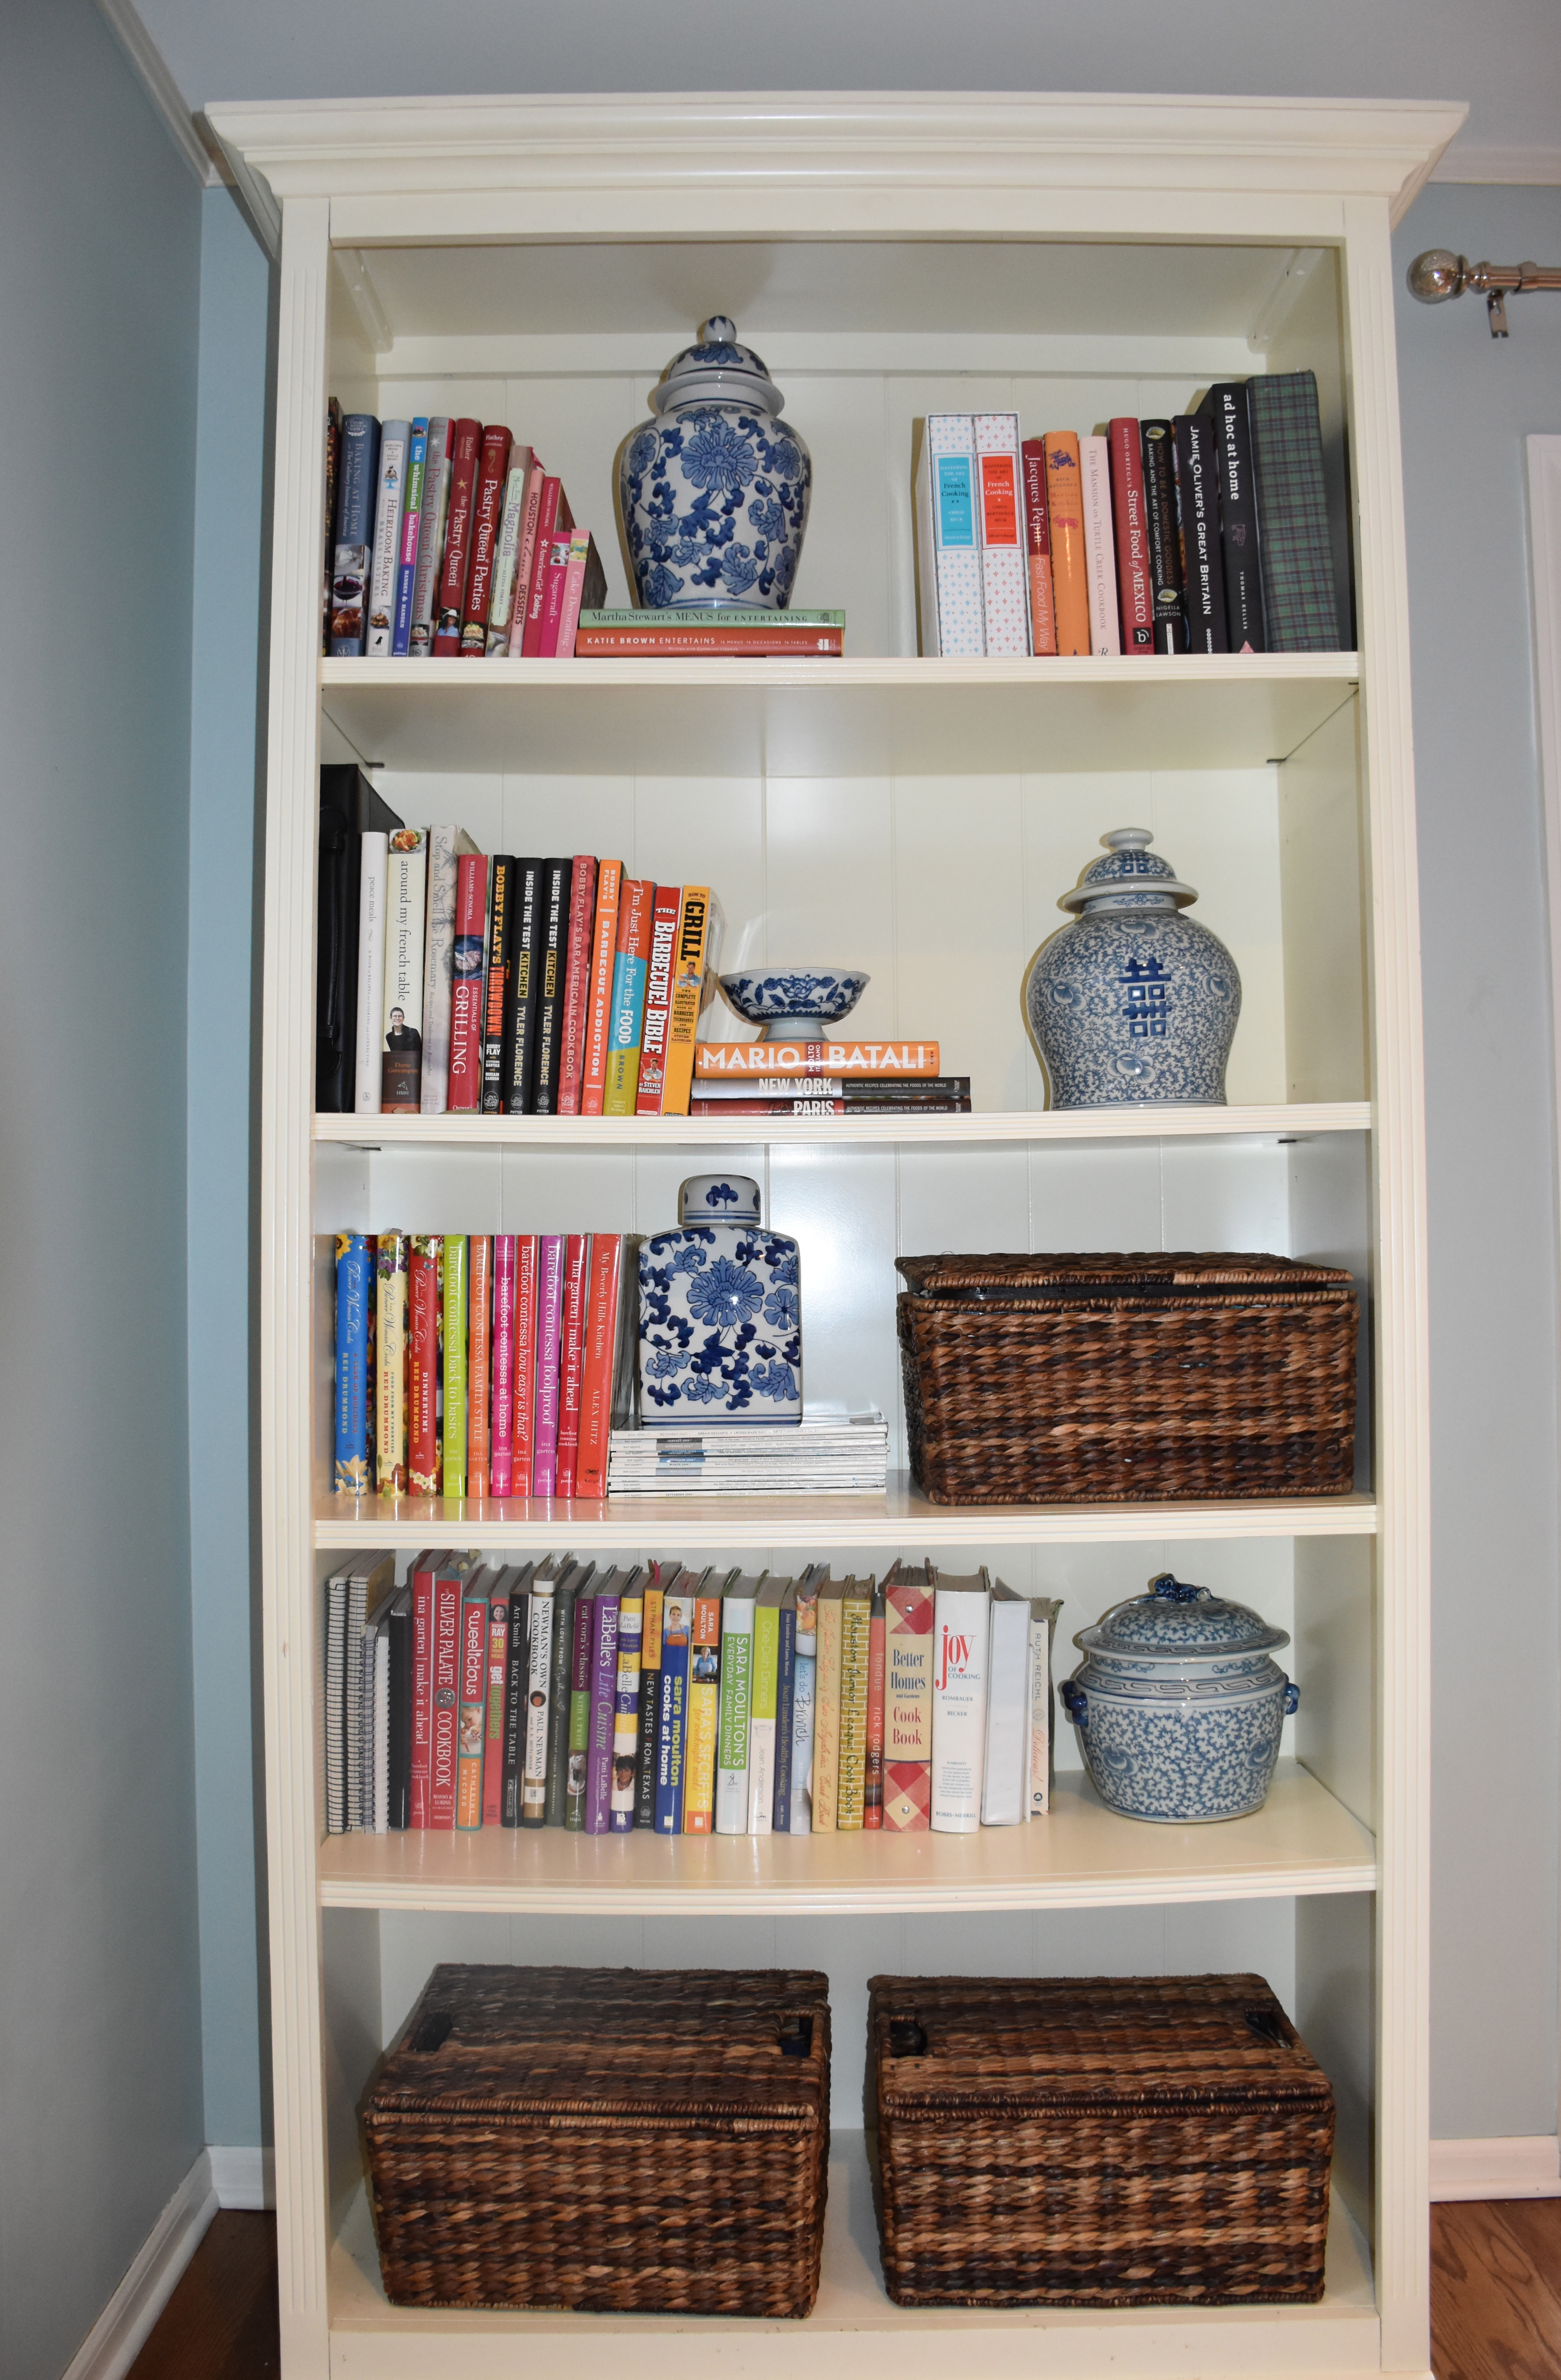
I also have some blue and white pottery pieces up on a console table, but they are a twenty dollar finds from Home Goods that can be replaced if the worst happens. If you really like something or fear future damage then buy a second one. This is what saved me with the Rapunzel curtain rod incident. I bought an extra rod to have parts on hand when needed. I had extra brackets and a finial to replace the broken one. It’s a lot less stressful when you know you can fix the problem.

I believe that kids and pets don’t mean a beautiful and comfortable home is out. It may take a little research but there are fabrics and slipcovers that can handle chocolate, spaghetti and potty training accidents. Its important to live in a place that you love and a place that brings you happiness. Life has its crazy and stressful moments, but your home shouldn’t add to that. It should be a place filled with wonderful memories, and kids and pets are an important part of that.

Honeymoon Memories and Roasted Chicken

When my husband and I were married eleven years ago, we went on our honeymoon in New York City. It was right after Christmas and the city was still dressed up for the holidays. It was wonderful. While we were there we got to see a few shows and eat at some wonderful restaurants. My favorite meal was at Bobby Flay’s Bar Americain, where I had one of the best pieces of roasted chicken with corn spoonbread. I am one of those people who can really remember an amazing meal even years later. My husband can’t believe I remember the details of meals like I do, but I just love food. I felt a little better about this when I read a Nora Ephron essay where she recalls an amazing piece of chicken she had while traveling in Italy and then goes back years later to try and find the same restaurant and chicken again.

This is how I felt about that chicken. Bobby Flay has a Bar Americain cookbook where he has cold smoked chicken which is great if you have a restaurant, but not so practical for the home kitchen.  So over the years I have tried all kinds of recipes trying to recreate that amazing taste. I was cooking a Sara Molton Recipe about a year ago where she call for using a flavored steak butter. I liked the idea and I thought that using a flavored butter with a roasted chicken would be a great combination. The chicken was flavorful and tender and it reminded me of my meal many years ago. Best of all its easy to make. It is also a great dish to share with company because it can be put together and popped in the oven a little before your guests arrive.

Ingredients:

4 Chicken Breasts with the Bone In and Skin On

Seasoning Mix

  • 1 TBSP Garlic Powder
  • 1 TBSP Kosher Salt
  • 1/4 Tsp Ground Pepper

Flavored Butter

  • 1 stick butter softened
  • 1 TBSP of seasoning mix
  • 1/2 Tsp lemon zest (optional)

Preheat 400 degrees. Then mix together the seasoning mix in a small bowl.

Next you can either leave the butter out to soften or if you are in a hurry you can place the stick of butter with the paper still attached on a microwave safe plate and place it in the microwave and heat for 5 seconds and no more. Then check the stick and if it is still a little hard then flip it over and heat another 3 to 4 seconds. Heating it anymore than this will leave you with a melted mess.

Then to make the flavored butter put the softened butter in a bowl and mix in 1 TBSP of the seasoning mix. You can add a little lemon zest for a lemon flavor chicken. Sometimes if I am using the chicken to shred for another recipe where I don’t want a lemon flavor then I will leave the zest out.

Place the chicken on a roasting pan. Then using a small flexible spatula or spoon put a generous tablespoon of the flavored butter under the skin of the chicken. Use your fingers to make sure it it get evenly distributed under the skin. Be careful not to poke extra holes in the skin because you don’t want all of the butter to spill out when it is cooking. The put a couple of extra bits of butter on top and sprinkle with just a little more of the seasoning mix on top.

Then put a couple of extra bits of butter on top and sprinkle with just a little more of the seasoning mix.

Then once you put the chicken in the oven turn the heat down to 375 degrees. Roast the chicken 40 minutes for medium sized chicken breasts.  If you are roasting extra large chicken breasts then it is going to take 50 to 55 minutes. The chicken should be golden on top and the juices should run clear. It you are really uncertain you can pierce a small hole to check that the chicken is no longer pink.  If you have a meat thermometer the internal temperature should be 165 degrees. Let the chicken rest about five minutes before serving.


What Not to Wear: Kitchen Cabinet Edition

Everyone loves a good makeover especially when you can relate to the before. Its what made TLC’s show What Not to Wear so much fun to watch. Show hosts Stacey London and Clinton Kelly would meet with fashion-impaired individuals who had been outed and nominated for a makeover by there family and friends. The show would always start out with a view of the person’s crazy wardrobe, and then the co-hosts would try to give suggestions on how to shop for clothes to accentuate the participants best features. It was always amazing to watch the after and see how a fashion update could make a big difference in how the person looked and felt.

So today on this edition of What Not to Wear Home, I am outing my kitchen cabinets as the worst dressed cabinets. I wrote about some of the updates I made to my kitchen, but since this detail took lots of shopping and research I thought it deserved its own post. The truth is my cabinets are not supermodels. They are ordinary models from the 1960s who are beginning to showing their age. As I shared before, a major kitchen facelift was out, so it was clear they needed a makeover. They say that cabinet hardware is like jewelry for your kitchen, so I decided that my cabinets needed a new statement piece.

The hardware I inherited with our kitchen.

The existing cabinet pulls could use an update and there were chips in the paint around the base of many of the pulls. I knew I wanted to go with a classic cabinet hardware. I think its important to match the character of your house and ours has a traditional American feel.  I decided that since our kitchen has silver colored hinges and stainless steel appliances, we needed to go with a nickel finish; but to give it an updated feel I went with a bright nickel finish. I also wanted to find handles with a wider base which gave the hardware a greater architectural presence with the added benefit of covering all of those paint chips.  It is getting harder to find lots of selections available at a brick and mortar stores, so I ordered sample pulls online and began trying out my options.

Testing the new hardware option.

The clear winner for cabinet pulls were Hickory Hardware’s Studio Collection. They come in a wide variety of lengths. The handles have a a good feel and they are made of solid metal. They look like other more expensive models, but they are actually reasonably priced. I have 31 cabinet doors and 11 drawers so price can make a big difference. I found the handles for six dollars at Home Depot which I thought was a surprisingly great deal.

Hickory Hardware Studio Pull in Bright Nickel
Hickory Hardware Here they are shown on fancier shaker style cabinet.

Next I went looking for drawer pulls. I wanted to have a mix of hardware to create a little more interest. When I tested the coordinating  Hickory Hardware cup pulls I realized that the holes for the drawer pulls were not exactly level. I think this is why the previous owner had gone with thinner handles.  Unfortunately, the boxy art deco pull accentuated the problem.

Hickory Hardware Studio Cup Pull

I needed something that could dress my drawers up without calling attention to the unleveled drawer holes. The answer was a rounded cup pull, because the absence of a straight line draws your attention away from the issue. I tried a few Amerock cup pulls and although I liked their look and feel, the nickel finish was not a good match with the Hickory Hardware handles. Then I looked at Restoration Hardware’s pulls because they are one of the only stores that has a cup pull in a bright nickel finish.

Restoration Hardware Polished Nickel Gilmore Pull
Here is one of the drawers with the wonky holes up close. From a distance it is difficult to tell; you really have to look closely to spot the issue.

I liked the finish of the Restoration Hardware pulls. The only thing you should know is that if you are using these pulls on cabinets with existing holes, then you are going to need some additional bolts and nuts to fit the depth of your drawer front. The pulls came with short wood screws that did not work on my older drawers. It was an easy fix but its helpful to know the issue up front.

The “final reveal” is a classic and smartly dressed set of cabinetry. The mix of hardware styles keeps the eye interested and moving, and the bright nickel finish gives these older cabinets a more youthful and modern look. All jokes aside, I was amazed at just what a difference new hardware made on my cabinets. It has definitely given my cabinets and kitchen the style they desperately needed.


The Great Brownie Debate


It’s hard not to love a good brownie. There is something about that chewy chocolatey combination that makes them irresistible and for every recipe there are just as many opinions about what makes the perfect brownie. Brownies lovers tastes tend to fall somewhere on a continuum between liking a light cake texture to a dense chocolate fudge. Still other like less traditional brownies adding all kinds of extra ingredients like carmel, toffee, cream cheese, butterscotch, expresso or mint. I have made a lot of different brownies over the years but until now I didn’t have one favorite.  While I was testing a gingerbread cake by Ruth Reichl I read an interview where she gave tips for entertaining. When asked what to serve she shared a recipe for brownies. The recipe was different from others I have made because it has a whipped egg base and less flour than the standard recipe.  I was curious. After all Reichl is a six time James Beard award winning food writer, so I wanted to see what her favorite brownies were like. In the end, I must admit these are great brownies. These brownies have managed to bridge the great brownie texture divide. They have have a light cake texture with a fudge center. The only thing I didn’t like was the meringue like top. The topping was a little too flakey to get an A + in the presentation department and if I am going to share a dessert then I want a showy brownie. So I added a melted chocolate frosting which gave the brownies the glossy chocolate look I love. So if you are looking for a sweet to share with family and friends give this recipe a try.

Ingredients:

  • 10 TBSP butter
  • 5 ounces of good unsweetened chocolate
  • 2 Tsp vanilla extract
  • 4 eggs
  • 1/2 Tsp salt
  • 2 cups sugar
  • 1 cup all purpose white flour, sifted
  • 1 cup semi sweet chocolate chips

Preheat your oven 400 degrees (I set my convection oven to 375)

Take a 9×9 inch pan and make a parchment paper liner for your pan. I like cutting it so I have enough to fold over the sides. This will help you pull the brownies out of the pan easily. The trick to doing this in a pan with rounded corners is to cut the parchment a little smaller than the width of you pan so you don’t have to deal with the corners. Spray the square pan and parchment paper liner with a butter flavored cooking spray like Pam.

Parchment paper liner

Next in a small sauce pan melt the butter and chocolate over low heat stirring until the chocolate is melted and glossy. Remove the pan from the heat and stir in the vanilla.

Then lightly beat the eggs and salt in the bowl of a stand mixer. I used the whisk attachment. Add the sugar and beat the eggs mixture on high for ten minutes. The mixture will turn much lighter.


The egg mixture after whipping

Then slowly pour the chocolate mixture in with the eggs as you beat the mixture on low until the chocolate is incorperated. Then add in the flour and whisk it just long enough for the flour to be mixed in the batter.

Brownies frosted with the melted chocolate

Pour the batter in the pan and turn the oven temp down to 350 degrees (I set my convection oven to 330) Bake for 35 to 40 minutes. The brownies have a fudge center so when you test it with a toothpick it should come out not quite clean.

While the brownies are cooling in the pan add 1 cup of semi sweet chocolate chips on top. The chips will begin to melt and when they do use a separated spatula to spread an even layer of chocolate on top. If the chocolate chips aren’t melting just put the pan back in the warm oven for a minute and then they will be easy to spread. If things are busy and  you need to frost them later, then use a pyrex or microwave safe container and put the chocolate chips microwave for thirty seconds then stir and microwave for another 30 seconds till the chips are melted and ready to speed on top. While the melted chocolate is still soft you can add some chocolate sprinkles on top if you want to make them extra fancy. My girls and I made another batch of these and they loved getting to add the sprinkles. Use the parchment paper handles to help lift the brownies out of the pan. If you want to stack the brownies on a serving platter then allow the brownies to cool before you cut them into squares. If these are something you are serving right away then use a plastic knife which will make it much easier to cut the warm brownies.


Dreaming of Flowers in February

My husband and I were talking with other couples exchanging funny stories about a few in hindsight, awful but well intentioned gifts we had given each other over the years. As the conversation continued the subject moved to flowers. I was surprised to hear so many comments by other women about how overrated flowers were. Now everyone is entitled to their own opinion, so I listened and didn’t say much. However, when my husband and I were on our way home I explained to him that some of the other wives’ advice on flowers did not apply to me. In my mind flowers are a wonderful gift for any occasion and by any occasion that can mean its Monday and the vase over there is looking a little lonely. There is something absolutely beautiful about flowers: the vibrant colors, the delicate shapes and the intoxicating fragrance. With the exception of those crazy unnaturally dyed flowers at the grocery store, I haven’t found many flowers I don’t absolutely love. Over the years I have been able to visit some wonderful gardens and although I wish I could take those flowers with me the pictures are still beautiful. So this Valentines day week I thought I would share a few flowers with you.

These roses were in an amazing little garden we visited in Ireland


The Dallas Arboretum
I had never seen a dahlia before my first visit to the Chicago Botanical Gardens years ago. It is too hot to grow these flowers in Texas.
A trip to the Chicago Botanical gardens last spring. Look that those beautiful tulips and primroses.

It’s February in Chicago which means that things are a little brown. When we moved last year the first snowfall happen so soon that I really didn’t have much of an idea of what had been planted in our yard. As May approached I loved watching as new plants and flowers popped up. There are no flowers in sight right now, but here is a little taste of  our garden in summer. So now I am dreaming of summer flower filled days.

Our backyard in July.
My daughter with the hydrangea bushes out in front of our home.
I was so delighted to watch this fuchsia peony bloom in our yard. It was such a great surprise.

A Valentine’s Day Strawberry Salad

When I think about Valentine’s Day dinners I always think of strawberries. The produce department has the best selection of strawberries around this time of year and the beautiful red color of the berries makes it a great date night dish. It’s a wonderful salad to pair with a steak or a grilled fish. The combination of the balsamic vinegar and the strawberries makes it delicious and just a little different. So here is a family favorite to share with the ones you love.

Salad Ingredients:

1 head butter lettuce (torn into bite size pieces)

1 carton of strawberries (washed and halved with the tops removed)

1/4 of a small red onion (sliced lengthwise into small strips)

1/2 cup of walnuts

3 TBSP of granulated sugar

Balsamic Vinaigrette Salad Dressing Ingredients:

2 TBSP balsamic vinegar

2 TBSP of white vinegar

2 TBSP of granulated sugar

1/2 cup of canola oil

1/2 Tsp Herbs from Provence (I have had good luck finding this spice blend at most grocery stores)

1/4 Tsp salt

1/8 Tsp pepper

Prepare the lettuce, strawberries and onion for the salad and place them in a large salad bowl. Next in a small nonstick skillet mix together the walnuts and 3 TBSP of granulated sugar bring the pan to a medium heat. Stir until the sugar melts and coats the nuts. Do not leave the stove because once the sugar starts to melt it can burn quickly.  Have a plate or piece of aluminum foil ready to put the nuts on to cool. Once the nuts are cool you can sprinkle them on top of the salad.

To make the salad dressing, mix together the two vinegars, sugar, salt and pepper in a medium sized bowl. Next slowly pour the oil in a slow stream while whisking the dressing. Continue to whisk until the oil and vinegar are fully incorporated and the dressing looks thicker. Then whisk in the Herbs of Provence. Sometimes I make this dressing in my mini food processor which gets it blended quickly. Wait to add the dressing until right before you serve the salad so it doesn’t get soggy. You can make the dressing ahead of time just whisk it again if some of the ingredients have settled.

Happy Valentine’s Day!


The Story of My Kitchen


I have loved being in the kitchen since I was tiny. My favorite toy growing up was my play kitchen. I loved cooking things. When I was little there were understandably rules about using the real kitchen, like not using the oven by myself. However in my play kitchen anything was possible.

Here I am talking on the phone of my kitchen. I am thinking I must have been about two when this photo was taken.

I cooked my first full meal at age seven when my mom was out of town on a trip. Over the years my dinner menus have improved but the excitement and sense of play when I cook has never changed.

When we moved to our new home it was important to me to make the kitchen my own. The kitchen was functional and I liked that the cabinets were painted white. The kitchen had some updates but the cabinets and hardware were old and the formal style and darker colors just didn’t fit our family.

The picture from the real estate listing.
The box pleat valances were well made but the black out lining made the windows feel dark.
We moved in on Halloween week so here is my daughter in the green kitchen. 

We talked about redoing the whole kitchen but there were lots of projects we needed to tackle with the house and the cost of a total remodel was too much. In the end we decided to make a few key changes. We removed peninsula that came off of the kitchen stove. The bar height seating was not going to work well for our toddlers. That left us with a hole in our floor so we decided to refinish the hardwood floor and extend the wood floor into the adjacent den/playroom.

The hole left in the floor when we removed the peninsula base.
I will have to write more about this room later, but here is a look at the old carpet.

I am so glad were were able to make the flooring change. I has made such a difference in tying these two rooms together. The carpet in the back room was hard to keep clean.  This room has the only door to the backyard so the leaves, snow and mud were difficult to keep out. The other major benefit of replacing the carpet was that I was not limited to having to decorate around what we affectionately called the “fancy hotel carpet.”

We restored the floor and matched the stain so it would be consistent with the rest of the house. I also repainted the baseboards, the back of the stove and some of the cabinets.

Here is the ajacent playroom with the new engineered wood floors.

Next I turned to paint and fabric to help update the kitchen and give it a whole new feel. The paint color was the first thing I decided for the room. I knew I wanted to move on from the moss green.  I was getting paint to do some touch ups at our old house and decided to look at some colors for the new kitchen. I really liked the color Wedgewood Gray (which is really a blue green) by Benjamin Moore. It was light, but it had enough gray to make it a sophisticated shade of blue. Then I found a large scale gingham print by P. Kaufmann and I ordered a couple yards to see if it would work. I love that this large scale buffalo check has both a lighter and darker shades of blue-green which complimented the paint color and the color variation has made it easy to add additional fabrics to the playroom area without having to feel like they have to be an exact match.  My mother in law is a wonderful seamstress so for my birthday she came to help me sew the relaxed roman shades and a drapery panel for the sliding glass door in the playroom. I lined my window treatments but I used a lining that allowed some light and hung them higher to cover less of the window. This has made a big differnce in the feel of the room. On a cold gray day I wanted to see as much light as I can. I am a southern girl and I need some sunshine.

I ordered the fabric a year and a half ago and as soon as I got the window treatments up I began seeing gingham everywhere from Pottery Barn to Serena and Lily which makes me smile. This classic pattern is back and I am seeing it used in more than just kitchens. I thought about open shelves by the sink but the area is fairly narrow and I ended up liking the simpler black and white plates. I just love Emma Bridgewater pottery and during the holidays I switch out some of the plates for a subtle seasonal touch.

The granite pattern is a little busier than I would choose. Someday I would love to get black granite that looks like soapstone, but for now the new paint color has made a huge difference in how the kitchen feels.

The kitchen dinette set is a quirky favorite of mine. I purchased it years ago and my husband thinks I am a tad crazy for liking it. Although I could see how a pretty french bistro chair set or a white farm style table would also work, I just love whimsy it adds. I am a big believer in decorating with things that bring you joy and this table just makes me smile.

The mirror in my kitchen is also a favorite of mine. It’s made by artists in Iowa at a company called Sticks. The other night I was talking to a friend in my kitchen and she asked about the mirror by my kitchen table. I got it many years ago when I worked at a folk art store in high school. I was telling her about it and she said “I love that everything in your house has a story.”  That was such a nice compliment because I believe that really memorable rooms have a story to tell. So the other thing that I think is key in any room is to add special pieces that have good memories. Kitchens are hardworking rooms so sometimes their walls go bare, but I just love how a picture, a plate or a decorative mirror can add a little soul to your room.

This project has definitely reinforced the the lesson that there is great hope in paint and fabric. A little sweat equity with painting and sewing drapes made this an affordable update and it allowed us to invest more of our budget in the floors. In the end, I may not have the fanciest kitchen or stove but this kitchen has grown on me. Here are a few links to photos and kitchens that inspired me.

Sara Richardson Kitchen

Sara Richardson Dining Room

Kitchen with Roman Shade

Holly Mathis Cottage Kitchen

Laura Ashley Dining Room


Delicious Gingerbread from Ruth Reichl


While on vacation this summer I picked up a fun book called Delicious! by Ruth Reichl, the former editor of Gourmet magazine. The story is coming of age novel about a young food writer and the power that food plays in connecting people. There is a gingerbread recipe which has a significant role in the book. This recipe helps land the young writer, Billie, a job at the magazine called Delicious. The details about the ingredients of this cake are kept a mystery until the end when Reichl shares an actual recipe. After finishing the book I decided that I should definitely add this one on the list of cakes to make. As I am writing this there are snowflakes in the air which to me says gingerbread weather.

The cake is different than your traditional gingerbread because it doesn’t have molasses which gives most gingerbread its deep brown color. This cake is a lighter spice cake. The orange glaze and the bourbon soak keep the cake moist and a give it a sweet topping which balances well with the cake. It is not overly sweet and would also be great served as a coffee cake for breakfast.

Billie’s Gingerbread- Recipe from Ruth Reichl

Ingredients:

  • 1/4 TSP ground black peppercorns
  • 1/4 TSP ground cloves
  • 1/4 TSP ground cardamon (My local suburban grocery store is sometimes lacking in gourmet ingredients, so alas I could not find it. I added 1/4 TSP of nutmeg instead. Its not the same flavor but it did add a nice additional spice)
  • 1 TSP ground cinnamon
  • 1 TSP baking soda
  • 1 TSP baking powder
  • 2 cups flour
  • 1/2 tsp salt
  • 3 large eggs
  • 1 large egg yolk
  • 1 cup sour cream
  • 1  1/2  sticks of butter at room temp
  • 1 cup sugar
  • 2 large pieces of fresh ginger root (1/4 cup when grated on a microplane)
  • Zest from 2 large oranges
  • 1 orange for decorative curls or garnish on top (see below)

Preheat your oven to 350 degrees (I set my smaller convection oven to 330 degrees)

Grease and flour a bundt pan (You can also spray your pan with Bakers Joy which works particularly well in all the small folds of the pan.)

First prepare your ingredients. Peel the ginger using a vegetable peeler and then using a micoplane or rasp grater grate the ginger root measuring out 1/4 cup. Next grate the zest from two oranges. If using whole spices then grate the cinnamon, cardamom and cloves.

Next in a medium sized bowl mix together the flour, baking powder, baking soda, spices and salt. In another small bowl whisk together the eggs and egg yolk.

Then in the bowl of a large stand mixer cream the butter and sugar until light and fluffy  (about 3 minutes). Then add in the ginger and orange zest and mix until incorporated. Then add in the sour cream. Next add the flour and eggs a little at a time alternating between the two until each addition is incorporated. The batter will be thick.

Pour the batter in the prepared pan and bake for 40 minutes. Remove from oven and let cool in pan for 10 minutes before adding the soak below to the cake.

My helpers/ taste testers liked the batter

Soak for cake

  • 1/2 cup bourbon
  • 1  1/2 TBSP sugar

While the cake is cooling mix together the bourbon and sugar in a small sauce pan and simmer at medium heat until the mixture reduces to about 1/3 cup. While the cake is still in the pan brush half of the bourbon syrup on the bottom of the cake and allow it to soak in the cake. Then turn the cake onto a rack or pate and brush the remaining syrup on top. Once the cake has cooled add the glaze below.

Glaze

  • 3/4 cup of Powdered sugar sifted
  • 4 Tsp of orange juice (I used the orange that I zested previously for the cake)

Whisk together the powdered sugar and orange juice until smooth. The recipe calls for placing the icing in a squeeze bottle for an even drizzle over the cake. I used a pastry bag with the very tip cut off, but you could also use a large ziplock bag with a small hole cut in the corner.

Candied Orange Peel Curls (My addition to the cake as a pretty finishing touch)

  • 1 cup sugar
  • 1 cup water
  • 1 orange
  • Extra granulated sugar for sprinkling on orange peel

I like making bundt cakes but sometimes they can look a little ordinary. I just love the scene in My Big Fat Greek Wedding when Toula’s mother takes it upon herself to “fix” the bundt cake that the future mother-in-law, Mrs. Miller, brings to the party. If you haven’t seen the movie Toula’s mother can’t understand why there is a hole in the cake so she adds a potted flower to the center. It is just the funniest, but I have to agree sometimes a bundt cake just needs something. Especially if you are bringing it to a party or making it for a special occasion.

Since this cake has a lot of orange flavors in it, I thought that candied orange peal would be a nice compliment.

To make the orange peel curls take a vegetable peeler and peel strips around the orange. My peeler cuts wide strip so I cut the pieces in half vertically  and a cleaned up any rough edges.

Preheat your oven to 225 degrees. Next boil one cup of sugar and one cup of water in a sauce pan. Add the orange peel and boil for ten minutes. Use a slotted spoon to remove the peels from the hot syrup and then place the peels on a baking sheet lined with parchment paper.

Then bake the peel for 25 minutes. Immediately remove them from the oven and sprinkle with granulated sugar. While still warm quickly wrap the peel around the end of a spoon to help form the curls. You can adjust how tight you want the curls and then let them cool and set.


Styling My Cookbook Collection

Collections are meaningful because they tell the world a little bit about who you are. The best collections are the ones that have grown over time. Where each piece holds a memory. One of my largest and most loved collections is of cookbooks. Each book is more than just recipes it contains its the meals, moments and celebrations I have shared with family and friends. For some they are a reference but l see each as a story. The thoughts of the chef, what inspires them and the memories of great meals keep me reading and collecting. I have a bookshelf just off my kitchen that houses my collection. When we first moved into our new home I had so many painting projects and boxes to deal with that the cookbooks just sat all in a row on the shelf, but even a hard working collection like these books can bring a smile to your face when styled in a new way.

One day I was reading one of Ina Garten’s cookbooks where she was talking about her collection of cake stands, which got me thinking about pulling mine out of the cabinets and displaying them with my books. I got to work sorting my books into categories and then left room to place the stands so you could really appreciate their silhouette. I have some linens and additional cooking magazines that I needed to store so I put them in lidded wicker baskets.

It was a quick design project that took a little over an hour to get pulled together, but in the end it made such a difference. It was one of those projects that you finish and then think: “why didn’t I get to this before now?” I have also had a little fun displaying some sessional objects on the stands to add more color and interest.

For a little more styling fun, I took five minutes to pull together another collection I have of blue and white pottery to show what a difference just changing a few accessories can make. The cookbooks are colorful and busy so I like the look of featuring another collection of similar items. Too many small things can get lost on the shelf but a group of similar items stand out and make a statement.


One of my favorite designers Mary Emmerling says that styling may seem like small details, but it can have a huge impact in pulling a room together. Taking a moment to style and display even an ordinary collection can make a difference in how you use and see a room and if in the future I want a new look, a few accessories can make a big impact.


Banana Bread

There is something about the smell of banana bread coming out of the oven. It is the one thing I make that has everyone (my picky eaters included) running to the kitchen in hopes of getting a piece. If I make it the night before there is no way that bread is lasting without part of it being eaten as dessert. As a kid I made banana bread using the Gold Medal Flour Kids Cookbook but over the years I have modified that original recipe to make it my own.

Ingredients:

2  Ripe Bananas

1/4 cup Sour Cream

3/4 cup Sugar

2 Eggs

2 cups Flour

1/2 tsp Baking Powder

1 tsp Baking Soda

2 tsp Vanilla Extract

1 pinch of Salt

3/4 cup Canola Oil

1/2 chopped walnuts or pecans (optional I usually make my bread without them)

Preheat your oven to 350 degrees. I like to make my bread in a smaller convection oven so I adjust my heat to 330 degrees. Next prepare your standard size bread loaf pan (mine is 9×5) by lightly greasing it with cooking spray and then adding a couple of tablespoons of flour and using it to coat or flour your pan. Dump the excess flour in the sink. If you want you can also use Baker’s Joy which is a cooking spray that has flour in it.

In case you are newer to baking this is what a greased and floured pan should look like.

In the bowl of a stand mixer using the paddle attachment mix the bananas until they are a soft mash then add the sour cream. Next add in the sugar and eggs. When the eggs are fully incorporated add the baking powder, baking soda, vanilla, salt, flour and oil. Mix on medium speed until all the flour and oil are fully blended. Use a rubber spatula to scrape down the sides and make sure there are no pockets of flour or bits that are not mixed in. Pour the batter in the pan and bake for 60 to 65 minutes. Remove bread to a plate after 5 to 10 minutes when it gets cool enough to handle. You don’t want the sides getting soggy in the pan.

Icing to Drizzle on Top:

1/2 cup Powdered Sugar

1 TBSP Water

1 tsp Vanilla

Whisk together the sugar, vanilla and water until smooth. Then drizzle icing on top. I use a pastry bag with a small hole cut at the end but you could do the same thing with a ziplock bag.

If you want to make the bread a little fancier for a brunch you could also add candied almonds on top. Take 1/2 cup of sliced almonds and 2 TBSP of granulated sugar and place them in a nonstick skillet on medium heat. Stir until the sugar melts and coats the nuts. Do not leave the stove because once the sugar starts to melt it can burn quickly.  Have a plate or piece of aluminum foil ready to put the nuts on to cool. Place the candied nuts on top of the icing so they will stick to the top of the loaf. Another variation that I have done is to melt semi sweet chocolate and drizzle that on top instead of the icing. No matter what version you chose to make this bread is downright delicious.

I have a printer friendly version of my recipe for Banana Bread at Pioneer Woman’s site Tasty Kitchen.

Contact Us