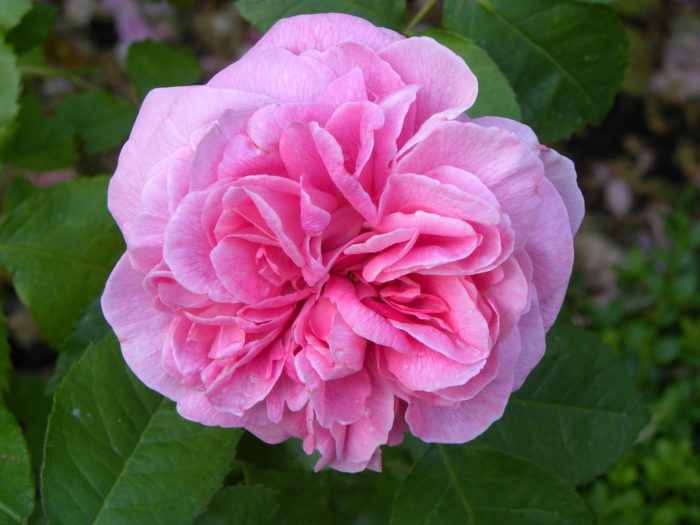
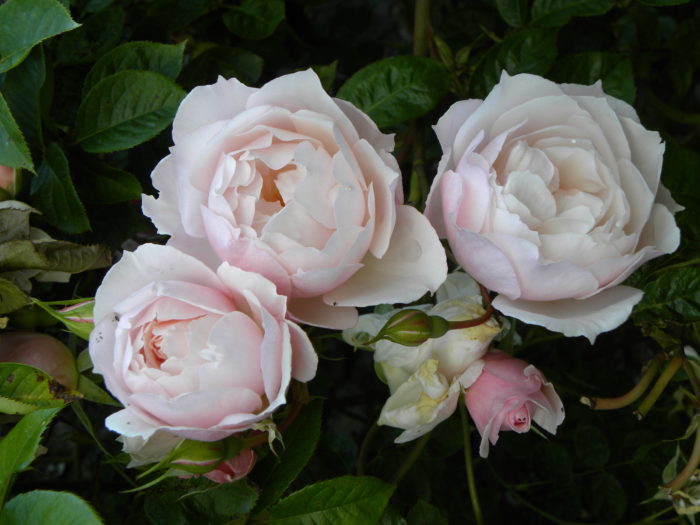
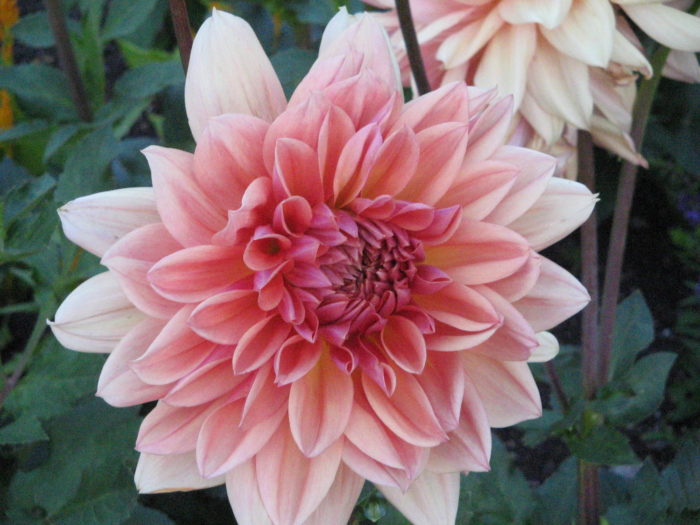
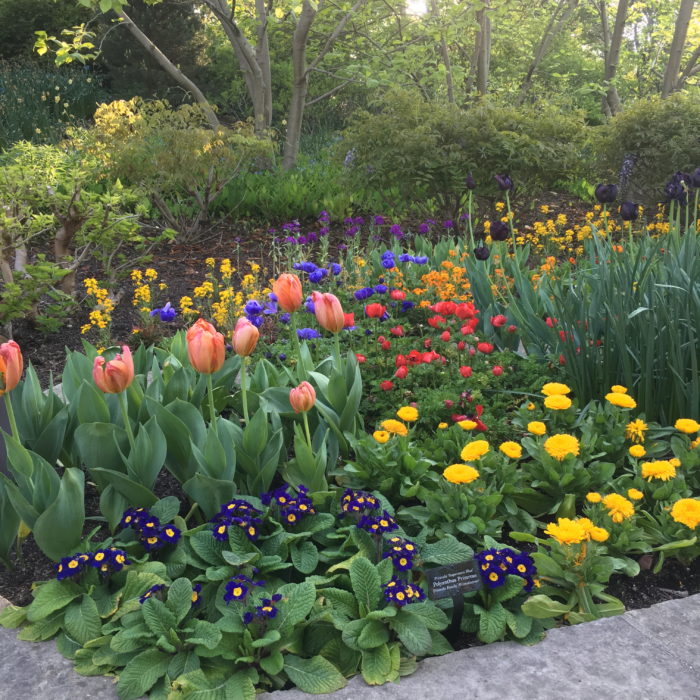
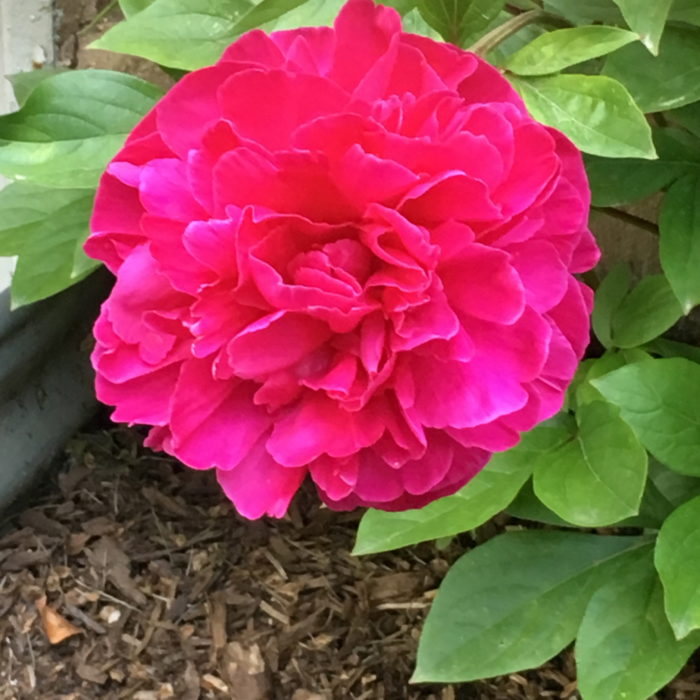
My husband and I were talking with other couples exchanging funny stories about a few in hindsight, awful but well intentioned gifts we had given each other over the years. As the conversation continued the subject moved to flowers. I was surprised to hear so many comments by other women about how overrated flowers were. Now everyone is entitled to their own opinion, so I listened and didn’t say much. However, when my husband and I were on our way home I explained to him that some of the other wives’ advice on flowers did not apply to me. In my mind flowers are a wonderful gift for any occasion and by any occasion that can mean its Monday and the vase over there is looking a little lonely. There is something absolutely beautiful about flowers: the vibrant colors, the delicate shapes and the intoxicating fragrance. With the exception of those crazy unnaturally dyed flowers at the grocery store, I haven’t found many flowers I don’t absolutely love. Over the years I have been able to visit some wonderful gardens and although I wish I could take those flowers with me the pictures are still beautiful. So this Valentines day week I thought I would share a few flowers with you.
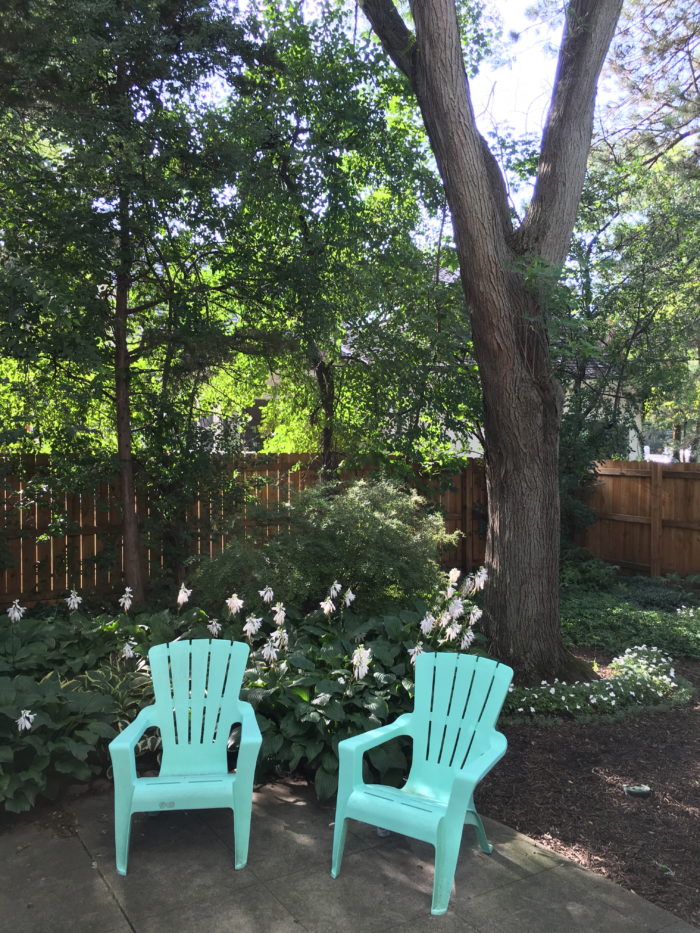
It’s February in Chicago which means that things are a little brown. When we moved last year the first snowfall happen so soon that I really didn’t have much of an idea of what had been planted in our yard. As May approached I loved watching as new plants and flowers popped up. There are no flowers in sight right now, but here is a little taste of our garden in summer. So now I am dreaming of summer flower filled days.
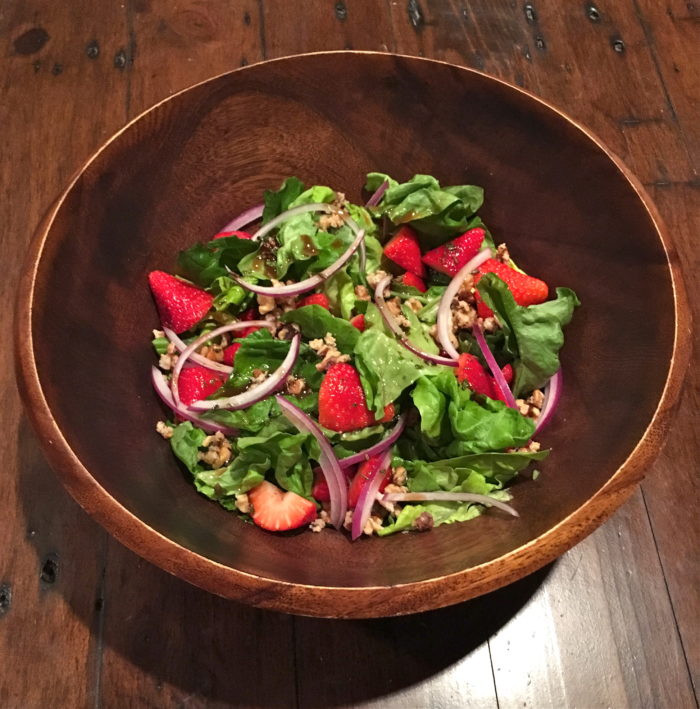
When I think about Valentine’s Day dinners I always think of strawberries. The produce department has the best selection of strawberries around this time of year and the beautiful red color of the berries makes it a great date night dish. It’s a wonderful salad to pair with a steak or a grilled fish. The combination of the balsamic vinegar and the strawberries makes it delicious and just a little different. So here is a family favorite to share with the ones you love.
Salad Ingredients:
1 head butter lettuce (torn into bite size pieces)
1 carton of strawberries (washed and halved with the tops removed)
1/4 of a small red onion (sliced lengthwise into small strips)
1/2 cup of walnuts
3 TBSP of granulated sugar
Balsamic Vinaigrette Salad Dressing Ingredients:
2 TBSP balsamic vinegar
2 TBSP of white vinegar
2 TBSP of granulated sugar
1/2 cup of canola oil
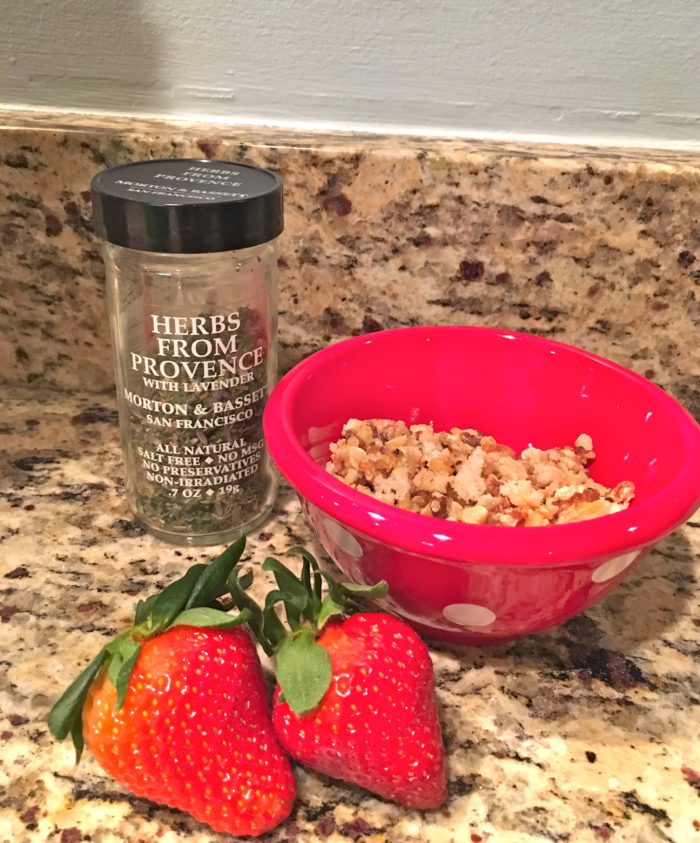
1/2 Tsp Herbs from Provence (I have had good luck finding this spice blend at most grocery stores)
1/4 Tsp salt
1/8 Tsp pepper
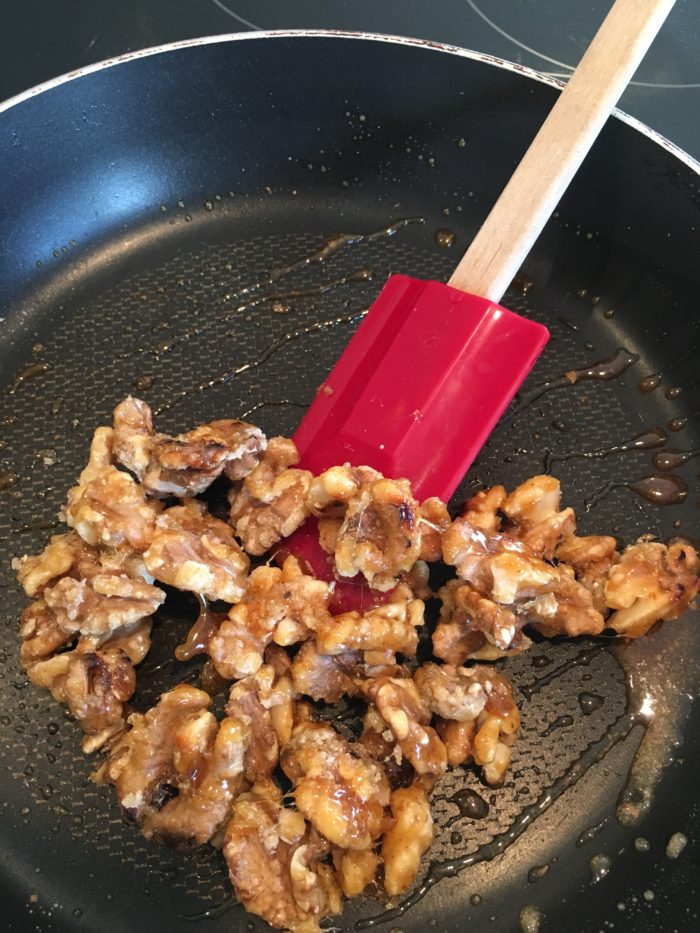
Prepare the lettuce, strawberries and onion for the salad and place them in a large salad bowl. Next in a small nonstick skillet mix together the walnuts and 3 TBSP of granulated sugar bring the pan to a medium heat. Stir until the sugar melts and coats the nuts. Do not leave the stove because once the sugar starts to melt it can burn quickly. Have a plate or piece of aluminum foil ready to put the nuts on to cool. Once the nuts are cool you can sprinkle them on top of the salad.
To make the salad dressing, mix together the two vinegars, sugar, salt and pepper in a medium sized bowl. Next slowly pour the oil in a slow stream while whisking the dressing. Continue to whisk until the oil and vinegar are fully incorporated and the dressing looks thicker. Then whisk in the Herbs of Provence. Sometimes I make this dressing in my mini food processor which gets it blended quickly. Wait to add the dressing until right before you serve the salad so it doesn’t get soggy. You can make the dressing ahead of time just whisk it again if some of the ingredients have settled.
I have loved being in the kitchen since I was tiny. My favorite toy growing up was my play kitchen. I loved cooking things. When I was little there were understandably rules about using the real kitchen, like not using the oven by myself. However in my play kitchen anything was possible.
I cooked my first full meal at age seven when my mom was out of town on a trip. Over the years my dinner menus have improved but the excitement and sense of play when I cook has never changed.
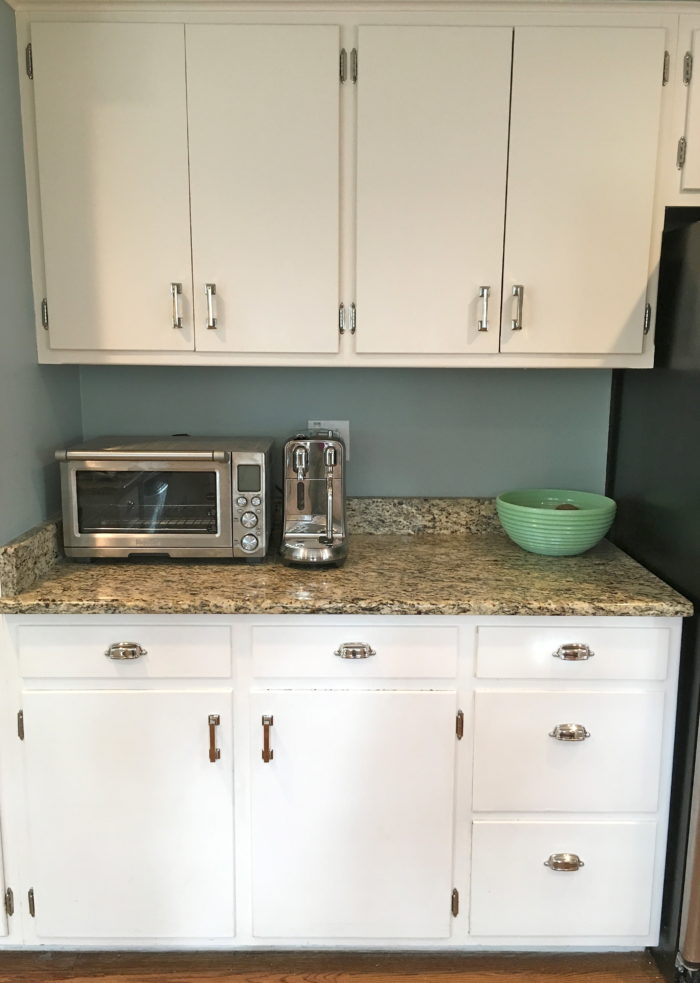
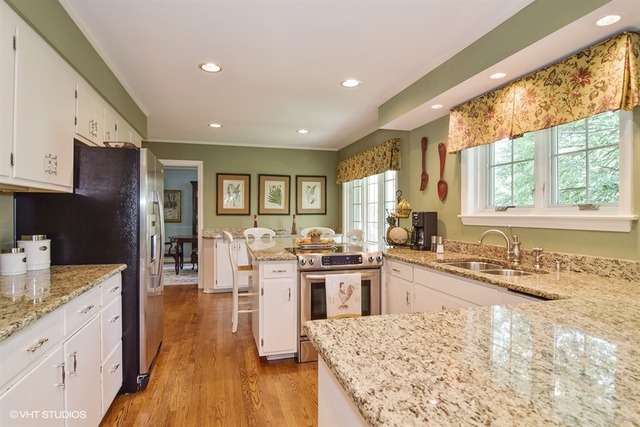
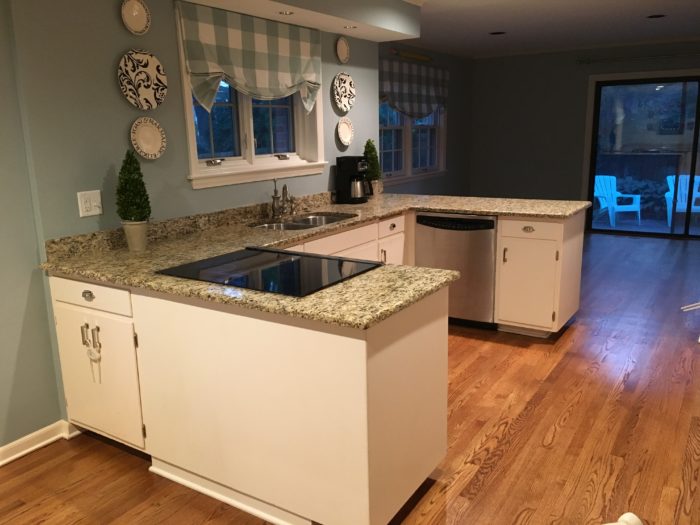
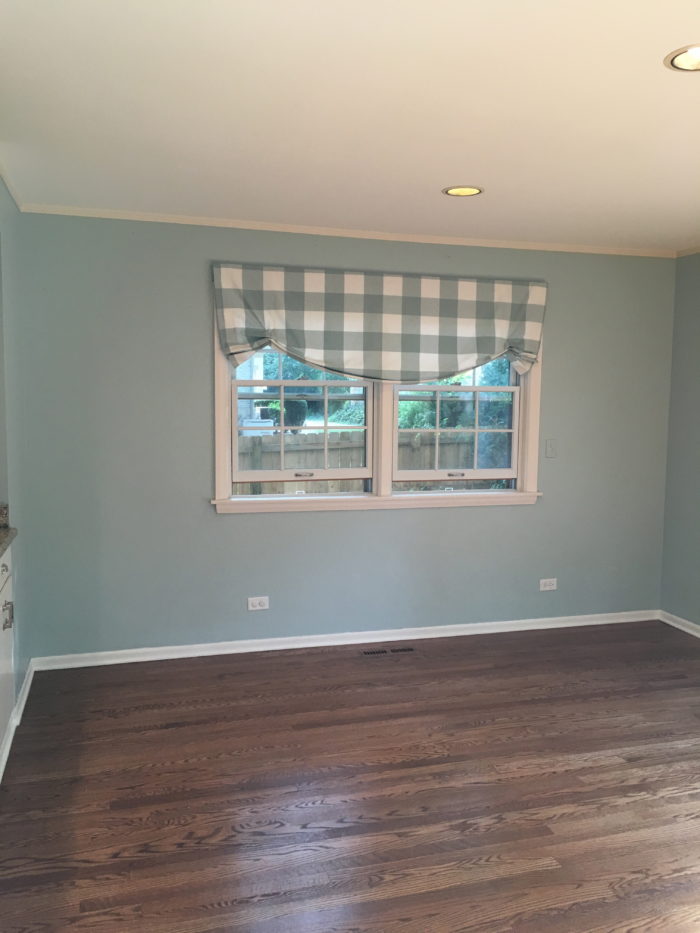
When we moved to our new home it was important to me to make the kitchen my own. The kitchen was functional and I liked that the cabinets were painted white. The kitchen had some updates but the cabinets and hardware were old and the formal style and darker colors just didn’t fit our family.
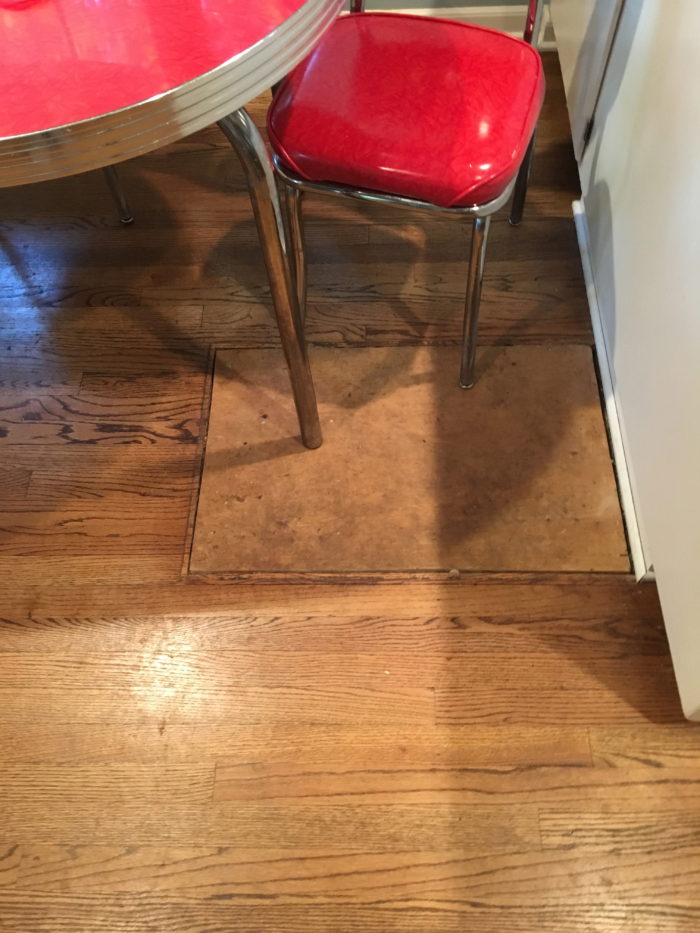
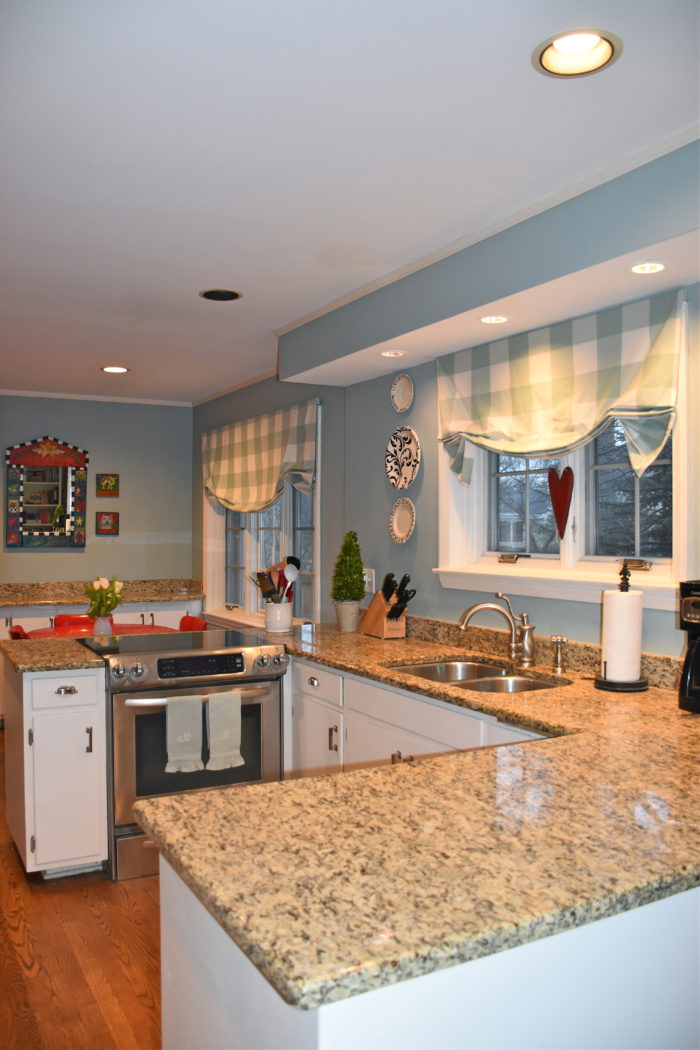
We talked about redoing the whole kitchen but there were lots of projects we needed to tackle with the house and the cost of a total remodel was too much. In the end we decided to make a few key changes. We removed peninsula that came off of the kitchen stove. The bar height seating was not going to work well for our toddlers. That left us with a hole in our floor so we decided to refinish the hardwood floor and extend the wood floor into the adjacent den/playroom.
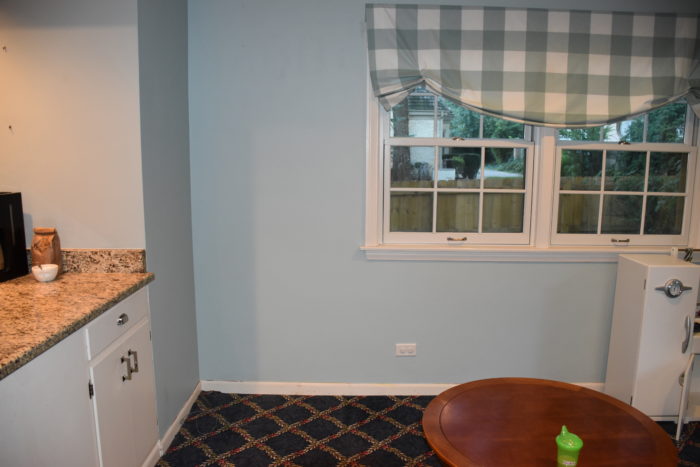
I am so glad were were able to make the flooring change. I has made such a difference in tying these two rooms together. The carpet in the back room was hard to keep clean. This room has the only door to the backyard so the leaves, snow and mud were difficult to keep out. The other major benefit of replacing the carpet was that I was not limited to having to decorate around what we affectionately called the “fancy hotel carpet.”
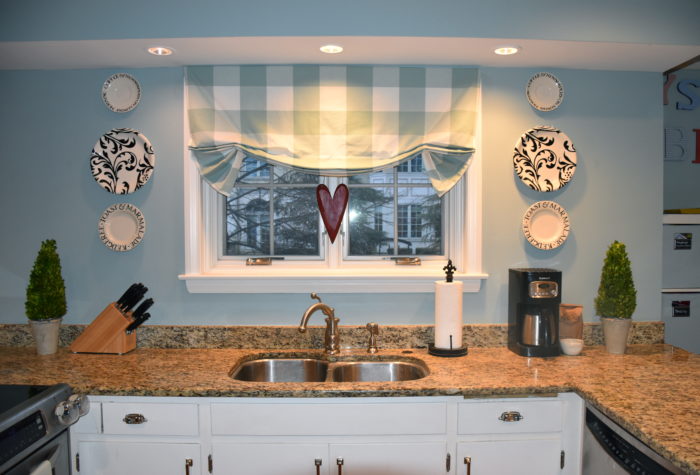
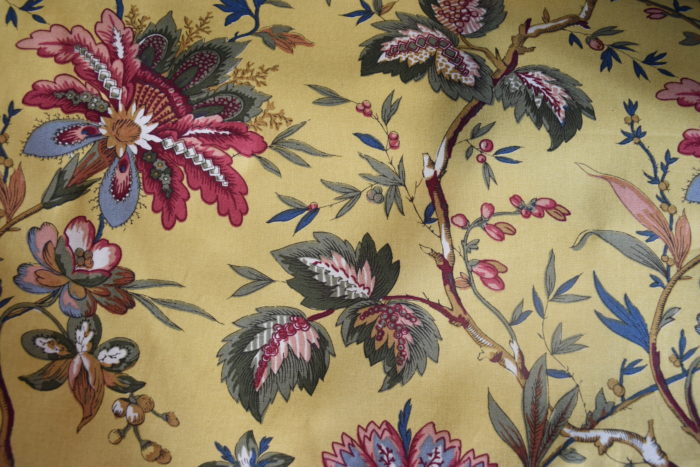
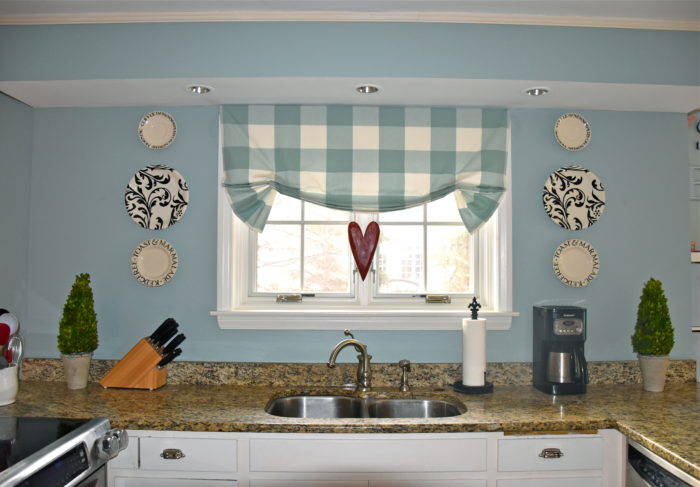
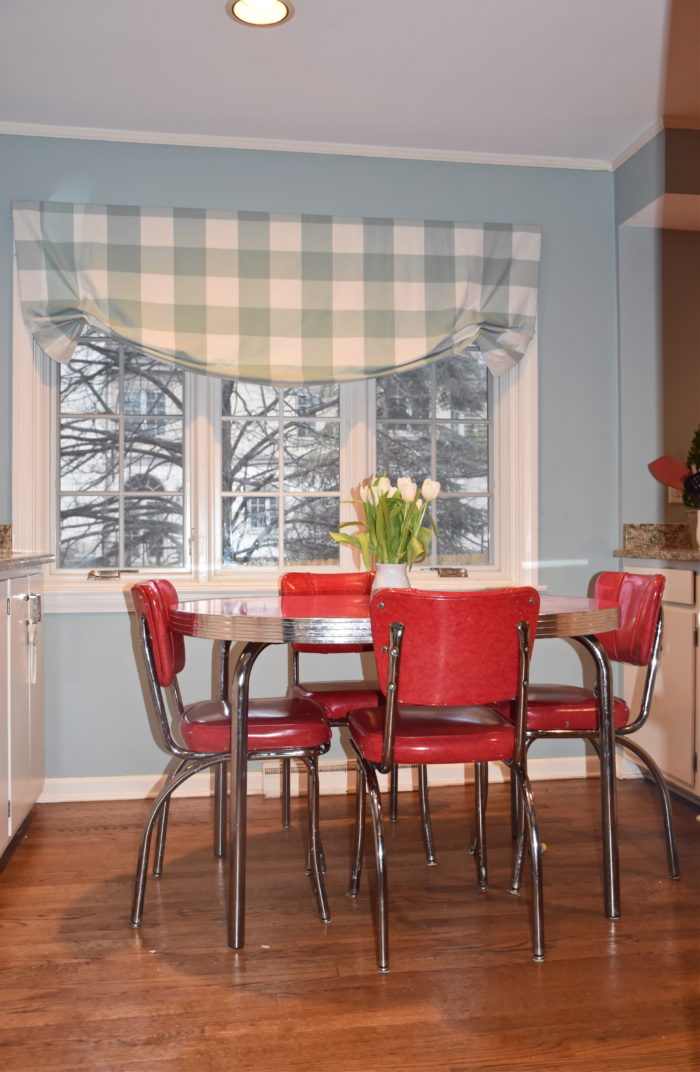
Next I turned to paint and fabric to help update the kitchen and give it a whole new feel. The paint color was the first thing I decided for the room. I knew I wanted to move on from the moss green. I was getting paint to do some touch ups at our old house and decided to look at some colors for the new kitchen. I really liked the color Wedgewood Gray (which is really a blue green) by Benjamin Moore. It was light, but it had enough gray to make it a sophisticated shade of blue. Then I found a large scale gingham print by P. Kaufmann and I ordered a couple yards to see if it would work. I love that this large scale buffalo check has both a lighter and darker shades of blue-green which complimented the paint color and the color variation has made it easy to add additional fabrics to the playroom area without having to feel like they have to be an exact match. My mother in law is a wonderful seamstress so for my birthday she came to help me sew the relaxed roman shades and a drapery panel for the sliding glass door in the playroom. I lined my window treatments but I used a lining that allowed some light and hung them higher to cover less of the window. This has made a big differnce in the feel of the room. On a cold gray day I wanted to see as much light as I can. I am a southern girl and I need some sunshine.
I ordered the fabric a year and a half ago and as soon as I got the window treatments up I began seeing gingham everywhere from Pottery Barn to Serena and Lily which makes me smile. This classic pattern is back and I am seeing it used in more than just kitchens. I thought about open shelves by the sink but the area is fairly narrow and I ended up liking the simpler black and white plates. I just love Emma Bridgewater pottery and during the holidays I switch out some of the plates for a subtle seasonal touch.
The granite pattern is a little busier than I would choose. Someday I would love to get black granite that looks like soapstone, but for now the new paint color has made a huge difference in how the kitchen feels.
The kitchen dinette set is a quirky favorite of mine. I purchased it years ago and my husband thinks I am a tad crazy for liking it. Although I could see how a pretty french bistro chair set or a white farm style table would also work, I just love whimsy it adds. I am a big believer in decorating with things that bring you joy and this table just makes me smile.
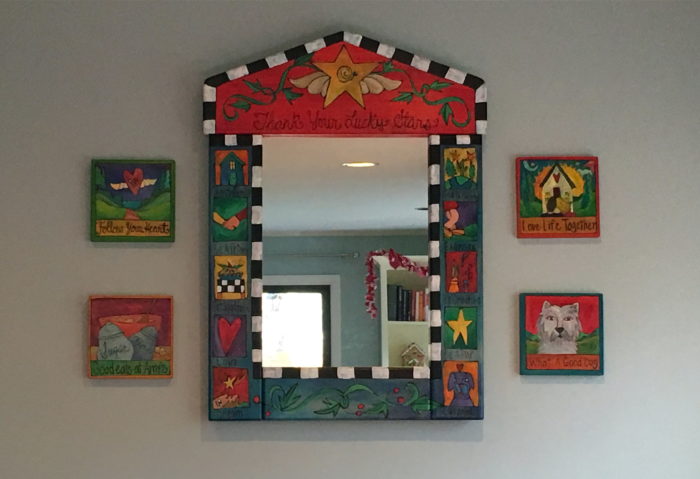
The mirror in my kitchen is also a favorite of mine. It’s made by artists in Iowa at a company called Sticks. The other night I was talking to a friend in my kitchen and she asked about the mirror by my kitchen table. I got it many years ago when I worked at a folk art store in high school. I was telling her about it and she said “I love that everything in your house has a story.” That was such a nice compliment because I believe that really memorable rooms have a story to tell. So the other thing that I think is key in any room is to add special pieces that have good memories. Kitchens are hardworking rooms so sometimes their walls go bare, but I just love how a picture, a plate or a decorative mirror can add a little soul to your room.
This project has definitely reinforced the the lesson that there is great hope in paint and fabric. A little sweat equity with painting and sewing drapes made this an affordable update and it allowed us to invest more of our budget in the floors. In the end, I may not have the fanciest kitchen or stove but this kitchen has grown on me. Here are a few links to photos and kitchens that inspired me.
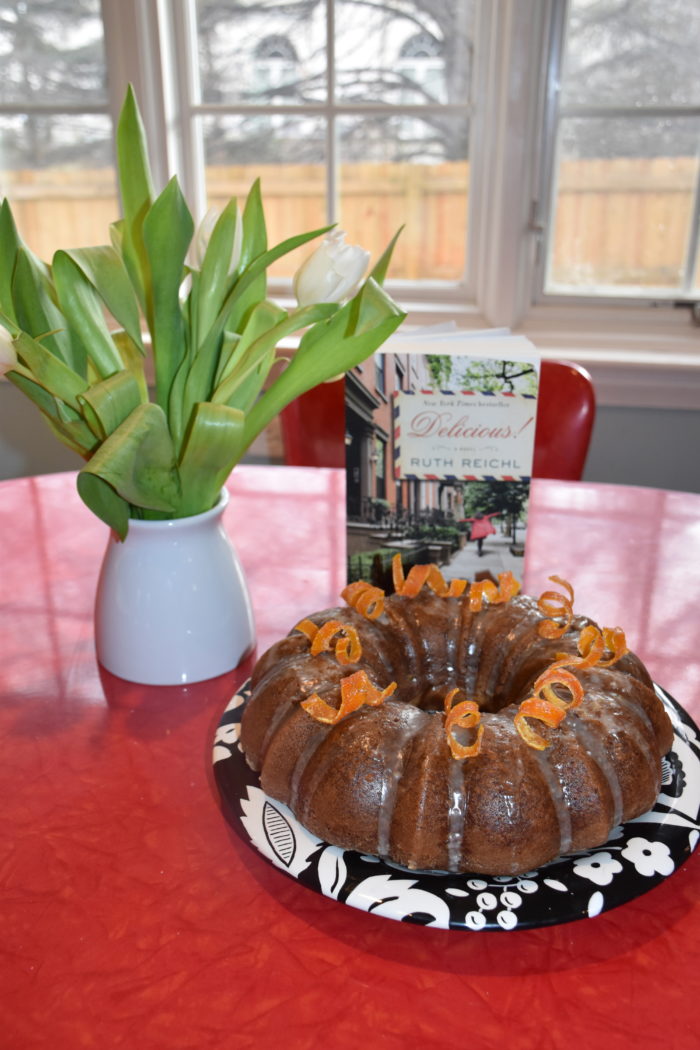
While on vacation this summer I picked up a fun book calledDelicious! by Ruth Reichl, the former editor of Gourmet magazine. The story is coming of age novel about a young food writer and the power that food plays in connecting people. There is a gingerbread recipe which has a significant role in the book. This recipe helps land the young writer, Billie, a job at the magazine called Delicious. The details about the ingredients of this cake are kept a mystery until the end when Reichl shares an actual recipe. After finishing the book I decided that I should definitely add this one on the list of cakes to make. As I am writing this there are snowflakes in the air which to me says gingerbread weather.
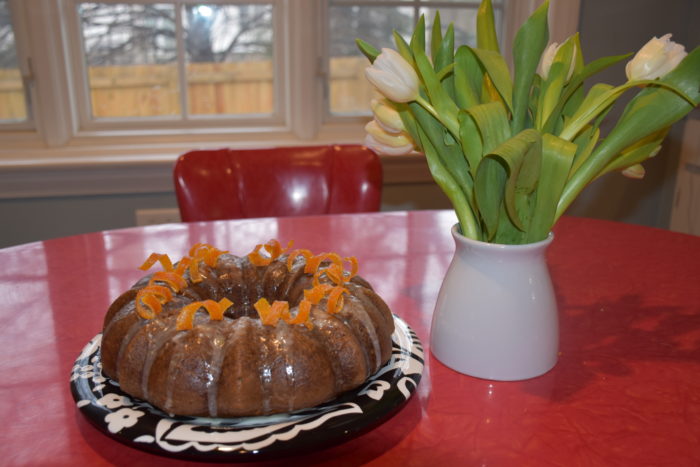
The cake is different than your traditional gingerbread because it doesn’t have molasses which gives most gingerbread its deep brown color. This cake is a lighter spice cake. The orange glaze and the bourbon soak keep the cake moist and a give it a sweet topping which balances well with the cake. It is not overly sweet and would also be great served as a coffee cake for breakfast.
Billie’s Gingerbread- Recipe from Ruth Reichl
Ingredients:
1/4 TSP ground black peppercorns
1/4 TSP ground cloves
1/4 TSP ground cardamon (My local suburban grocery store is sometimes lacking in gourmet ingredients, so alas I could not find it. I added 1/4 TSP of nutmeg instead. Its not the same flavor but it did add a nice additional spice)
1 TSP ground cinnamon
1 TSP baking soda
1 TSP baking powder
2 cups flour
1/2 tsp salt
3 large eggs
1 large egg yolk
1 cup sour cream
1 1/2 sticks of butter at room temp
1 cup sugar
2 large pieces of fresh ginger root (1/4 cup when grated on a microplane)
Zest from 2 large oranges
1 orange for decorative curls or garnish on top (see below)
Preheat your oven to 350 degrees (I set my smaller convection oven to 330 degrees)
Grease and flour a bundt pan (You can also spray your pan with Bakers Joy which works particularly well in all the small folds of the pan.)
First prepare your ingredients. Peel the ginger using a vegetable peeler and then using a micoplane or rasp grater grate the ginger root measuring out 1/4 cup. Next grate the zest from two oranges. If using whole spices then grate the cinnamon, cardamom and cloves.
Next in a medium sized bowl mix together the flour, baking powder, baking soda, spices and salt. In another small bowl whisk together the eggs and egg yolk.
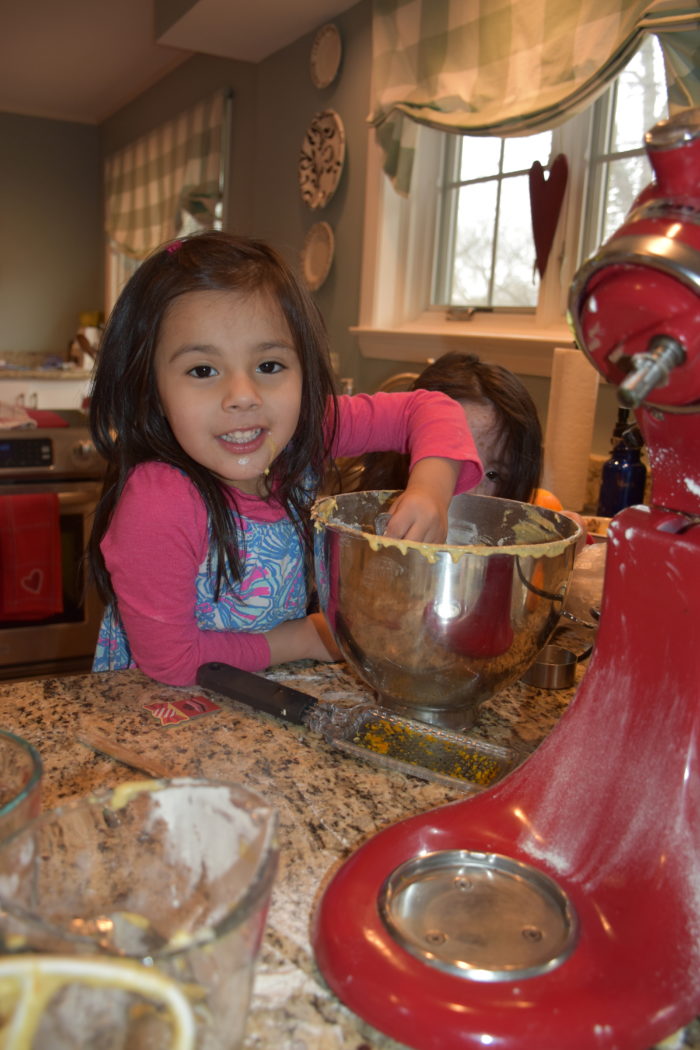
Then in the bowl of a large stand mixer cream the butter and sugar until light and fluffy (about 3 minutes). Then add in the ginger and orange zest and mix until incorporated. Then add in the sour cream. Next add the flour and eggs a little at a time alternating between the two until each addition is incorporated. The batter will be thick.
Pour the batter in the prepared pan and bake for 40 minutes. Remove from oven and let cool in pan for 10 minutes before adding the soak below to the cake.
Soak for cake
1/2 cup bourbon
1 1/2 TBSP sugar
While the cake is cooling mix together the bourbon and sugar in a small sauce pan and simmer at medium heat until the mixture reduces to about 1/3 cup. While the cake is still in the pan brush half of the bourbon syrup on the bottom of the cake and allow it to soak in the cake. Then turn the cake onto a rack or pate and brush the remaining syrup on top. Once the cake has cooled add the glaze below.
Glaze
3/4 cup of Powdered sugar sifted
4 Tsp of orange juice (I used the orange that I zested previously for the cake)
Whisk together the powdered sugar and orange juice until smooth. The recipe calls for placing the icing in a squeeze bottle for an even drizzle over the cake. I used a pastry bag with the very tip cut off, but you could also use a large ziplock bag with a small hole cut in the corner.
Candied Orange Peel Curls (My addition to the cake as a pretty finishing touch)
1 cup sugar
1 cup water
1 orange
Extra granulated sugar for sprinkling on orange peel
I like making bundt cakes but sometimes they can look a little ordinary. I just love the scene in My Big Fat Greek Wedding when Toula’s mother takes it upon herself to “fix” the bundt cake that the future mother-in-law, Mrs. Miller, brings to the party. If you haven’t seen the movie Toula’s mother can’t understand why there is a hole in the cake so she adds a potted flower to the center. It is just the funniest, but I have to agree sometimes a bundt cake just needs something. Especially if you are bringing it to a party or making it for a special occasion.
Since this cake has a lot of orange flavors in it, I thought that candied orange peal would be a nice compliment.
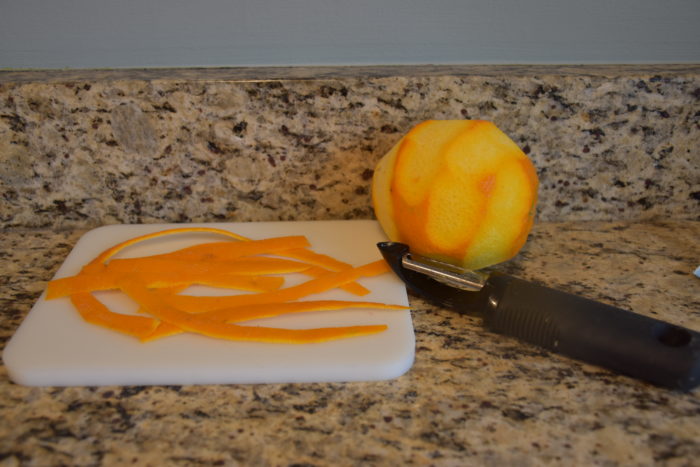
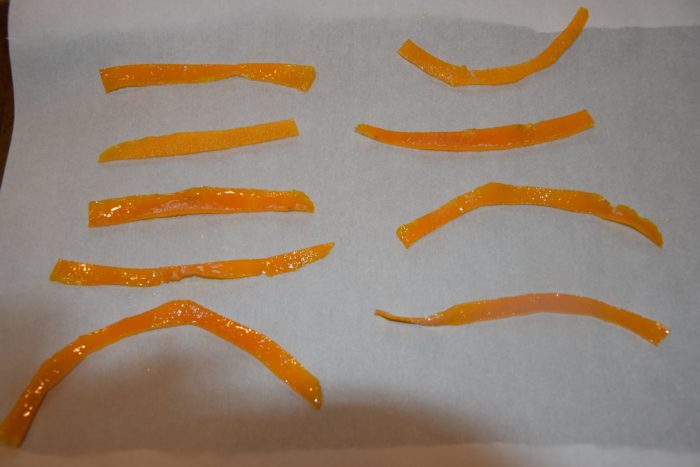
To make the orange peel curls take a vegetable peeler and peel strips around the orange. My peeler cuts wide strip so I cut the pieces in half vertically and a cleaned up any rough edges.
Preheat your oven to 225 degrees. Next boil one cup of sugar and one cup of water in a sauce pan. Add the orange peel and boil for ten minutes. Use a slotted spoon to remove the peels from the hot syrup and then place the peels on a baking sheet lined with parchment paper.
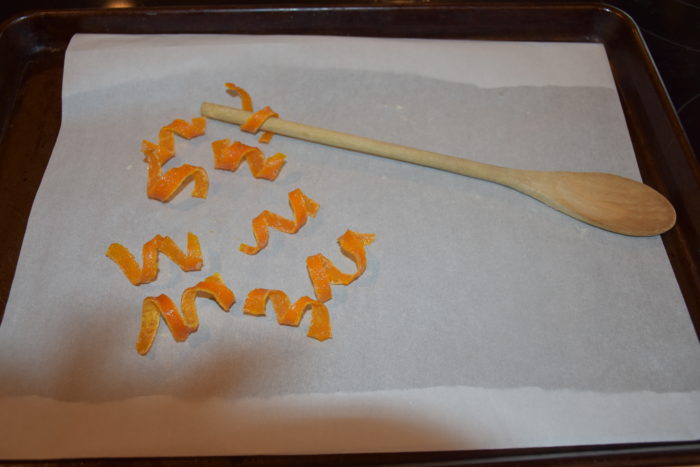
Then bake the peel for 25 minutes. Immediately remove them from the oven and sprinkle with granulated sugar. While still warm quickly wrap the peel around the end of a spoon to help form the curls. You can adjust how tight you want the curls and then let them cool and set.
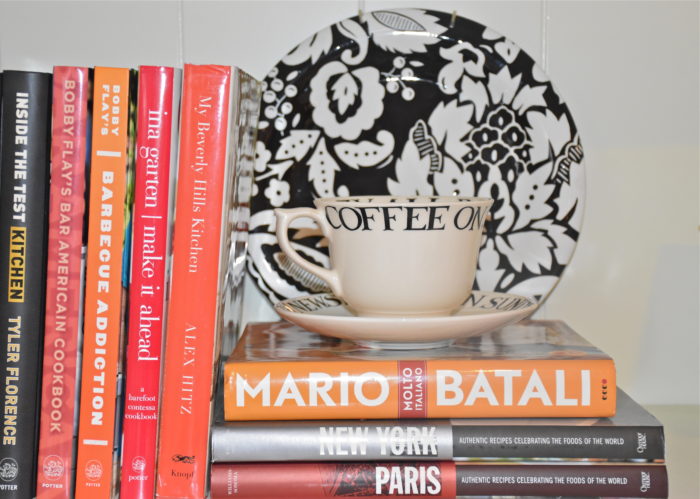
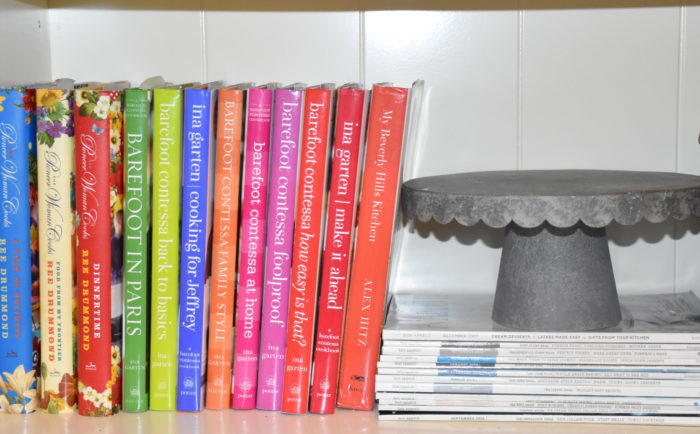
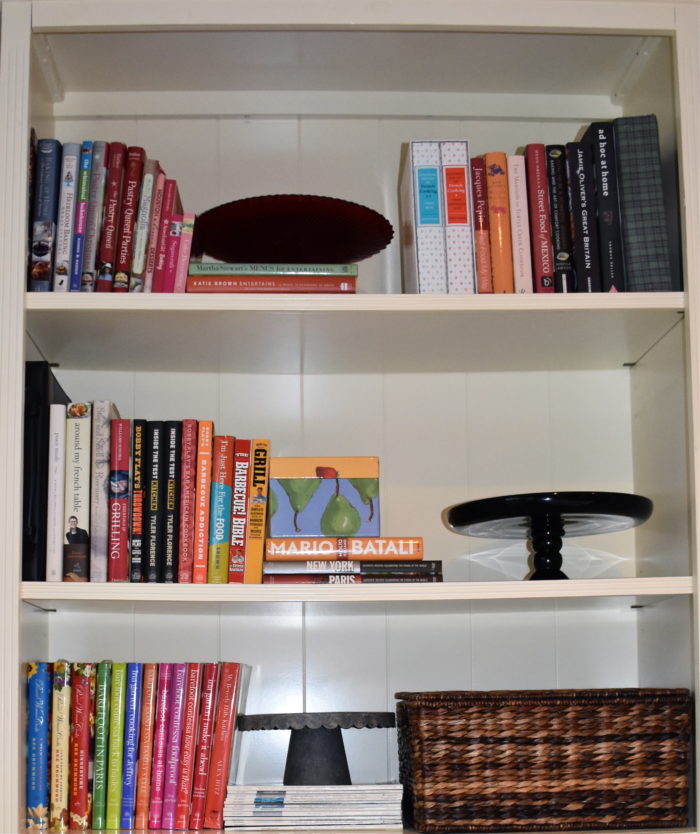
Collections are meaningful because they tell the world a little bit about who you are. The best collections are the ones that have grown over time. Where each piece holds a memory. One of my largest and most loved collections is of cookbooks. Each book is more than just recipes it contains its the meals, moments and celebrations I have shared with family and friends. For some they are a reference but l see each as a story. The thoughts of the chef, what inspires them and the memories of great meals keep me reading and collecting. I have a bookshelf just off my kitchen that houses my collection. When we first moved into our new home I had so many painting projects and boxes to deal with that the cookbooks just sat all in a row on the shelf, but even a hard working collection like these books can bring a smile to your face when styled in a new way.
One day I was reading one of Ina Garten’s cookbooks where she was talking about her collection of cake stands, which got me thinking about pulling mine out of the cabinets and displaying them with my books. I got to work sorting my books into categories and then left room to place the stands so you could really appreciate their silhouette. I have some linens and additional cooking magazines that I needed to store so I put them in lidded wicker baskets.
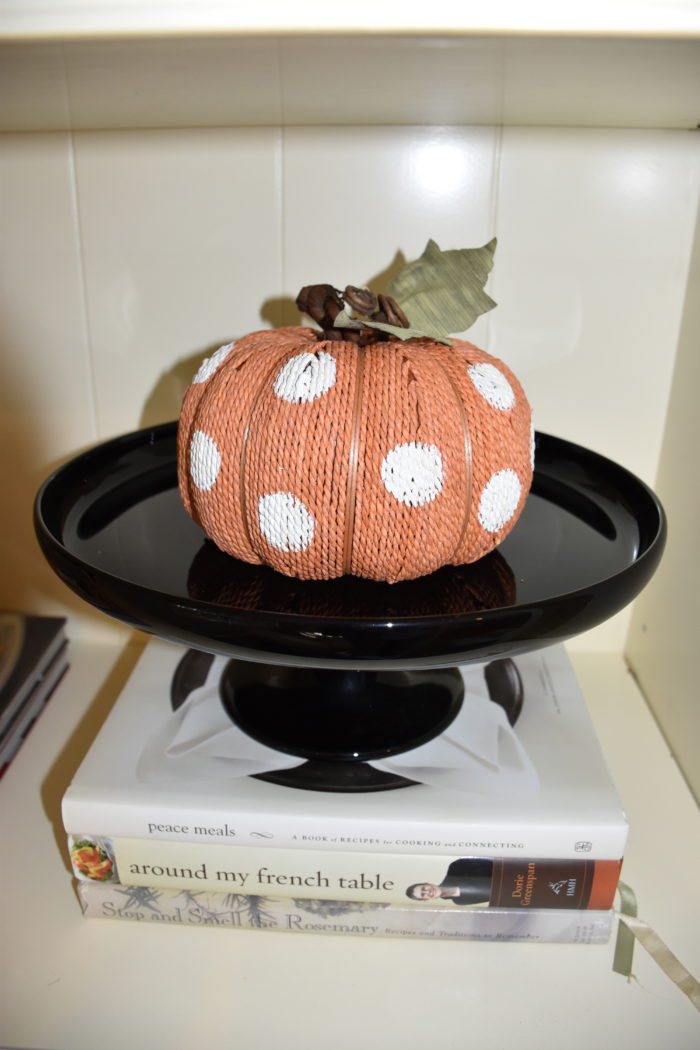
It was a quick design project that took a little over an hour to get pulled together, but in the end it made such a difference. It was one of those projects that you finish and then think: “why didn’t I get to this before now?” I have also had a little fun displaying some sessional objects on the stands to add more color and interest.
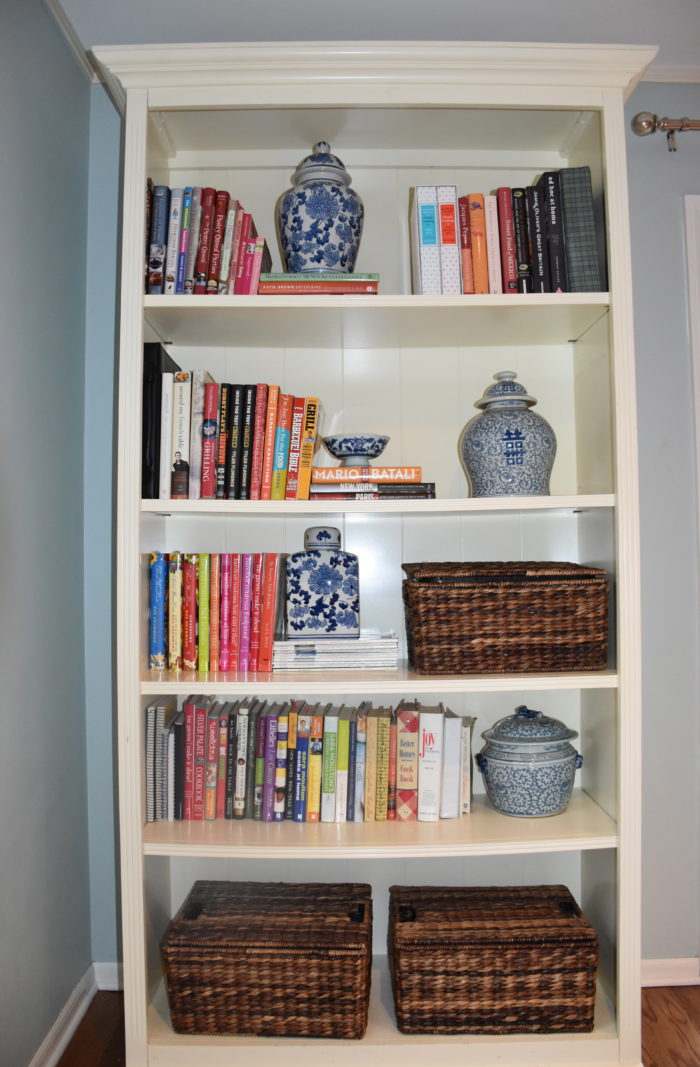
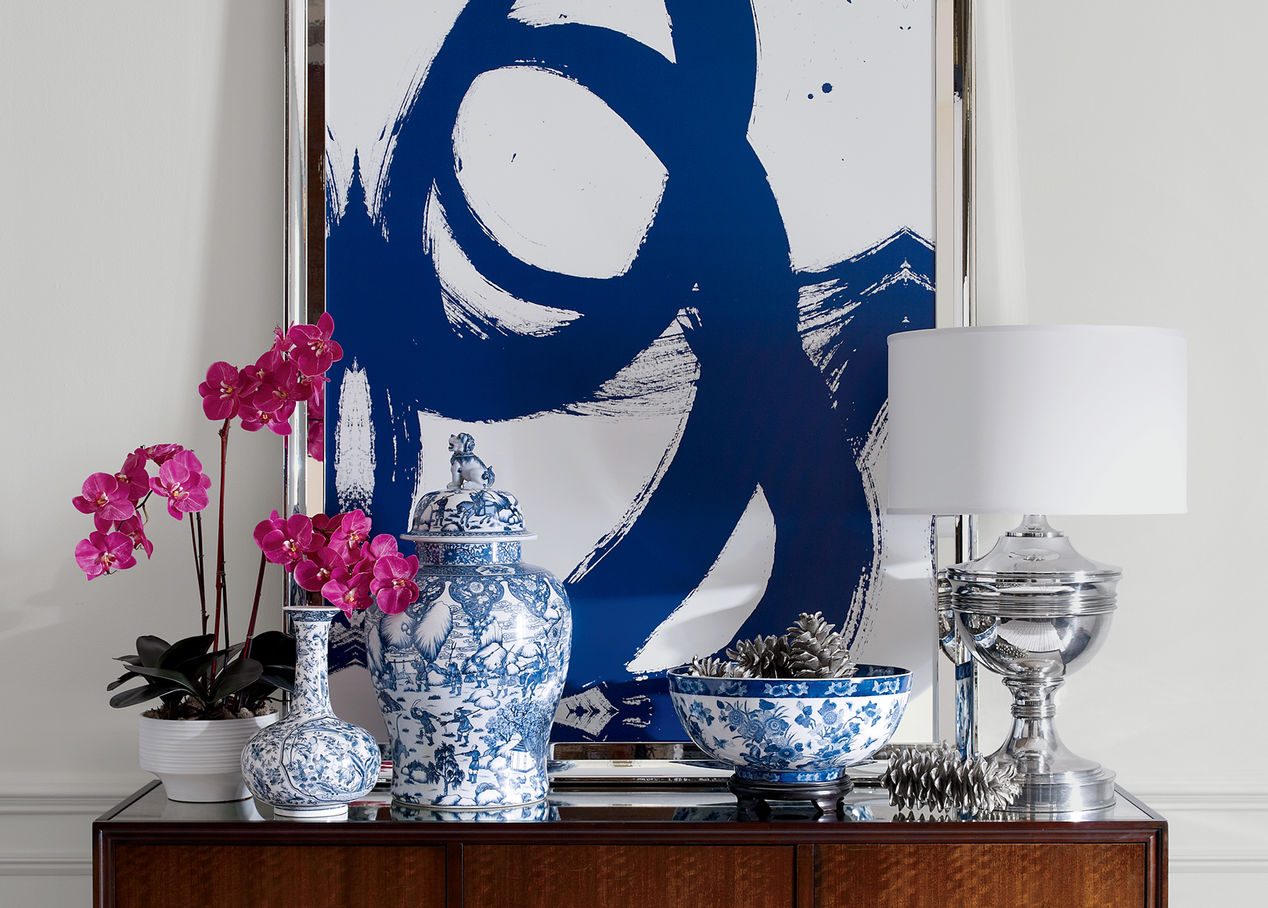
For a little more styling fun, I took five minutes to pull together another collection I have of blue and white pottery to show what a difference just changing a few accessories can make. The cookbooks are colorful and busy so I like the look of featuring another collection of similar items. Too many small things can get lost on the shelf but a group of similar items stand out and make a statement.
One of my favorite designers Mary Emmerling says that styling may seem like small details, but it can have a huge impact in pulling a room together. Taking a moment to style and display even an ordinary collection can make a difference in how you use and see a room and if in the future I want a new look, a few accessories can make a big impact.
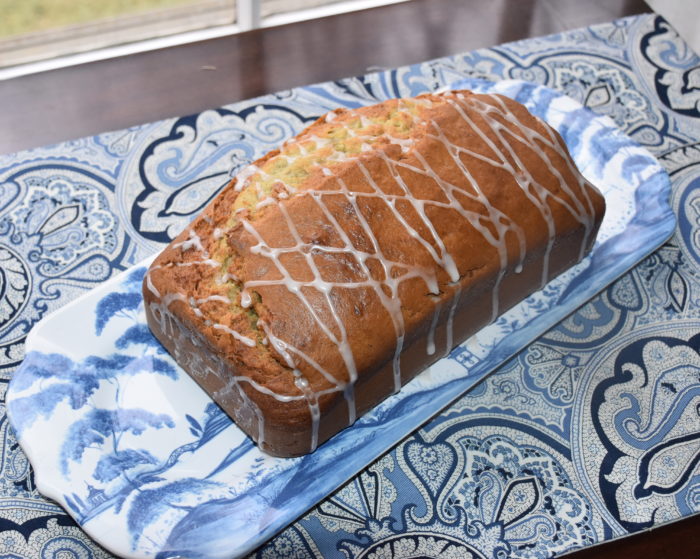
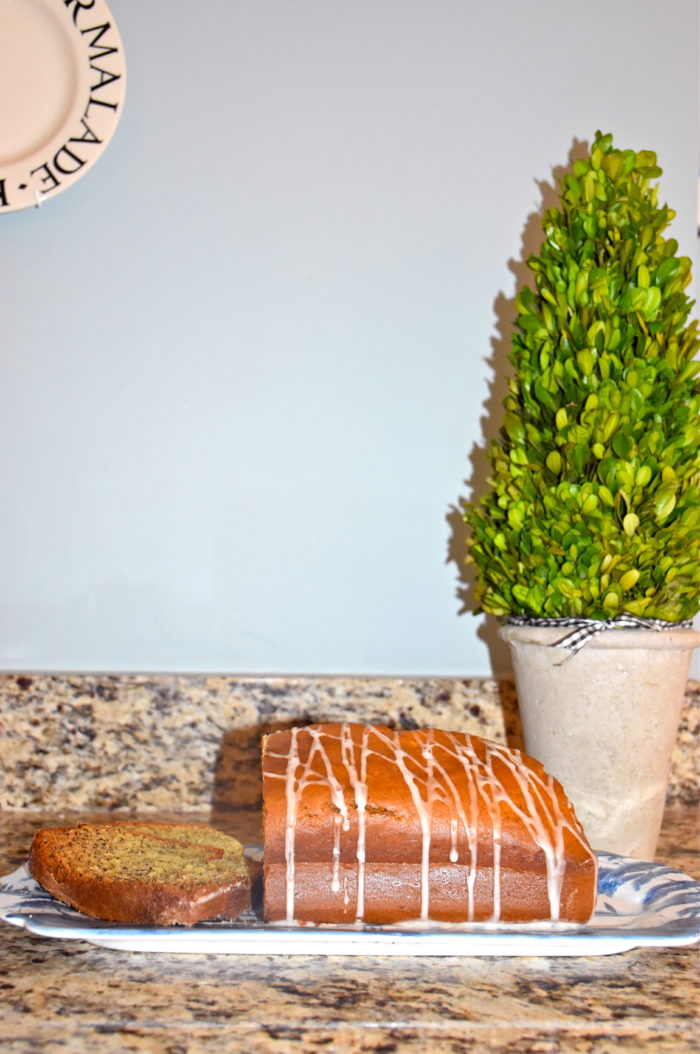
There is something about the smell of banana bread coming out of the oven. It is the one thing I make that has everyone (my picky eaters included) running to the kitchen in hopes of getting a piece. If I make it the night before there is no way that bread is lasting without part of it being eaten as dessert. As a kid I made banana bread using the Gold Medal Flour Kids Cookbook but over the years I have modified that original recipe to make it my own.
Ingredients:
2 Ripe Bananas
1/4 cup Sour Cream
3/4 cup Sugar
2 Eggs
2 cups Flour
1/2 tsp Baking Powder
1 tsp Baking Soda
2 tsp Vanilla Extract
1 pinch of Salt
3/4 cup Canola Oil
1/2 chopped walnuts or pecans (optional I usually make my bread without them)
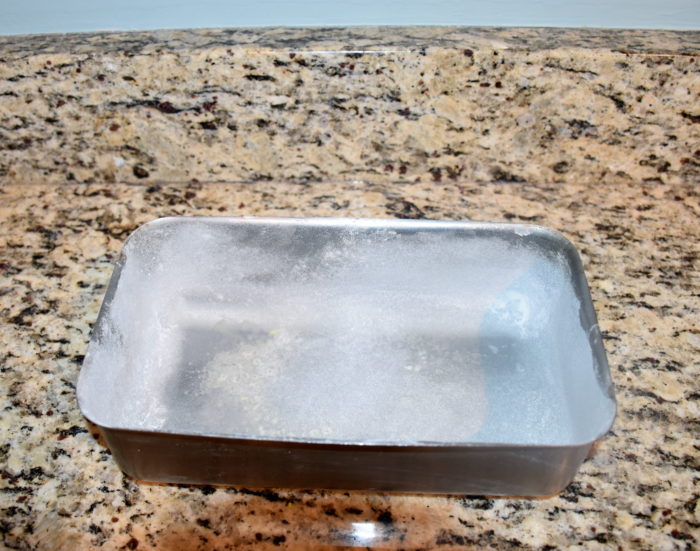
Preheat your oven to 350 degrees. I like to make my bread in a smaller convection oven so I adjust my heat to 330 degrees. Next prepare your standard size bread loaf pan (mine is 9×5) by lightly greasing it with cooking spray and then adding a couple of tablespoons of flour and using it to coat or flour your pan. Dump the excess flour in the sink. If you want you can also use Baker’s Joy which is a cooking spray that has flour in it.
In the bowl of a stand mixer using the paddle attachment mix the bananas until they are a soft mash then add the sour cream. Next add in the sugar and eggs. When the eggs are fully incorporated add the baking powder, baking soda, vanilla, salt, flour and oil. Mix on medium speed until all the flour and oil are fully blended. Use a rubber spatula to scrape down the sides and make sure there are no pockets of flour or bits that are not mixed in. Pour the batter in the pan and bake for 60 to 65 minutes. Remove bread to a plate after 5 to 10 minutes when it gets cool enough to handle. You don’t want the sides getting soggy in the pan.
Icing to Drizzle on Top:
1/2 cup Powdered Sugar
1 TBSP Water
1 tsp Vanilla
Whisk together the sugar, vanilla and water until smooth. Then drizzle icing on top. I use a pastry bag with a small hole cut at the end but you could do the same thing with a ziplock bag.
If you want to make the bread a little fancier for a brunch you could also add candied almonds on top. Take 1/2 cup of sliced almonds and 2 TBSP of granulated sugar and place them in a nonstick skillet on medium heat. Stir until the sugar melts and coats the nuts. Do not leave the stove because once the sugar starts to melt it can burn quickly. Have a plate or piece of aluminum foil ready to put the nuts on to cool. Place the candied nuts on top of the icing so they will stick to the top of the loaf. Another variation that I have done is to melt semi sweet chocolate and drizzle that on top instead of the icing. No matter what version you chose to make this bread is downright delicious.
I have a printer friendly version of my recipe for Banana Bread at Pioneer Woman’s site Tasty Kitchen.
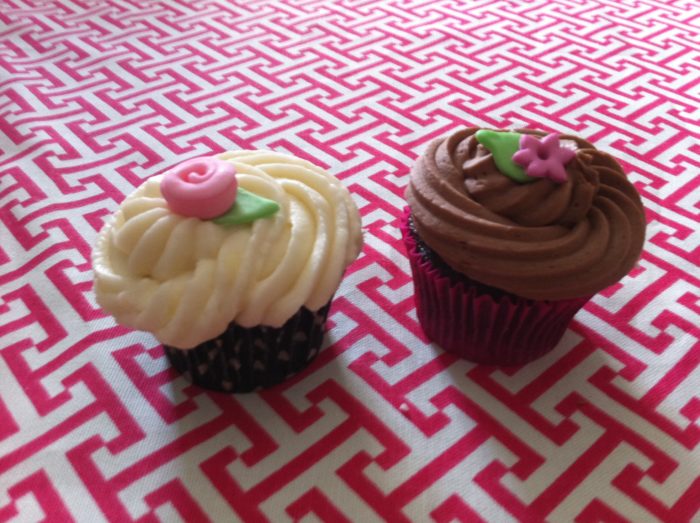
One of my favorite things to do is bake and I love making cakes. I like the freedom and creativity that baking gives you. You can take simple ingredients and make something beautiful and absolutely delicious. We recently celebrated my daughter’s birthday so in honor of her special day I made her favorite chocolate cupcakes. Some serious pastry chefs turn their nose up at cupcakes but I like them because they are a great way to get younger children involved in baking and decorating. Cupcakes are just the right size to get frosted easily and let little hands add sprinkles and decorations.
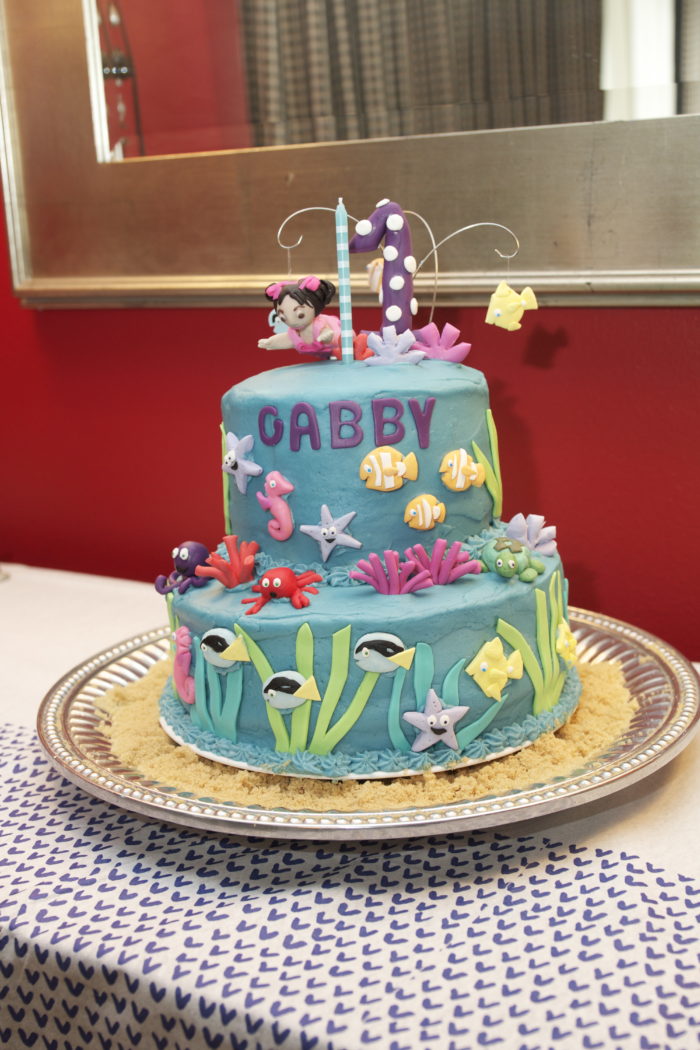
My daughter loves going to the aquarium so this is not the first nor do I think it will be the last ocean themed cake that I plan. When we celebrated Gabby’s first birthday I went all out with a larger fish themed cake.
This year we were having a small dinner to celebrate after a trip to the aquarium so I decided to make white chocolate seashells to decorate the cupcakes.
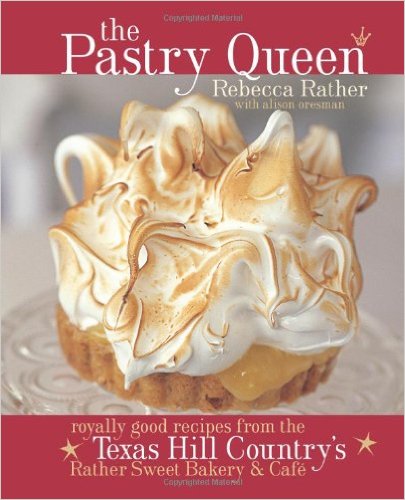
My absolute favorite recipe for chocolate cake comes from Pastry Chef Rebecca Rather. Years ago I had eaten at the Rather Street Bakery and Cafe in Fredericksburg, Texas and the food was so delicious that I purchased her cookbook.
I have since taken a baking class with her and Chef Rather is a very genuine person and a good teacher. You can tell that she loves to bake and her focus is on creating great flavors. This chocolate cake is particularly moist and light because the batter has both butter and oil in in, but the cake is still sturdy enough that you can stack and carve multiple layers without an issue. Her original recipe calls for a different frosting with whip cream and a chocolate ganache, but with these cupcakes I used my own buttercream icing.
Cake Ingredients:
1 cup (2 sticks) butter
2 cups water
1 cup canola oil
4 cups sugar
1 cup unsweetened cocoa powder
4 cups of flour
4 large eggs
1 cup buttermilk
1 TBSP baking soda
1/2 TSP salt
1 TBSP Vanilla
This recipe makes a three layer 9 inch cake. I cut the recipe in half when making cupcakes and the halved recipe makes approximately 14 to 16 cupcakes depending on the size you make and how many taste testers you have in your kitchen. Preheat to oven to 350 degrees. Prepare your cupcake pans by using a liner of your choice and lightly spraying inside the cup with cooking spray. I used the Reynolds aluminum liners since I like the look and they hold their shape well. One note when making chocolate cupcakes is that some of the lighter colored cupcake liners may not show up as well with chocolate so you may want to have an extra to liner for the outside when you are done baking.
In a heavy saucepan combine the butter, water and canola oil and set over medium heat until the butter is just melted. Meanwhile in a large bowl of your mixer add together the sugar, cocoa and flour. Then pour the butter mixture into the sugar and flour mixture and beat until smooth. Whisk in the eggs one at a time then whisk in the buttermilk. Next add the baking soda, salt and vanilla all at once. For cupcakes I use a cookie scoop to measure the same amount of batter in each cup, so they bake evenly. Bake for approximately 20 minutes for cupcakes and 35 to 40 minutes if making the 9 inch cake rounds.
Amy’s Buttercream Frosting
Ingredients:
1 stick butter of room temperature
4 cups powdered sugar
2 Tsp Vanilla
1/4 cup Milk
1 small pinch of Salt
Gel food coloring in your desired color
In a stand mixer cream the butter for about 1 minute until light on medium speed. Then add in the powdered sugar, milk, vanilla and salt. Beat at medium speed until butter and sugar are blended and scrape the sides down with a rubber spatula to make sure everything is incorporated well. Then increase the mixer speed to to high until buttercream is smooth and light. You can add a little extra milk or sugar to adjust the consistency if needed. Then if coloring your icing add a small amount of gel food coloring. The gel coloring mixes much better than the old watery kind. It is becoming easier to find at the grocery store and it comes in lots of colors. I would start with a small amount and slowly add more if needed since usually a tiny amount of color goes a long way. Make sure the color is fully mixed in before icing the cupcakes.
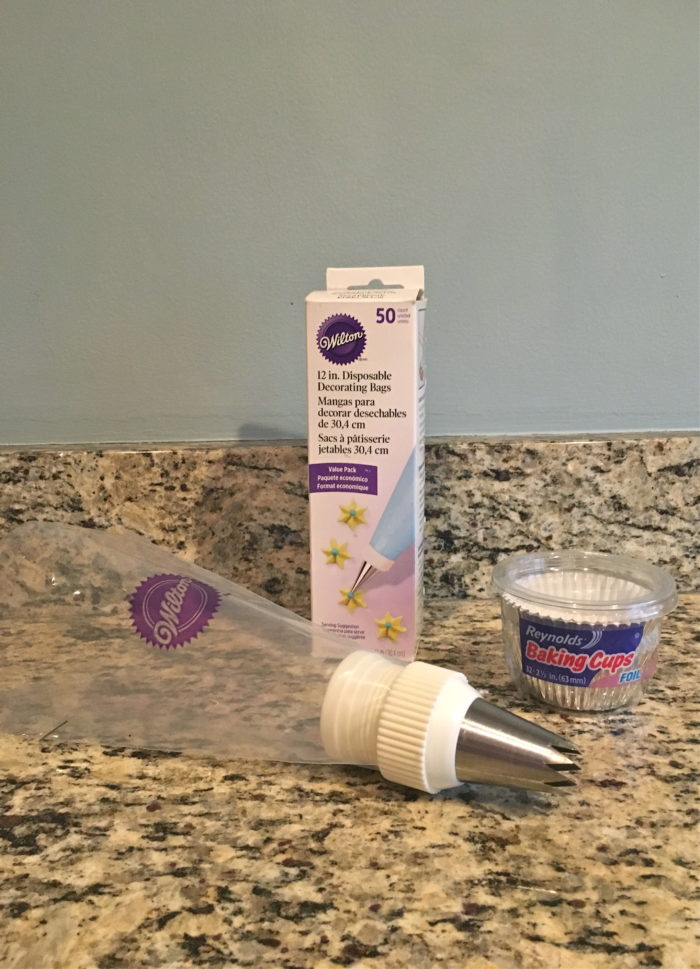
For a professional look I like to pipe my icing on the cupcakes using a very large star tip and a pastry bag. You can find pastry bags at Michaels, Hobby Lobby or your favorite baking store. The larger star tip (Ateco tip size 828) is something I found a Sur La Table. I love this larger size and I use it to pipe whip cream as well. I frost the cupcakes starting at the outside making a spiral all the way into the inside center. Then add desired sprinkles and decorations. I used a chocolate mold and white chocolate candy melts to make these seashell toppers. I loving decorating with chocolate so I will post more on these and other chocolate decorations in the future.
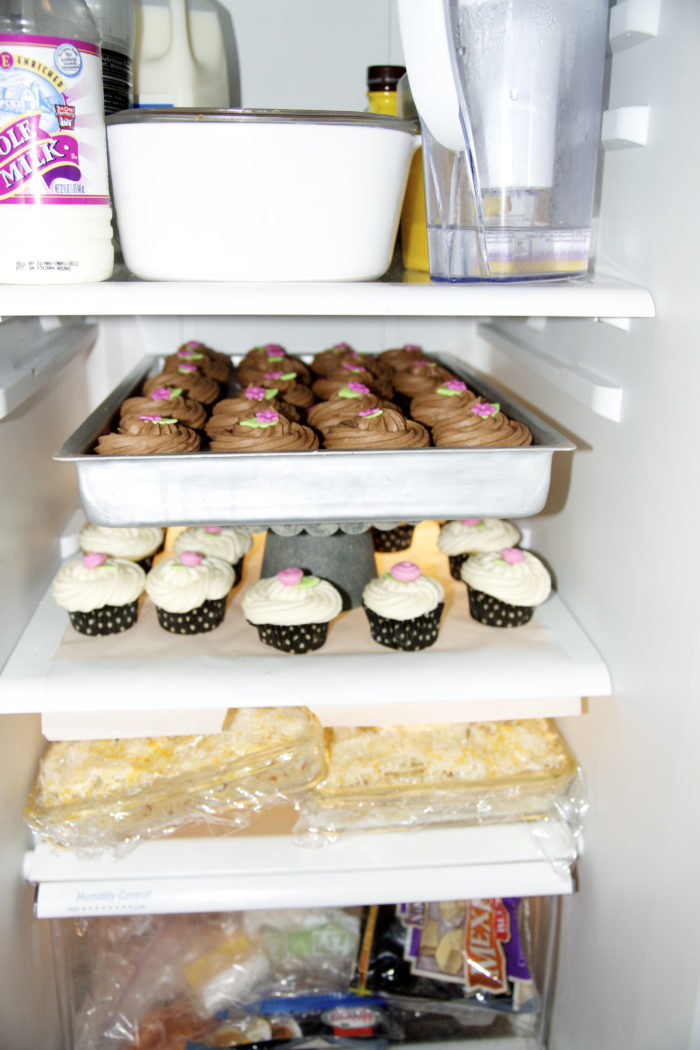
Since this buttercream contains milk you are going to want to refrigerate the cupcakes if you are not eating them soon. I would allow the cupcakes to come to room temperature before serving because the frosting will be softer.
Just keeping it real. Here is my fridge packed and ready for a party. I used a cake stand here to add an extra layer of room for the all cupcakes. Happy Baking!
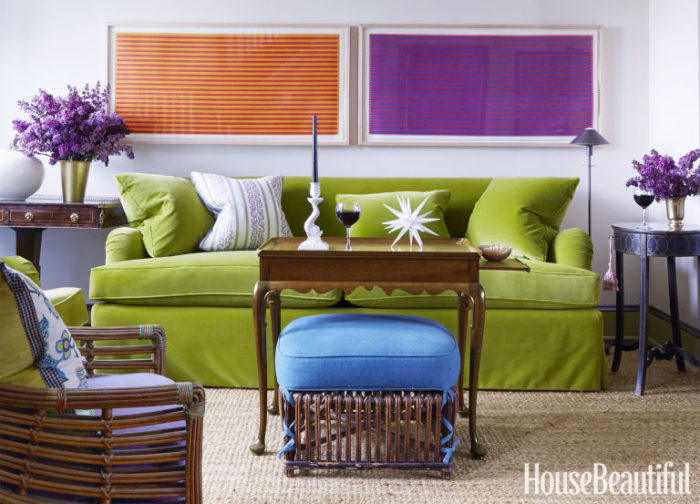
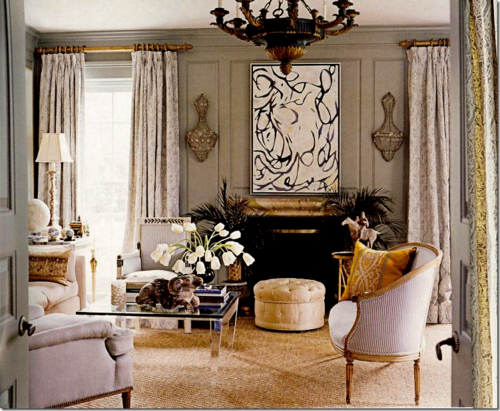
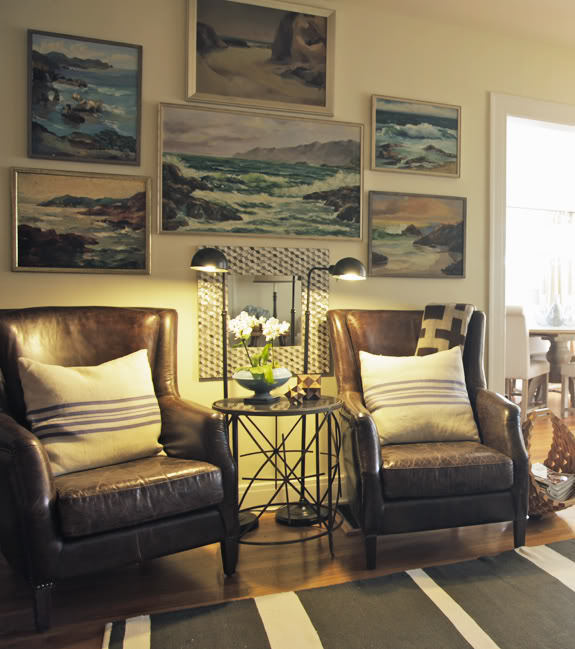
I was working on a project for our house and looking at modern art prints, when I began to think about how art can be key in striking the right balance in a room. Some of my favorite designs are ones where at first glance the art and the room appear to be opposites. Opposites can create an intense chemistry. Great designers know how to confidently punctuate a room with art. In her Book Decorate FearlesslySusanna Salk explains that the key element in great rooms is whimsy. It’s those “personal touches where there is no fear, only confidence.” It’s that moment where you begin to see the personality in a room, and some of my favorite rooms create that whimsy with art. By playing with the level of formality between the furnishings and art, you can create a personal and very memorable room.
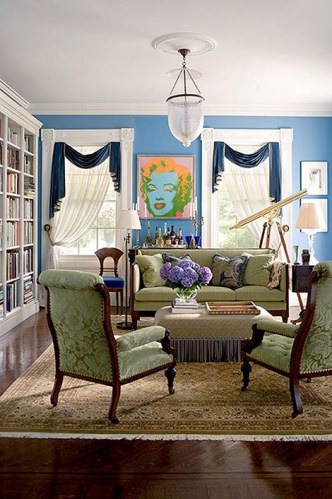
Traditional Design with Modern Art
Color plays a significant role in pulling these elements together. In some cases it is clear that the artwork has inspired the color palate. The fabrics and furniture lines may be traditional, but the artwork and its colors are what drive the room.
Other times the artwork is the focal point of the room. It may relate to the color in the room, but the art is what draws you in. It commands your attention and begs you to stay.
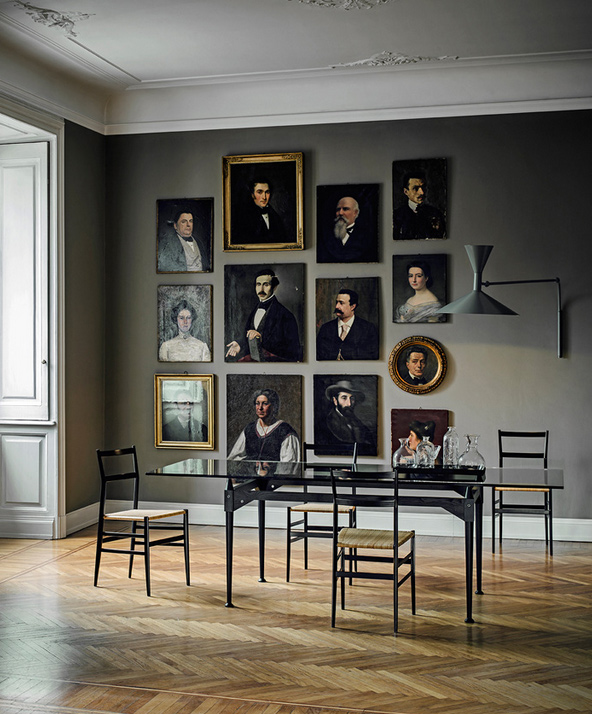
Modern Design and Formal Art.
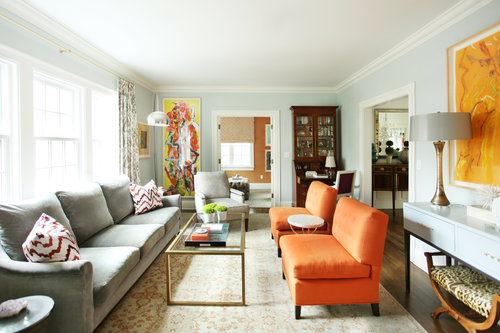
Art can also create that same friction and interest in a more contemporary room. In some modern designs colors might be repeated in accents, but it’s the art that grounds the space and gives it weight.
Other times modern groupings of these formal pieces keeps the eyes moving and interested. The clean lines of contemporary furniture let the art shine and stand on its own. Arranging the paintings in a contemporary manner catches the eye and plays with expectations.
So the next time a space feels a little flat or you want to give a room a refresh, think about the difference that a piece of art could make.
Alexander Graham Bell once said, “When one door closes another opens, but we often look so long and regretfully upon the closed door that we do not see the one which has opened for us.” New doors hold great possibilities but ours needed some new paint before I could step into it as my own. Our house has these great double doors, which are one of my favorite things about the exterior. The only issue was they were hunter green and the hardware had seen better days. So an update was definitely needed, but sometimes it’s easier to identify what you don’t love than to find the perfect new shade.
The façade of our home has mixed material finishes with orange toned brick and siding. We plan to update the golden beige siding color later this year, but since my husband isn’t crazy about painting the brick, I had to work with the orange. I knew I wanted to paint the door something other than green and I wanted to go with a brighter color. Something that would stand out a bit. I loved the colorful Georgian doors I had seen on a trip to Ireland years ago, but given the very traditional style of our home I didn’t want to go too bold. In the end I decided to go with blue but a shade that had some green in it to complement the orange brick . There are so many great blue front doors out there.
Links to other great photos and front door ideas:
Armed with sample paint pots and lots of inspiration from pictures I began painting sample boards to try out various shades of blue green. When I looked at the first set of colors I chose nothing looked quite right so, I took to mixing my own. A little Benjamin Moore Hale Navy with some Van Courtland Blue and a touch of Wythe Blue and voila I was finally able to get more of the shade I was looking for. I took pictures in different lights and got opinions from family and friends.
I was feeling confident about my choice until the afternoon before the painter arrived when I got brave enough to paint the actual front door. The painter had taken a while to get to us and I didn’t want to be the house of many colors for months on end. Then as the paint was drying I began to have visions of 1980’s country goose blue. I texted my sister and sister in law who tried to allay my fears via long distance text messaging and I decided to stick with my choice.
The painter came on Friday afternoon and painted just the front doors which gave me all weekend to worry about the country goose problem; by Sunday I was still concerned but I had come to the conclusion that it was the trim color and not the shade of blue that was the issue. So in a crazy effort to fix the mess and assure myself that we were not paying to have the house painted a color I would later regret, I painted the trim and sidelights with some leftover white dove paint. My husband thought I was nuts and you should have seen the confused look on the painters face when he saw all the new trim paint. After I explained to the painter that he had not been replaced and he was not seeing things he smiled with approval. We went with the blue paint on the doors and the shutters as well. In the end I think my husband has forgiven me for my drop everything paint crisis and I like the view from my new blue doors.
Home is not just a residence or a location. I have come to learn that it’s more of a feeling. I certainly never expected that I would leave the city I grew up and lived in for over thirty years. I loved living in Houston. We had friends and a cute little ranch style home that I had spent the last eight years loving, painting and decorating. I had big plans for that house. But sometimes life throws you an unexpected curve ball. Mine came in the form of a job change for my husband. After years of training he was offered a fantastic job as a medical professor. The only problem was it was in Chicago. Suddenly my familiar life changed as our family moved 1,000 miles away. Everything happen so quickly it was hard to catch my breath and take it all in. The house I loved sold in days. I left my job and soon everything I owned was boxed and in a moving van.
The whirlwind weekend we spent finding a home in Chicago was exciting but once I was there the house that looked like it had so much potential suddenly seemed overwhelming. The avocado kitchen and the sea of green and gold walls made me feel like I was living in the Emerald City. Like Dorothy I longed to clicked my heels and go home. Here I was with my two tiny girls and everything we owned in boxes. We had moved before but it was nothing like this. Even as we began to unpack the new house didn’t feel like ours. My oldest daughter who was two at the time cried and asked to go back home and it was hard to explain that this was our house because I knew exactly how she felt. It takes time for a place to begin to feel like you belong there. Now over a year and countless gallons of paint later I must admit this house is beginning to feel more like home.