
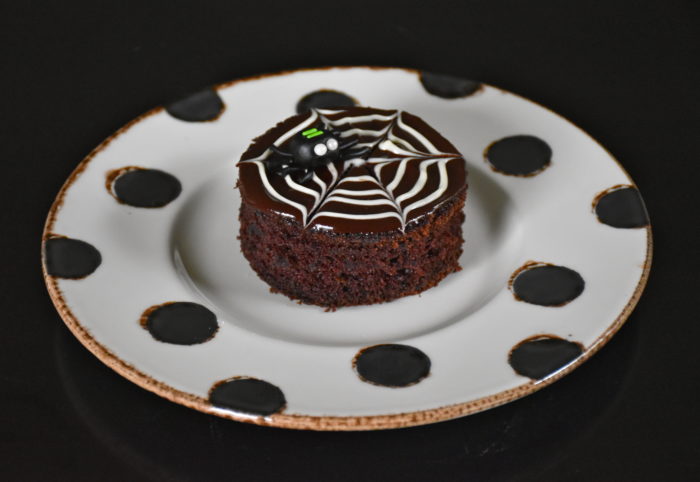
It was raining this past Friday and the girls and I were stuck in the house so we decided to do a little holiday baking. These chocolate cakes were a huge hit. Not only were they delicious, but they were also lots of fun to decorate. My girls helped me bake the cake and make the little fondant spiders, but older children could even help make the chocolate spider webs because the technique is fairly simple. Inspired by watching lots of The Great British Baking Show this summer I decided we should make miniature cakes. Who doesn’t love an entire mini cake to themselves? There something about getting a fun dessert like this that just makes you smile. These would be so great to take to a Halloween party or to share with friends. The chocolate ganache is easier to decorate with than regular frosting since you just spread a small amount on the top of the cake and if you are pressed for time you could even use a small plastic spider ring. So have some Halloween baking fun, because the only thing frightening about these little cakes is how fast your family and guests will gobble them up.
Chocolate Cake (The cake base is adapted from a recipe created by Rebecca Rather)
Makes one 9 x 13 inch sheet cake which when cut makes 6 individual chocolatines
- 1 stick of butter
- 1 cup water
- 1/2 cup canola oil
- 2 cups sugar
- 1/2 cup cocoa powder
- 2 cups flour
- 2 eggs
- 1/2 cup buttermilk
- 1 1/2 teaspoons baking soda
- 1/4 teaspoon salt
- 1 1/2 teaspoons vanilla
Chocolate Ganache
- 5 oz semi sweet chocolate chopped into small pieces
- 1 tablespoon butter
- 1/3 cup of heavy cream
Spider Web and Fondant Spiders
- 2 oz white chocolate
- 1 small container of black fondant
- Dragees or sprinkles for decorating your spider
- 1 plastic pastry bag
- Toothpicks
Preheat to oven to 350 degrees. Prepare your cake pan by lining it in parchment paper and greasing and flouring the sides or spraying them with Baker’s Joy.
Then in a heavy saucepan combine the butter, water and canola oil and set over medium heat until the butter is just melted. Meanwhile in a large bowl of your mixer add together the sugar, cocoa and flour. Then pour the butter mixture into the sugar and flour mixture and beat until smooth. Mix in the eggs one at a time then mix in the buttermilk. Next add the baking soda, salt and vanilla all at once and mix one final time. Pour your cake batter into your prepared pan and bake for approximately 30 to 35 minutes.
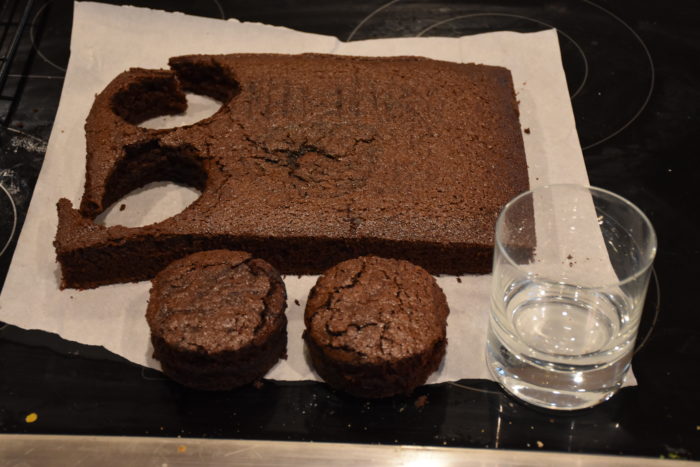
Once your cake has cooled remove it from the pan and then place your sheet cake on a flat smooth surface. I cut my individual cakes by using a wide mouthed glass. My glass had a three and a quarter inch diameter, but you could use a jar, glass or cookie cutter of a roughly similar size. I found it helped to lightly spray the inside of the glass and edges with butter flavored cooking spray. Once I pressed the glass down to cut out the cake I lifted the glass up and put my hand underneath it to catch the cake as it slid slowly out of the glass. I used the same technique to cut out all six of my small round cakes
Next in a small sauce pan over medium low heat heat your chopped semi sweet chocolate and your butter. Cutting the chocolate into smaller chunks helps it melt evenly. Meanwhile heat your cream in the microwave until it is warm. I microwaved mine for 40 seconds. Then keep an eye on your chocolate. Give it an occasional stir as it melts and as soon as it does pull your pan off of the heat and slowly pour in your warm cream while stirring your chocolate mixture. You want to stir until the chocolate and cream come together and you get a glossy looking mixture.
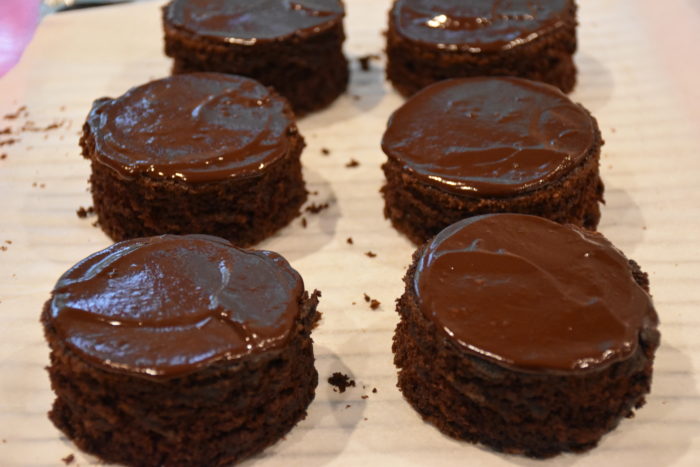
Then while the ganache is still warm spoon a small amount on each cake and spread it evenly using a separated spatula or a butter knife.
Then while your chocolate ganache is still warm heat 2oz of white chocolate in a microwavable bowl. I heated mine for 30 seconds and then stirred it and then heated it for another 20 seconds. You want the chocolate to melt but you want to make sure it does not burn. Then take a plastic pastry bag (they are easy to find at any craft store) and fill it with the melted white chocolate. The trick I like is to put my pastry bag inside a tall narrow glass and then fold the plastic edges of the pastry bag down. The glass will hold the pastry bag and make it easy for you to pour in your white chocolate.
Then cut a small hole at the very tip of your bag and then you are ready to pipe your spider webs. To make your web pipe a white chocolate spiral on each cake.
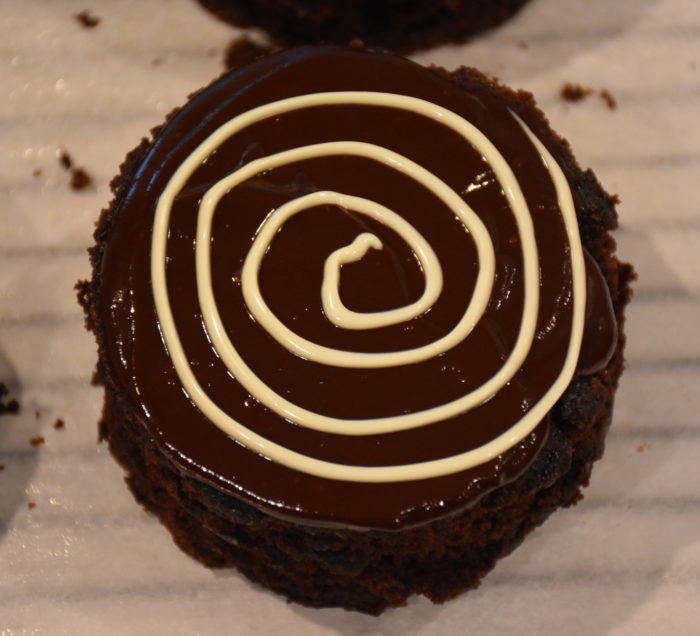
Then while it is still warm take a tooth pick and lightly drag it from the center out to form a web. I had a paper towel near by and I cleaned my tooth pick end off after each time.
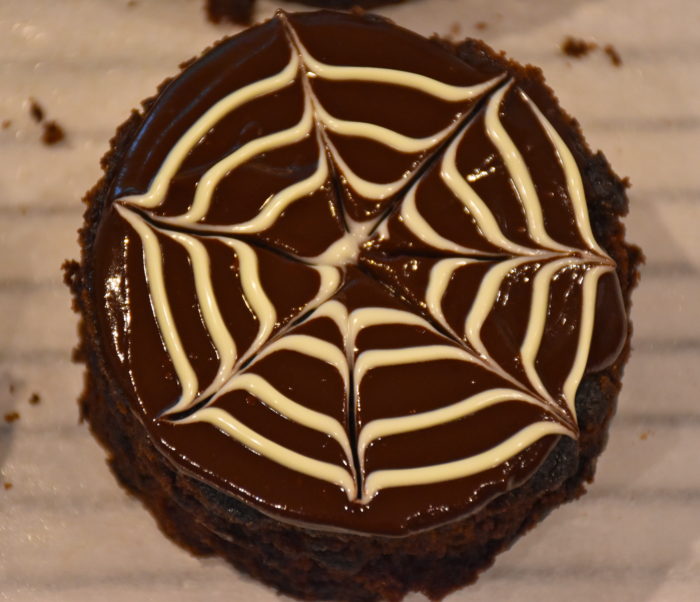
Here is a close up so you can see the little lines from the tooth pick. These chocolate tops may look fancy but once you get going it is fairly easy to assemble.

Here you can see my cakes and the pastry bag with the white chocolate.
Next comes the fun part for my girls. Making things out of fondant is like playing with play-dough. First roll 6 little balls of black fondant, which you can buy pre colored and ready to go from your local craft store. Then roll out some long thin snake like pieces. To make your spider legs cut four even pieces of your rolled snakes using scissors or a knife. Then make a bow tie like middle by pinching your legs together so you had 8 legs with four on each side. Then put the little balls on top on each set of spider legs. I had some colored sprinkles we used to make stripes on our spiders and I used some white dragees to make eyes. If you are running short on time then get some small plastic spiders.
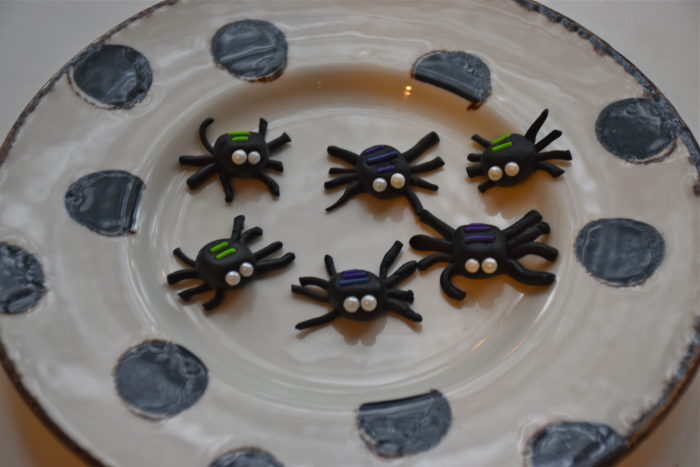
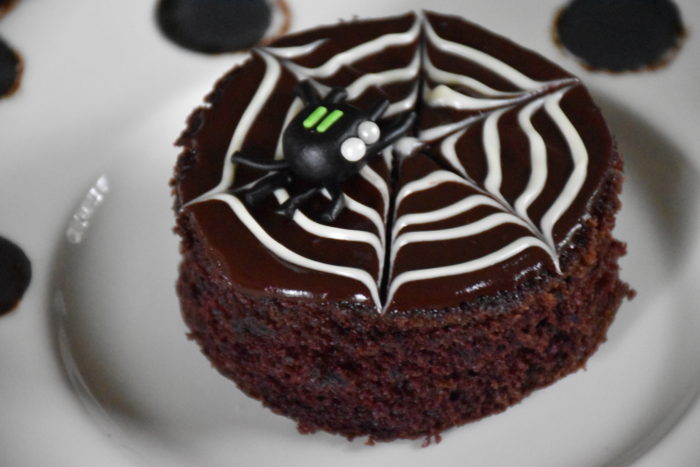
Here is a close up of of our spiders and of the finished cake. Once you are done decorating keep your cakes in the fridge until you are ready to share them.
So I have to tell you the rest of the story. After my family tried these cakes the leftovers became a highly coveted item. We had one cake left on Sunday that my husband thought he had claimed until we realized that my three year old had snuck in the fridge and made herself a secret snack. My husbands face was so sad looking when he realized the cake was all gone, so it looks like I will be baking another batch soon.
Want a printer friendly version of my recipe then click this link to Pioneer Woman’s site Tasty Kitchen where these Halloween Chocolatines are featured in a printable format.