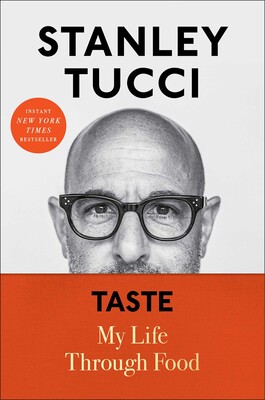
Every memorable meal has a story to tell. For those who truly love food, cooking and eating become a lens through which they see the world. It’s this unique perspective that makes Stanley Tucci’s new food memoir Taste a delicious page turning adventure.
He shares stories about his mother’s incredible Italian cooking and the year his father took the family on his teaching sabbatical in Italy. There are tales of movie sets and all the meals he has shared around the world as an actor. However, what I loved most were the personal stories about his family and how food has played an important part in all of his relationships. He talks about falling in love with his wife Felicity while cooking together and the English roasted potatoes that nearly burned the house down. All along the way he shares recipes for these amazing dishes.
As a young man he was a bartender in New York City so there are so many wonderful cocktail recipes from the perfect martini to Negronis and Christmas cocktails. I am looking forward to trying a few of them myself. There are also holiday recipes and recipes for weeknight meals like his garlic and white wine lamb chops that sound delicious.
However, the most heartfelt moment came when he was reflecting on his cancer treatment and the renewed appreciation it gave him for how wonderful it is to taste it all. Food he found “is nothing more than everything. Cook. Smell. Taste. Eat. Drink. Share. Repeat as necessary.”
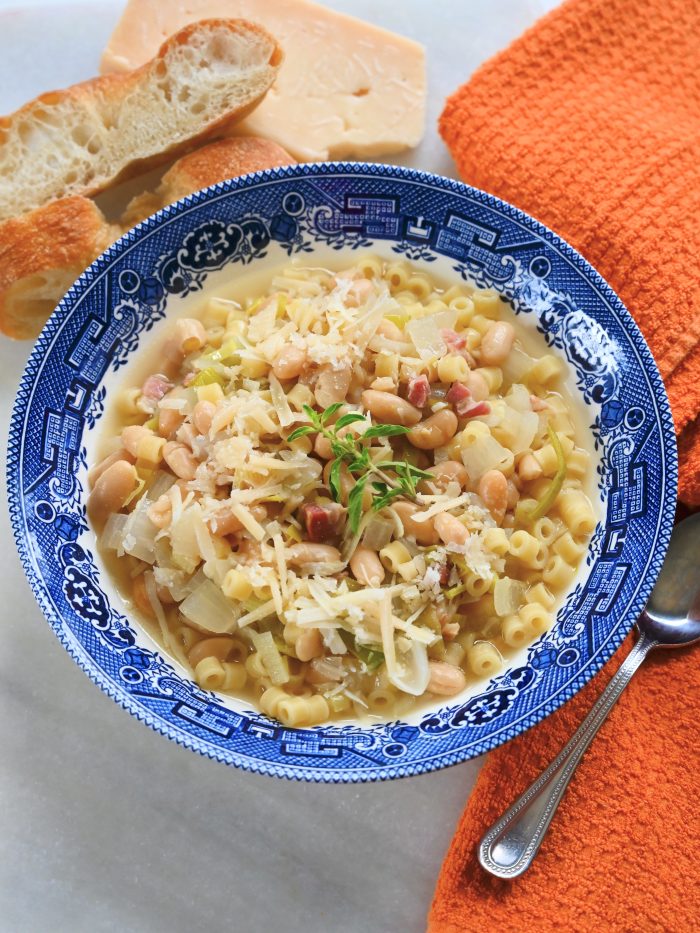
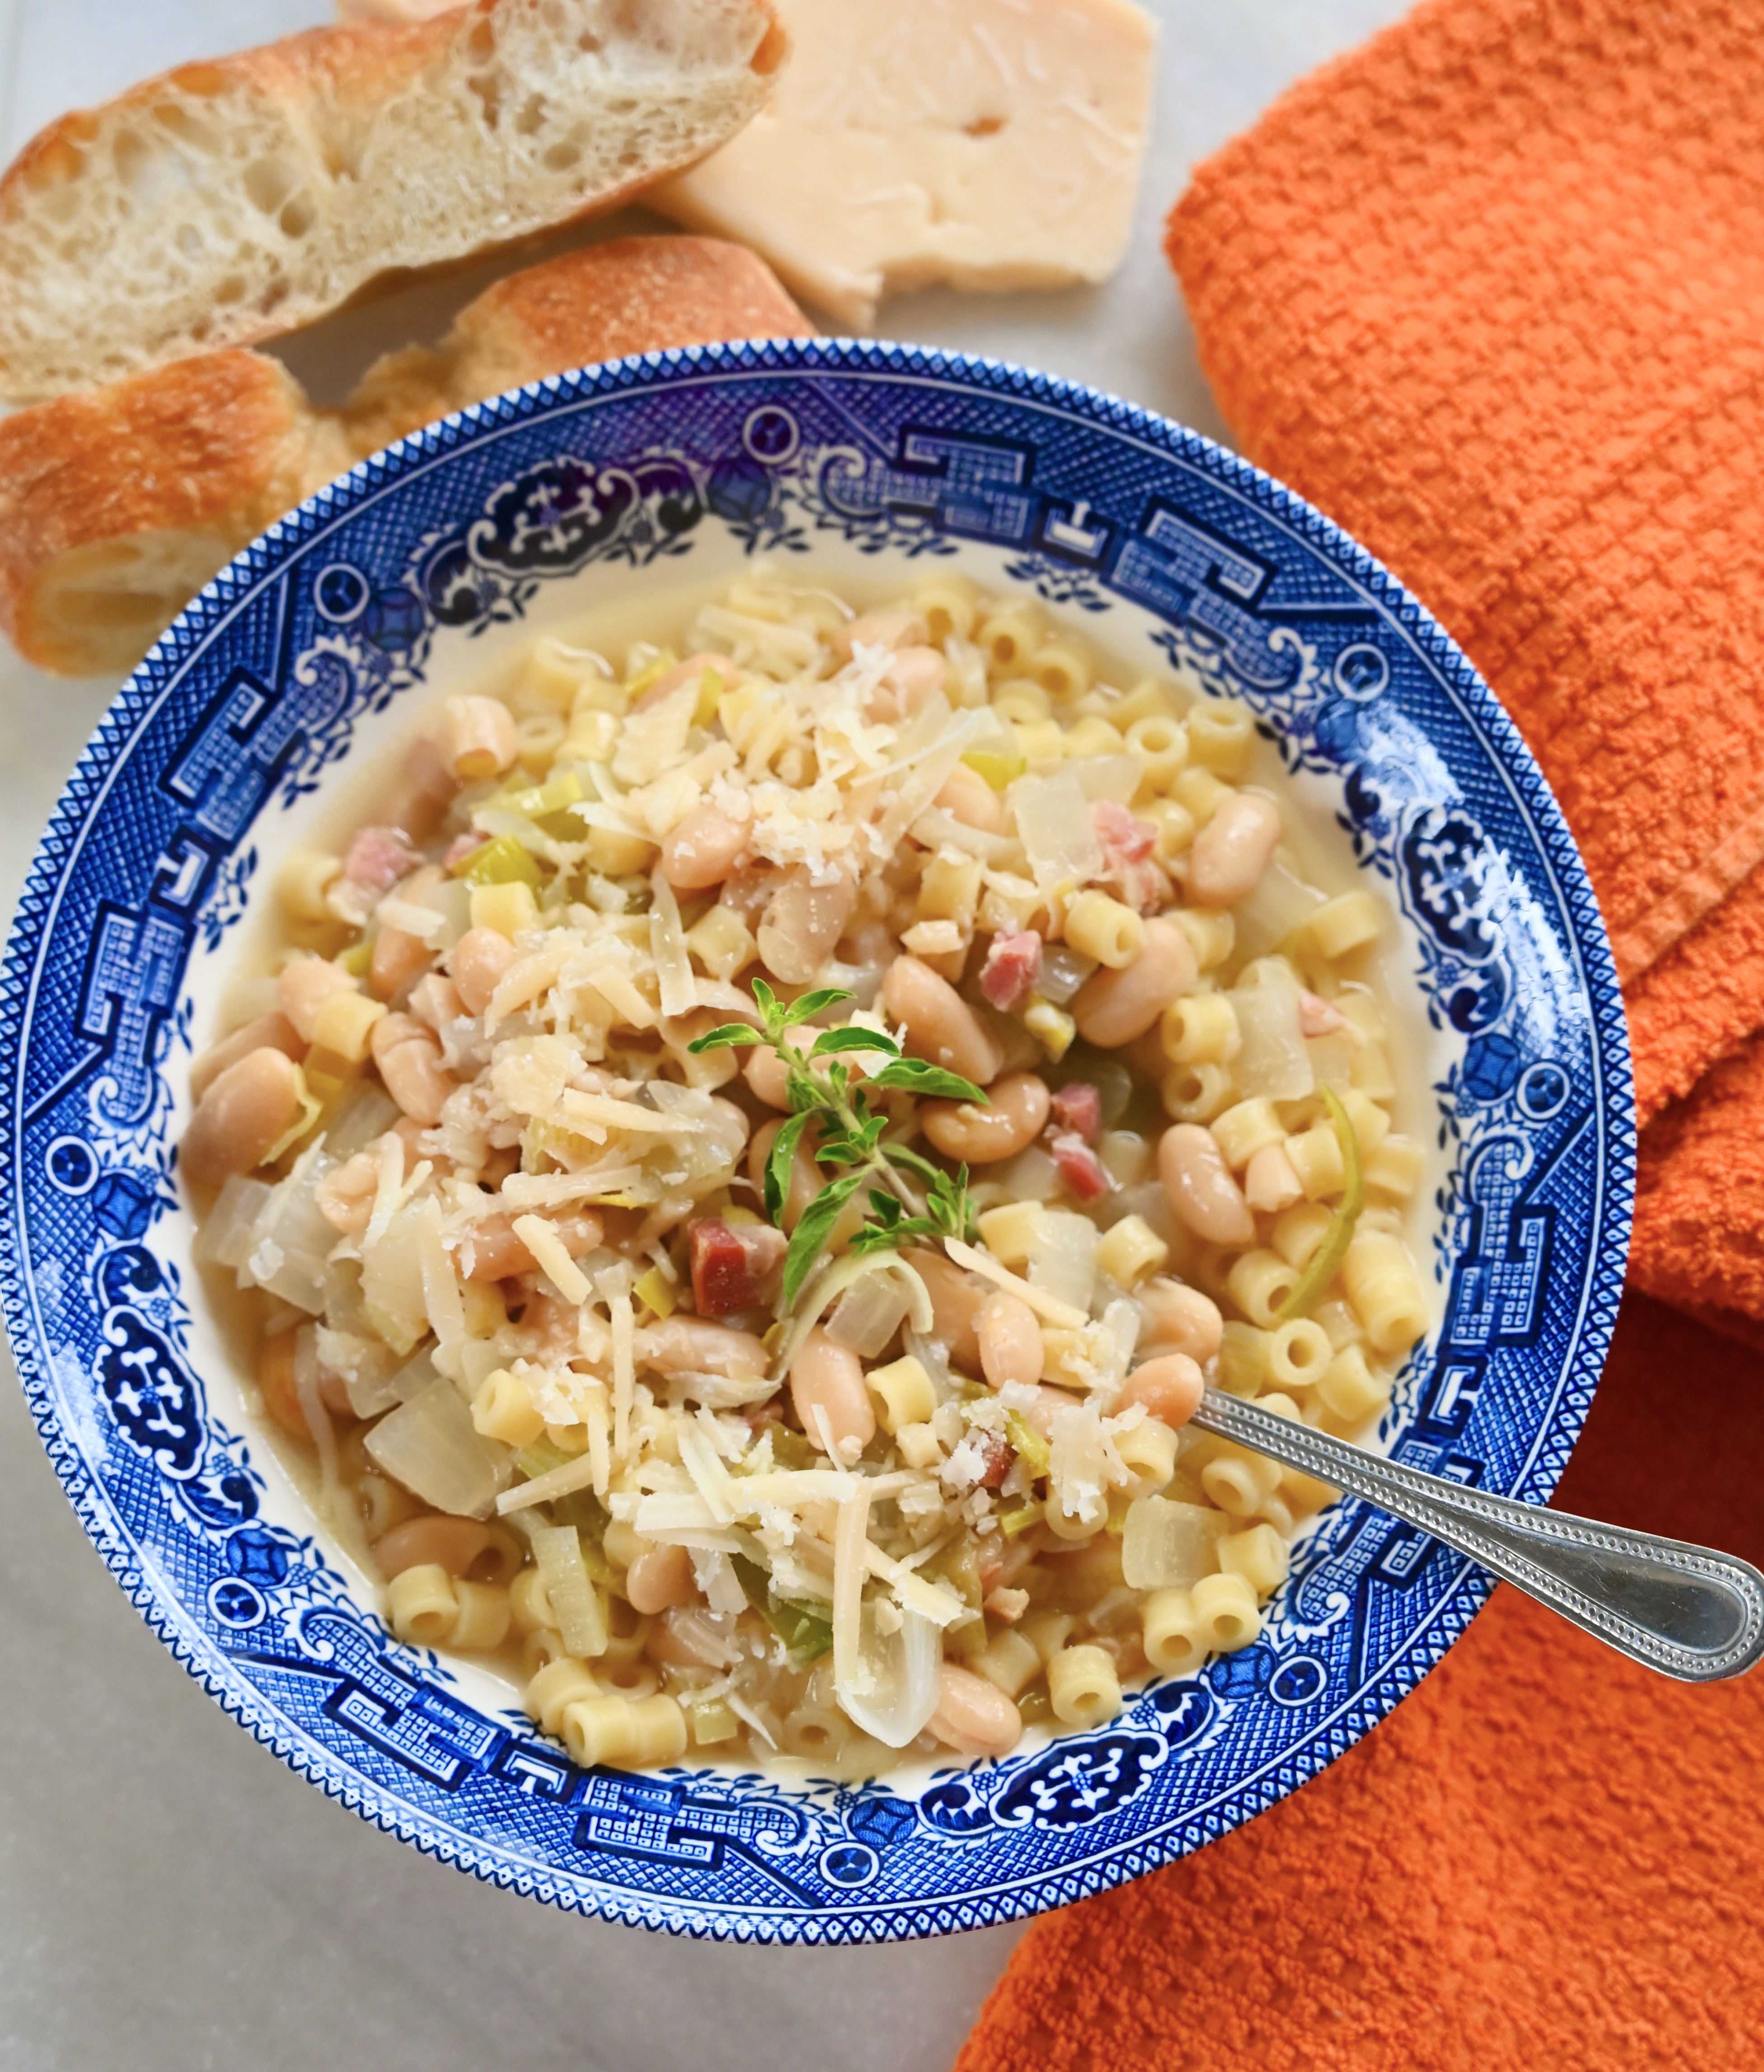
So for this addition of reading and eating I am sharing my pasta e fagioli that was inspired by Tucci’s. It was the dish that he says sustained him as he healed and is still a favorite today.
Pasta e Fagioli -Serves 4 to 6
- 4 ounces pancetta, diced
- 3 tablespoons extra virgin olive oil, plus extra for drizzling
- 1 leek (white and light green parts only), chopped
- 1 yellow onion, diced
- 3 garlic cloves diced
- 3 (15 oz) cans cannellini beans, rinsed and drained
- 2 bay leaves
- 3 cups chicken stock
- 1 cup ditalini pasta, cooked
- 1 cup reserved pasta water
- Freshly grated Parmigiano cheese, for serving
- Fresh oregano leaves or sprigs, for serving
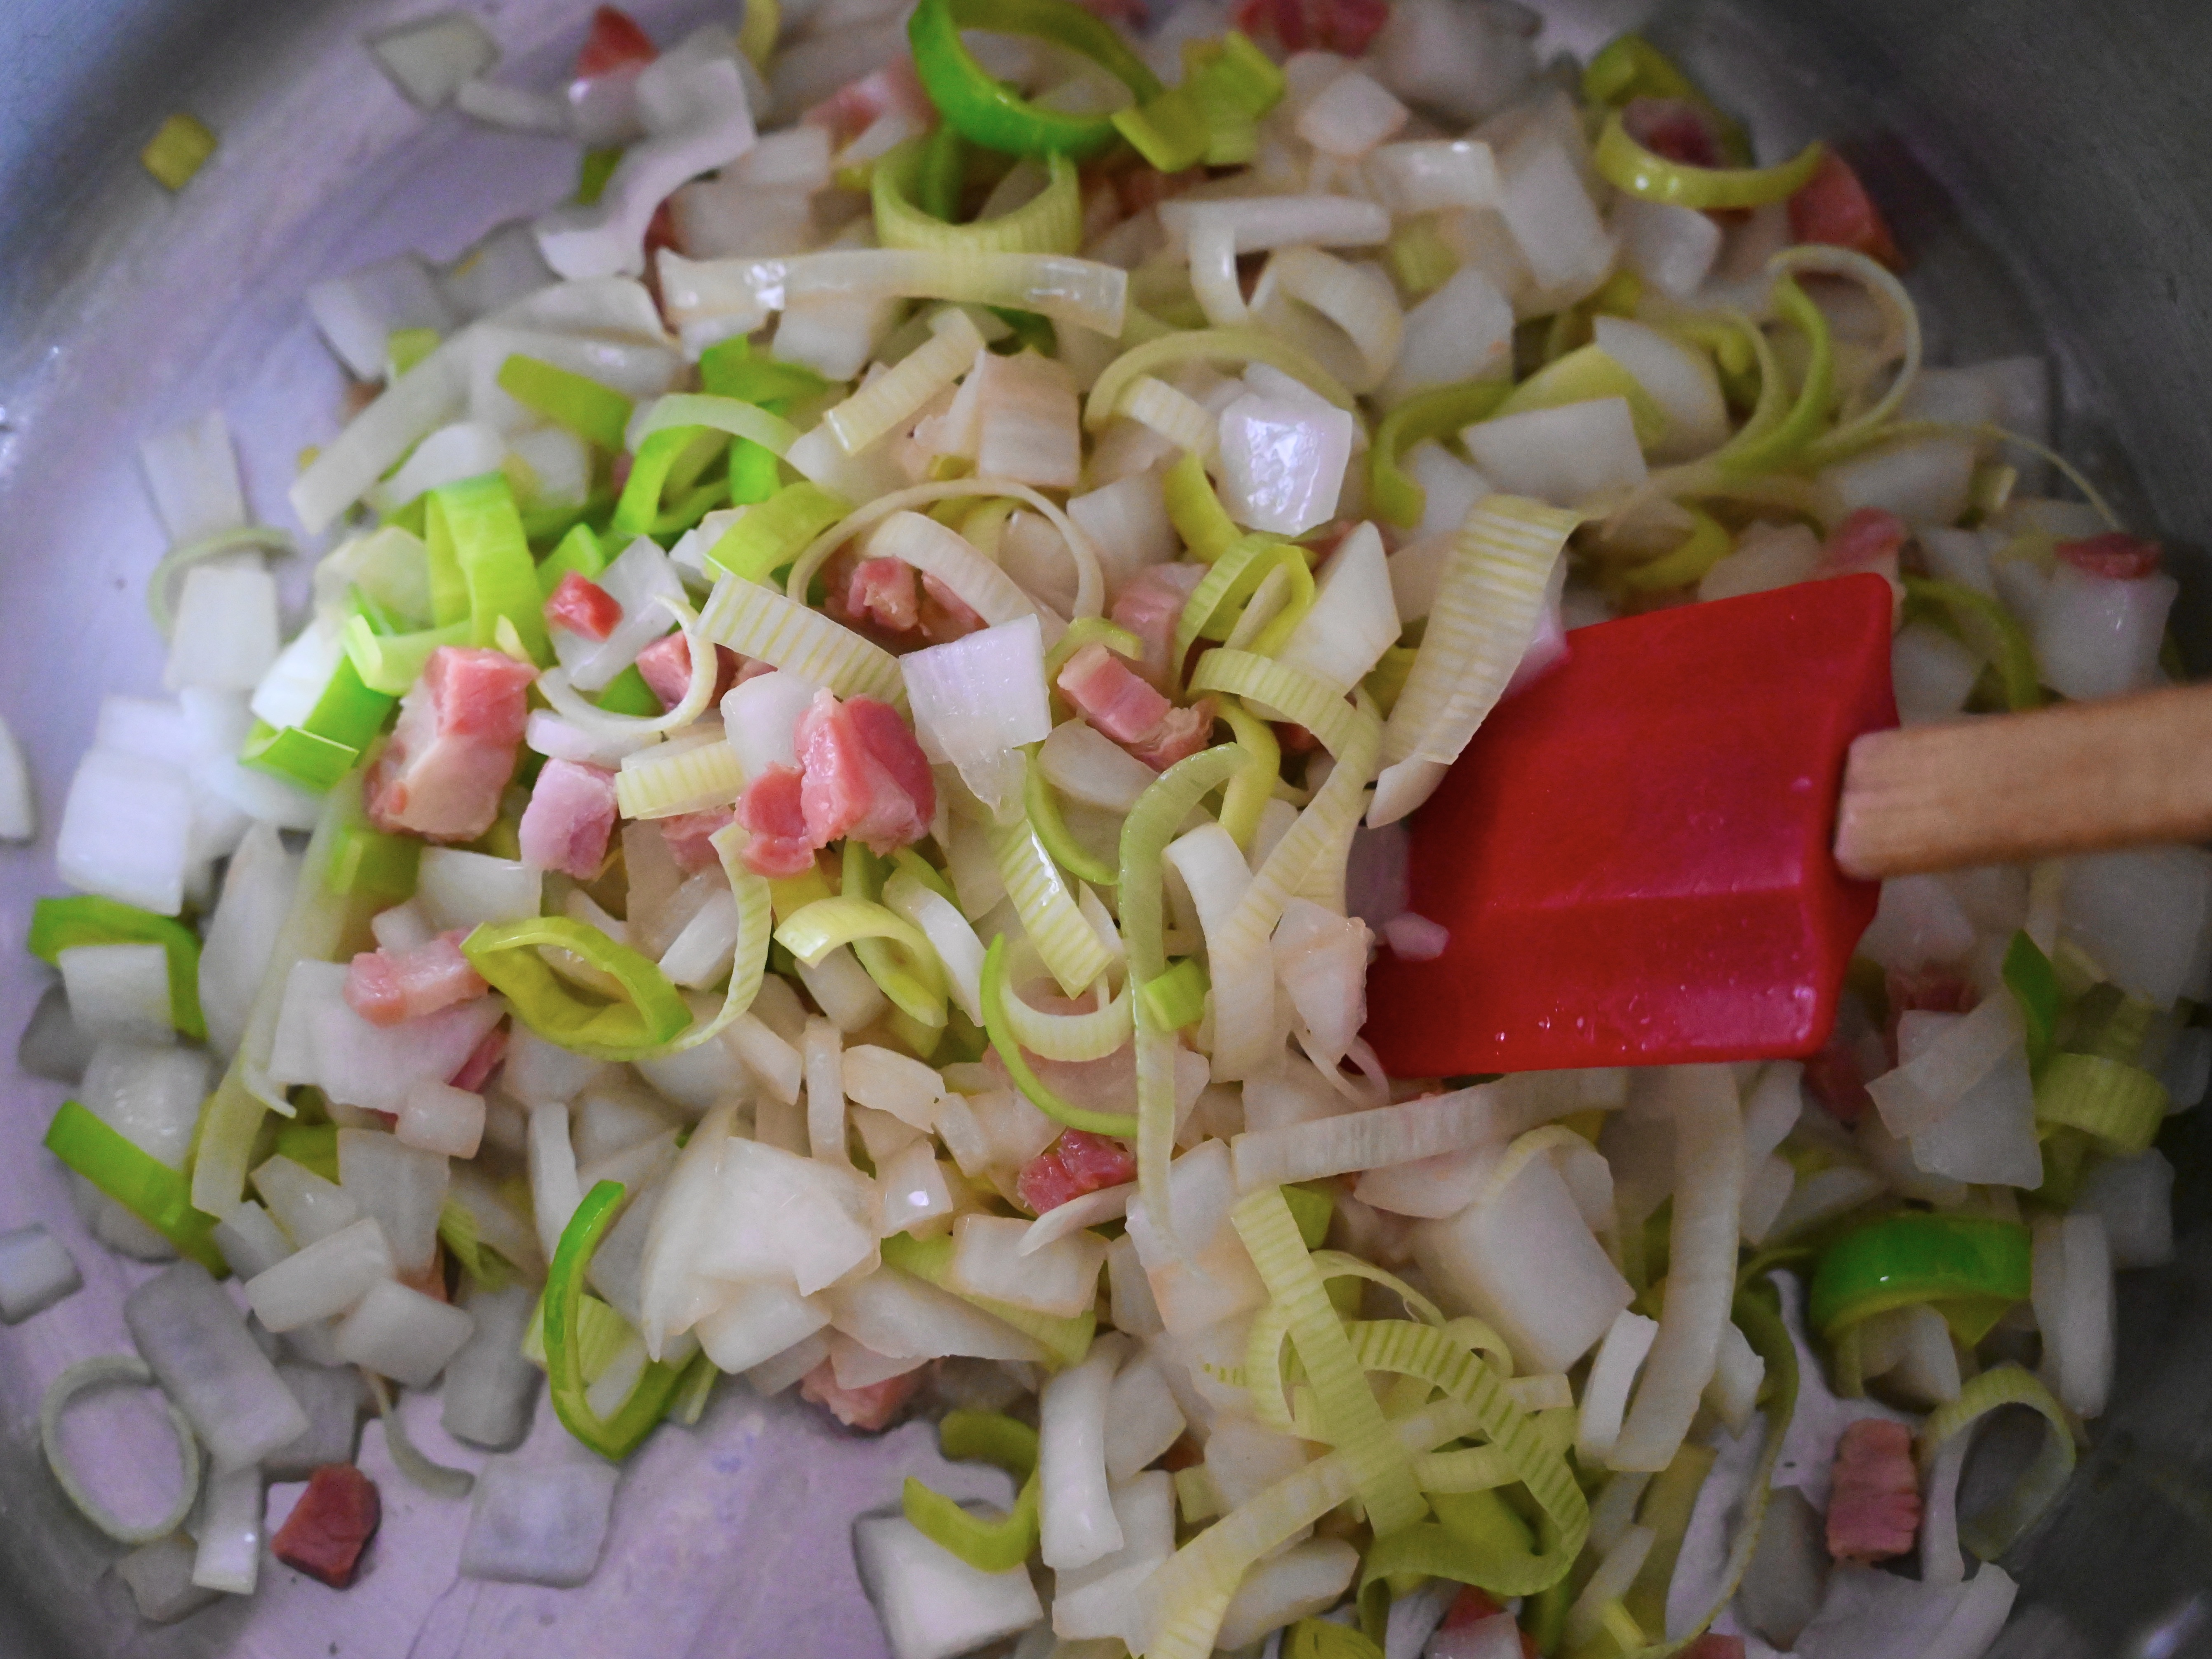
Heat 3 tablespoons of olive oil in a large stock pot or dutch oven. Add the diced pancetta and cook for about 4 minutes so it begins to release some fat and flavor in the pan. Next add the chopped leeks and onions. Allow them to cook over medium heat until they become tender about 8 to 10 minutes.
Add in the garlic and cook for an additional minute. Pour in the beans and chicken stock and add in the bay leaves.
Allow the bean soup to simmer with the a lid slightly askew for 15 minutes. Meanwhile, cook the pasta in salted water according to the package directions.
When the pasta is cooked drain it, reserving 1 cup of the pasta water. Pour the cup of pasta water and the pasta into the soup. Then taste and season with kosher salt and pepper. Remove the bay leaves before serving.
Serve the soup with a drizzle of olive oil, some fresh oregano leaves and a generous sprinkling of parmesan cheese. I find it also pairs well with a slice of crusty Italian bread.
Note: My recipe differs a bit from Tucci’s. It’s a white pasta e fagioli because it doesn’t have marinara sauce. Tomatoes are something that I love but I have to cook with sparingly for my family.
Tucci’s Taste My Life Through Food is the best book that I have read this year. It’s such a fun read filled with so many wonderful recipes that I know I will be trying soon. So, make a pot of my flavorful pasta e fagioli and curl up with this great book.