Put a pastry bag with icing in my hand and there is a deep sense of joy that comes over me. It doesn’t matter how crazy messy my kitchen looks or how many things I have left to do on my holiday list. When I sit down to pipe and decorate it all just fades away. This is the reason that for nearly two decades I have continued the crazy tradition of baking gingerbread houses. There have certainly been years where I took on a little more than I should; usually my struggles have been with the architecture of a structure. One year in college I decided to make the Texas A&M football stadium and I had trouble with the steep sides sliding down onto my green coconut field. Since then I try to right size my projects so I can focus more on the fun of decorating it.
When I first started the tradition I was in high school and the Food Network was not in full swing yet and there wasn’t Pinterest or food blogs. So I had to teach myself everything from cookbooks. Looking back my early gingerbread houses are what made my truly fall in love with baking. Each year I would learn more and create something different. This year since I now have kitchen helpers, I decided to create a project we could each work on. This year I made little house fronts for my girls and I pieced together a series of facades to create my own gingerbread centerpiece. Usually, I create a full house, but this project was fun and left me with more time to focus on the piping details that I love.
All of my projects start with a little planning and some basic math to make sure that I have a structure that is going to fit together.
 I took a cardboard gift box and cut it apart to create a square base and templates for my houses. Then once I had the structural details sorted out I began baking. To see my recipe and tips on baking your own gingerbread then see my recipe post here.
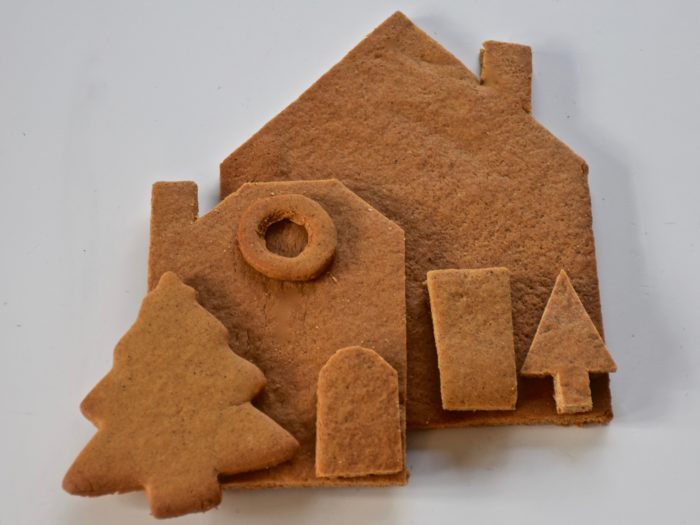
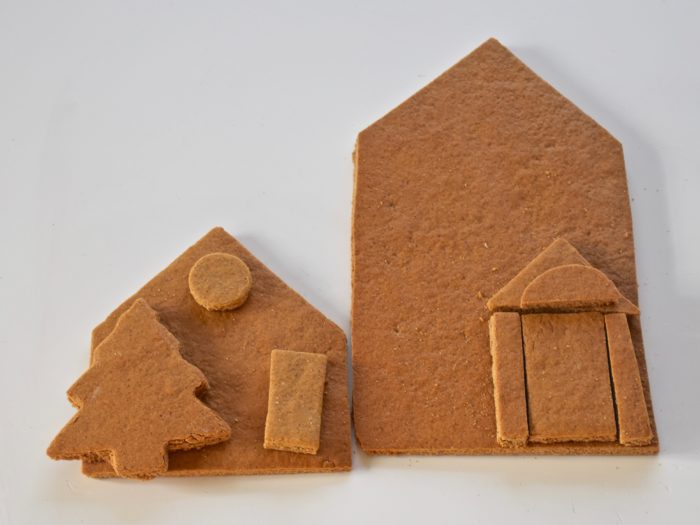
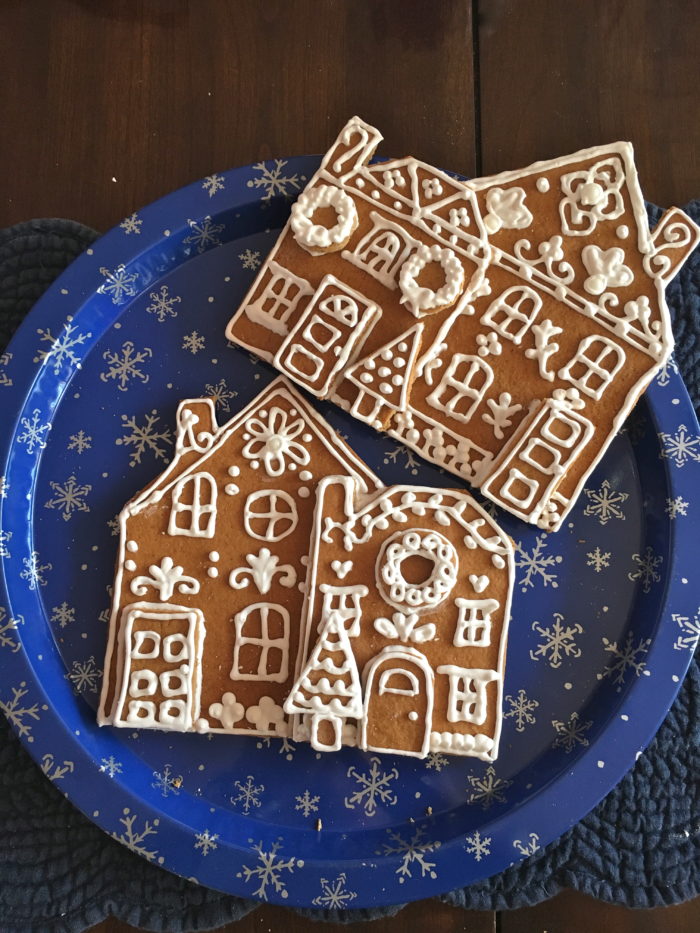
I made two basic groups of houses. The houses you see above were for one of the sets of sides.
This is the front side with extra pieces for doors and tree details.
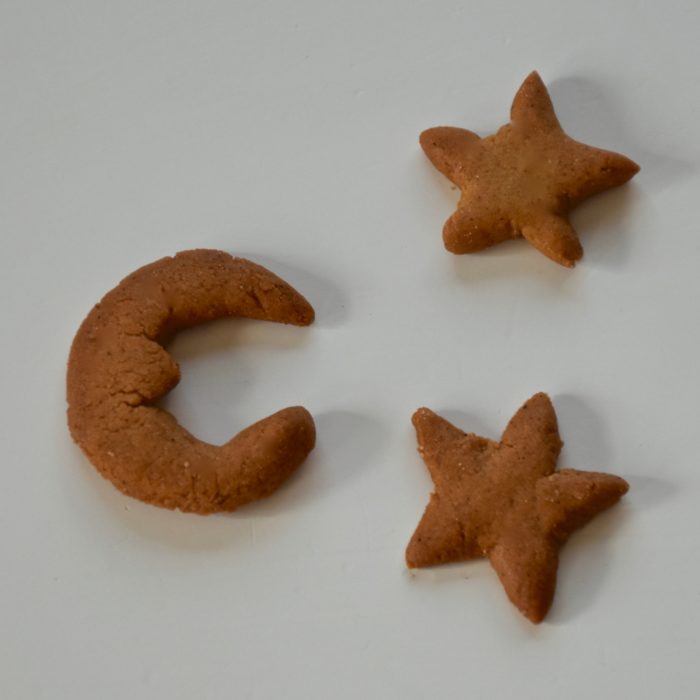
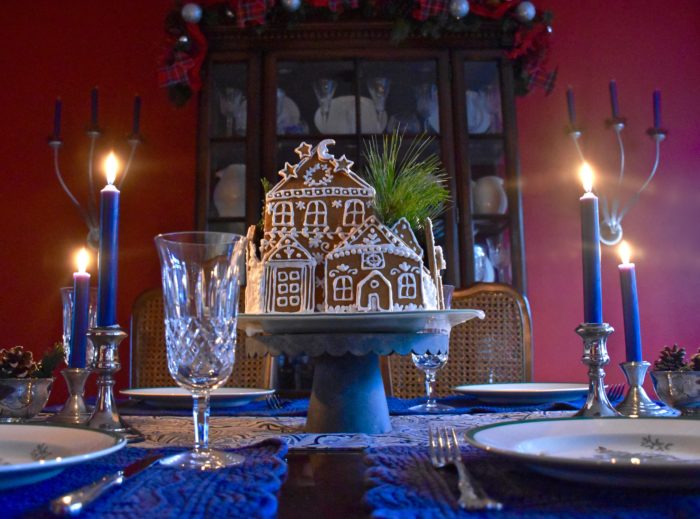
This year I sculpted a few extra pieces with a moon and some tiny stars. So even if you don’t have a cookie cutter for the shape you want you can still sculpt your own details.
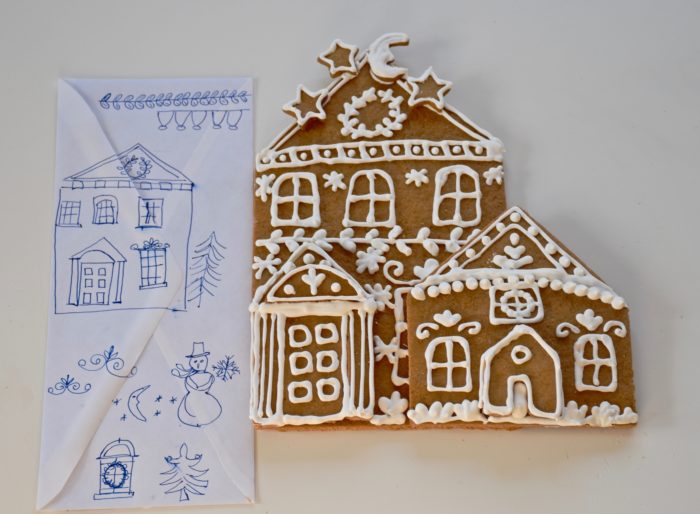
Then the joy of decorating. I had sketched out a few ideas on an extra envelope I had. This years inspiration was to create Wedgwood ornament like details on my houses with starry sky details.
I piped my house fronts before I assembled my centerpiece box, because it’s easier to get these crisp piping details when you can work on a flat surface. I was careful as I put my houses together to make sure the sides were each seven inches wide.
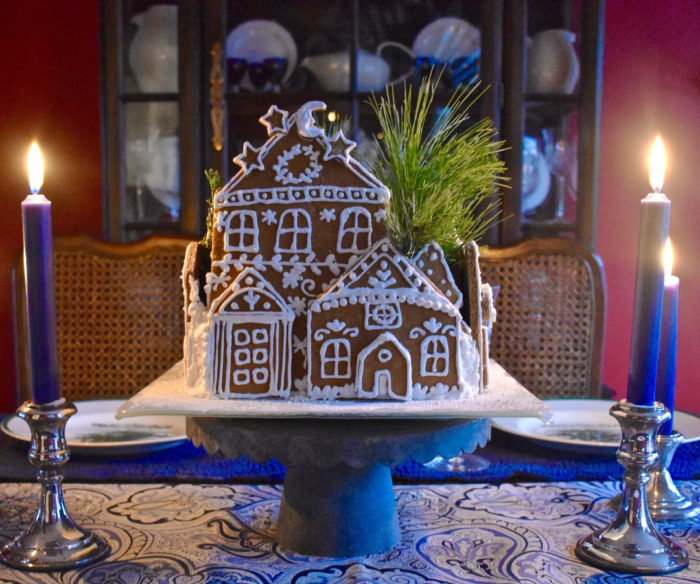
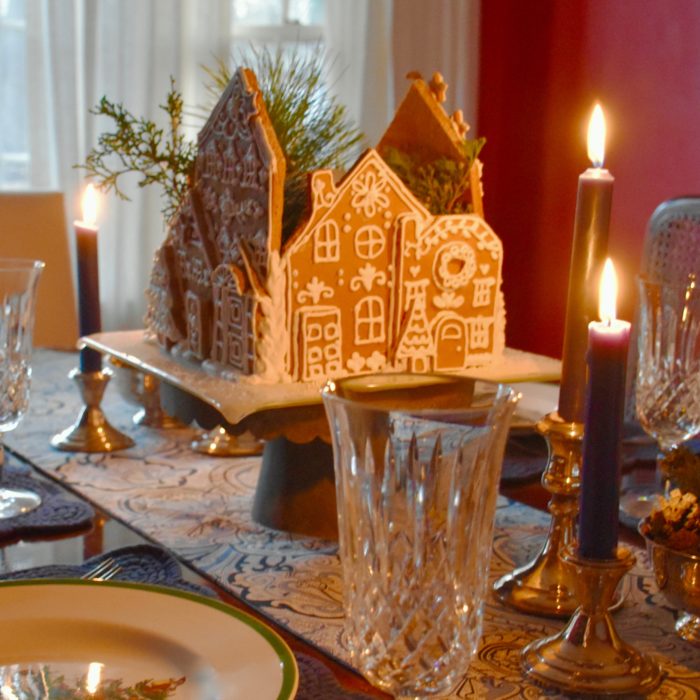
Then once I was done decorating the sides I put my box together using my royal icing and I added small vases (empty votive candle holders) to the center that I put some fresh greenery in to give it a finished look.
The little gingerbread village makes a fun holiday centerpiece and an added benefit is that my dining room smells amazing. I enjoyed this centerpiece project because it left more time for me to focus on the pretty little details that I love.
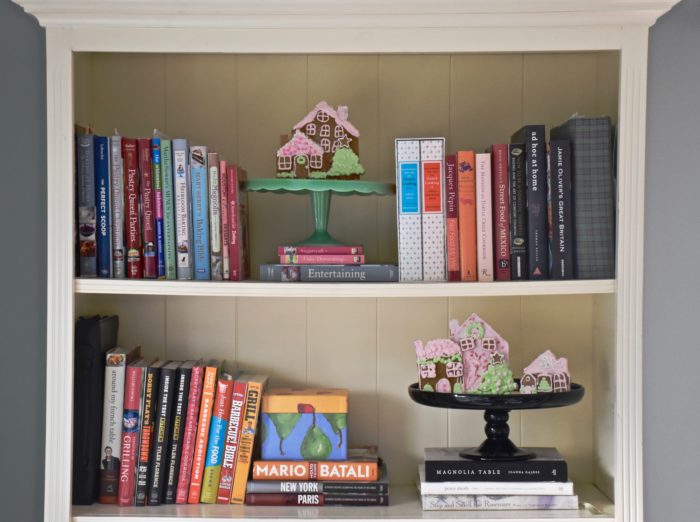
Want a smaller project then take a look at my girls’ houses. They both decided they wanted to create pink houses. So we went with a vintage look with a pretty pastel pink and mint green.
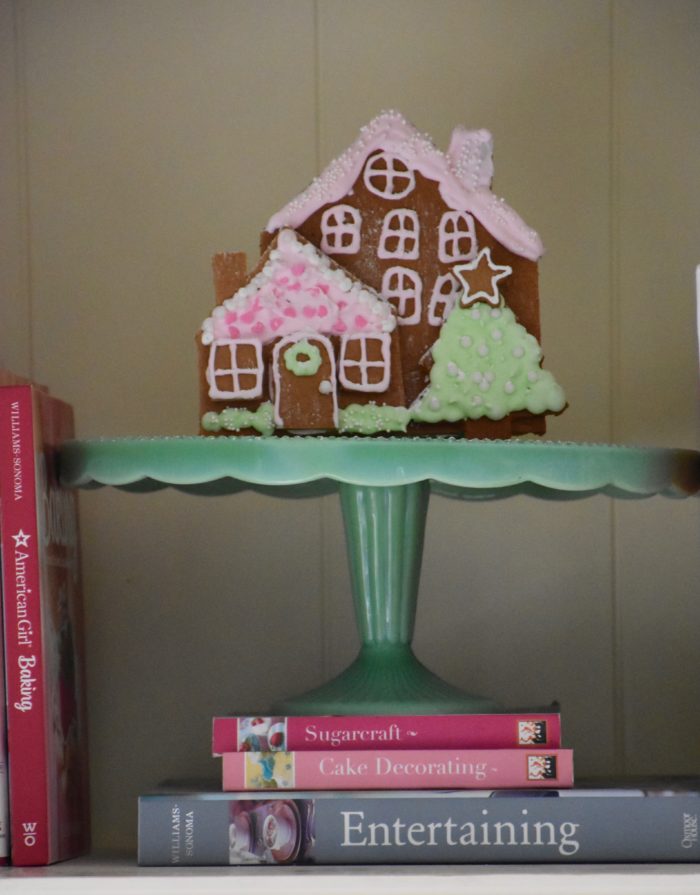
These house fronts were just the right size for my girls to work on. I cut milk cartons down to create some supports to hold up their houses and we have them displayed in our kitchen and back playroom area where we can all see and enjoy them.

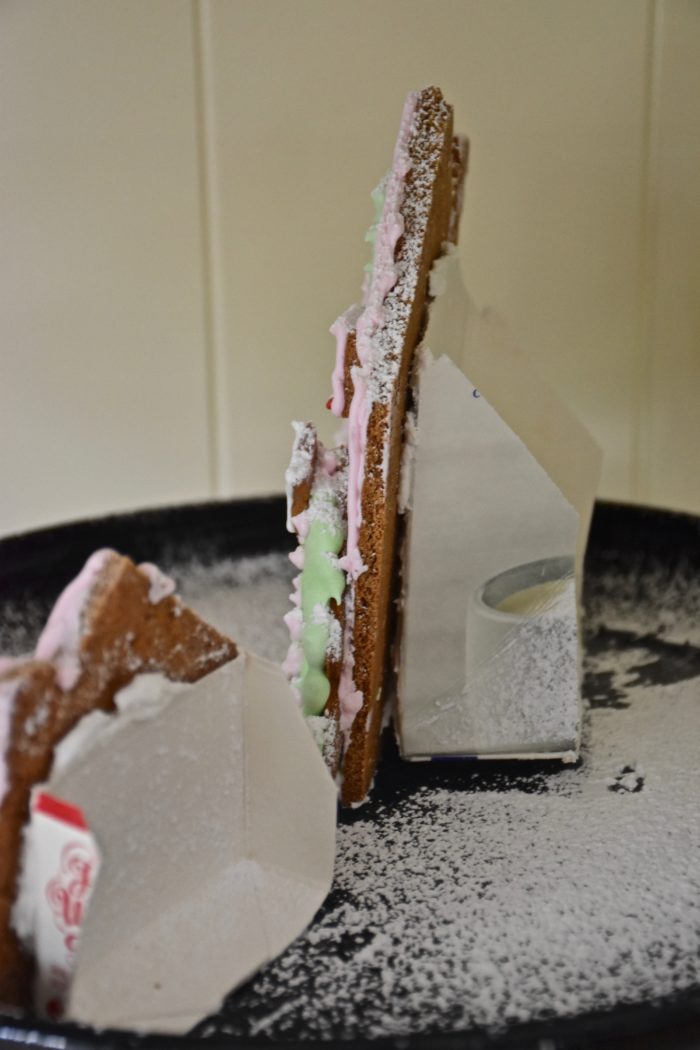
So if a full gingerbread house sounds like too much then try a smaller house front. It’s makes a festive centerpiece and holiday project to share with your family.
My bookcase has never looked so cute. My girls were right pink houses are so much fun!

