So the tradition continues, after a four year break I am back baking gingerbread houses once more. This time I have a new pastry team which made it memorable and fun. Since preschoolers and patience don’t tend to go hand in hand, I decided to make a set of smaller houses so each of my daughters could work on their own little project. The smaller size also made it easier for them to decorate. We were able to finish the whole project in an afternoon and my girls enjoyed helping all along, from baking the gingerbread to decorating.
 Until now I have been a bit of a gingerbread purist, who wanted everything about the house to be completely edible. However little ones have a hard time waiting for royal icing to set and I didn’t want to use a potentially dangerous hot sugar syrup, which is another quick way to assemble the structure of your house. So I opted for the less edible, but quick and stable technique of using whipping cream cartons and hot glue.

The key to any gingerbread project is to spend a little time planing the architecture of your structure. I have learned through experience that making a paper or cardboard pattern is key. You want your walls to be straight and uniform in size especially when you have to balance a slanted roof on top of them. When I was planning this project I measured the sides of my carton and I cut my patterns out of parchment paper. I also marked on each template the number of times I needed to use it to cut out the appropriate number of pieces for my house. This method helps keep things organized when you are cutting the gingerbread. Gingerbread will shrink some when baking and that can cause even the most precisely cut edges to become uneven. As a result, I bake large sheets of gingerbread and then I make my cuts using my templates while it is still warm. This method results in the best structure, but you have to work quickly so it is important to have things organized ahead of time.
Once you plan your project it’s time to get baking. My favorite construction gingerbread started from a recipe that came from a Southern Living. Years ago they featured a gingerbread contest winner and she shared her recipe. The recipe made an enormous quantity that would not work in a standard mixer so I have adapted the recipe for use at home. One batch was enough for me to make five small houses.
Construction Gingerbread
- 1 cup molasses
- 1 cup honey
- 1 cup canola oil
- 3 eggs
- 1 cup sugar
- 7 and 1/2 teaspoons baking powder (which is also equivalent to 2 Tablespoons plus 1 and 1/2 teaspoons)
- 4 and 1/2 teaspoons ground ginger
- 1 tablespoon cinnamon
- 2 teaspoons allspice
- 1 teaspoon cloves
- 1 (2.5 lb) bag of flour, plus one additional cup
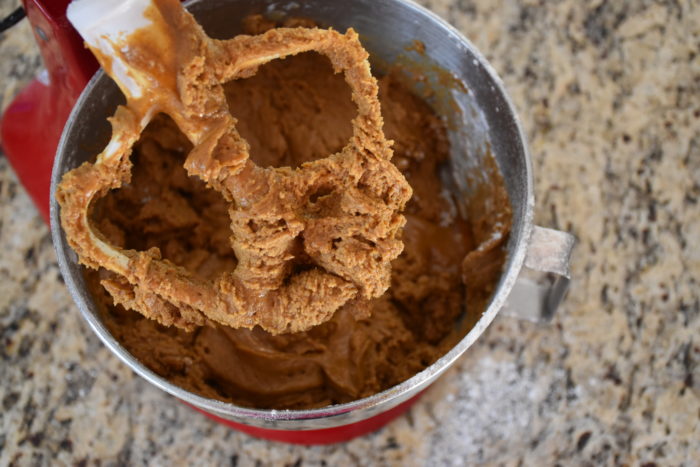
First preheat your oven to 300 degrees. Then in the bowl of your stand mixer mix together the molasses, honey, oil, eggs and sugar. Then mix those ingredients together on a low speed until they are fully mixed. Then add in you, ginger, cinnamon, allspice and cloves. Then mix in your baking powder and finally add your small bag of flour plus the two additional cups a little at a time till it is all mixed in and your dough comes together.
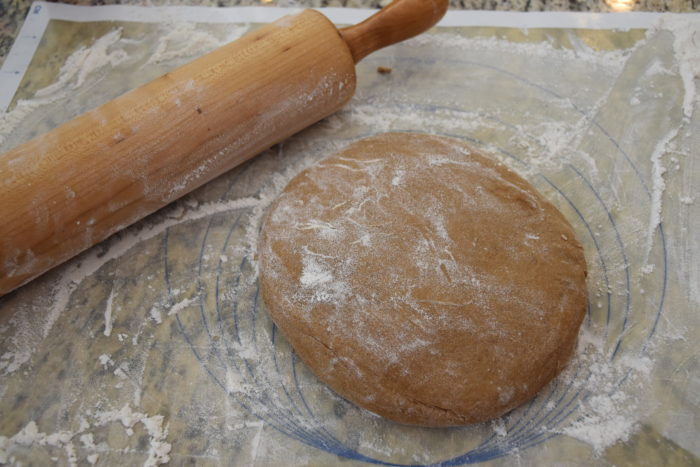
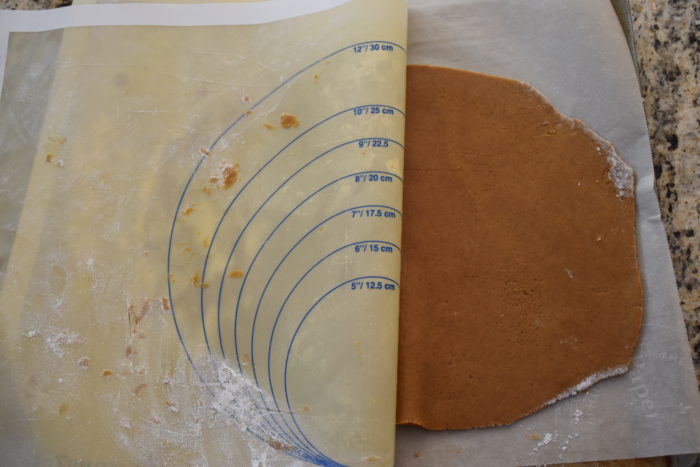
Here is my dough. Gingerbread dough can be a bit sticky so you are going to want to have the extra cup of flour to sprinkle on your silicone baking mat or piece of parchment paper. Divide your dough into four portions and roll each one out separately. If you like to bake I highly recommend that you get a silicone baking mat because it makes rolling out dough much easier. I also flour my rolling pin as well. You want to roll your dough out to an even 1/4 inch thickness. You don’t need to worry about having perfect edges, you just need to trim it to fit your pan.
Then take your dough and flip it over onto your parchment paper lined baking sheet or baking stone and carefully pull back you silicone mat or parchment paper.
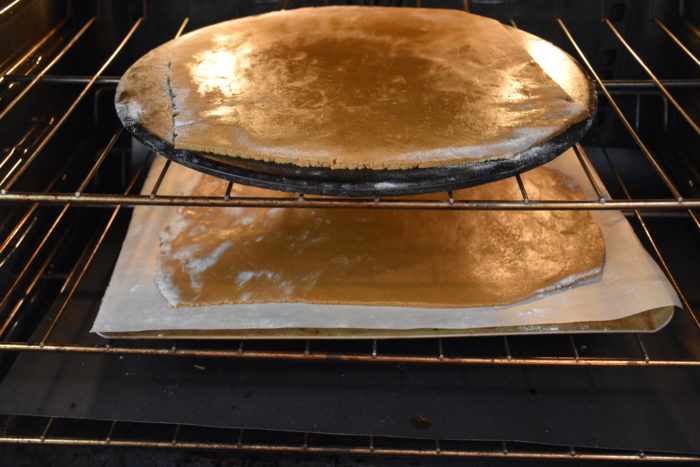
Then bake your gingerbread for 35 to 40 minutes. I like to stager my batches by about 10 minutes so I have time to cut out one batch before the next gingerbread sheet is ready.
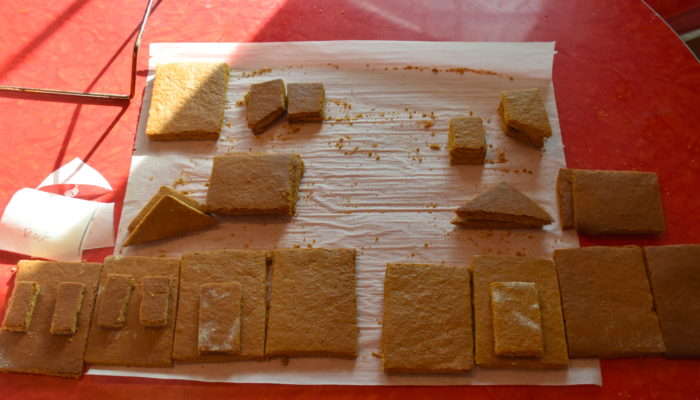
Once your gingerbread is out of the oven you need to work fairly quickly to get your pieces cut. I like to use a pizza roller to cut mine but you could also use a sharp knife. Here are my cut out pieces divided into groups for each house. You can see that I also cut out some doors and some chimney pieces.
Next I pulled out my glue gun and hot glued my pieces to my cartons. If you are a gingerbread purist or are not trying to complete this project with young children then you can use the royal icing recipe below to hold the sides of your house together.
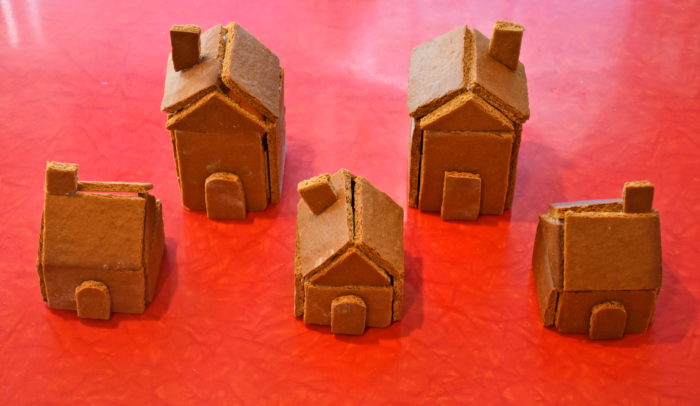
Here are my assembled houses that are now ready for some royal icing.
Now if you have read the first part of the post and thought “This woman is nuts. I am never baking my own gingerbread!!!” Then I get it, I will admit this is my craziest hobby yet. However the royal icing recipe is easy to make and so much better than then the hard to use packets that come with the kits. So if creating a from scratch gingerbread house isn’t for you, then buy the kit and make the icing.
Royal Icing (makes 5 cups of icing)
- 4 egg whites
- 1 teaspoon cream of tartar
- 2 teaspoons of water
- 1 pound of powdered sugar
Mix all your ingredients in the bowl of your stand mixer at medium speed until your icing forms stiff peaks (about 5 minutes). You want your icing to be thick so it can hold your structure together. If your icing is not thick enough you can add more powdered sugar and if you want it a bit less stiff then you can add a little water, but be careful because a little goes a long way.
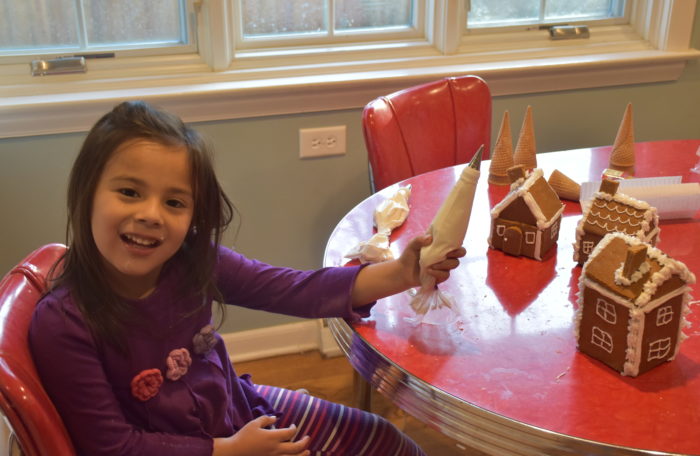
You are going to need to use a pastry bag and a larger star baking tip to ice the sides of your houses. I like to use a tall glass to hold my pastry bag while I fill it with the icing. Then for piping small details like windows I like to fill a second pastry bag with a small round writing tip. Then you are ready to start my favorite part the decorating, I helped my girls pipe the sides and I added the small window details but then I let them use the icing to add some decorations of their own.
My favorite decoration is gum drops because you can use cookie cutters or a pair of kitchen scissors to turn them into all sort of things. What I like to do is to sprinkle a little granulated sugar on my counter and then roll two or three gumdrops together using my rolling pin. The sugar keeps them from sticking to your counter and then you have a even sheet of candy that you can cut into a wreath, star or what ever you can imagine.
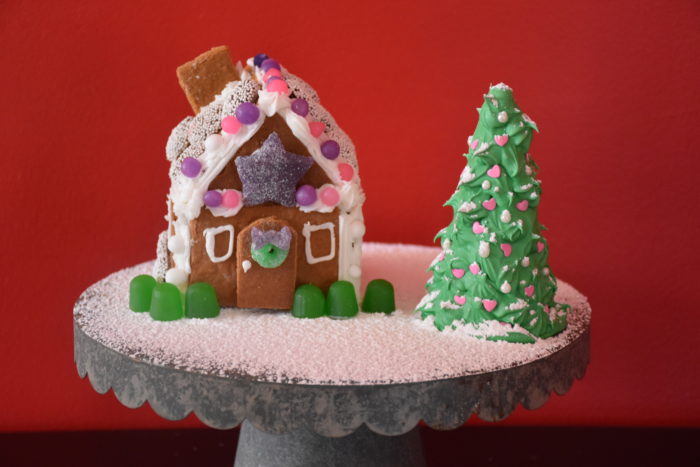
The house above is the one my oldest daughter made. I went with her cute pink and purple theme and helped her make a christmas tree using an upside down ice cream cone.
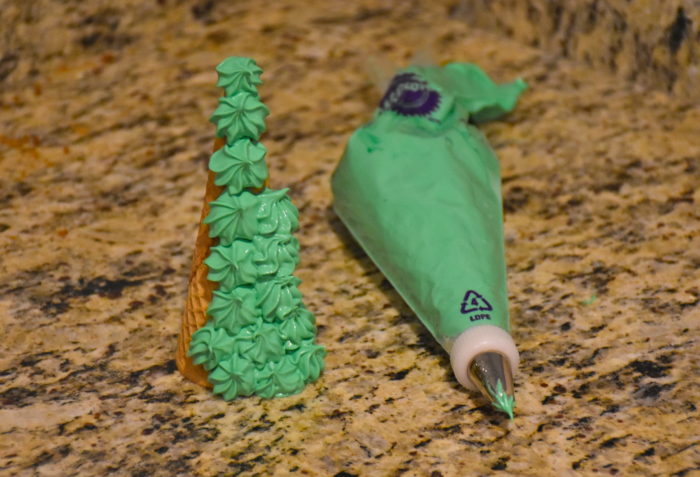
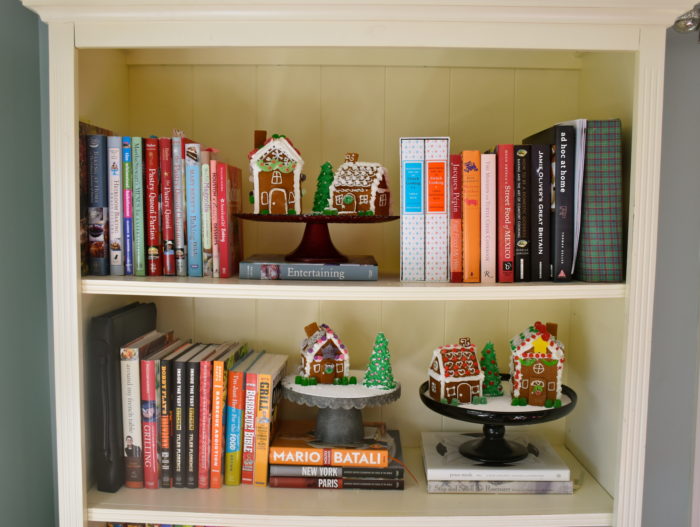
I made another small batch of royal icing that I colored green with gel food coloring and I used a star tip to cover it in “branches.” Then we added some heart shape sprinkles for extra fun. My youngest daughter helped design the house with the yellow star on top. She had a great time, but she wasn’t in the mood to stop for pictures. Once we finished our houses I used a metal strainer to sift powdered sugar as a snowy base on my cake stand then we placed the houses on them and added some gumdrop and dot candy bushes. I displayed our little gingerbread village in my kitchen bookshelf. I decided that our houses were fun to look at, but a bit safer on the higher shelves.
So after I few year hiatus it was fun to share something I love with my girls. I am already looking forward to more gingerbread adventures with my amazing little pastry team. My plans for a smaller scaled project made this something we could do together, but with their imaginations who knows what we will be building in the future.


It looks like your girls are as creative as you are! I’m so impressed. Henry and I made a gingerbread house kit together last year and it was a little more than my OCD could handle. He just wanted to eat all the candy and smear sticky icing in his hair. I think we’ll wait a couple of years before we try again!
LOL that is too funny! There is definitely a reason I took a little break before resuming this tradition.
I used to be something of a stickler for not eating the project while you’re still making it. When my wife got out the gingerbread materials this year, I retreated to washing dishes so that my OCD wouldn’t be a cloud over the project. I try to look away whever I think a child might grab building materials and convert them to snacking materials.
Let me offer a vote in favor of the hot glue gun. We did not use one (just relied on icing), and there had to be a reconstruction when an accident knocked over part of the house.
Too funny! I hear you on the reconstruction issue the hot glue gun idea definitely comes from experiencing my own construction issues in the past.