I love how the twinkling lights of our Christmas tree can brighten my home and spirits almost instantly. It’s the first decoration I pull out from storage and the final to be put away each year. Last year I had to take down our tree in secret, in the wee hours of the night, to keep my daughters from crying. Our Christmas tree is so close to our hearts not because it’s department store perfect; instead it’s the memories and many handmade ornaments that make it ours. When I had my first place on my own I decided I would decorate my Christmas tree with stars. I love the shape and the symbolic meaning. In the Christmas story the star stands for hope and the promise of Jesus. Over the years my collection has grown. I have stars that have been given to me by friends and family that always make me think of them. I have stars I have found while traveling that remind me of great times and places. Then there are homemade ornaments, not all of them stars, that are my favorites because they remind me of the love that went into each stitch, painting, or drop of glitter glue.
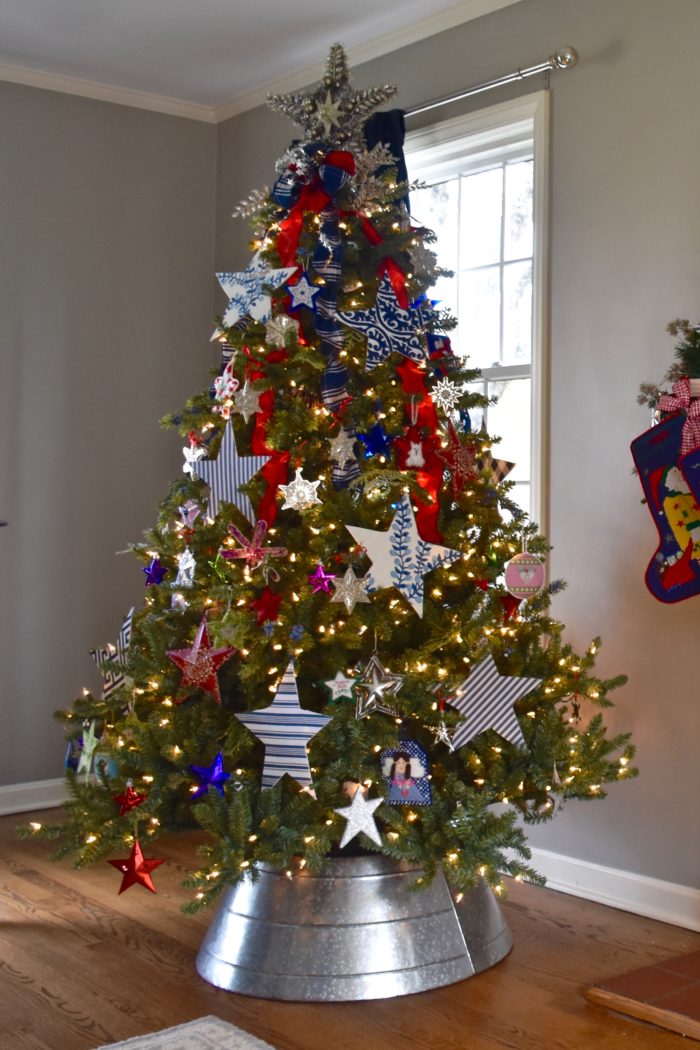
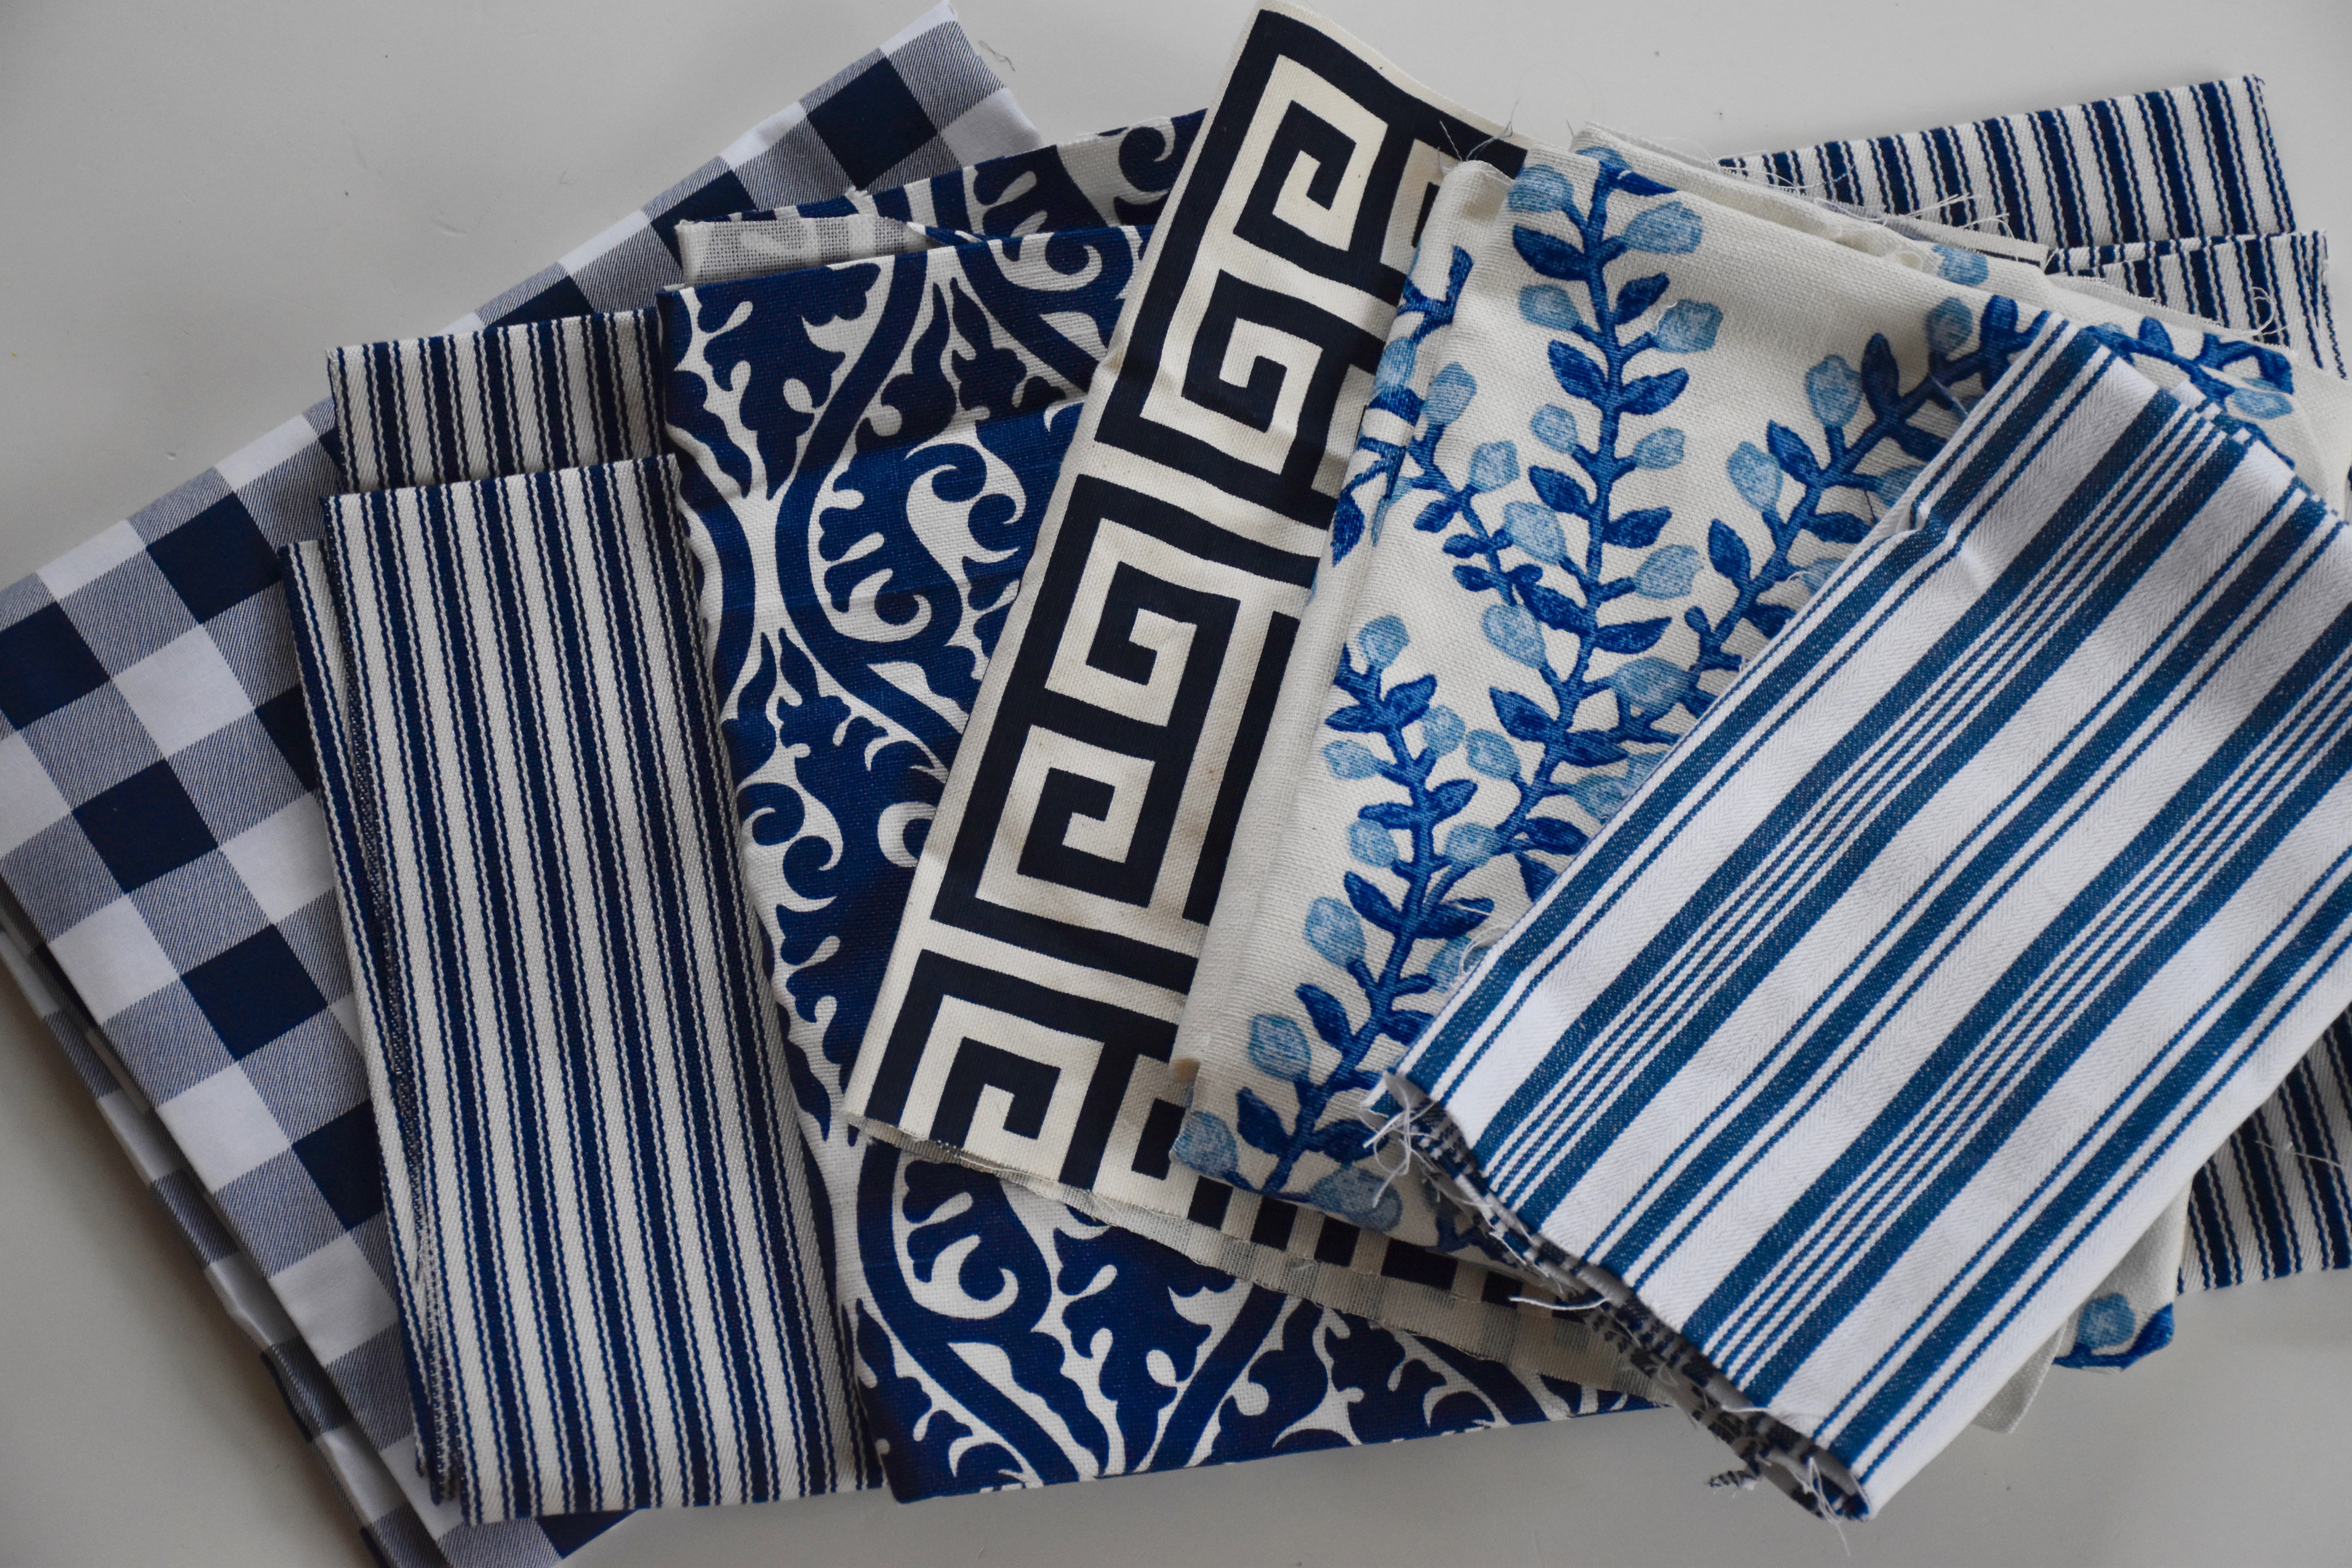
This year we have double the tree excitement in our house because we decided to get a new larger tree for our living room, which had me creating a new look for our traditionally star studded tree. So with this new tree came a need for more ornaments. So I decided to create some bespoke fabric stars that give our new tree a custom blue and white touch. I took some decorative fabrics remnants I had from other projects and I got some Pellon double-sided fusible interfacing from my fabric store.
This stiff interfacing was easy to use and it allowed me to make double-sided stars without having to sew a stitch. All you need is an iron and some sharp scissors.
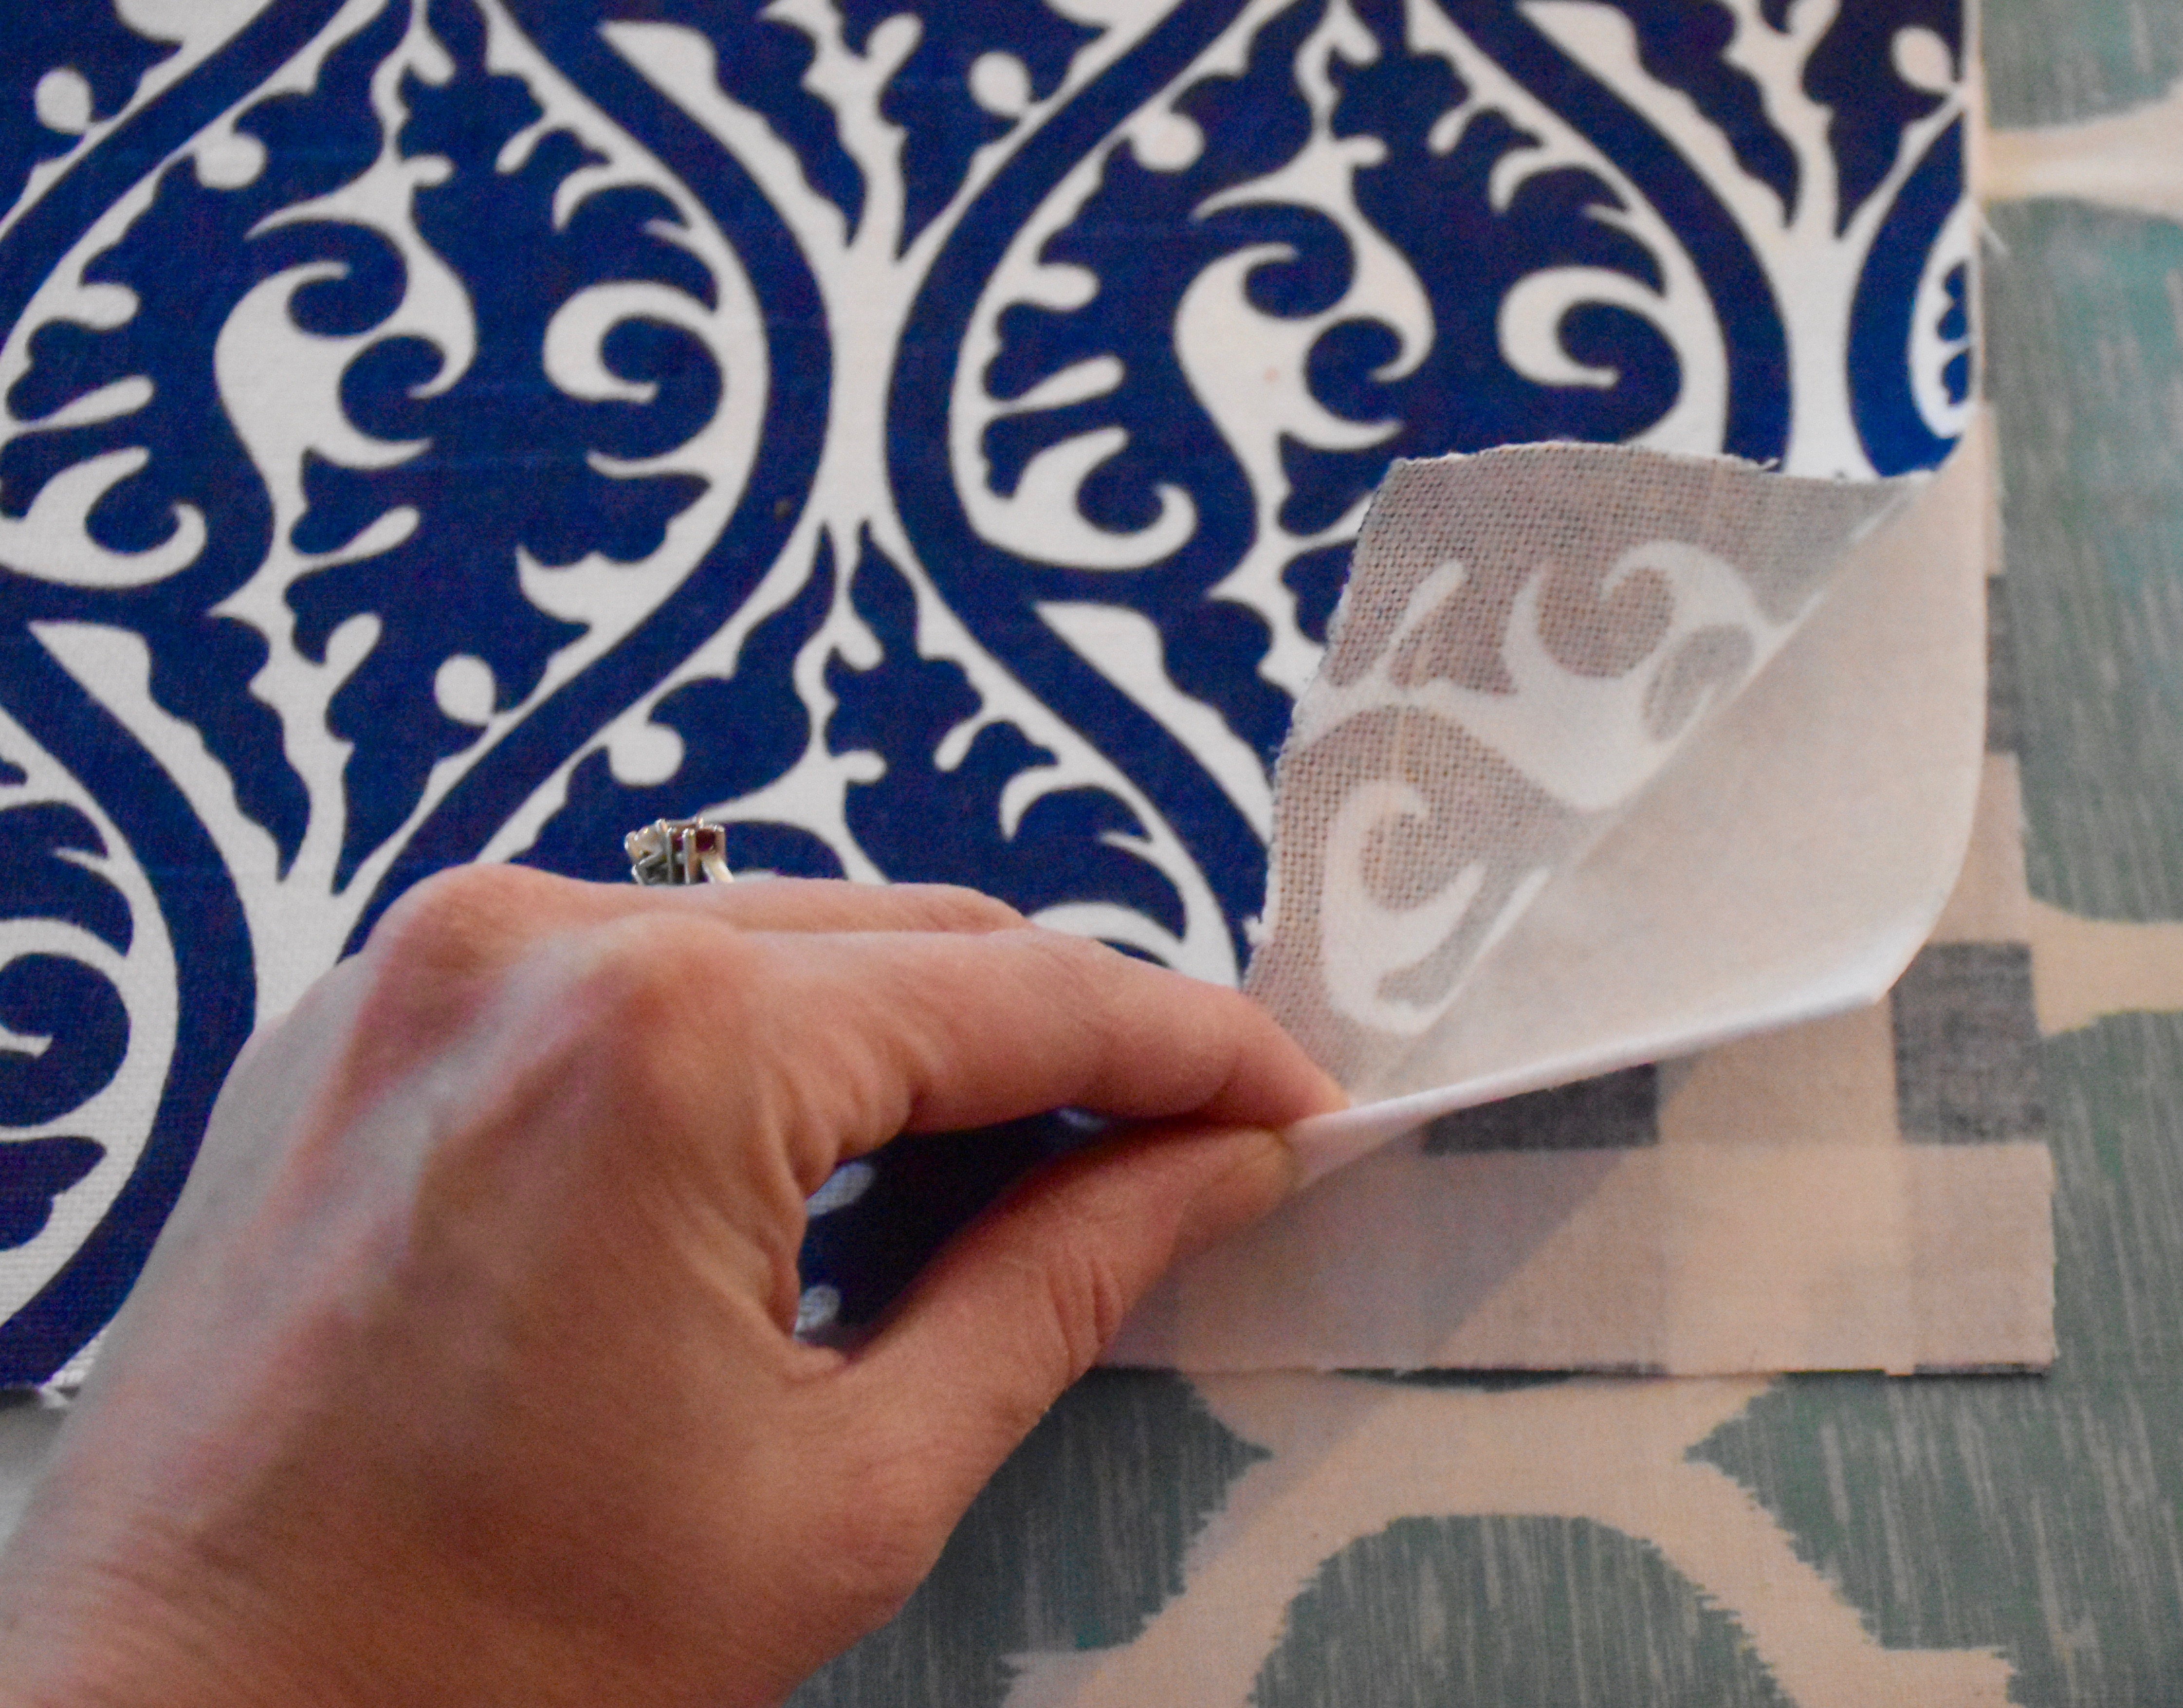
I just sandwiched my interfacing between two pieces of fabric that were cut into squares that were about the length and width of the stars I wanted to make. Then once my fabric was well ironed and attached on both sides, I used a cardboard star as a template and I cut out my star shape.

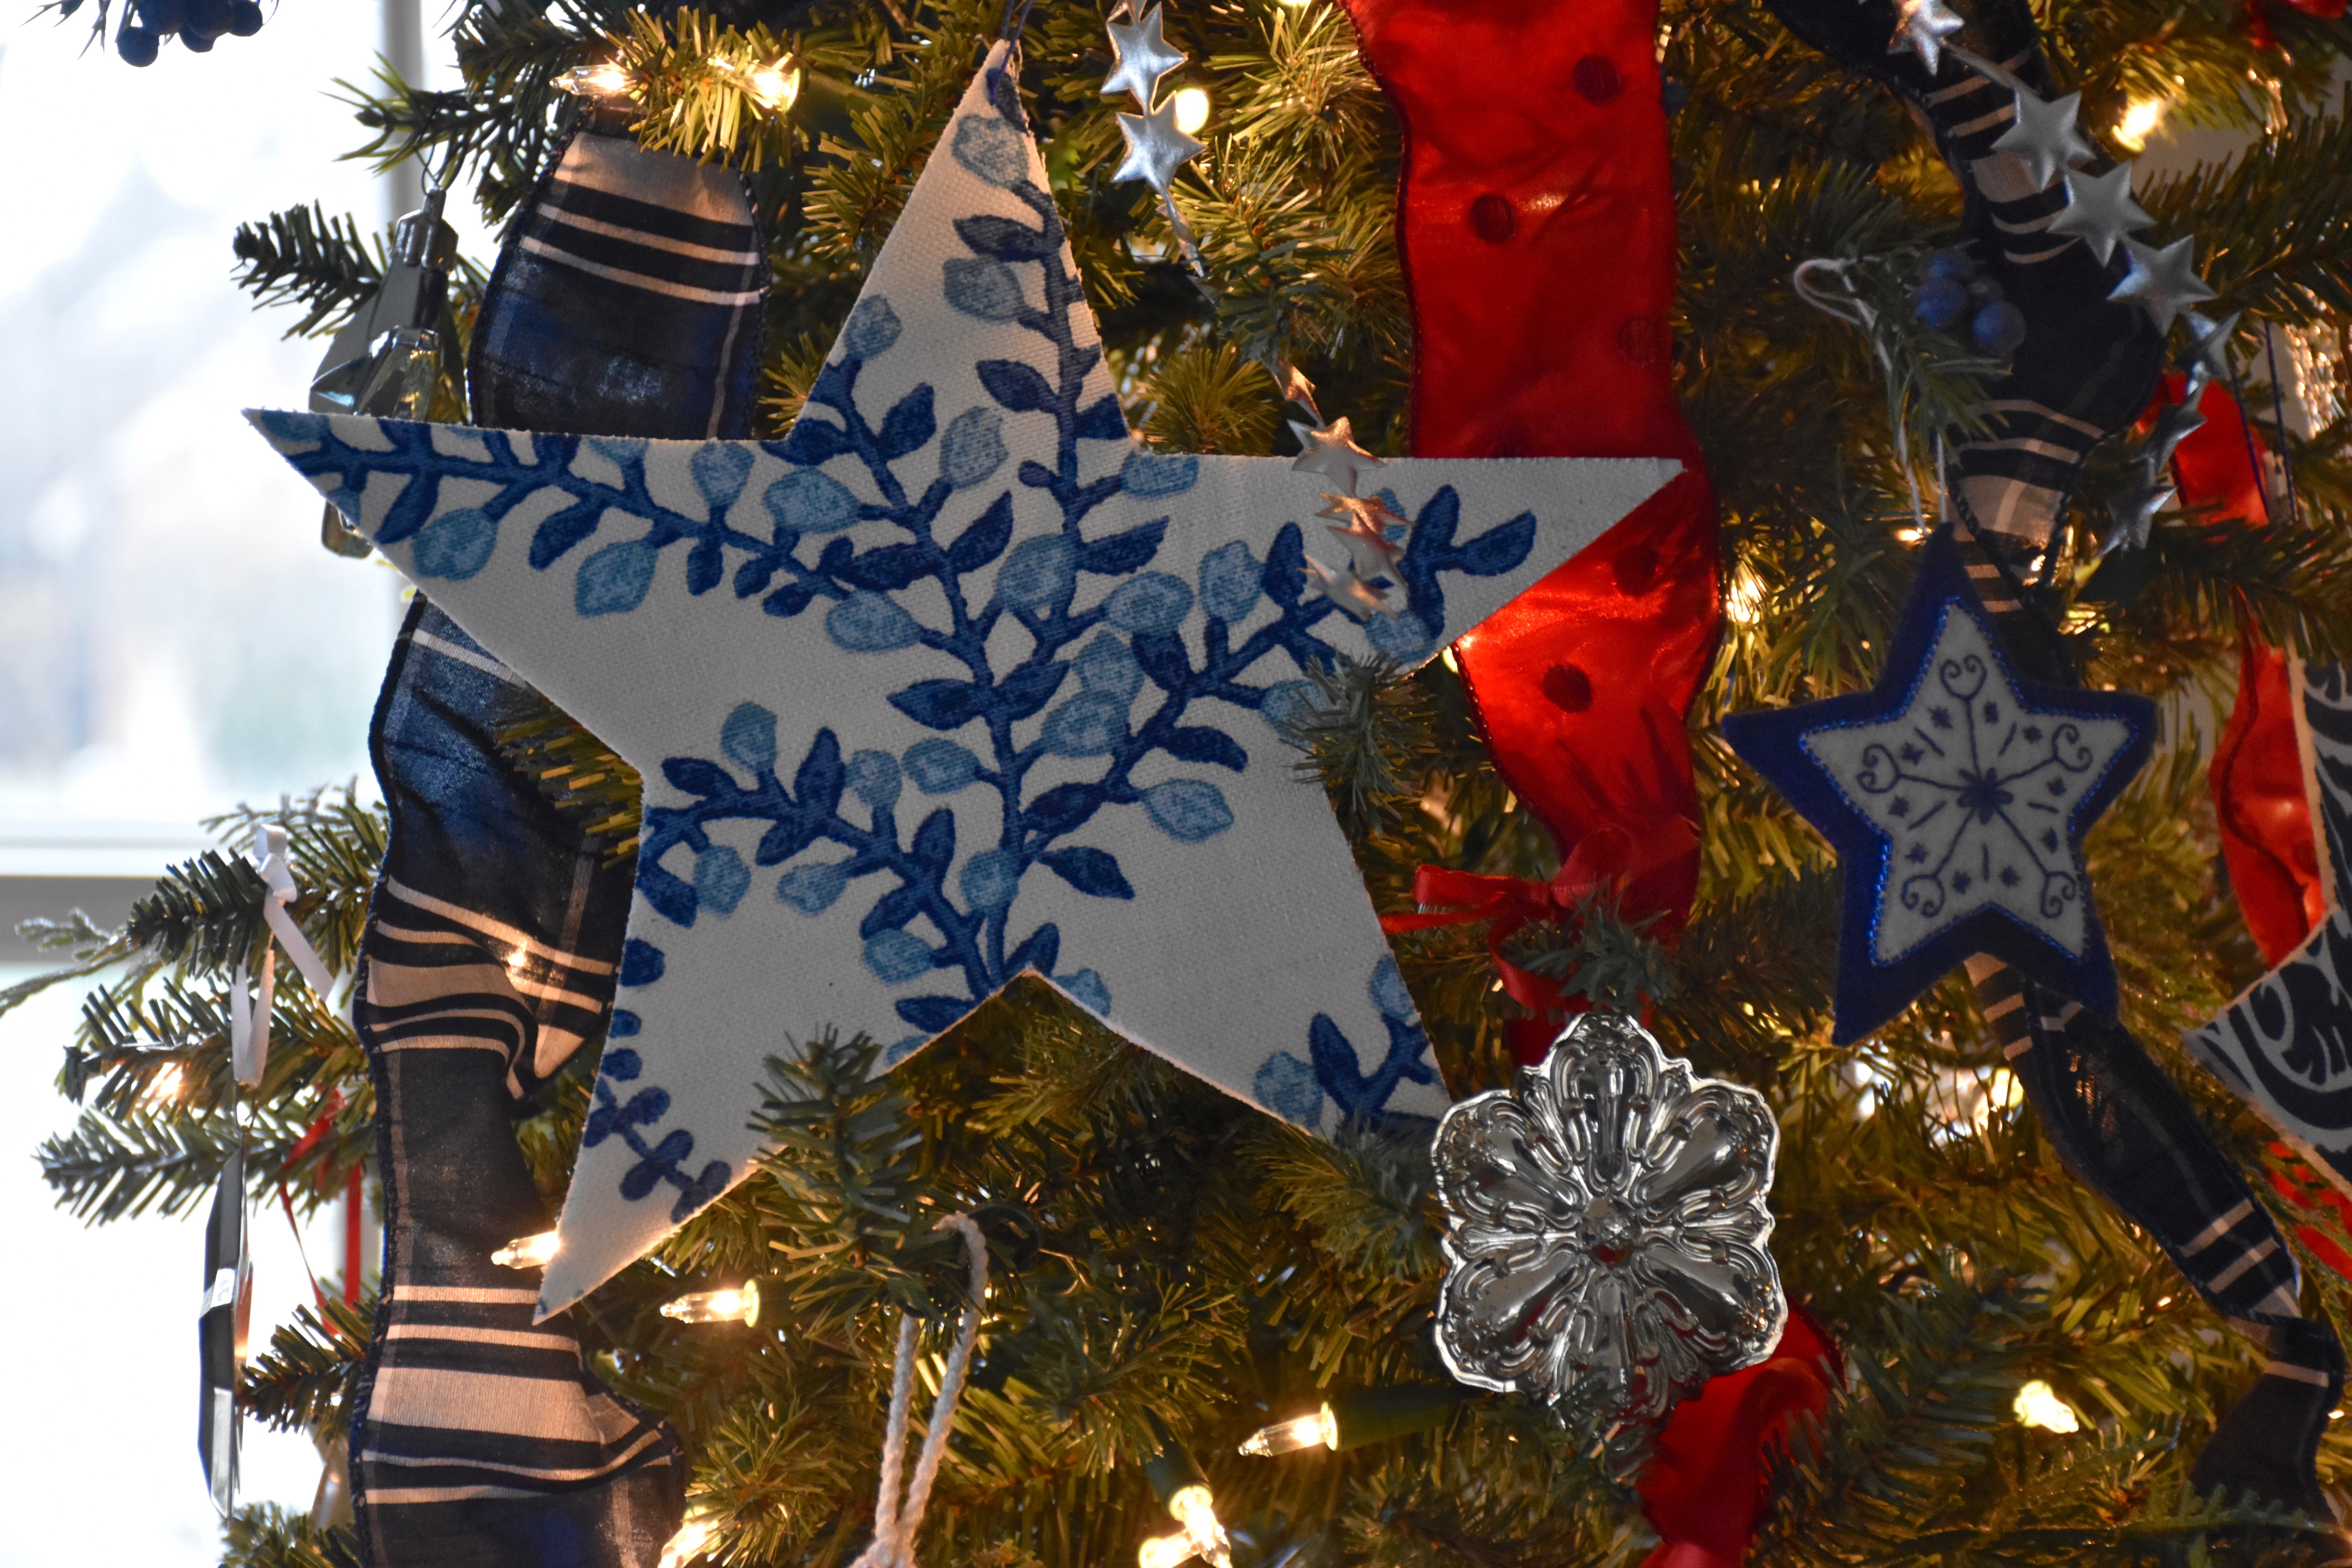
Here is a close up of a blue and white fabric stars on my tree. I used a needle and thread to add a simple thread loop on the top so I could hang them.
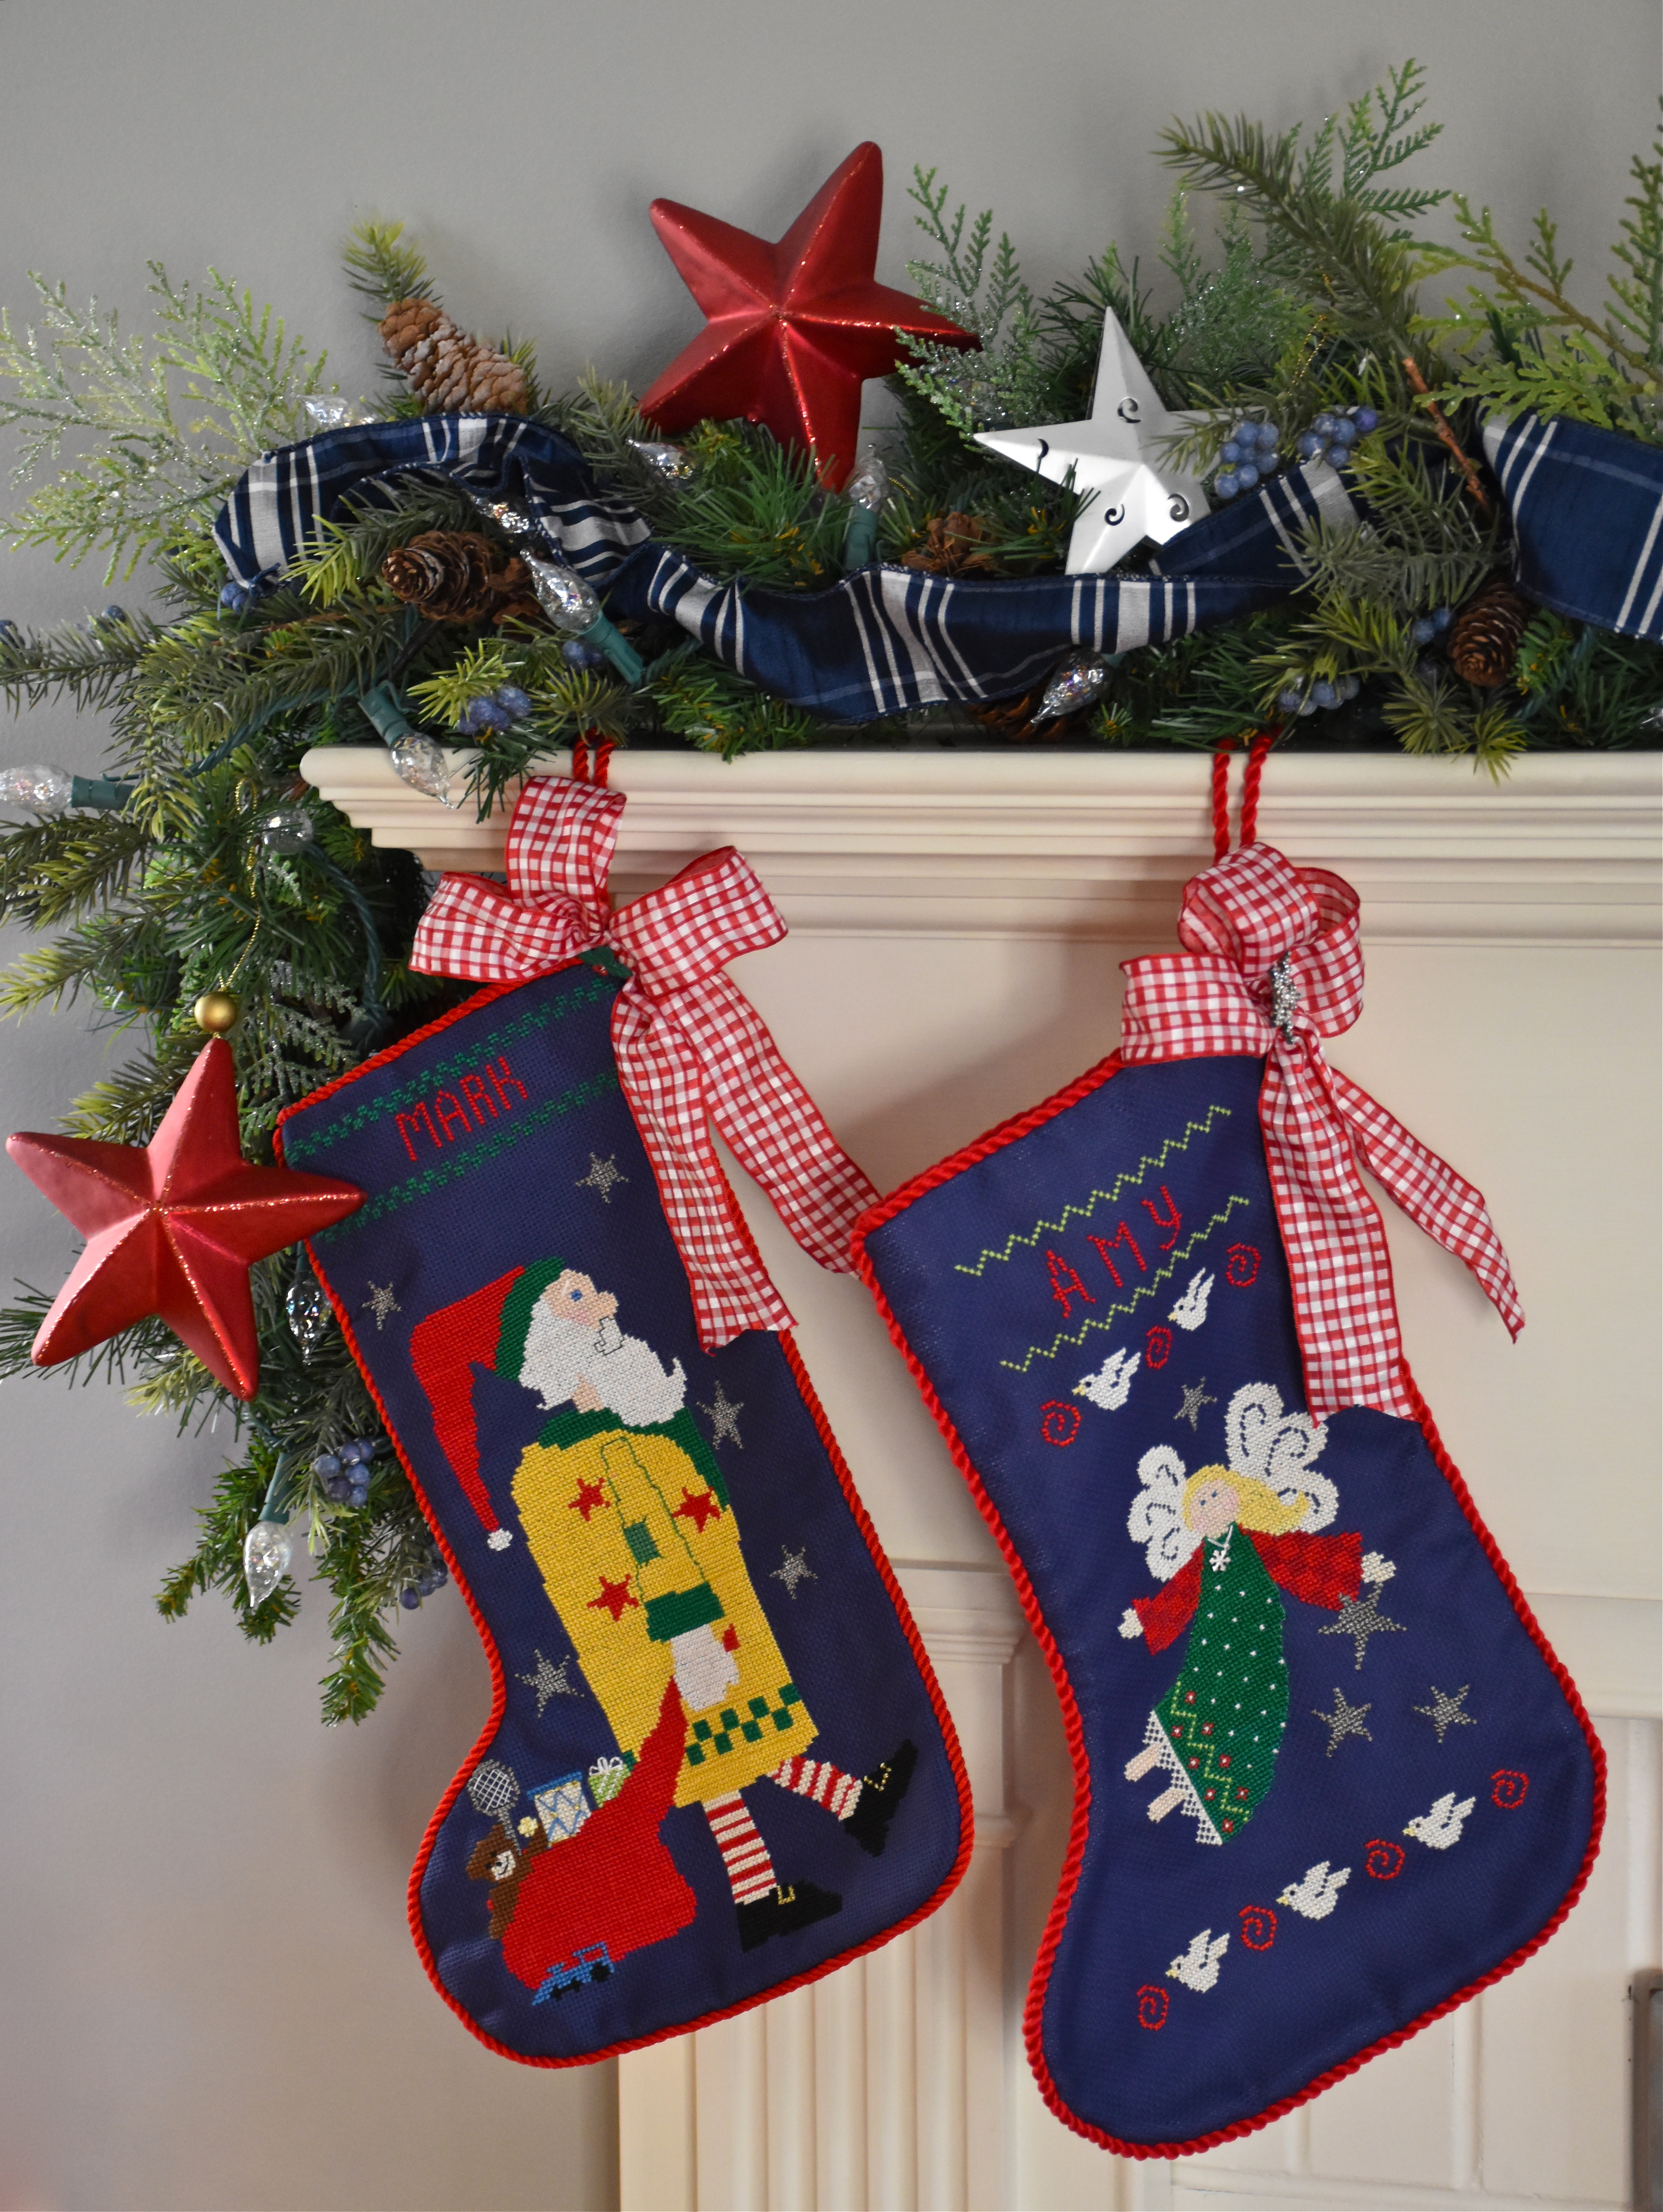
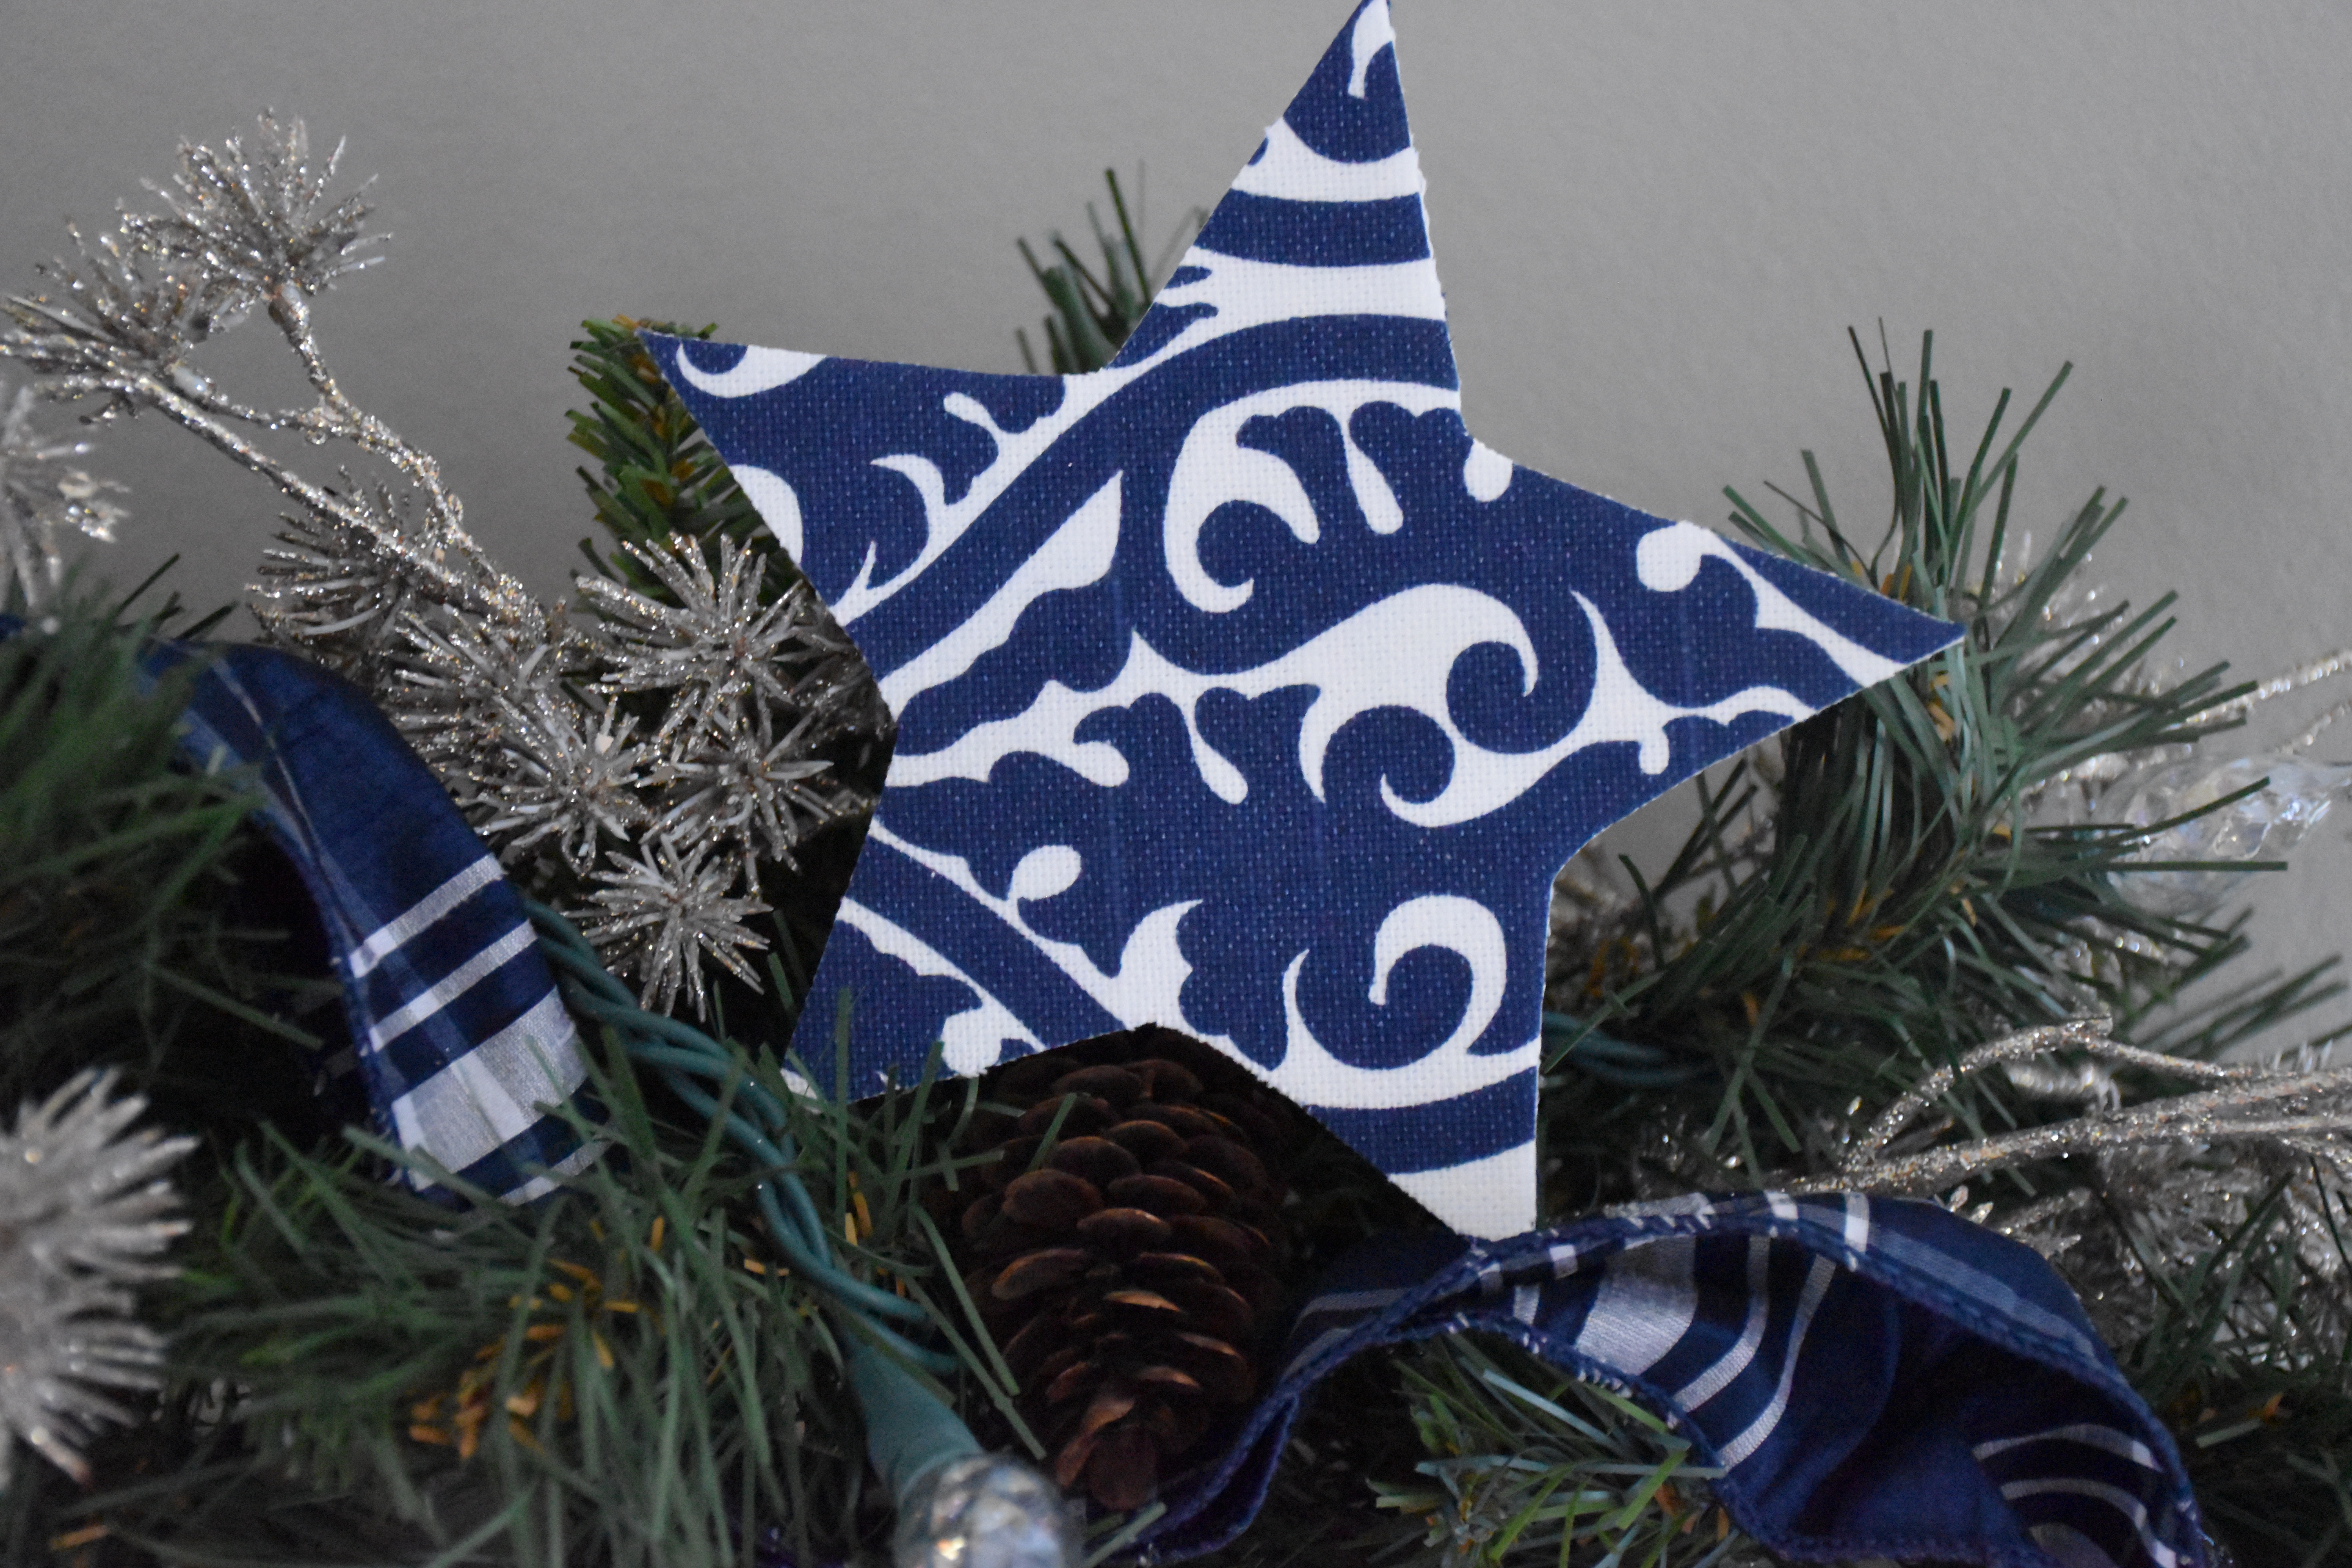
These stars were simple to make and I loved the look so I created some smaller stars for my mantle garland as well.
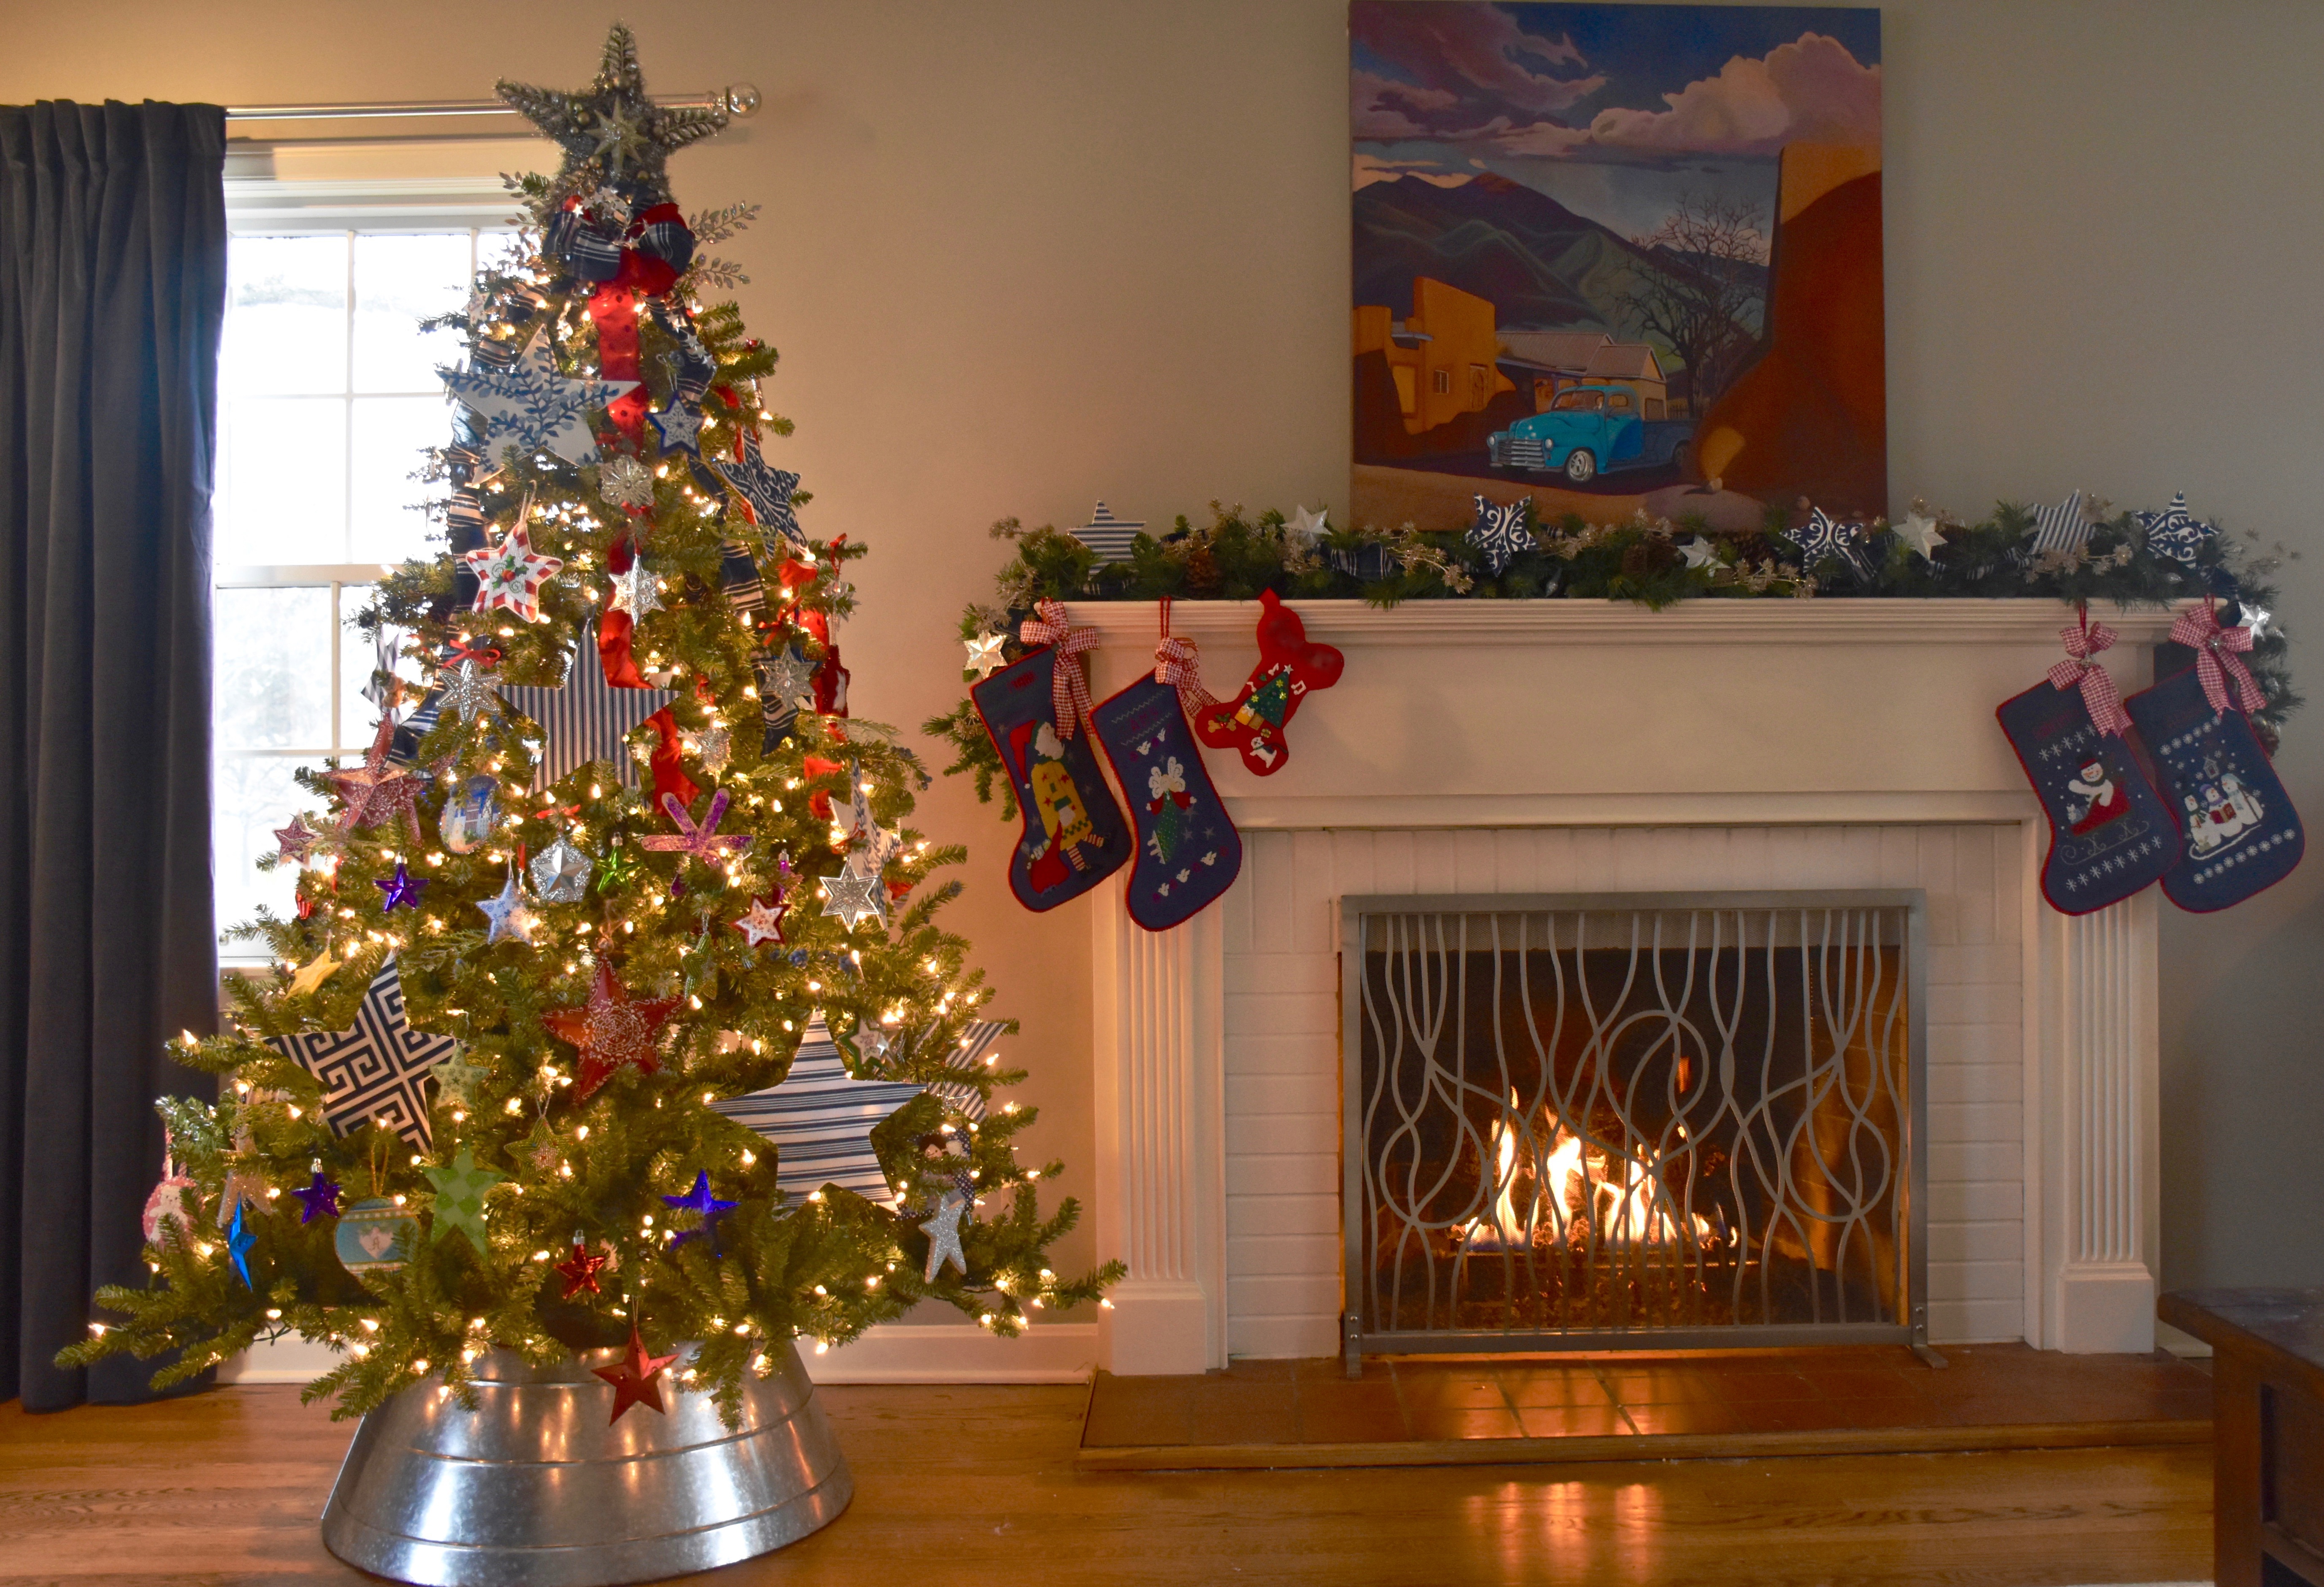
I change up my Christmas decor a little bit each year so no year is exactly the same. This Christmas I am loving our new tree and all the blue and white details.
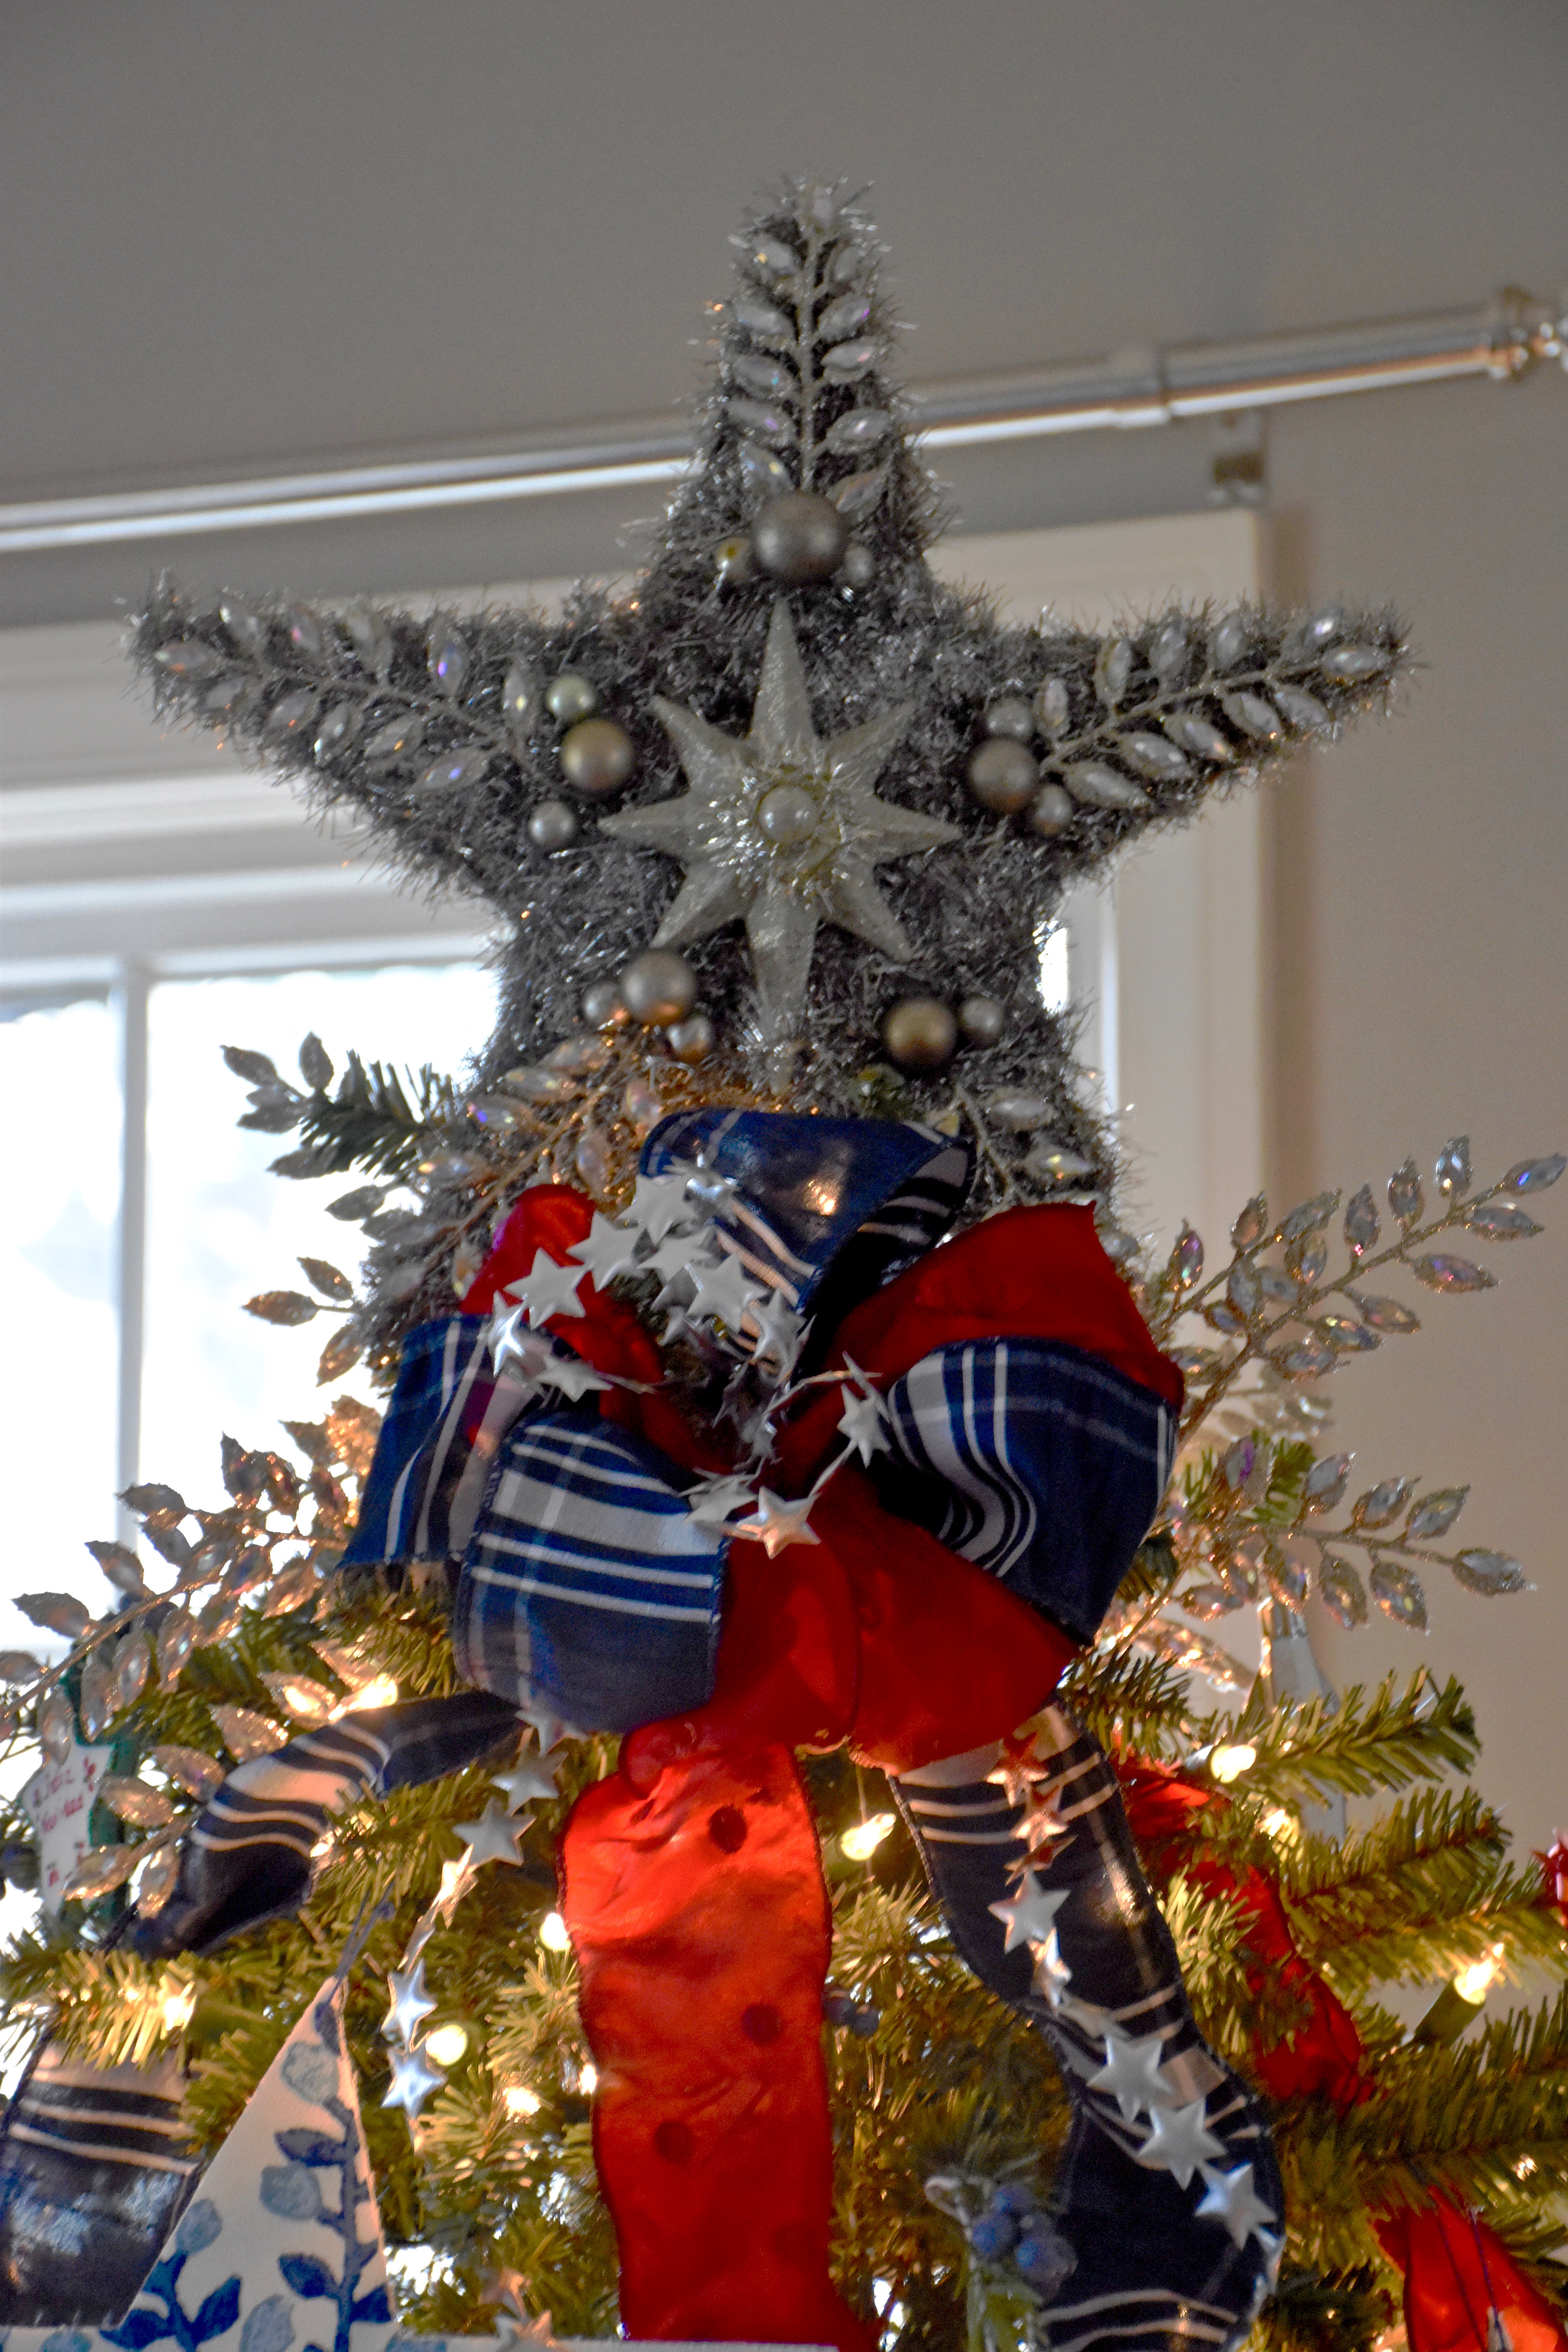
I completed our tree with a new vintage inspired tree topper I created as well.
Then I got further carried away and even made some tartan terrier shaped ornaments for another garland in my dining room.
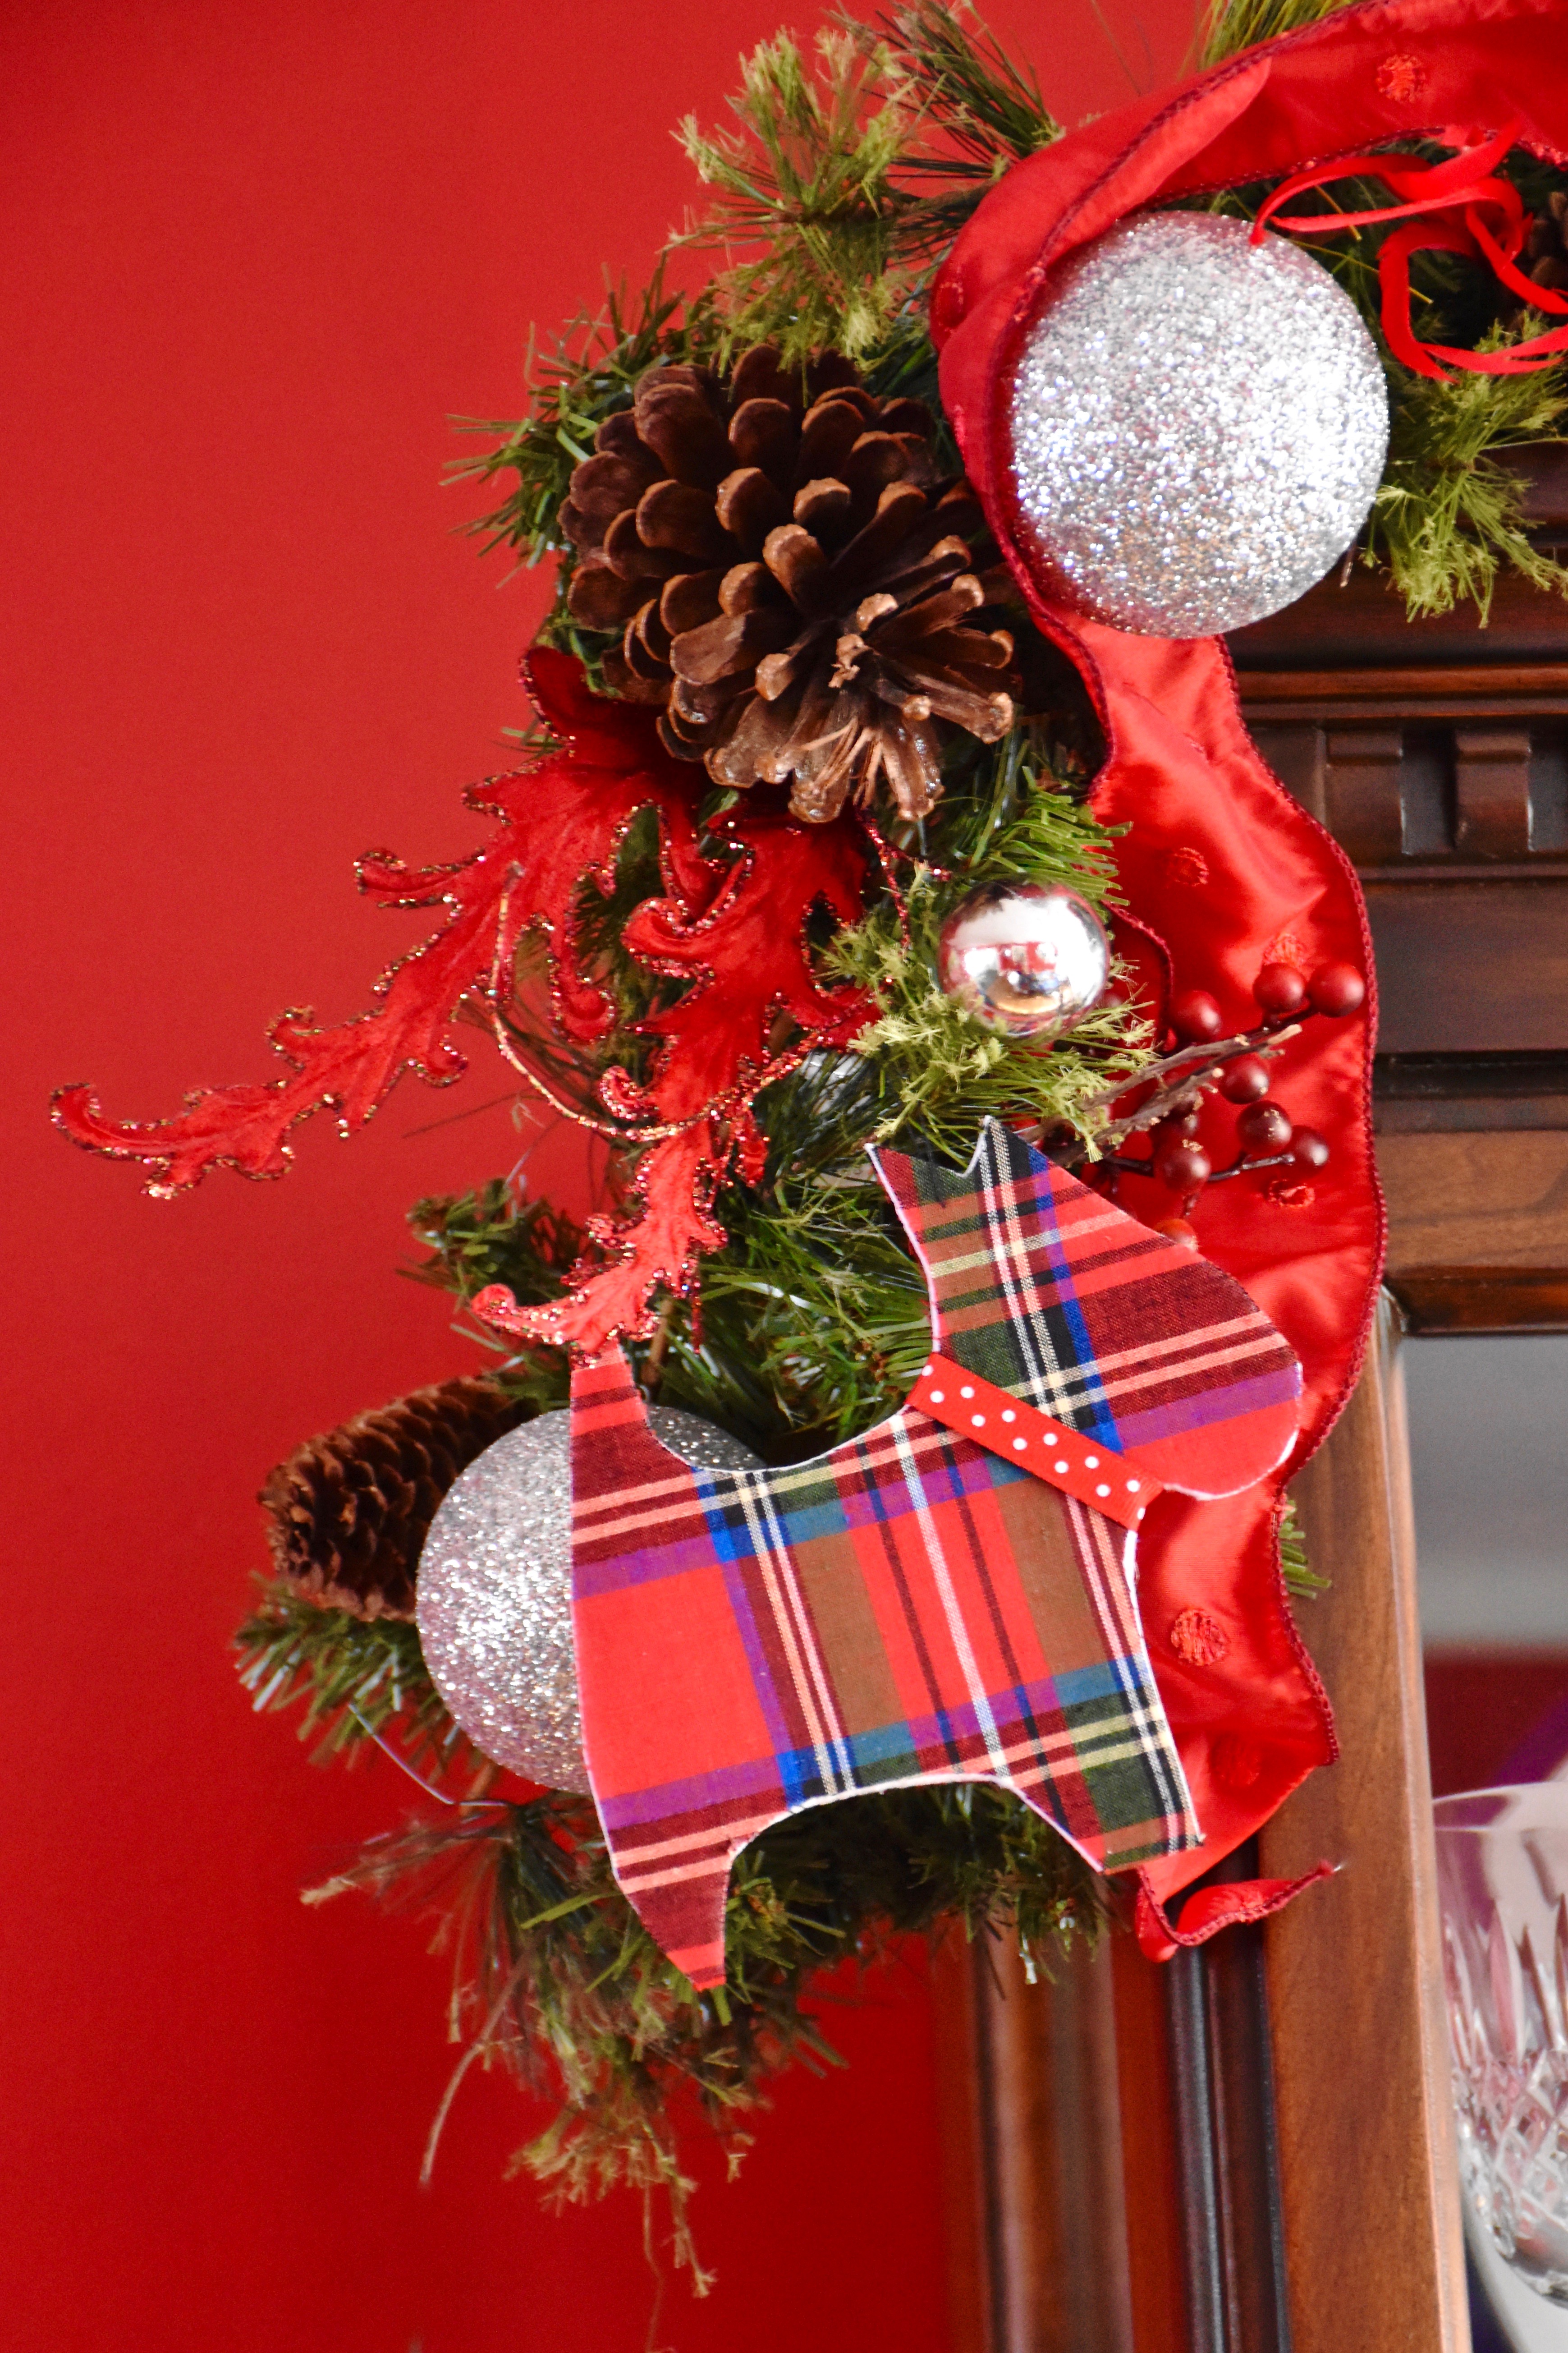
We have a Westie puppy we are very fond of, so it was fun to add a little bit of whimsy and Christmas fun on this garland.
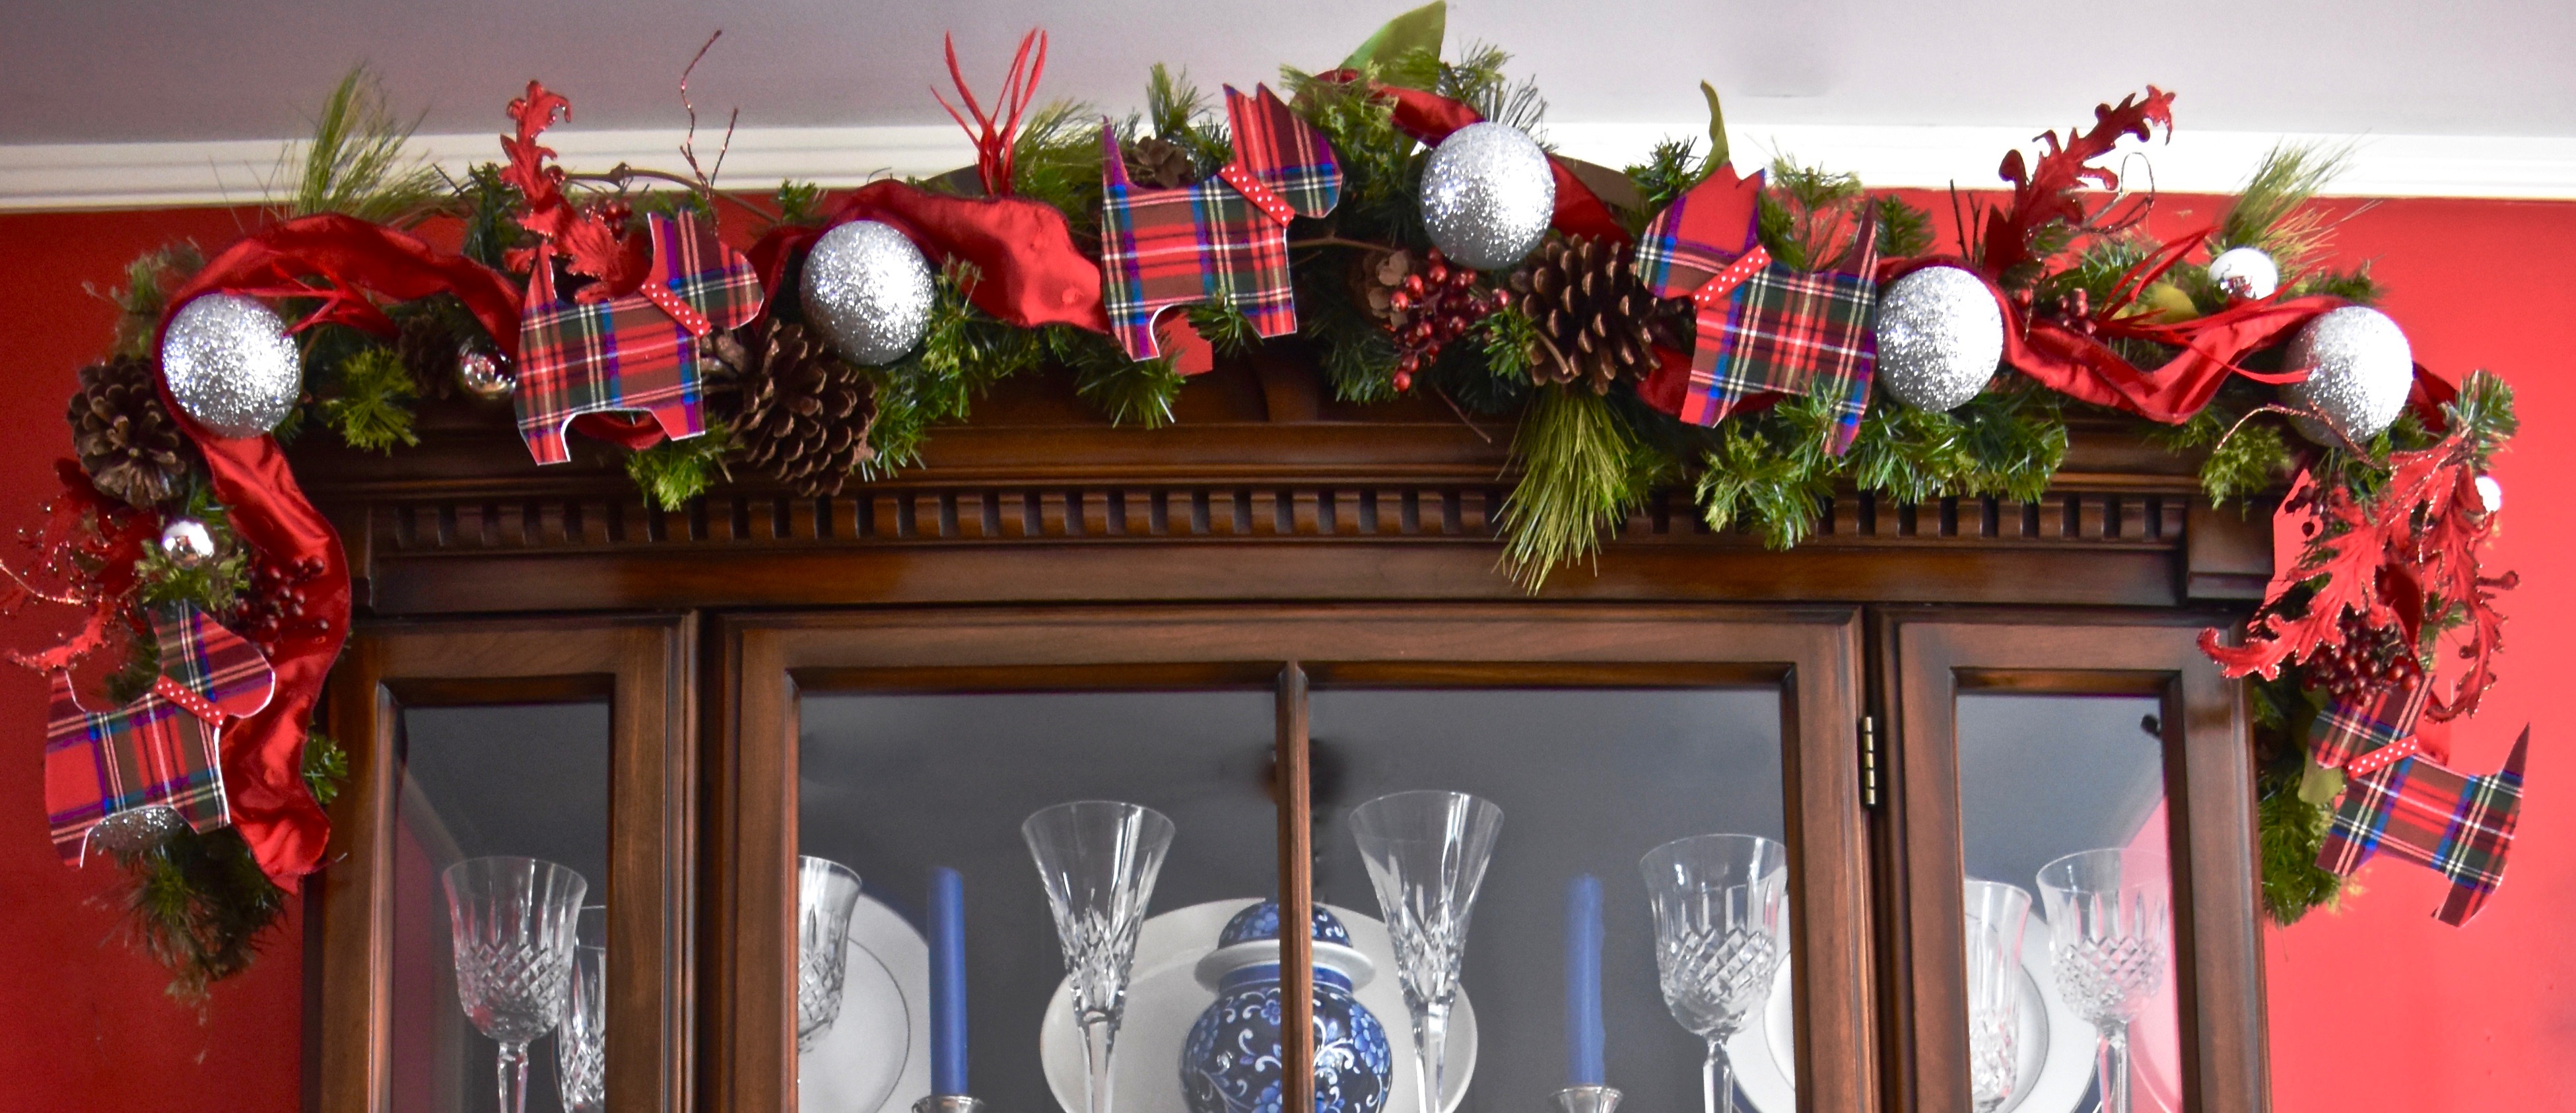
Any basic cookie cutter like silhouette would work so you can customize and create your own one of a kind garland or ornament. The possibilities are as endless as your imagination. Choose your own favorite colors or patterns. You could do something more traditional like a cross or a snowflake, but I also think the silhouette of a flying bird or a butterfly would be pretty as well. I am still decorating and getting our house ready for the season so I will have to show you my girls’ tree and more decorating ideas and in the weeks to come. However, right now I am enjoying the view of our family’s tree and the warm fireplace as we defrost from all the winter snow and ice.
Want more greenery and garlands? Then here is a link to a previous post with more ideas.
Do you have a special collection of ornaments or a family tradition on how you decorate your tree? I would love to hear all about it.