
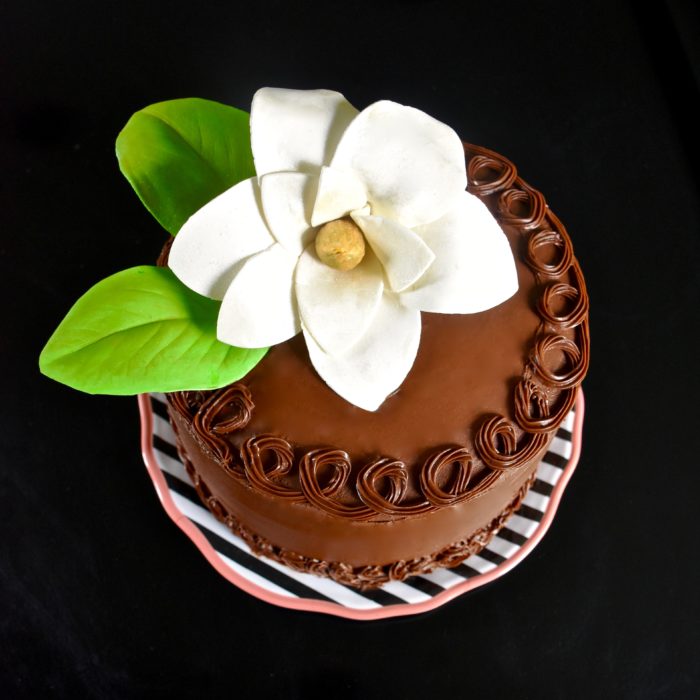
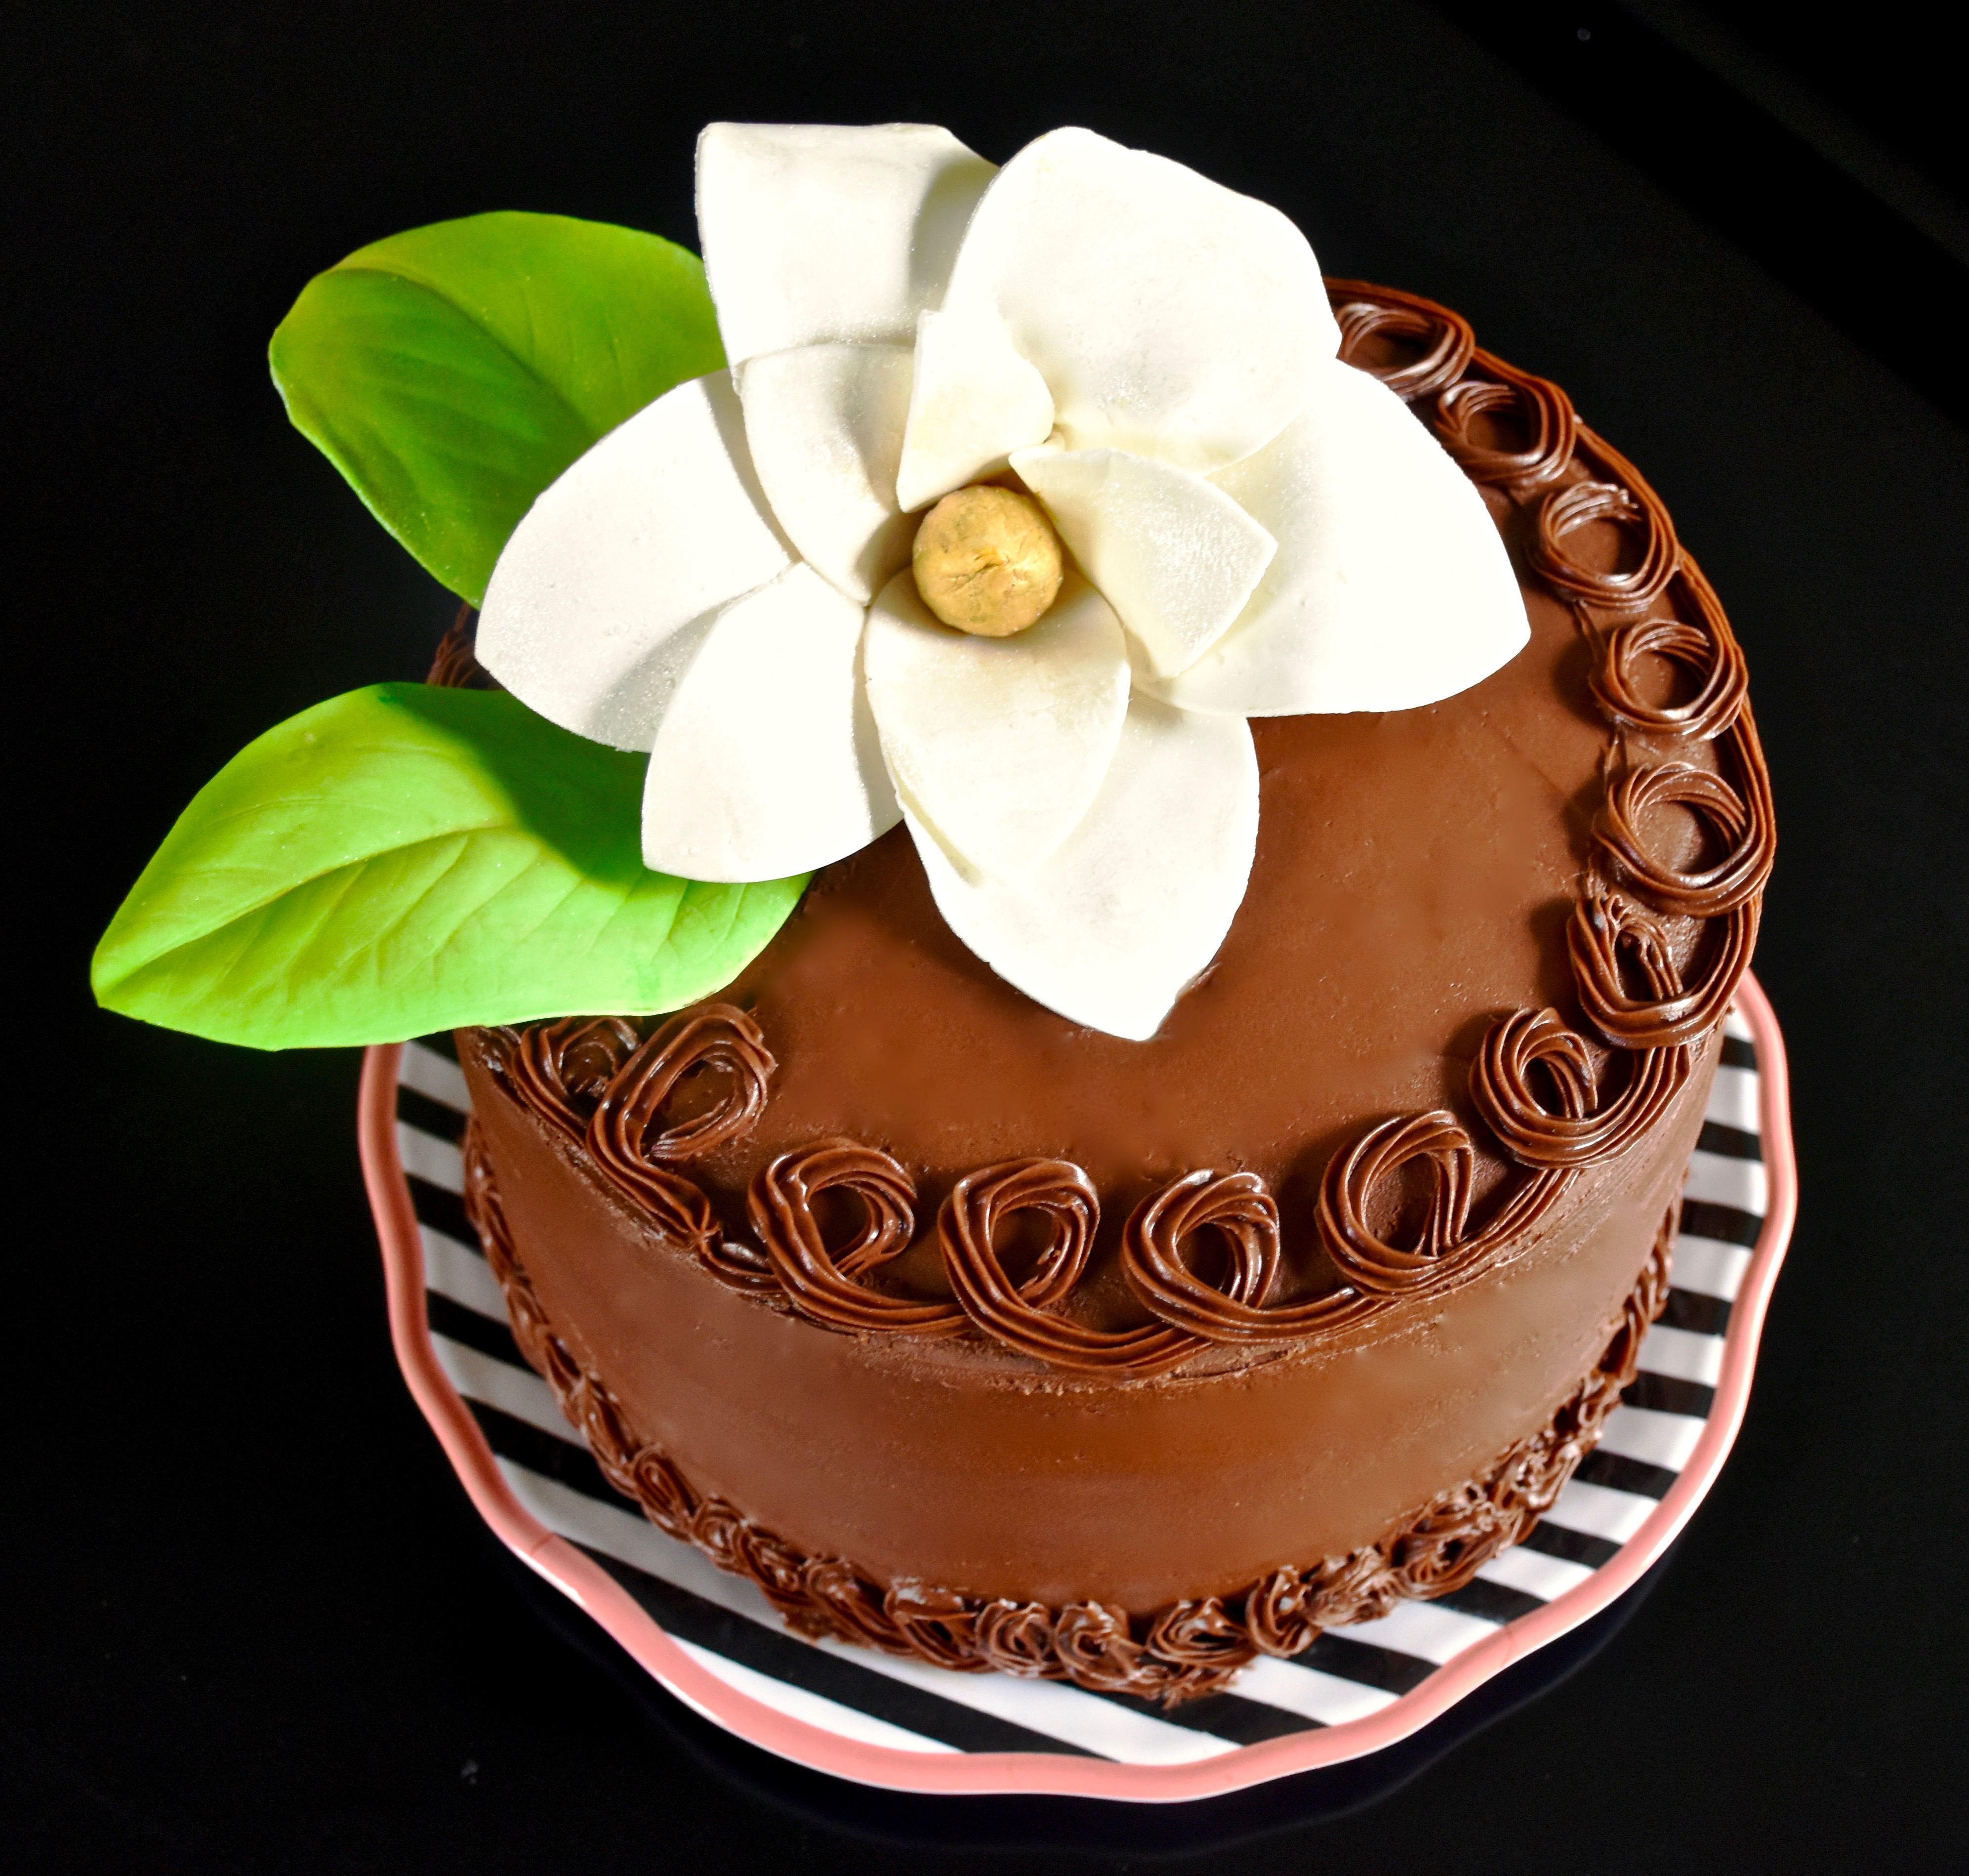
Have you ever baked your own birthday cake? My birthday was last week and husband still doesn’t get why I would want to make my own cake. The simple answer is: I just love to bake. Sometimes it’s just fun to lose track of time for a bit and start creating something beautiful. Usually when I bake layer cakes they are for someone else, so occasionally I enjoy getting to spend a little time creating something I love. This year I wanted a Southern styled cake so I made a favorite of mine Mexican Chocolate cake with cinnamon and I decided to make a single magnolia sugar gum paste flower for the top.
I have loved magnolia trees since I was a kid and used to climb and play in our neighbor Opal’s large Southern magnolia. The old tree took up most of her front lawn and it had lots of low branches that made it perfect to play in. In the spring the magnolia trees would bloom and the neighborhood would look beautiful with all the trees covered in these large creamy white flowers. So I thought that a Southern Magnolia would be just the right touch for the top of my cake.
This is a new sugar flower for me so I took some photographs along the way so you could see how I created this sugar gum paste flower.
First you can buy ready-made sugar gum paste at the craft or baking supply store. I like the Wilton brand. Next depending on the type of flower you are making you will want to get some petal shaped cutter and molds. Craft stores like Michaels and Hobby Lobby carry some but if you want a specialty flower, like a magnolia or a peony then you will likely need to order them online. My two favorite places to find cake supplies are Global Sugar Arts or Sugar Art Studio.
So to make my magnolia the first thing I did was to create the center. I took a small ball of gum paste and used a silicone mold to create the center and then I painted it using a little yellow and brown gel based food coloring. I mixed my food coloring with a tiny bit of lemon extract (you can also use vodka as well). The extract makes the food coloring easy to paint on, but it dries better than water because the alcohol in the extract evaporates.

Then while my center was drying I rolled out a thin sheet of gum paste and cut two sizes of petals. I cut three smaller petals for the inside and six large petals for the base of the flower. Sugar gum paste dries out quickly so once you get your petals cut you want to work quickly to shape them into your flower.

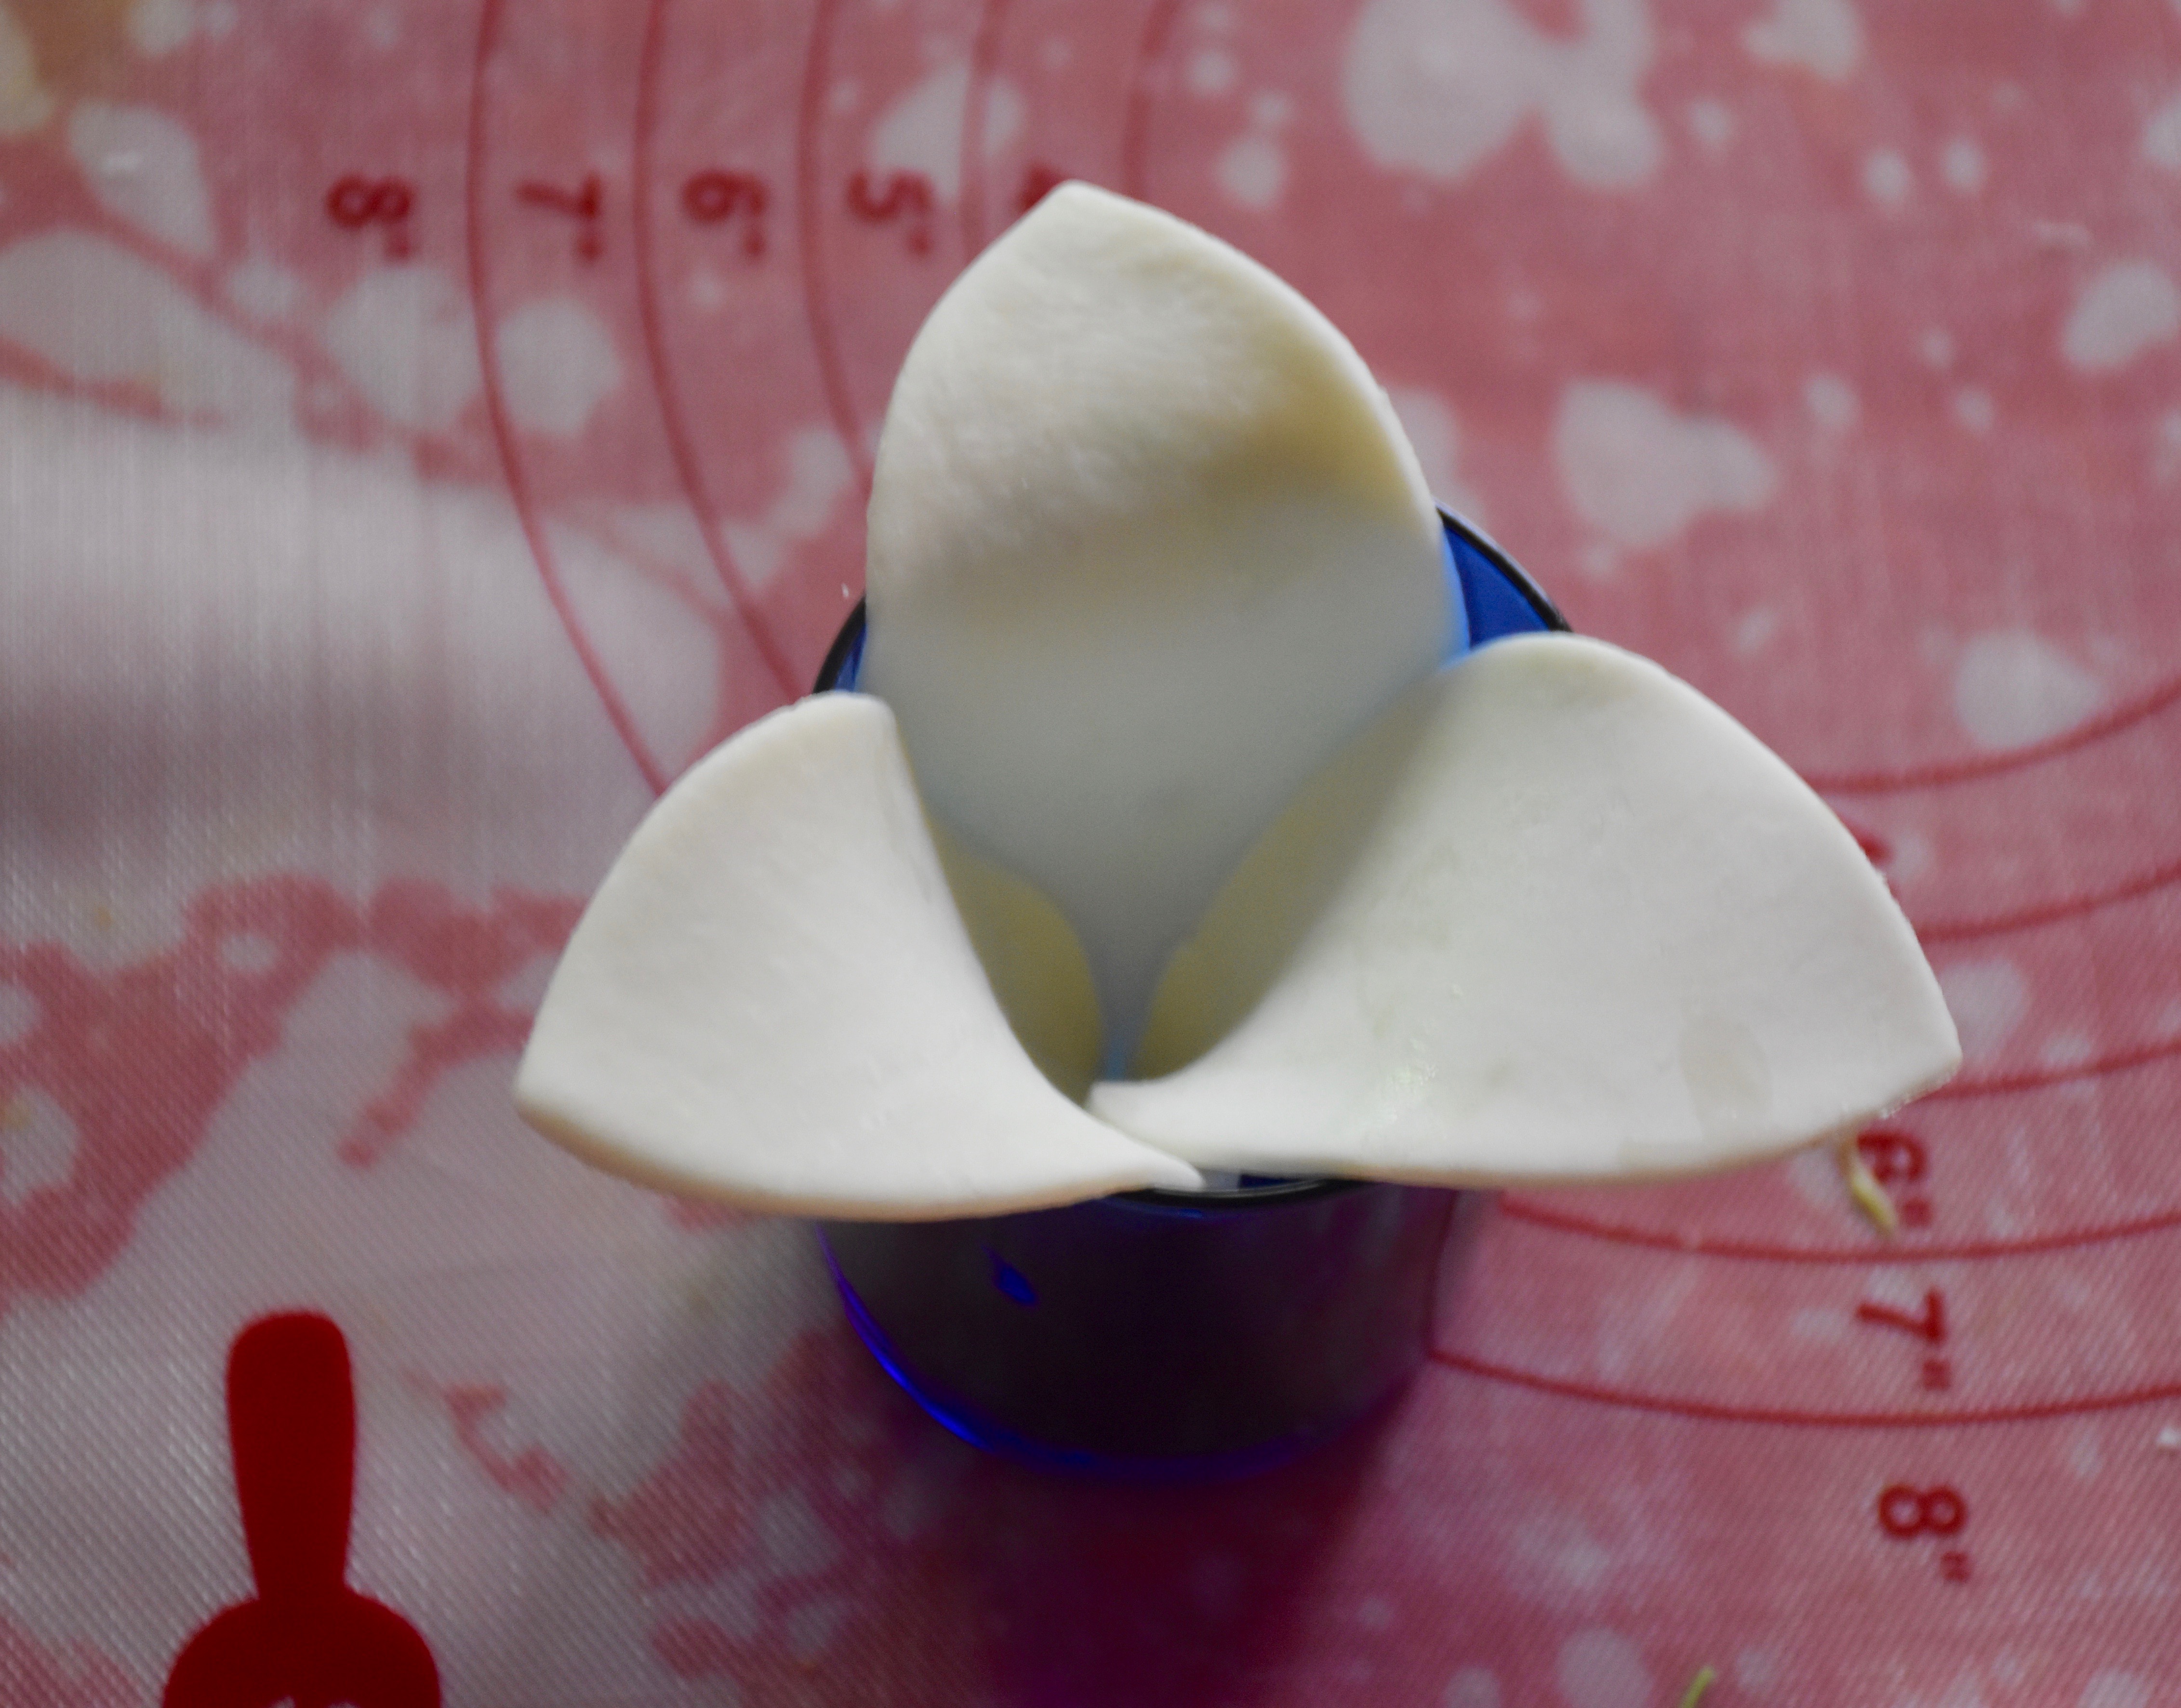
First I shaped the center by overlapping the petals and using just a bit of water on a paint brush to stick the edges of the petals together. I place the center in a small votive candle holder while I worked on the next layer of petals.
Then I overlapped a shaped my outer petals to form the outer layer of petals.
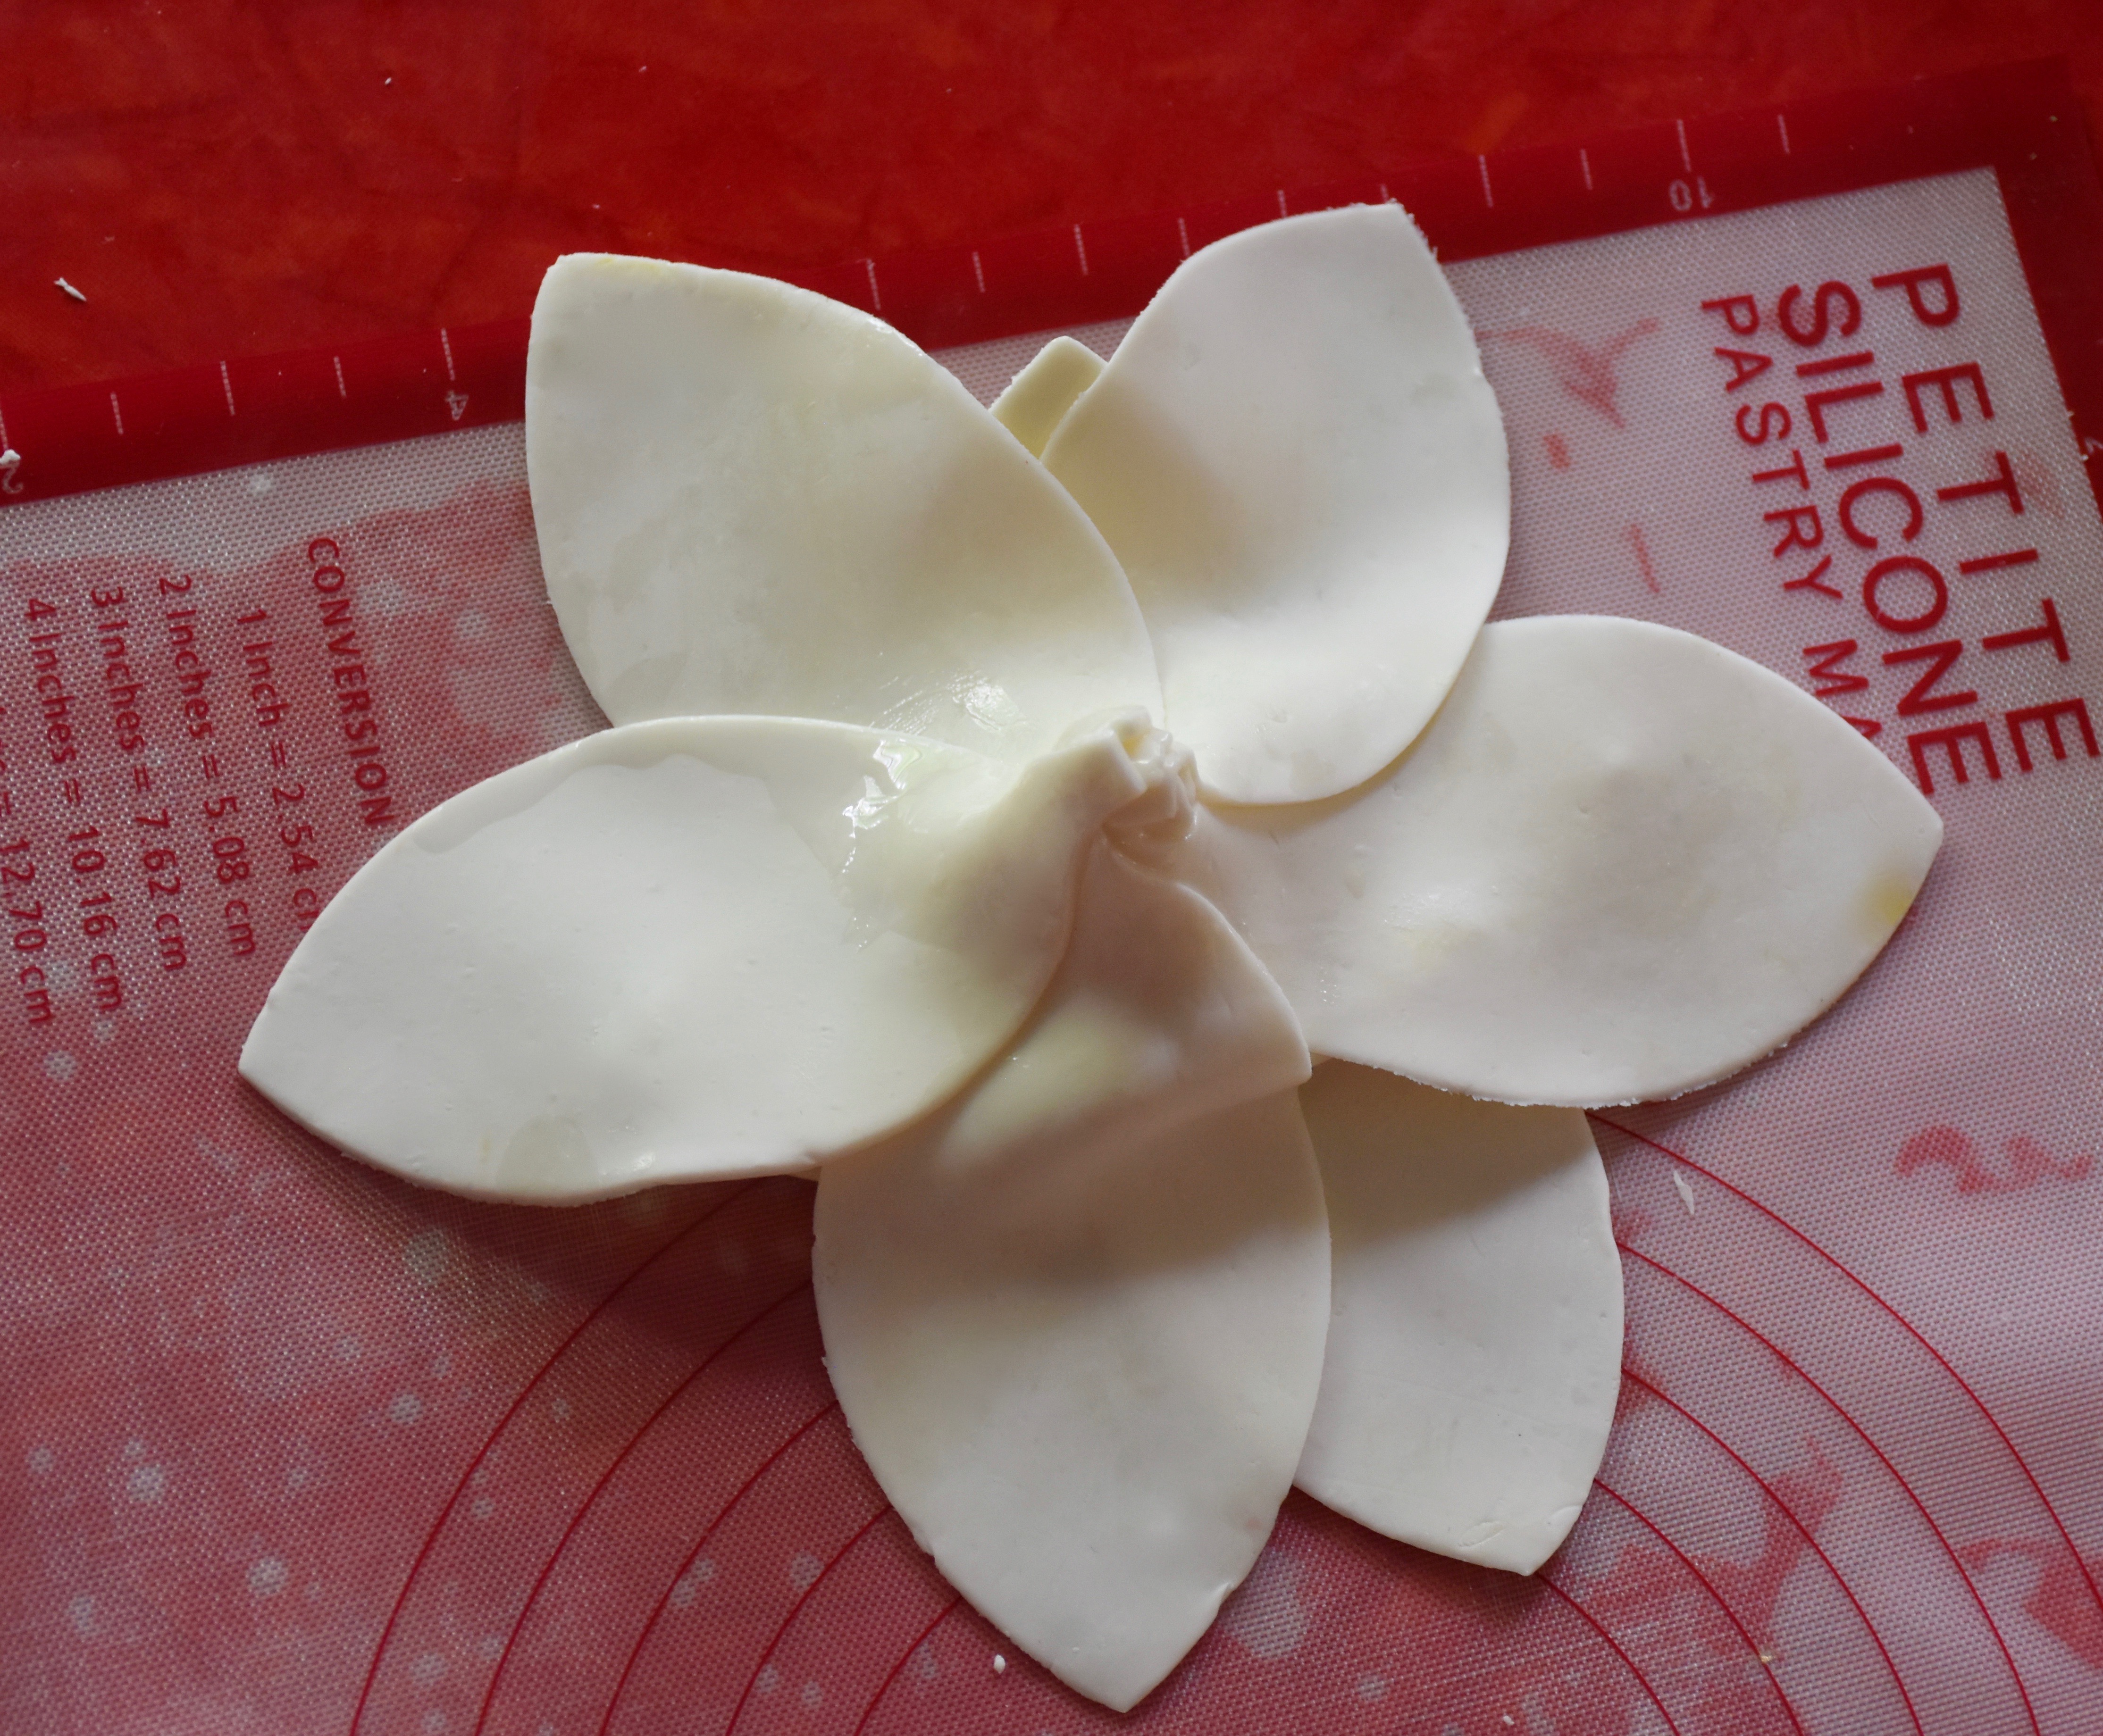
Then to allow it to dry and hold its shape I used aluminum foil to create a doughnut like ring to help hold the flower base then I used some smaller pieces of foil to hold up some of the petals for added dimension. Finally, I added my golden yellow center.

After I finished the flower I tinted some sugar gum paste green with some gel food coloring and I rolled it out thin on a silicone mat and cut it to fit my leaf mold. Next I pressed my mold together so my leaf had veining on either side.
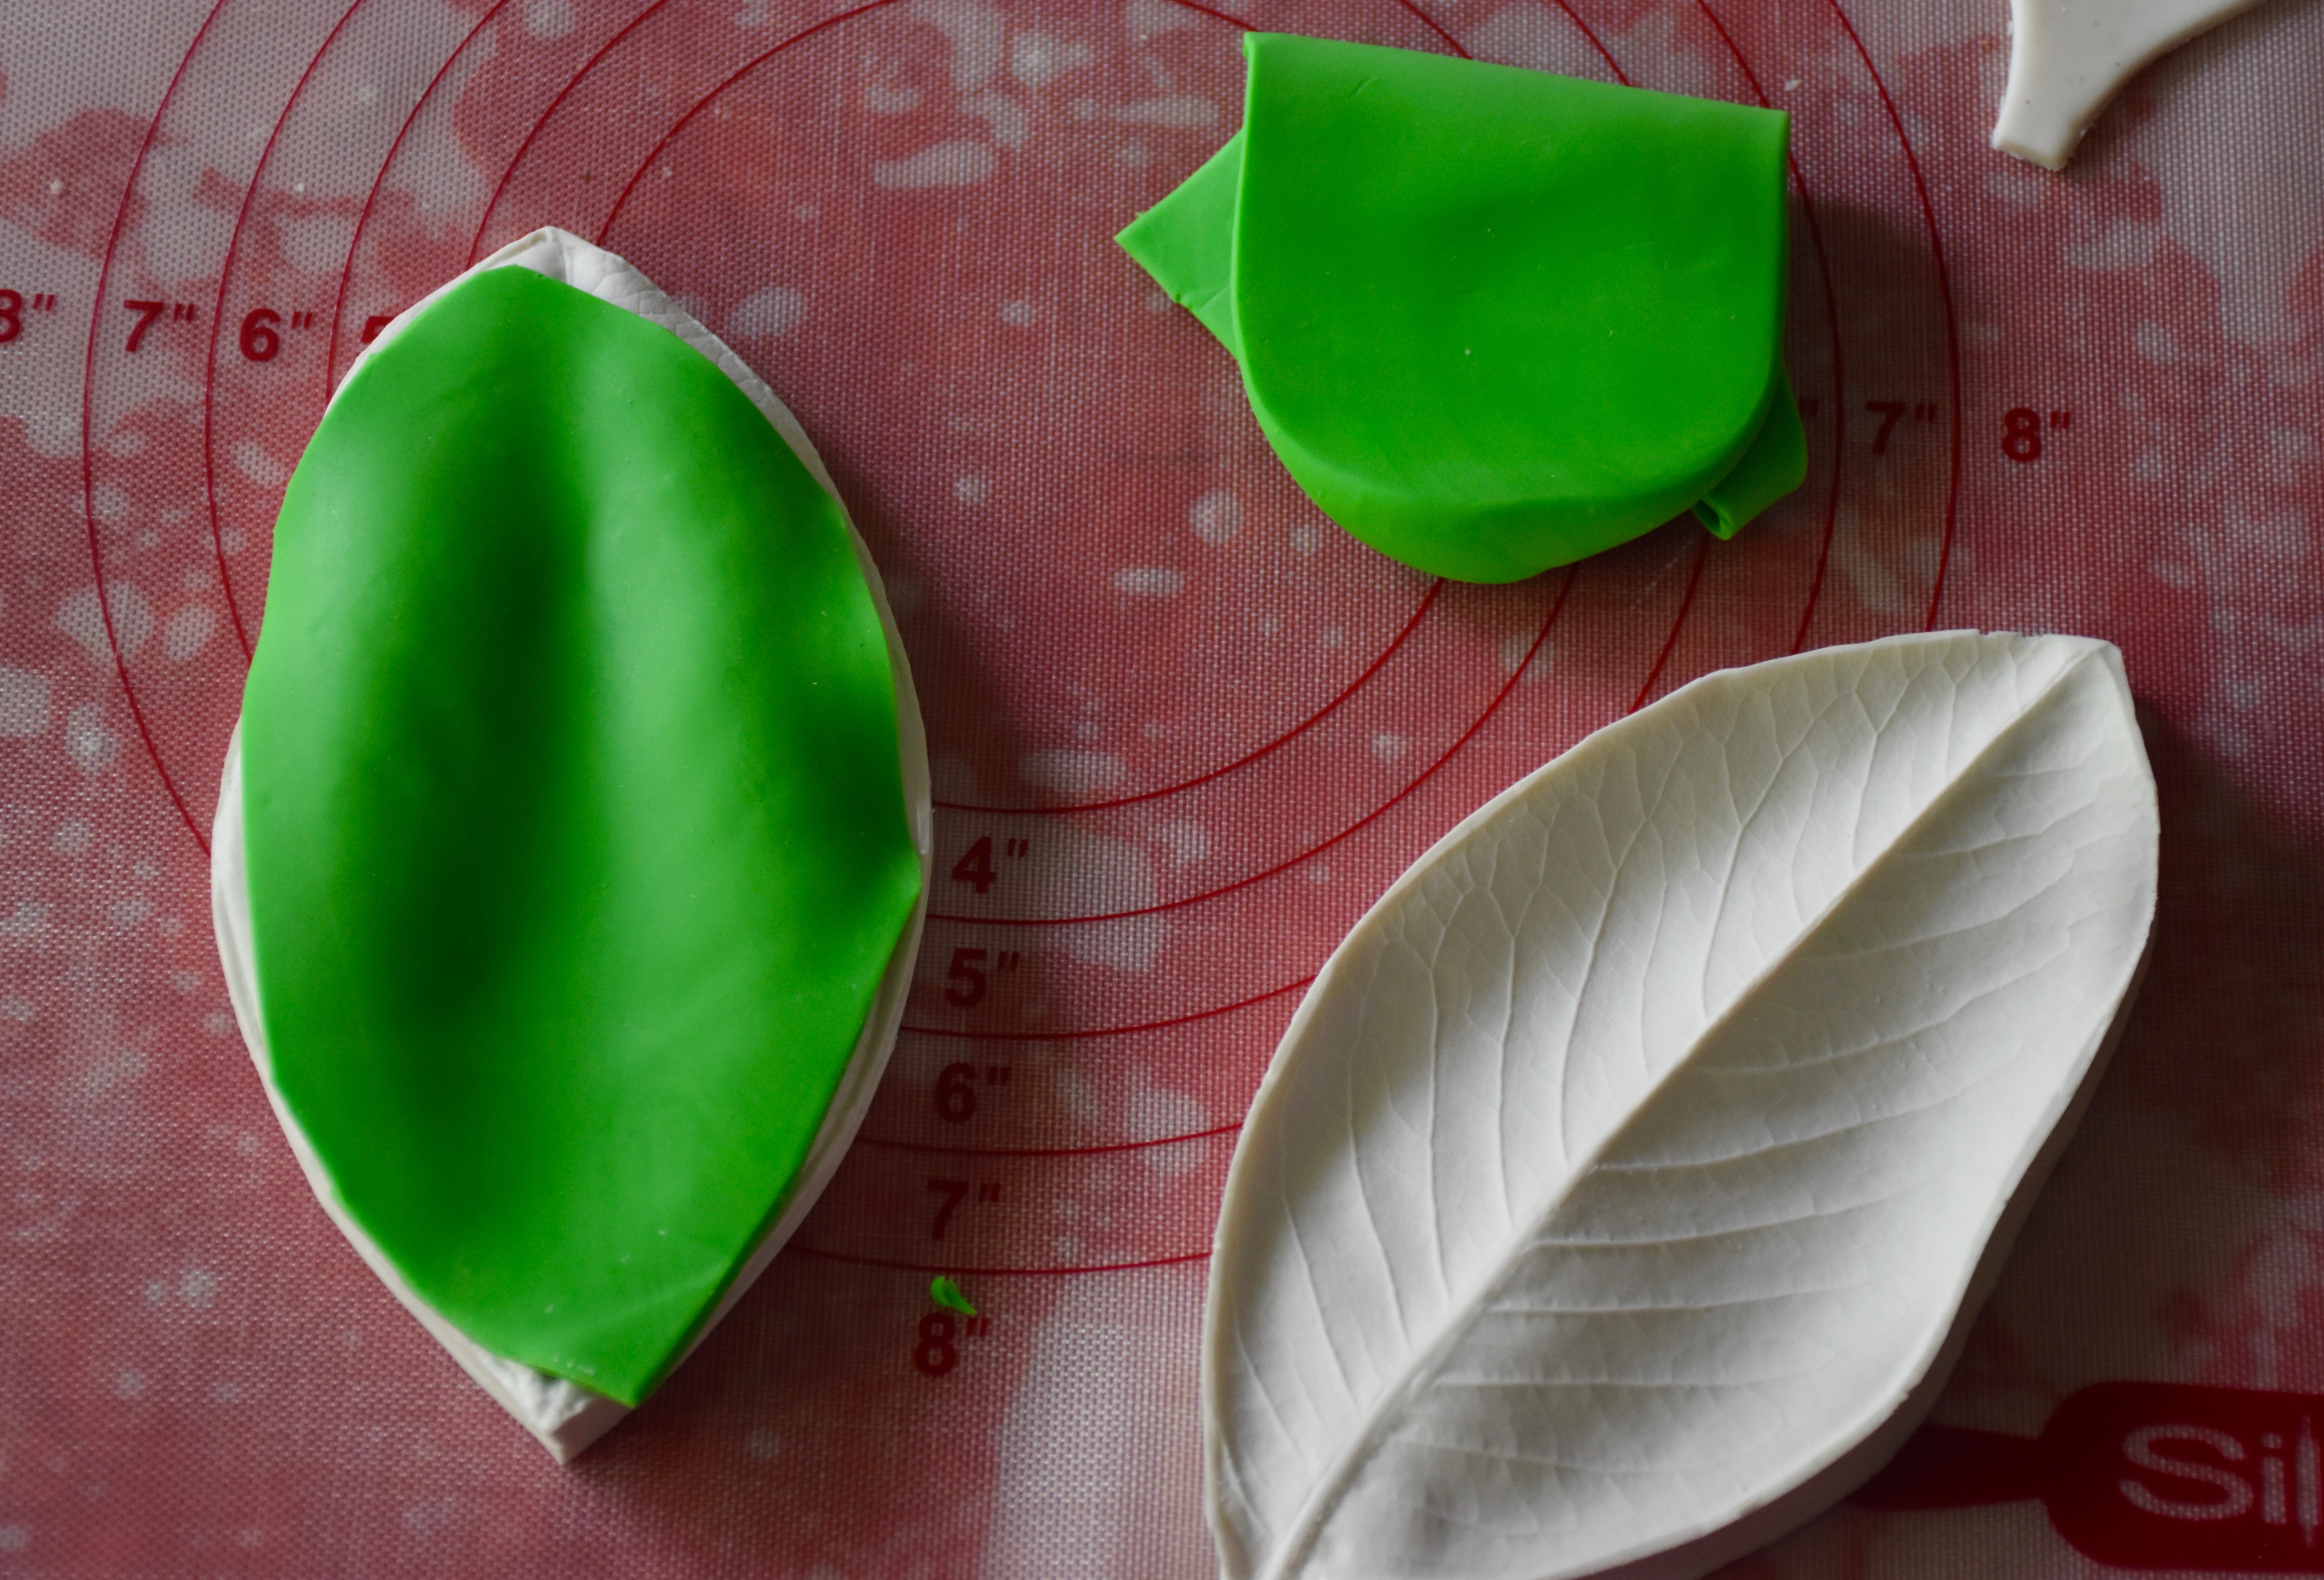
Once I molded my leaves I used a dry paint brush to dust on some edible luster dust (you can find this online or at a cake supplies store) so you could see the veining on the leaves. I used gold dust on the backs of the leaves and the center of the flower and I used a kiwi green colored dust for the front of the leaves.
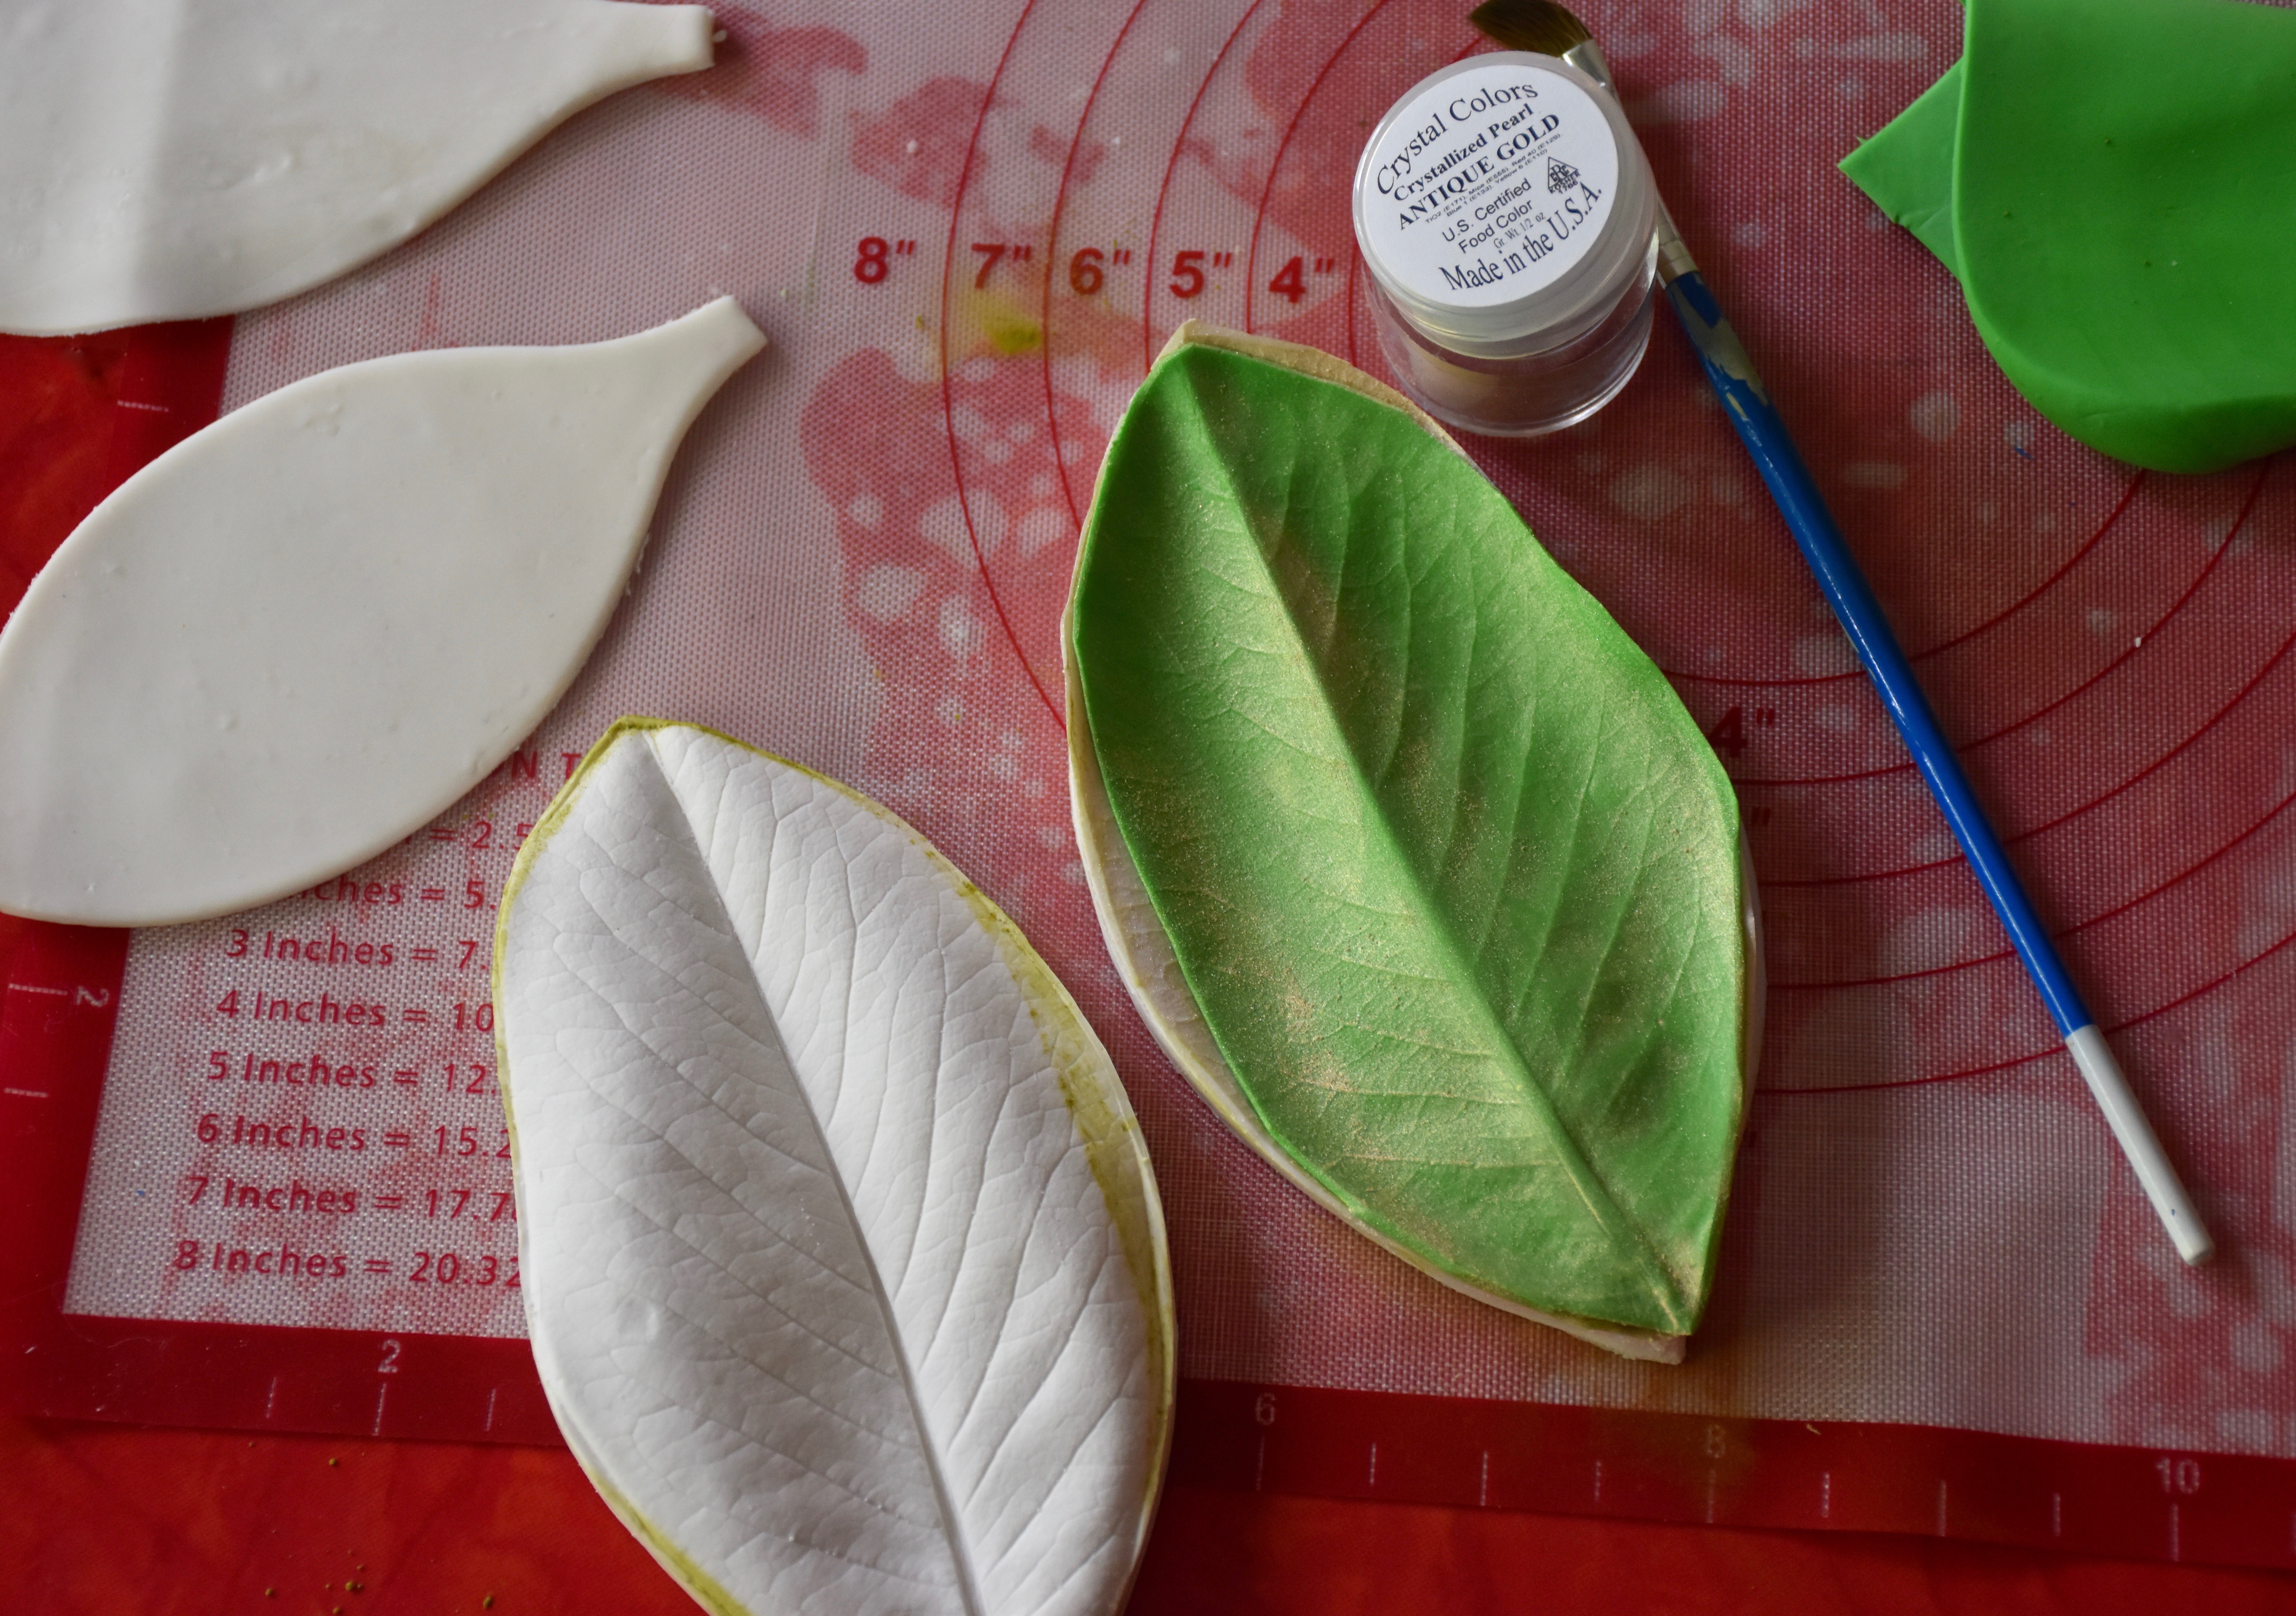
Then I let my leaves dry following a slight curve on a shallow bowl so they would look more realistic. Real leaves tend to have a bit of a curve to them.

Then finally I dusted my flower petals with a white pearl dust to give them a little shimmer. The flower will need at least four hours to dry so I usually make it the day before. However if protected from moisture, these flowers unlike the real ones will keep for years.
Now if only I could give you a taste of the cake because the decorating may be fun, but the very best part is getting to eat it. So who says you can’t bake your cake and eat it too.