
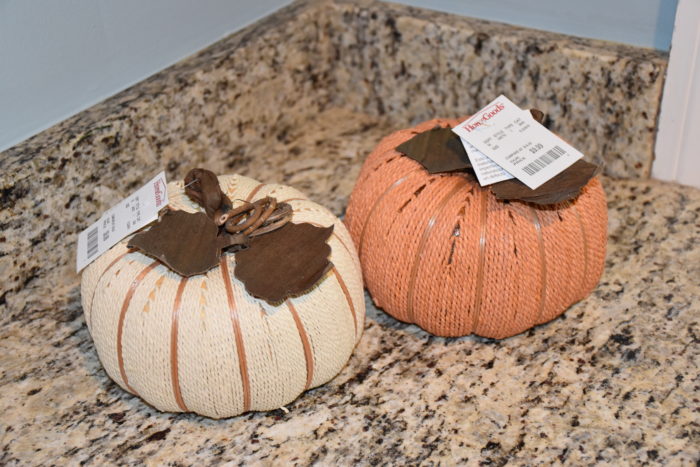
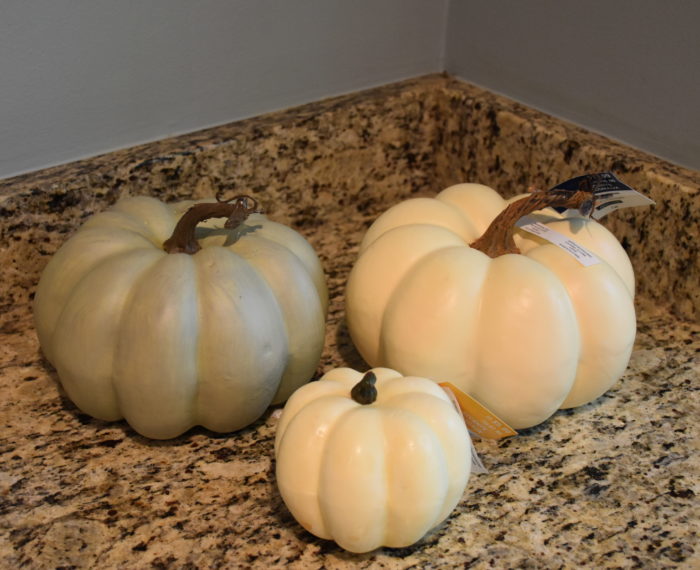
Last year between my preschoolers and the outdoor wildlife in my yard my plans for fall decor took a new turn. I love holiday decorating, but curious toddlers and hungry squirels left me no choice but to get creative. If I was going to have pumpkins in my house, they had to be less tasty and plastic. So as these things go, when I went out specifically looking for cute less breakable pumpkins I was not seeing a lot of great options. Finally at the checkout lane at Marshals I saw these raffia covered pumpkins. They were not my favorite but the price was right and I thought they might look a bit more fun with some paint.
I had some left over house paint so I thought I would see what I could do. I decided to make mine a bit more whimsical and fun with some polka dots and green leaves.
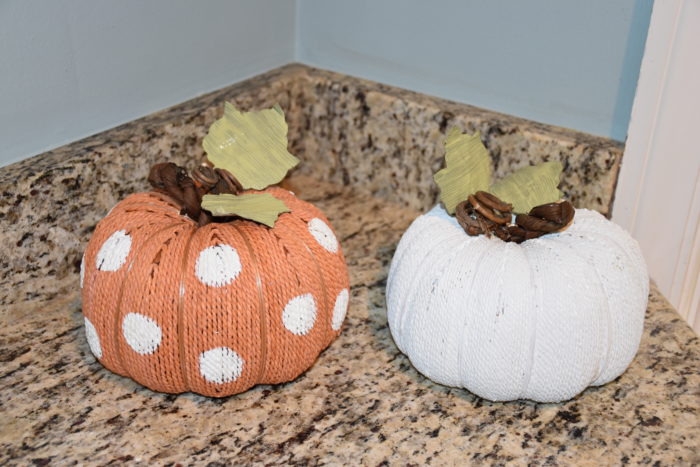
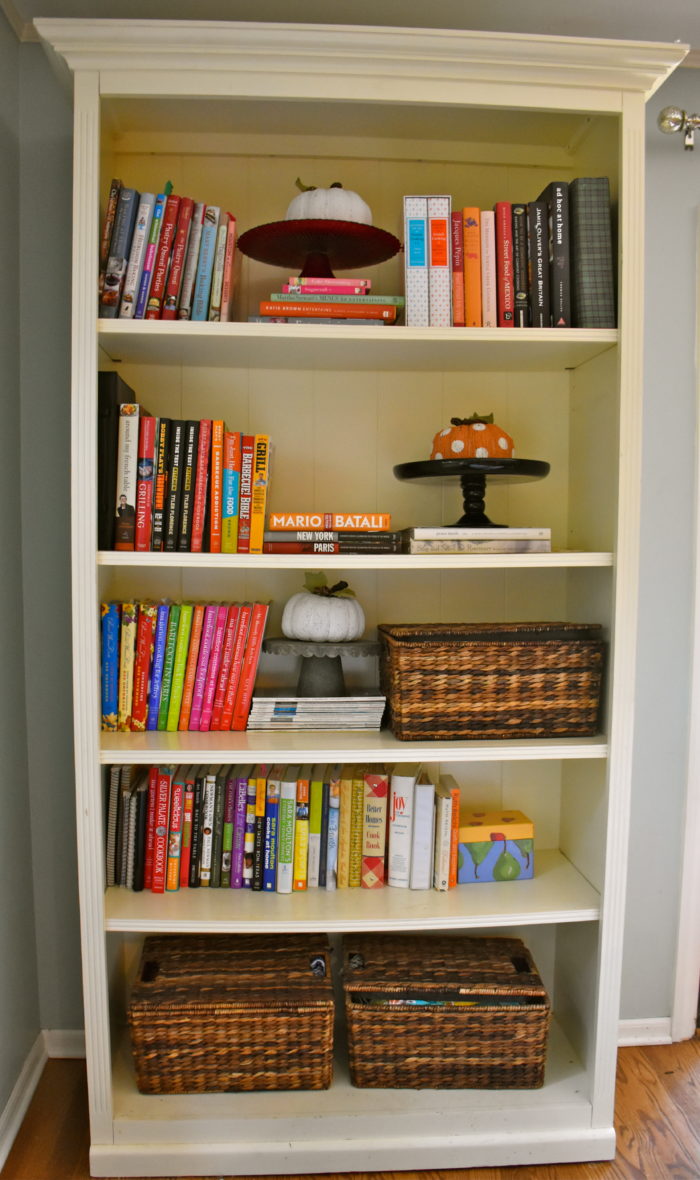
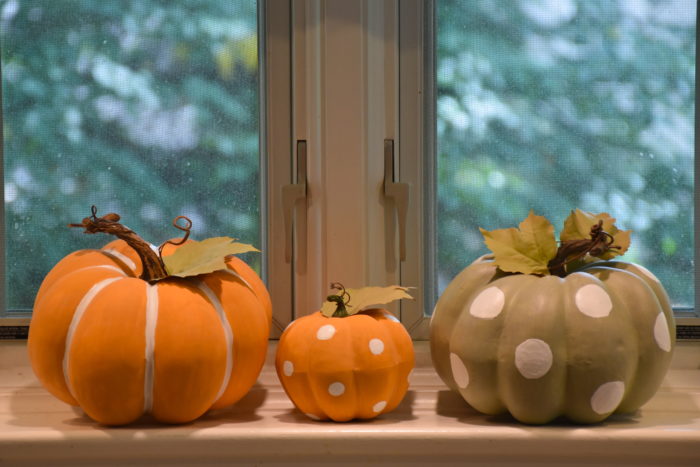
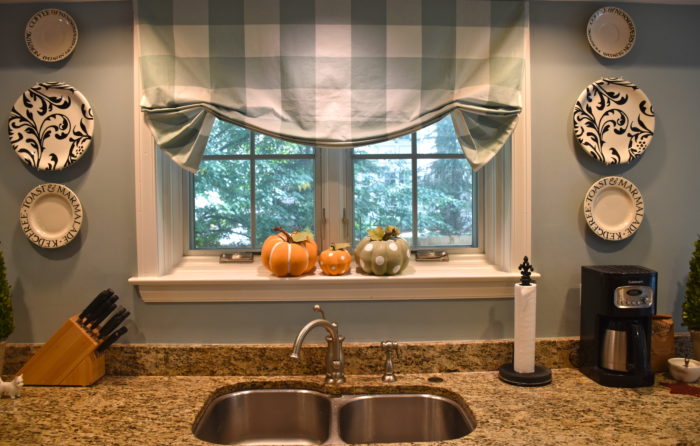
I enjoyed making them and I loved how they brightened up my kitchen bookshelf.
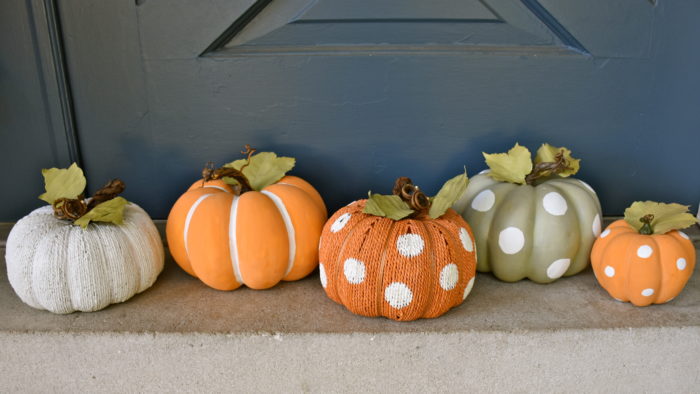
This year I decided I was upping my game, because I am not loosing another pumpkin to the squirrels. So, I decided to paint a new set of plastic pumpkins for my front porch. I found these pumpkins on sale last week at Michaels and I thought they might make a fun project to share.
The first thing I did when making my green pumpkins was to trace a polka dot pattern on the pumpkins using a lid from a vinegar bottle as a guide. I used a pencil so I could erase any stray lines. Your dots don’t need to be perfect, as you can see mine were not. It just helps to have a guide so your dots are roughly the same side.
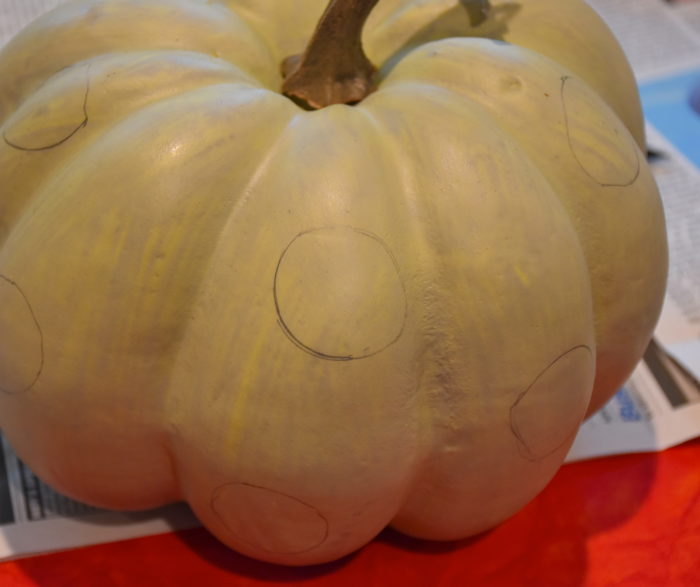
Then I used some Kilz primer paint I had leftover from another project. I liked the idea of using a higher quality paint since these pumpkins were going outside. You can buy a small quart at your local hardware store or you could use a good quality acrylic craft paint. I used a small brush with an angled edge which I thought was easier to use when painting the dots. If you are worried about the edges or you have a more textured pumpkin like my raffia one above you could use a white paint pen to outline your dot and then fill it in with paint. My dots took two coats of paint.
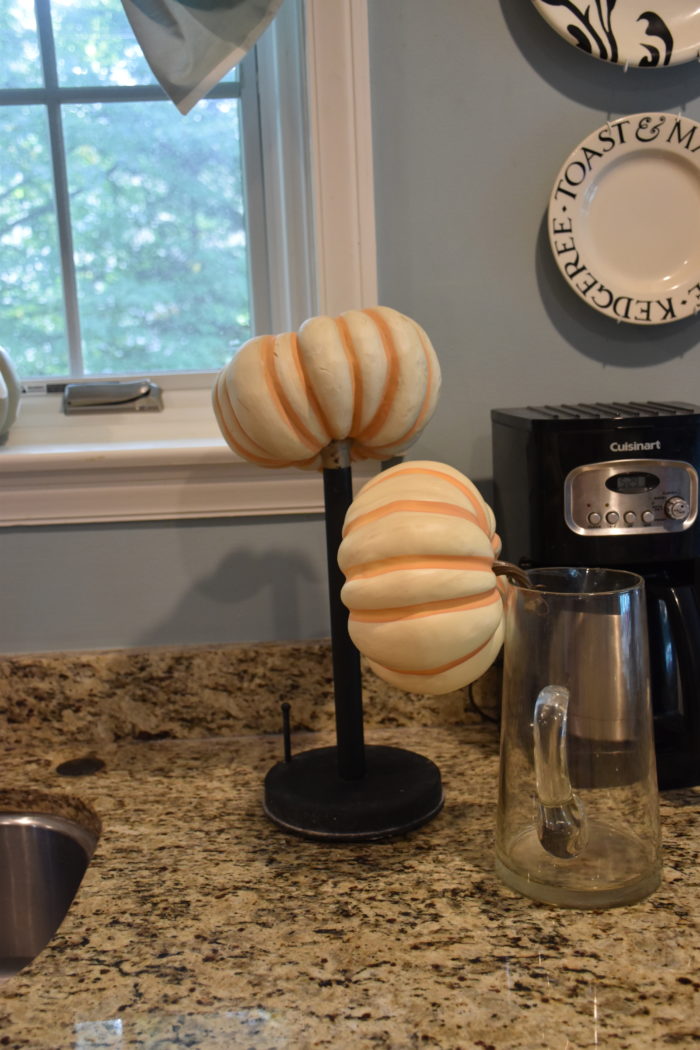
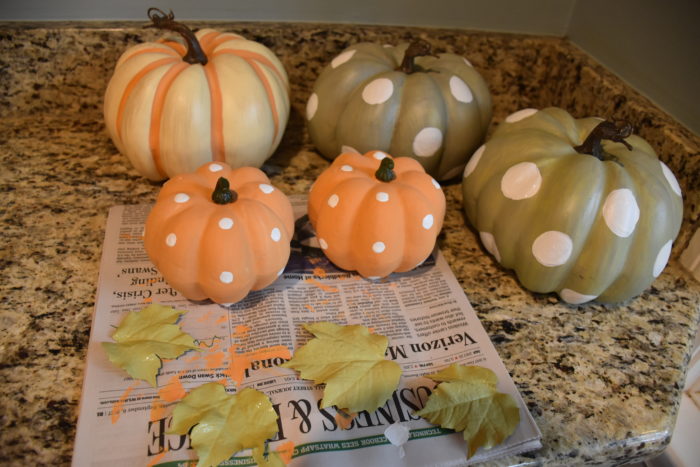
Then I mixed some orange milk paint with some of my white acrylic paint and I painted stripes on my large white pumpkins following the pattern of the natural grooves in the pumpkin. I had to get creative when the were drying to keep the bottoms from getting smudged. Then for fun I painted the smaller pumpkins a solid orange. I found that when I painted the smaller pumpkins it was easier if I carefully pulled out the stem before painting them. Then after they were fully dry I replaced the stem. The small dots are easier to keep even so I just free handed those dots with the paint.
 Then as a finishing touch I painted some fake leaves I found at the craft store. Here is what they looked like before I painted them.

Then I attached the leaf to the pumpkin with some hot glue along with a small piece a grape vine I cut off of an old wreath. Here you can see a finished set of the pumpkins up close.
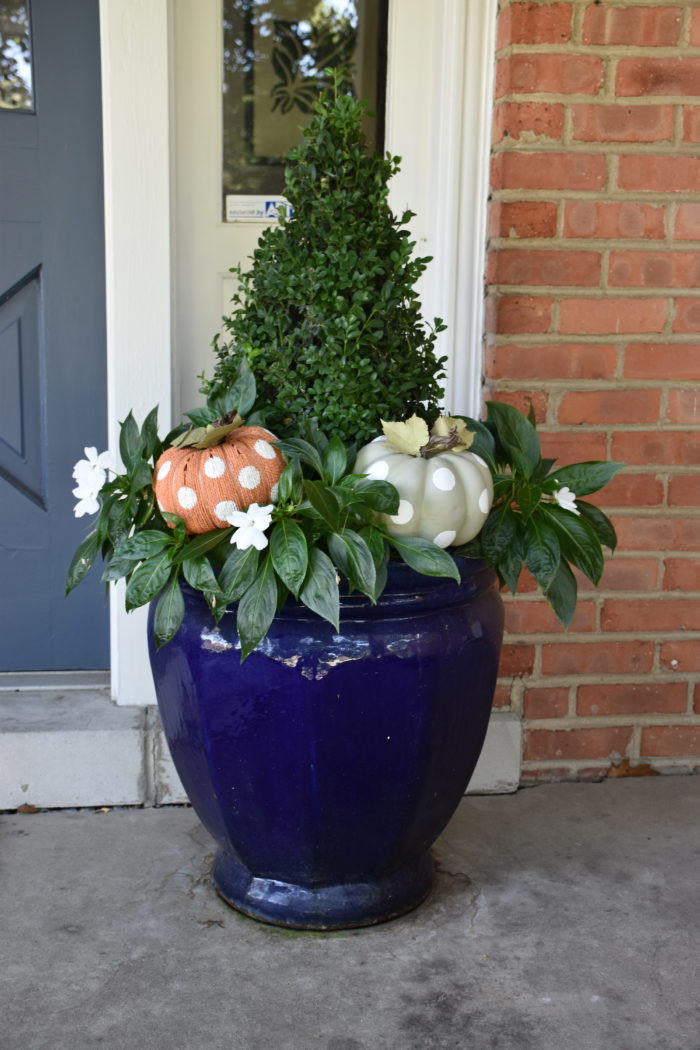
I decided to give my planters a fall feel by adding in some new pumpkins.
So here is where I get to the good part. I am going to give away the set of three painted pumpkins that you see here in my kitchen window, no crafting or painting required.
This week marks my 70th post so I want to do something small to thank my faithful readers and get a bit of your advice. I want to know what you enjoy reading and what you want to see more of in the future. I am planning new pieces and projects but I definitely want to keep my readers thoughts in mind. So to win these pumpkins leave me a comment with either a quick thought about what recipes or projects you liked most or what you would like to see more of in the future. Your thoughts and ideas matter to me!
My blog is set up so you can leave a comment by clicking on the conversation bubble icon next to the word “Comment” at the top right just below the title of this post. You have to have to enter a real email address and then a name, nickname or alias of your choice to leave a comment, but don’t worry the email address is confidential. No one will see, not even I see your address. It is set up that way to protect my site from hackers and computer viruses.
One entry per person please and I can only ship the pumpkins to an address in the United States. To keep it as fair as I can I will number the comments and pick a randomly selected number as the winner. I will keep the give away open through Sunday September 24th and I will announce the winner the following week and then ask that the winner email me so I can get an address.
Hi, Amy! I am so enjoying reading your blog! I love tbat you show us how to do things step by step. The best part about it, for me, is that I get to see into your life and those sweet baby girls!
Thanks! It is great to hear from you. Hope all is well with your family.
I love your pumpkins! Please enter me in the contest!
Thanks!
My favorite thing about your projects is that they are suitable for a house with young children in it. Love the pumpkins!
It just occurred to me that you work with paint for many of these projects, but I haven’t seen much about the “behind the scenes” mechanics. How much do you keep on-hand, how do you recommend storing it (in a house with small children)? When is it time to dispose of it?
That is a good thought. After spending a year repainting my house myself, I have lots of ideas and a few funny photos of painting with kids.
Cute pumpkins! Your home decor post with rug recommendations for households with kids and dogs had a lot of helpful information and resources. I enjoy your cooking/baking posts especially when they involve your two tiny helpers. 🙂 Keep up the posts with easy, healthy family dinners and kid-friendly baking recipes.
I really like the dinner posts with the step-by-step. Please include more Mediterranean heart-healthy recipes in the mix. Keep up the great work !
What a cute idea! I love pumpkins as fall is my favorite season!
Thanks for reading!