When putting together a gallery wall the first thing I like to do is to decide what photos I want to include. Are the all color photos or black and white or are they a mix? Are they formal portraits or are they more casual snapshots? When I am looking for frames and putting a project like this together I like to let my photographs help determine the style of my picture frames and scale of the project. Generally, if I have a mix of photographs then I like to keep my picture frames similar in color and style. It grounds the grouping and makes the photographs stand out. However, if you have all black and white photos or a similar style of color photos then I tend to look for something a little more interesting when I am shopping for frames.

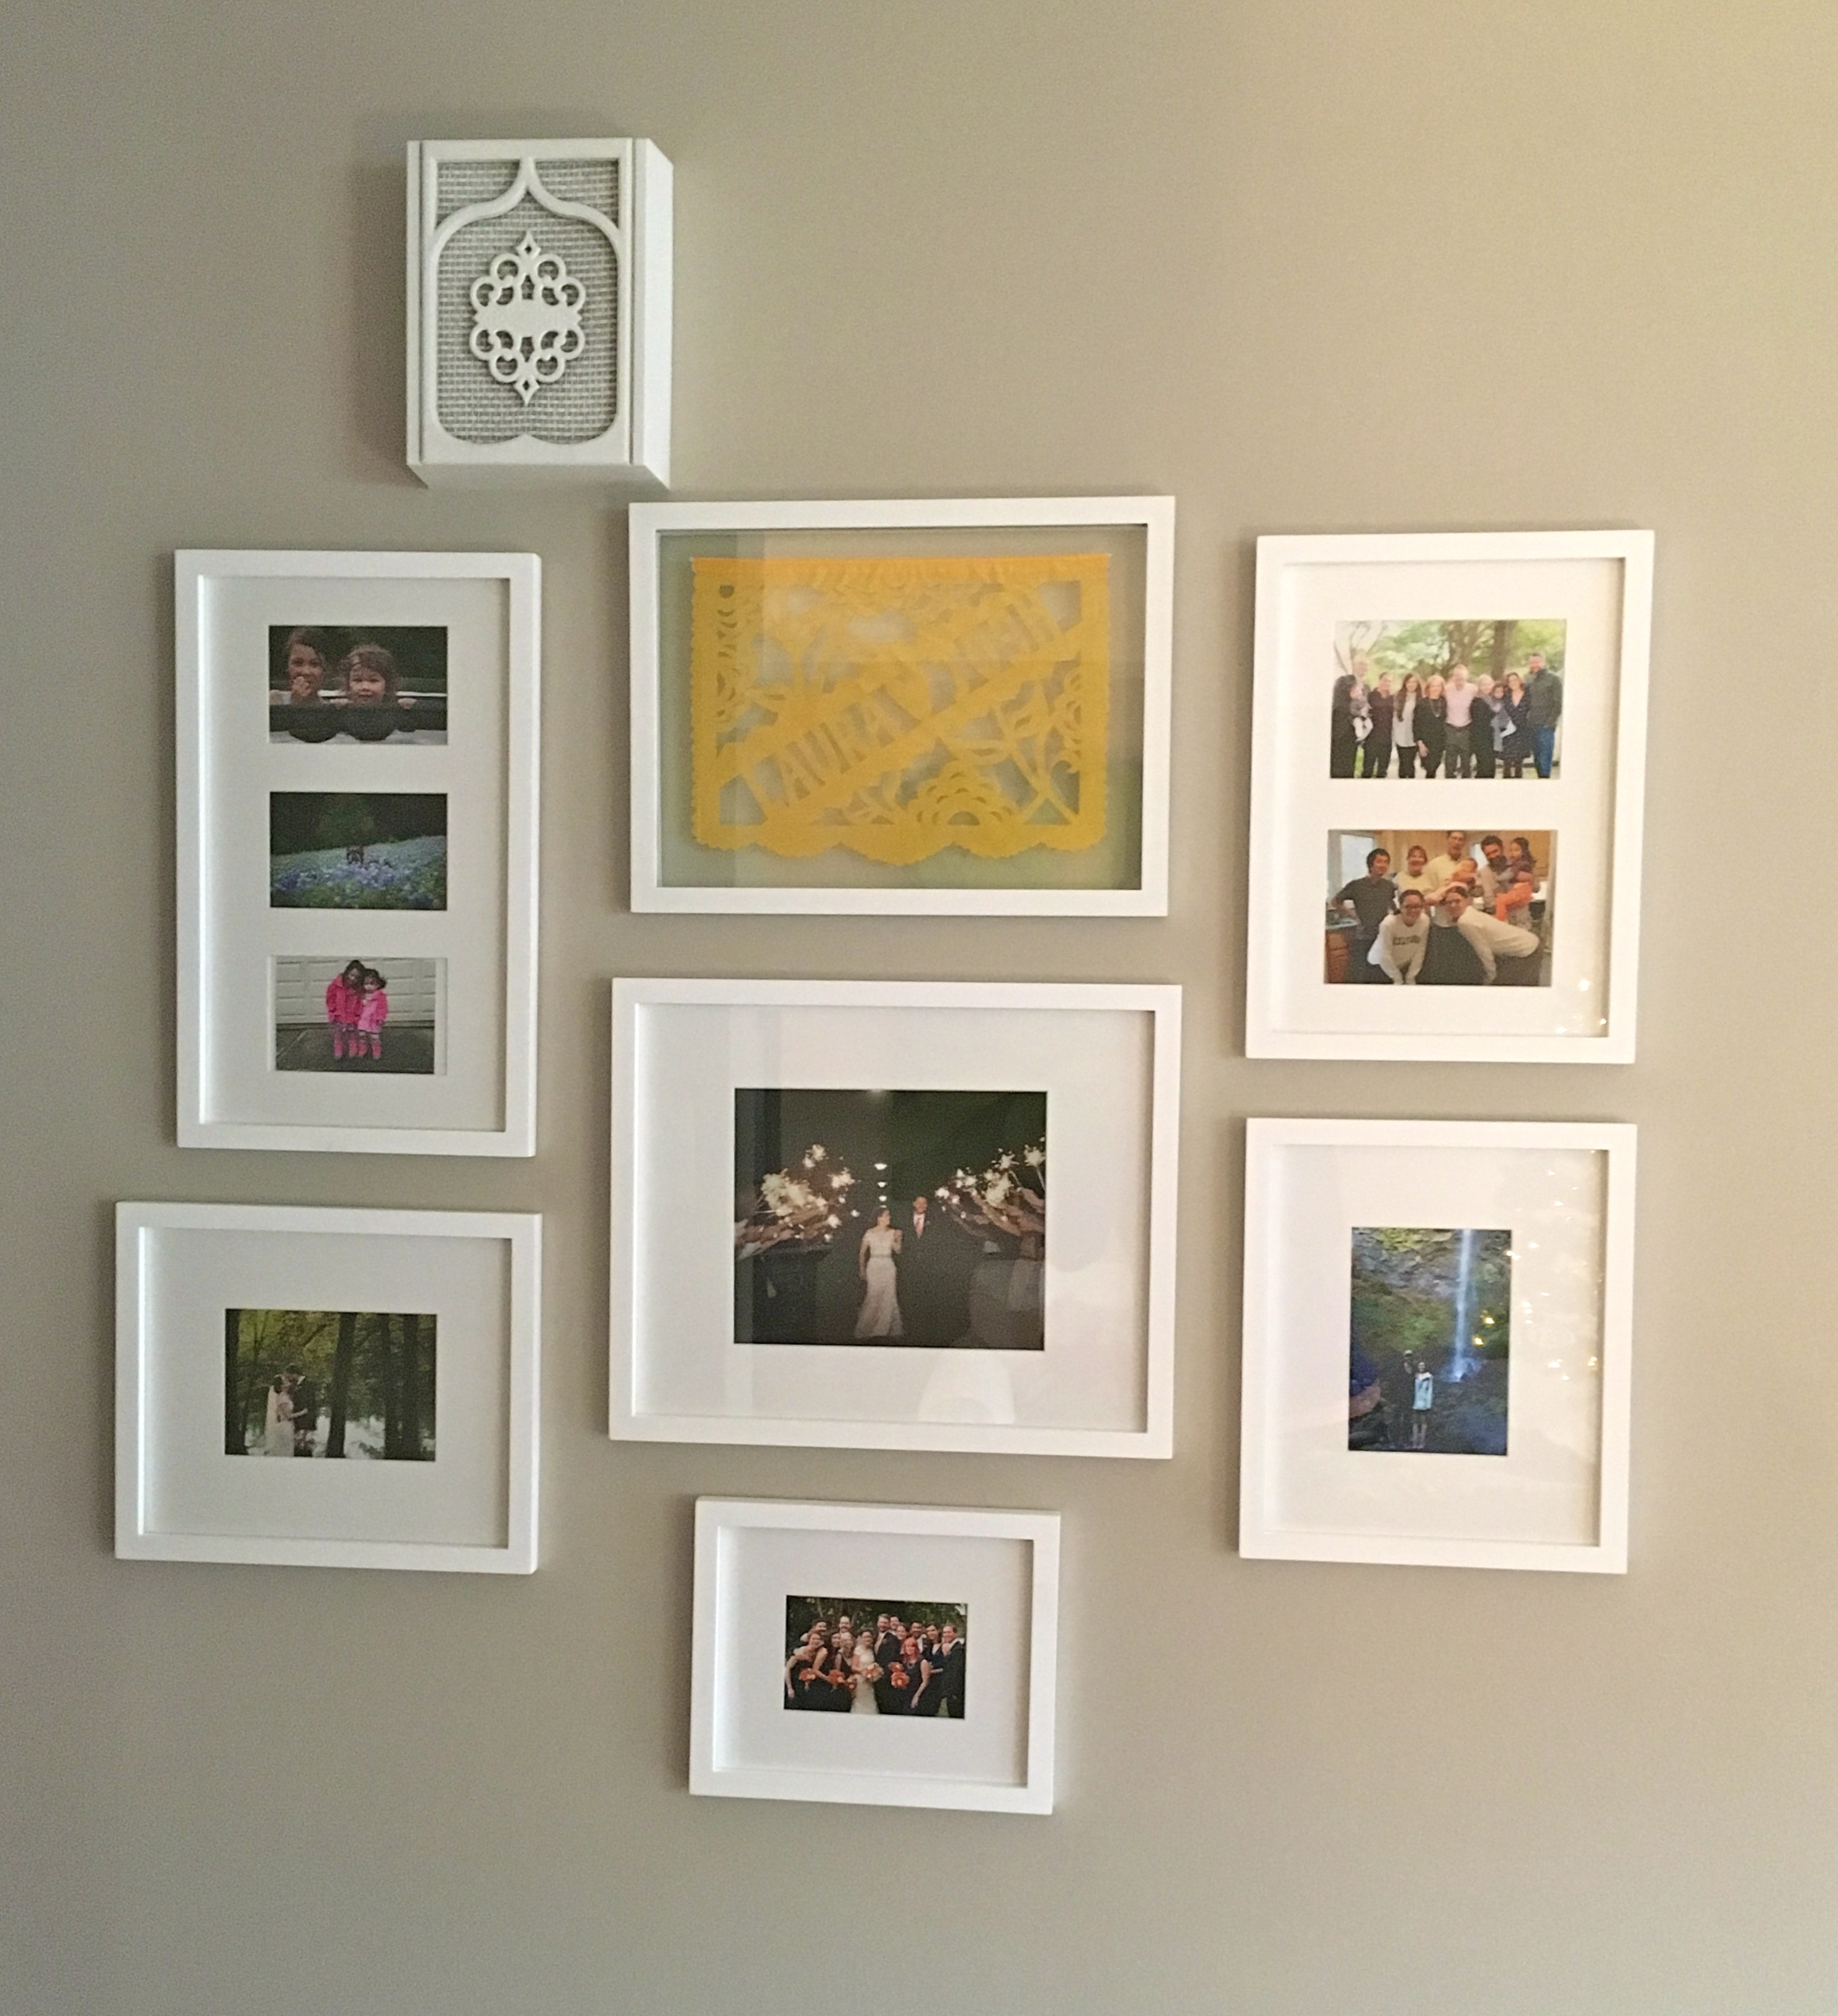
This is my sister’s gallery wall where she has a mix of color photos. I love how she centered her grouping around a personalized papel picato banner she had at her rehearsal dinner. The paper cutout adds such a great personal touch. What a wonderful way to remember that special day and tie this group of photos together. The the color of the sign and varied photo sizes look great in these classic white frames. The white frames and simple matting keep the focus on the pictures and as an added bonus they even make the doorbell speaker fit with the group. These are the kind of details that give a gallery wall a polished look.
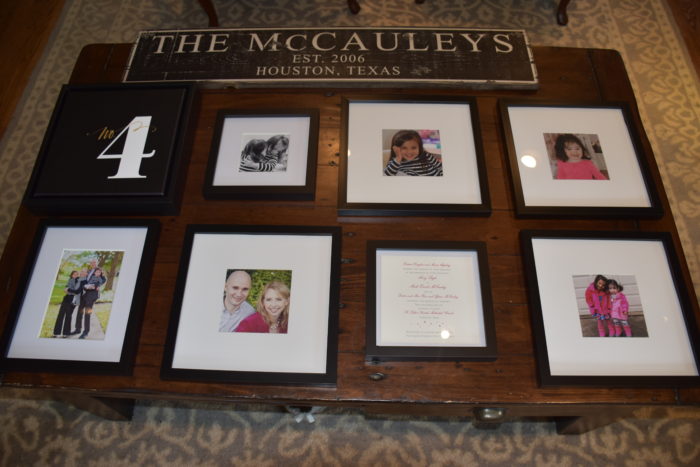
Next, when considering a gallery wall layout, I like to take some cues from the space where I plan to hang my photos. Is it a hallway, bedroom, family room or entry way? What is in that room is there a certain style or color I want to pickup on? What kind of feel do I want it to have? This Summer I worked on the gallery wall that I have in my family room. I knew I wanted to create a wall around our television so it wasn’t the only focal point on that wall. The whole wall was empty so I wanted to make the television feel like it related to the gallery wall. Our TV is black and I had a real mix of photographs that I wanted to be able to change out as our girls grow, so I decided to go with some simple black frames. This way I could easily add and change my look over time. I found my black frames at Hobby Lobby, but when I lived in Texas I loved Aaron Brothers, an art supply and framing store that has a wide variety of styles.
Once I had a general idea of what I wanted to do I began looking for some decorative accessories to give my grouping some more depth and a personal touch. I wanted to hang something above the frames to add some height and to pull the group of frames together. I found a great custom sign company on Etsy called the Lizton Sign Company. I looked through their different styles and I found a font and size that I liked. I have no affiliation with this company. I was just impressed with the quality of their work and how quickly my custom order shipped. I also added in a custom calligraphy canvas with a number four from Lindsay Letters. Then came the fun part laying out the design.
 I measured my television stand and it was about the size of my coffee table so I used my table as a guide for the layout of the frames. I decided to mix up the sizes of my frames to accommodate the different pictures I wanted to use. Once I had the layout decided I measured my group and I got some painters tape so I could mark my wall and prepare to hang my photos. I know some people make paper templates but since I don’t have wallpaper or an unforgiving wall covering I like to make my markings on painters tape and just place my nails based on those markings.
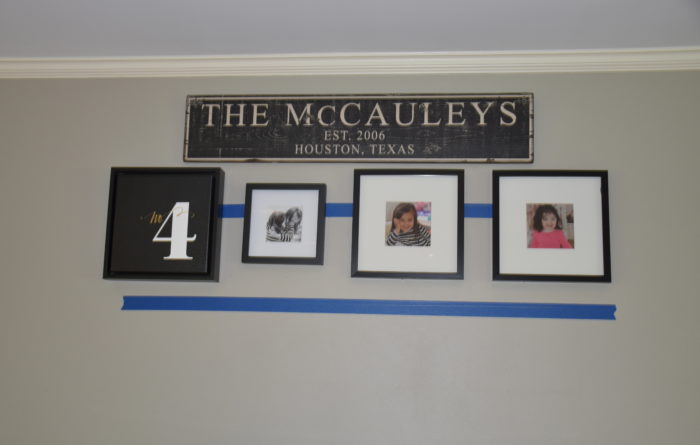
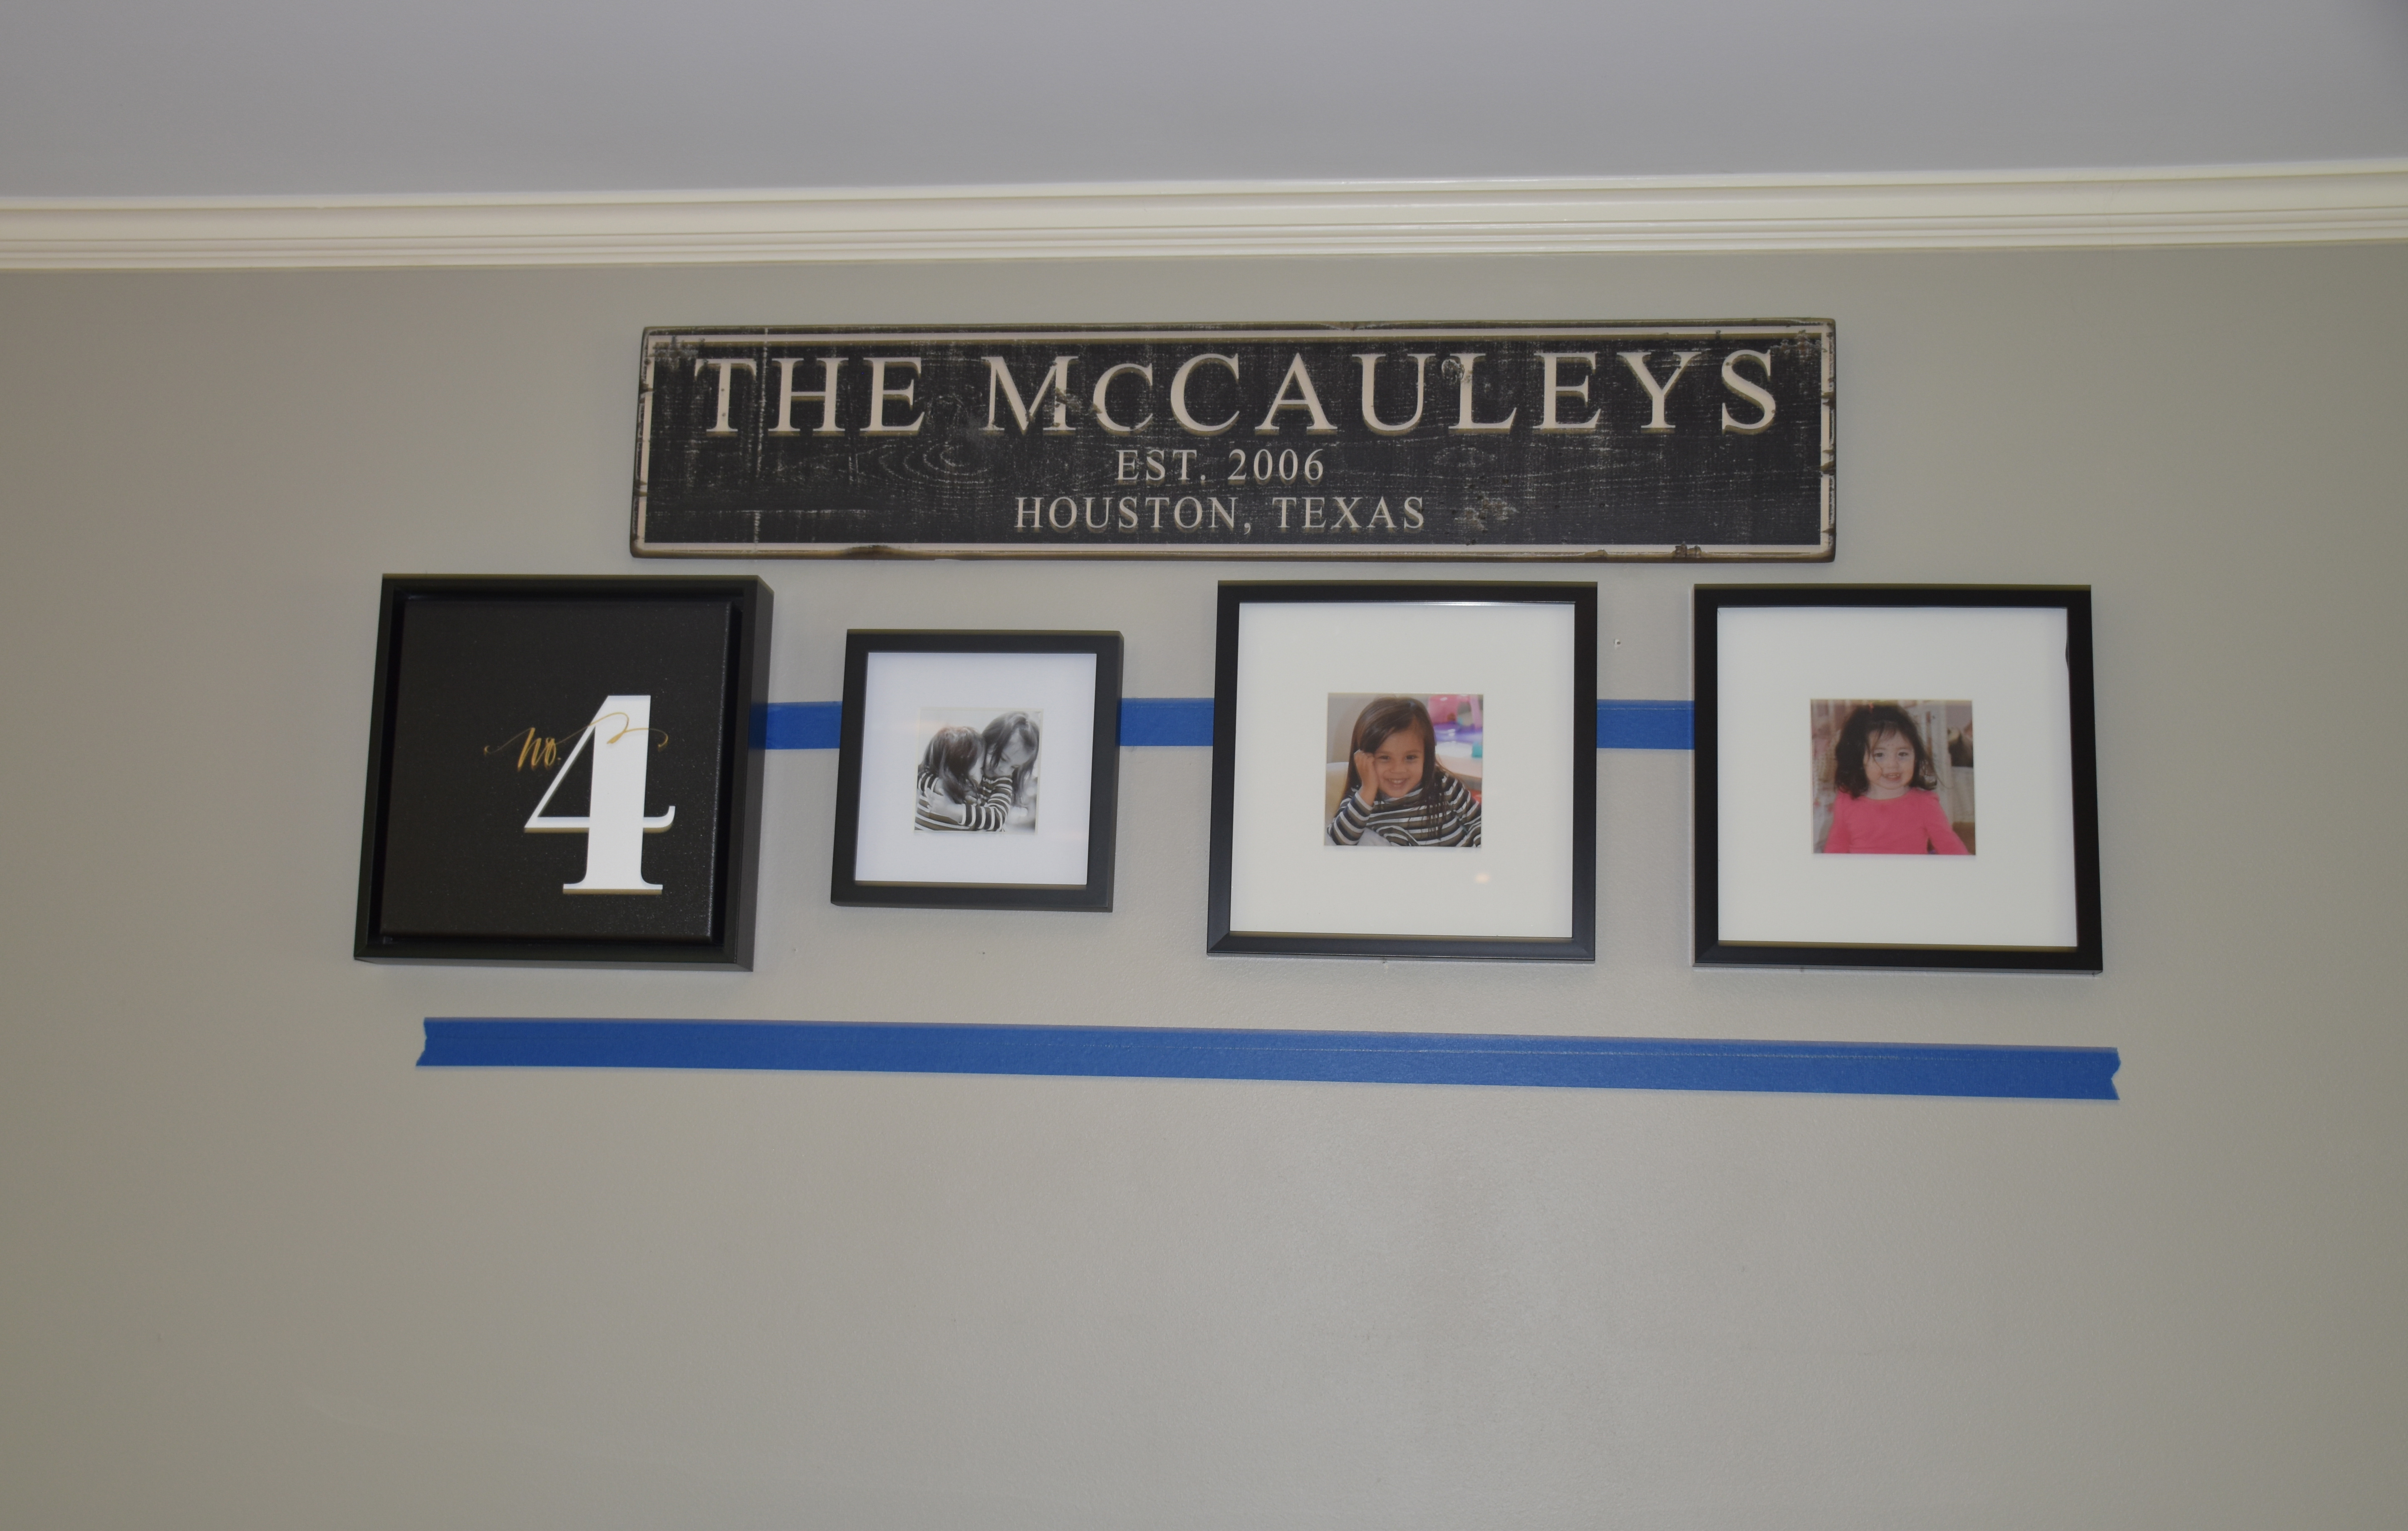
I hung my sign first since I centered all of the other frames on it. I like to put a long piece of painters tape up that is the length of my grouping. Then I get a yardstick and a level and I drawn a level line with a pencil on my painters tape. Then I measure and mark my other frame centers and on that level line. The tape helps me mark everything without writing on my wall.

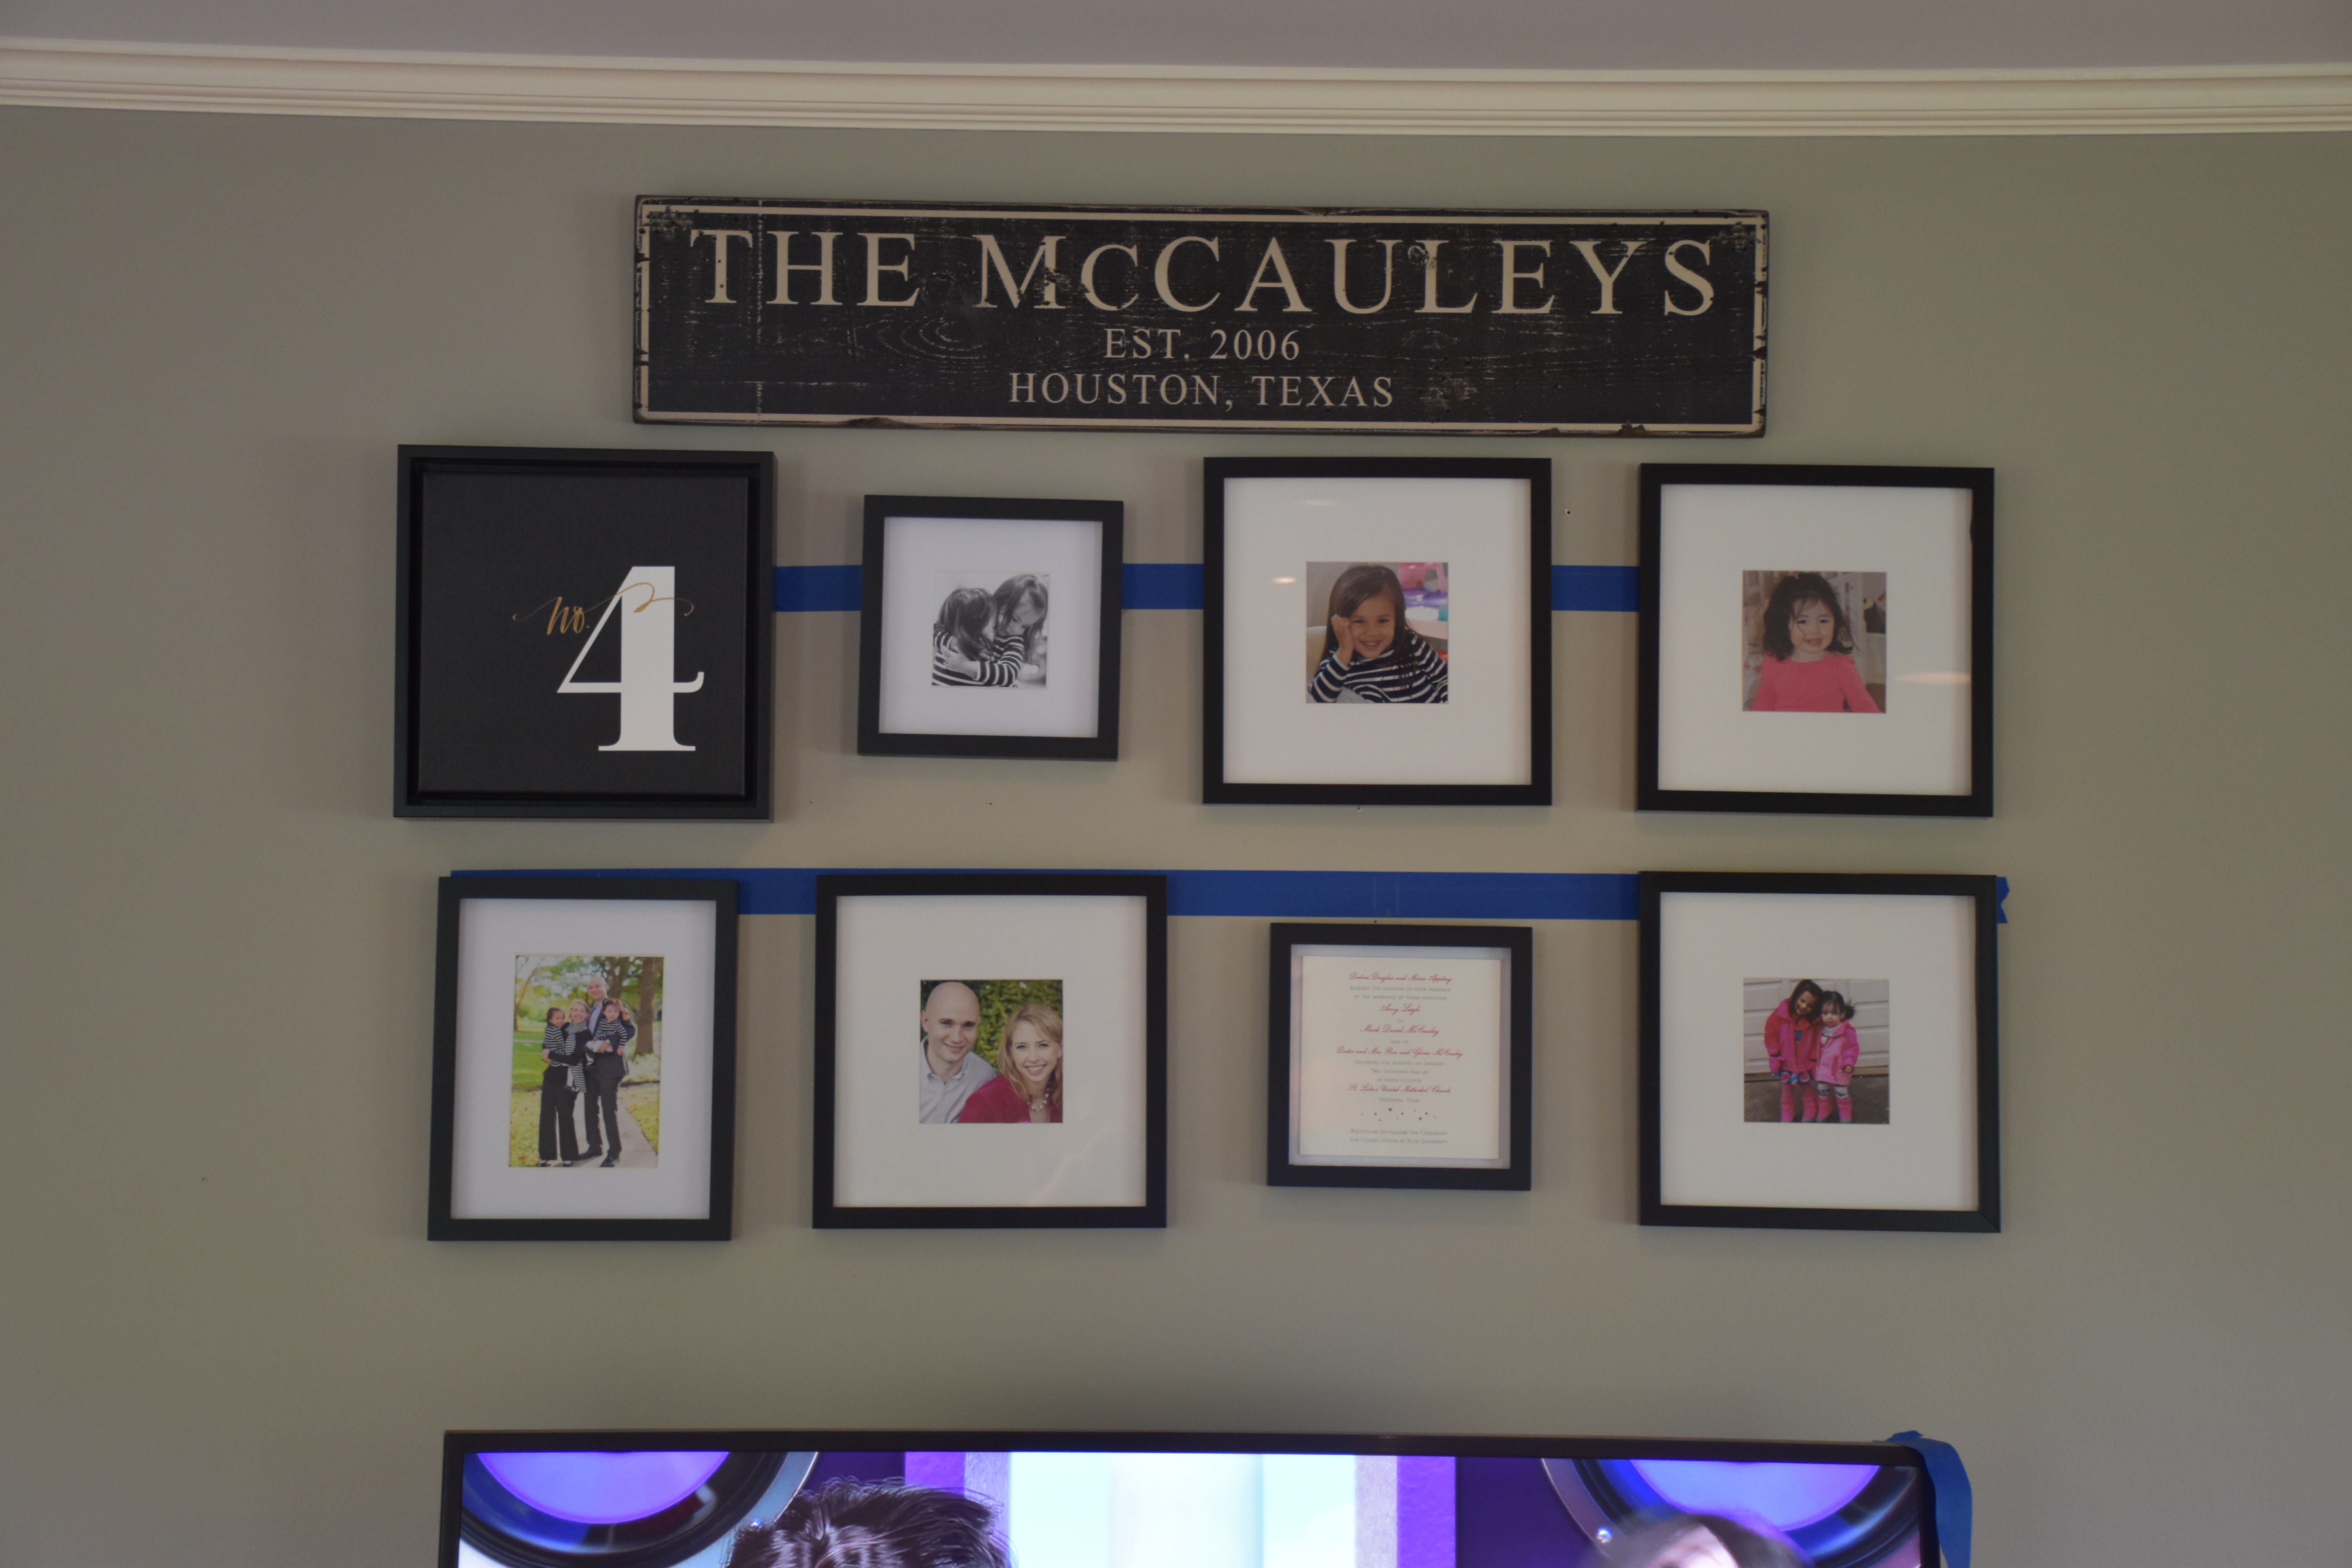
Here you can see the second row as I was hanging it. The trickiest part was centering the smaller square frames so I waited to add them till the end. I tend to measure and hang my outside pictures first and then move to the center.
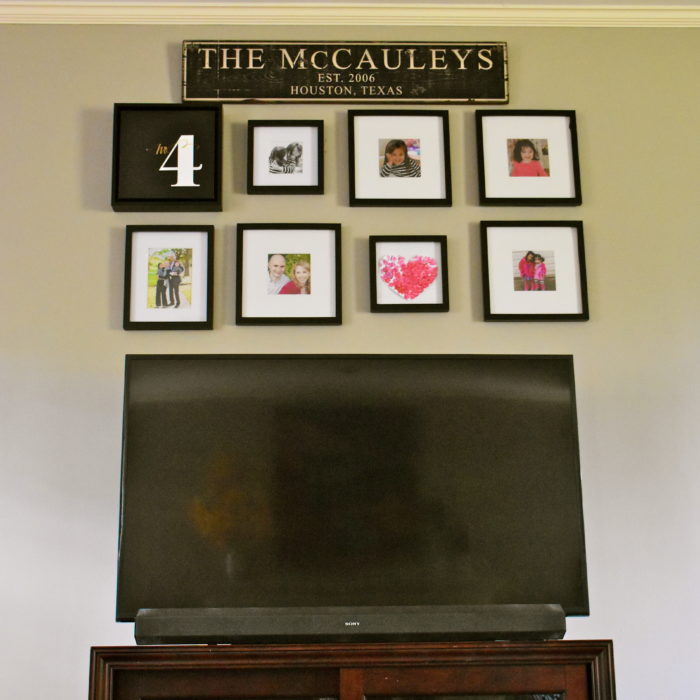
Here is the finished grouping. After I had it all hung, I decided to add in a painted heart that my youngest daughter made because its larger scale fit better on this wall. In the end, it was those little extra details like our family sign, the painted heart and the graphic number four canvas that really pulled this gallery wall together and gave it a finished look.
Sources to Style Your Own Gallery Wall
Inspired to create your own gallery wall or add some decorative details and interest to your family photos? I had so much fun putting together our wall that I thought I would share some sources and inspiration for finding your own gallery wall style.
Classic Black and White
Want a classic black and white gallery wall then check out some of the sources I used. I love my custom sign, but you can design your own. The Lizton company has a wide variety of styles, sizes and colors to chose from. Another source with great customizable calligraphy prints is Lindsay Letters. She is a talented artist who has a wide variety of canvases and art prints. Want more black and white photo wall inspiration check out this beautiful wall by Joanna Gaines on her Instagram.

Links to My Sources:
Pottery Barn Gallery Fames
Lizton Sign Company
Lindsay Letters Customizable Canvas
Vintage Craftsman
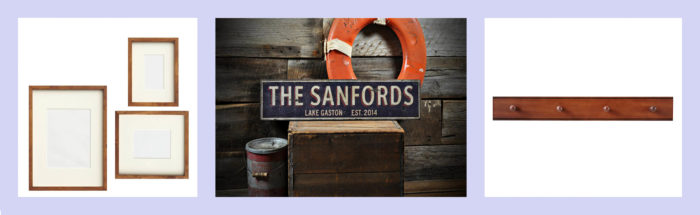
Erin Napier of HomeTown on HGTV has a beautiful craftsman home and in her entryway she has one of my favorite family photo walls. You can see this wall and a tour of her home at Hooked on Houses. It is definitely worth a click to check it out. What I loved about her wall is how she used candid black and white photos of her family. She also incorporated the pictures into her entry way by hanging a coat rack below them. Want a vintage craftsman look then try incorporating the style with a mix of warm rustic wood frames, a vintage travel sign or a wooden peg rail.
Links to My Sources:
Pottery Barn Rustic Wood Frame
Lizton Sign Company Lake House Sign
Craftsman Coat Hook from Land of Nod
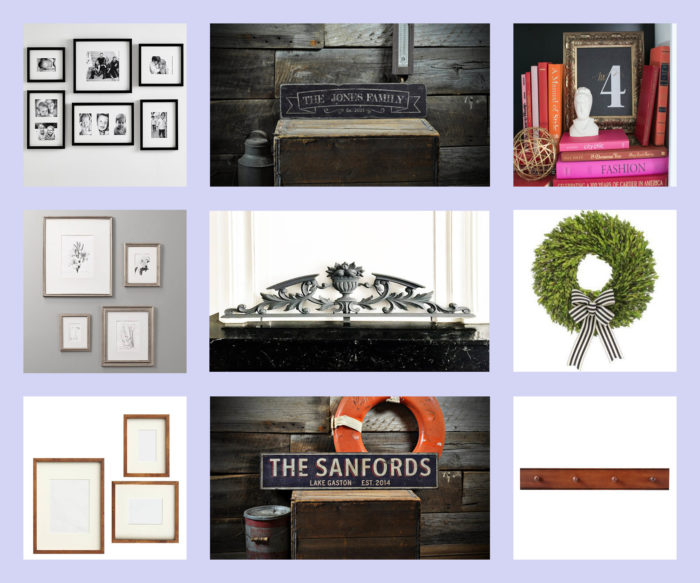
French Antique Pewter
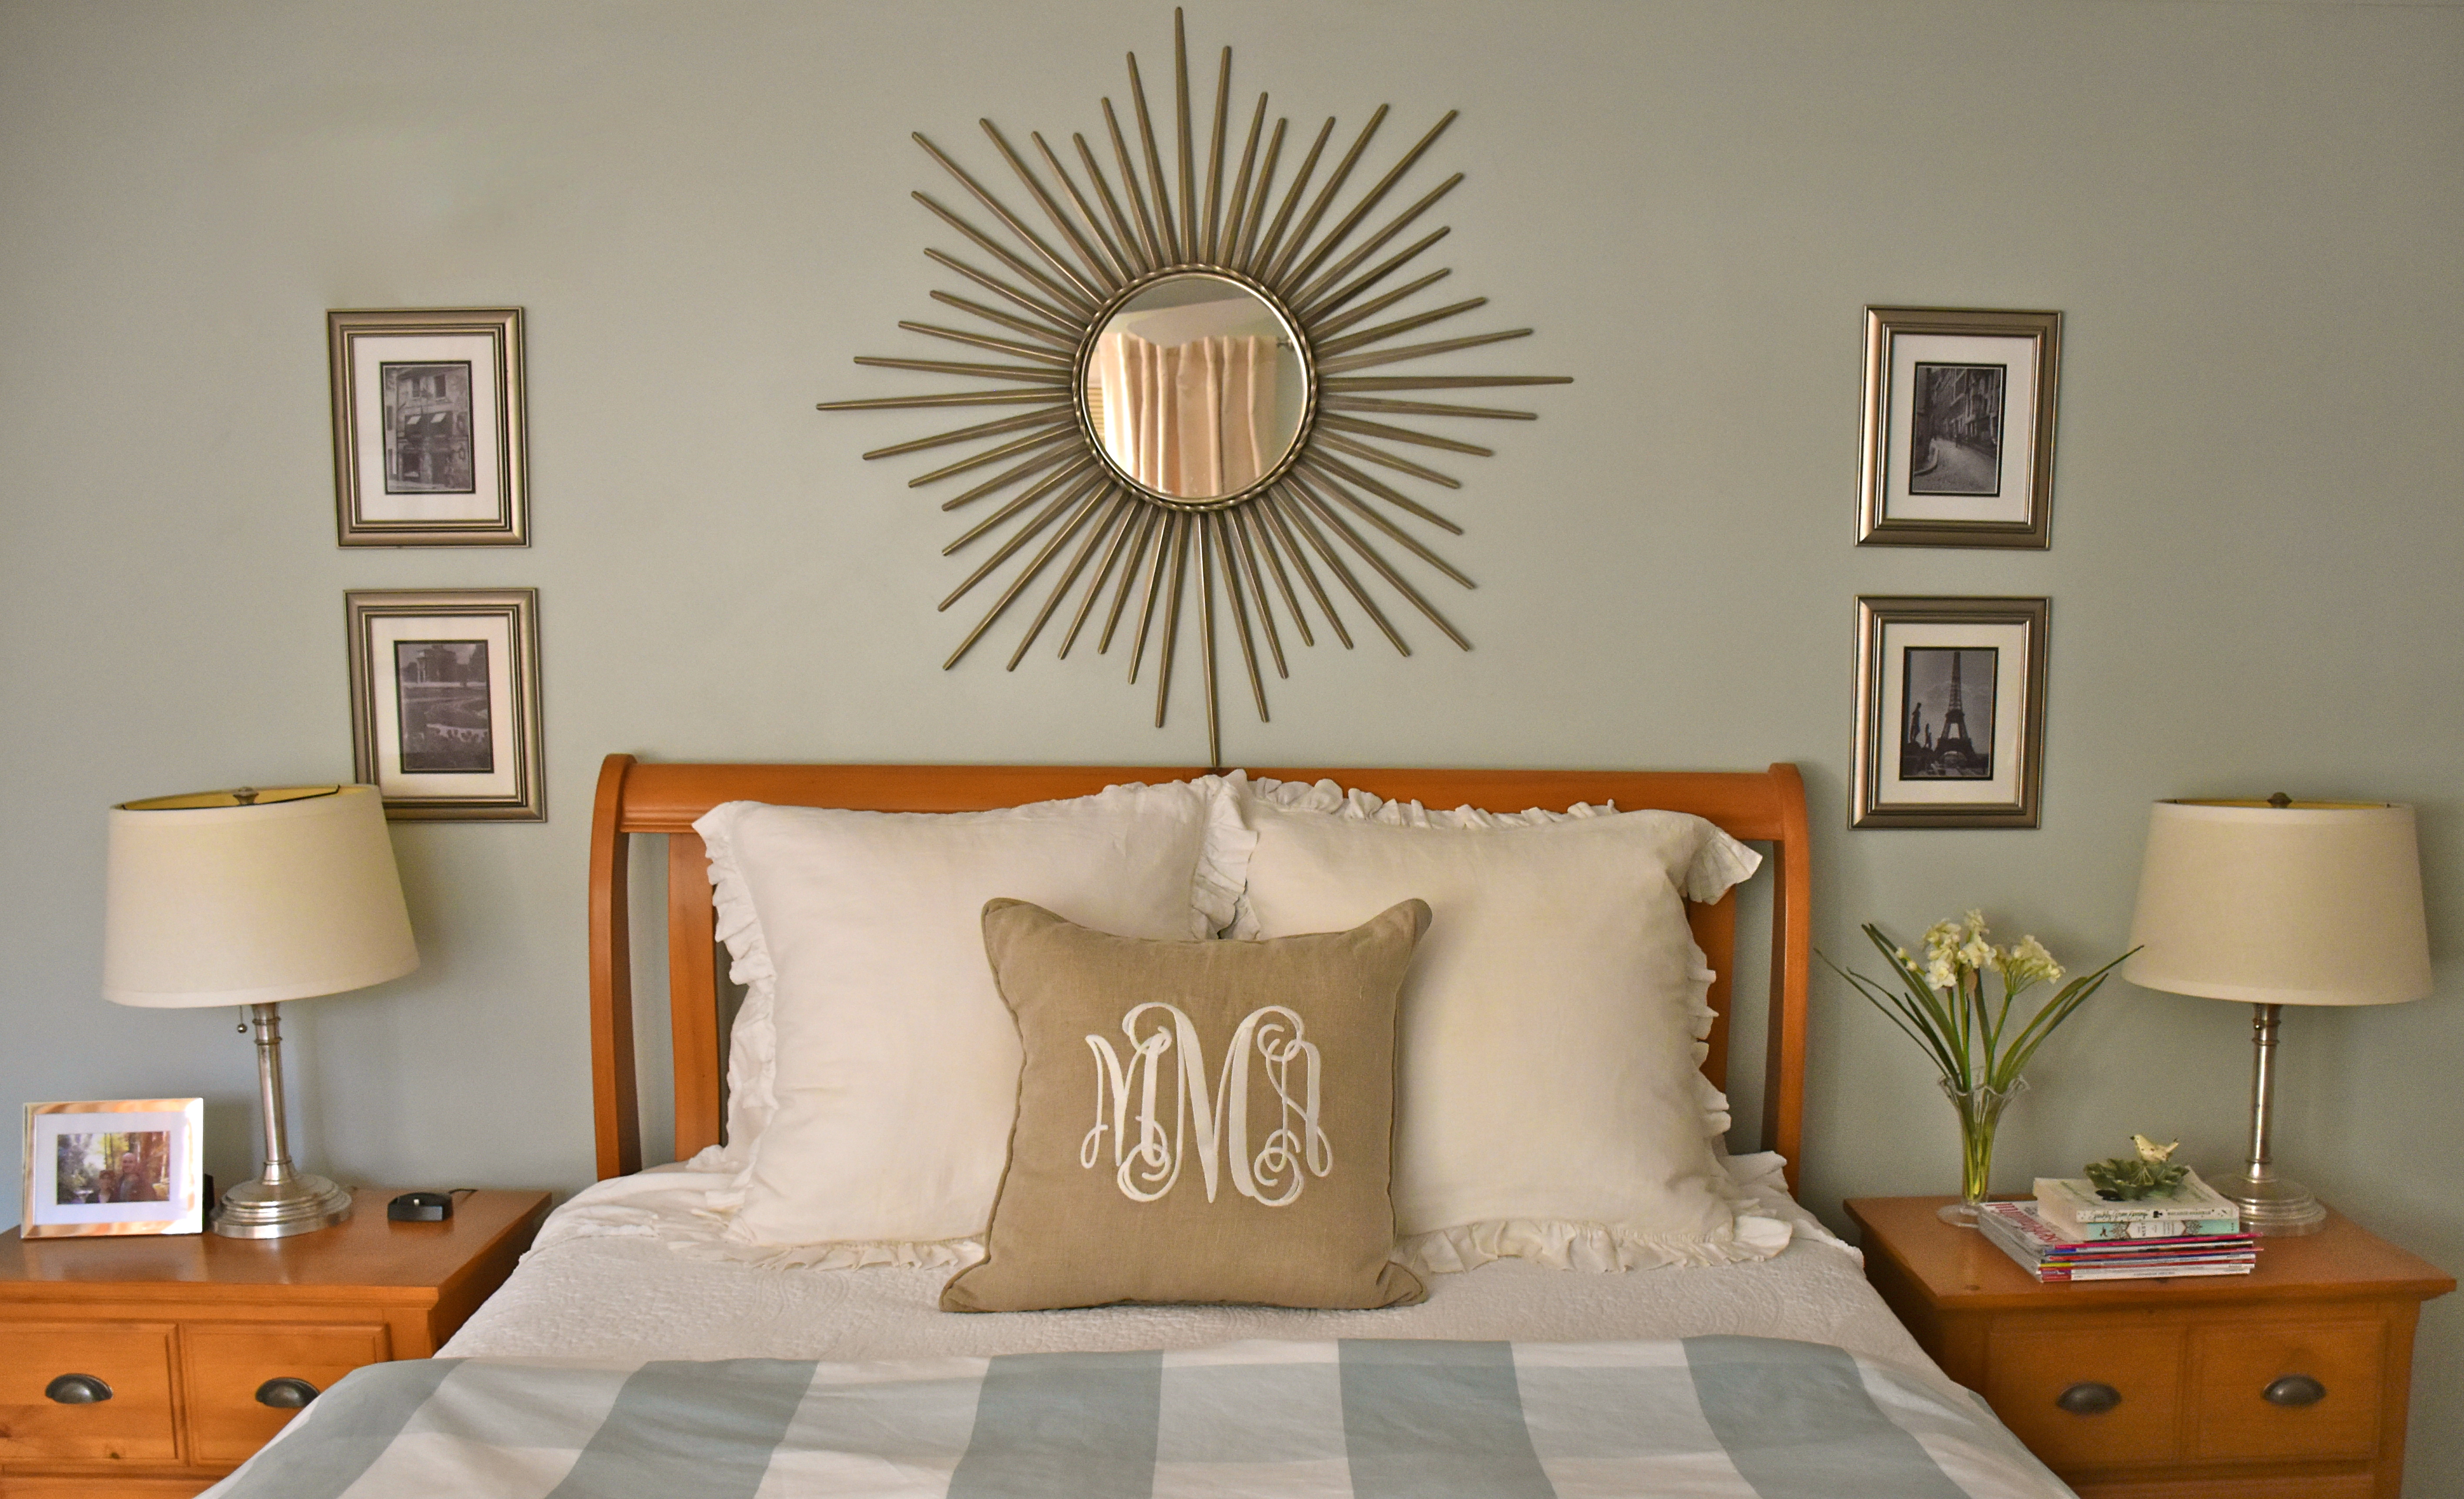
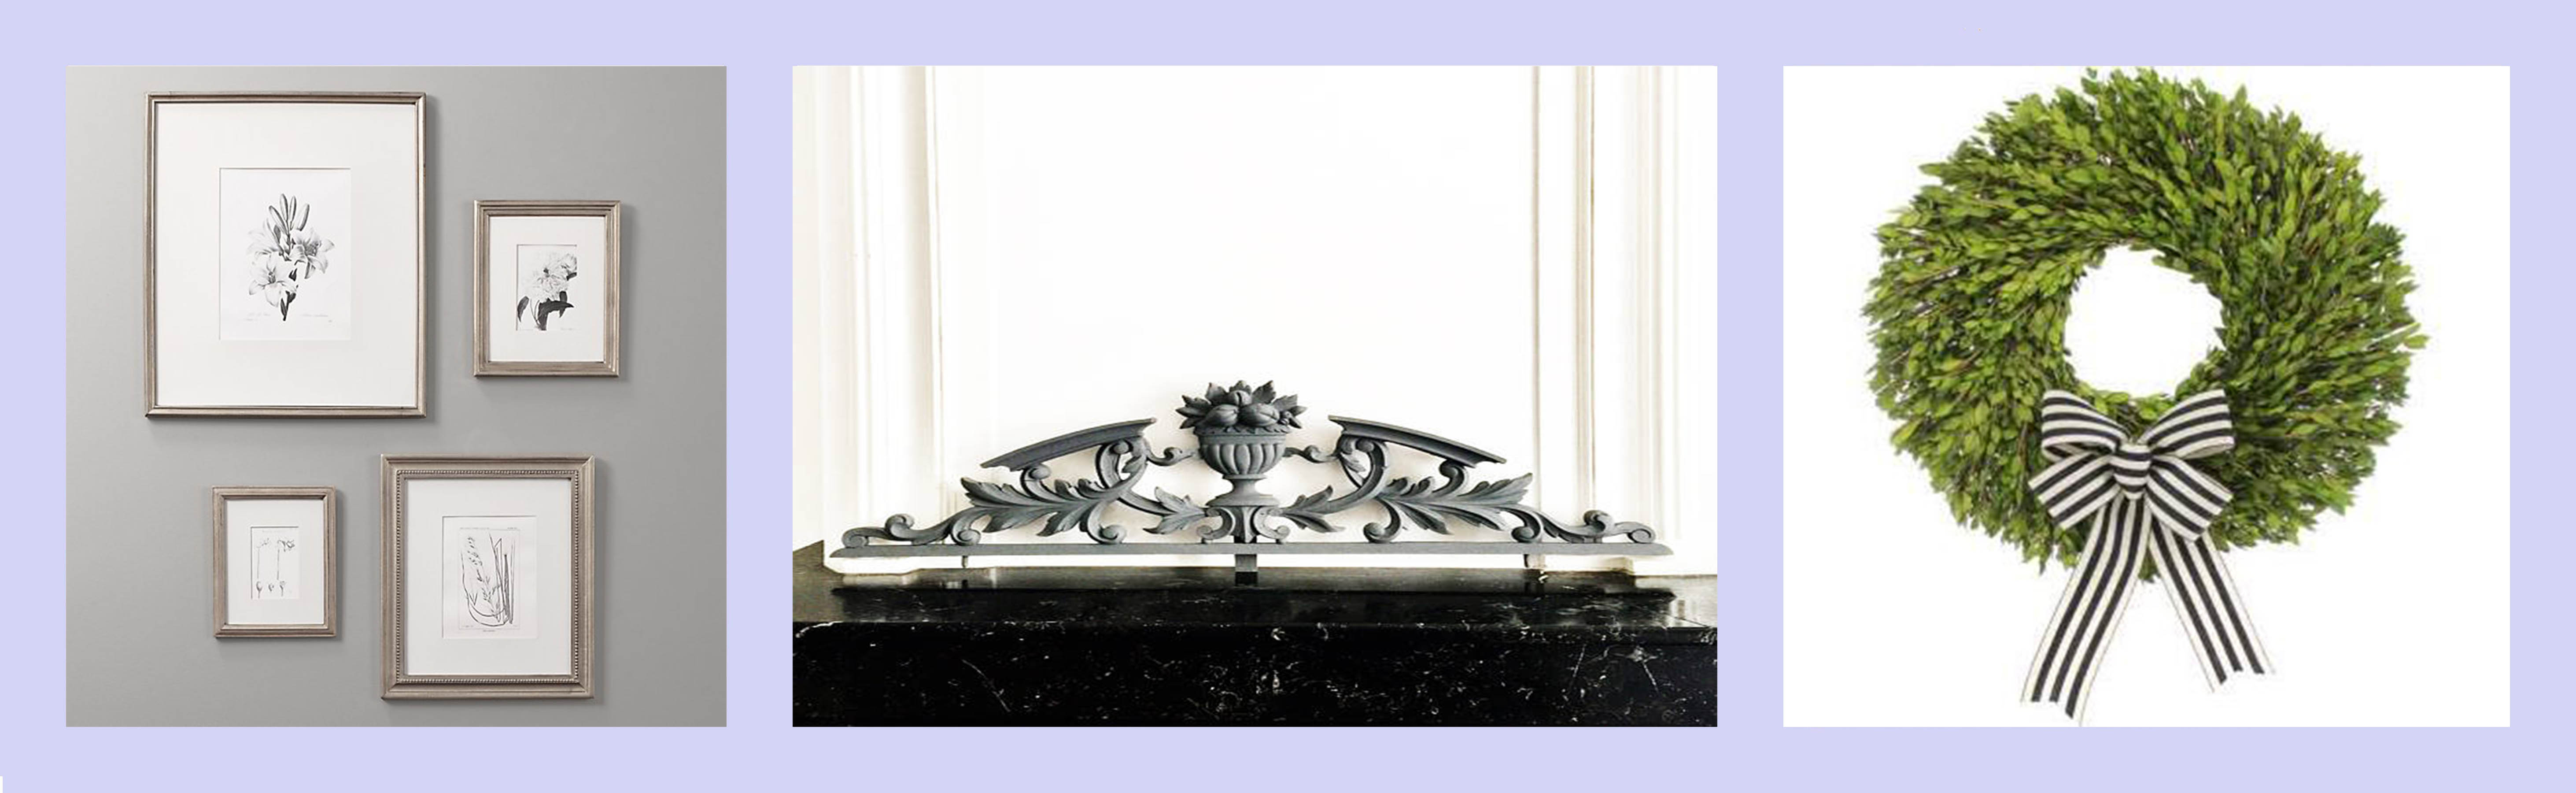
Looking for something a little more elegant then check out these pewter frames from Restoration Hardware. I think a set of black and white photos would look lovely in a grouping with this French antique pediment hung above them. However if you want a slightly less formal look then you could hang two vertical pairs of frames on either side of a french styled boxwood wreath or a round mirror. The symmetry and classic lines would definitely give you a polished look.
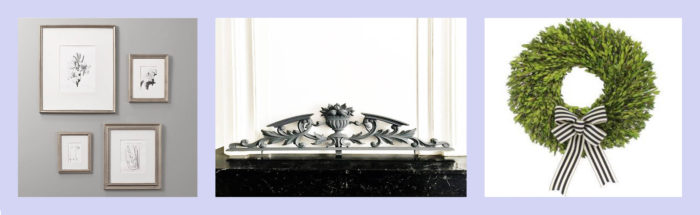
Pewter Frames from Restoration Hardware
Antique FrenchPediment From Etsy
French Boxwood Wreath From Sur La Table
Modern Metal or Canvas
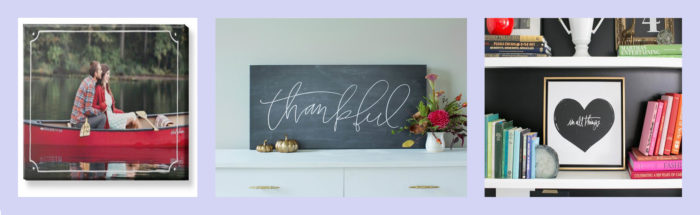
Finally, if you want a more modern feel then hang your prints in a tight graphic pattern using a simple metal frames or consider having your favorite pictures printed on canvas. Shutterfly and Snapfish and other companies offer lots of size options and ways to customize your canvas. If you wanted to make it a more casual mix then you could add in a canvas prints like these from Lindsay Letters.
Shutterfly Canvas Prints of Your Photos
Lindsay Letters Thankful Canvas
Lindsay Letters Love In All Things Canvas
It’s the artistic details that can take a collection of photos and turn them into something that really makes a statement in your home. So start with pulling together those photo you love and then think about how you want to style them. There are so many options out there when it comes to picture frames so find some that truly reflects what you love. If you have a mix of photos you can go with a more daring frame just use the same style for all of your frames. Then spend some time finding the right arrangement. Don’t be afraid to layout lots different designs out on your floor till you get the right mix. Think about adding other mementos like a wedding decoration, a souvenir from a trip or a child’s drawing. These are the personal details that will have you smiling every time you look at your wall.
Finally, consider adding in some decorative details that can pull a group of frames together. Designer Nate Berkus is an expert at this I love a grouping of frames that he did for a family loved the beach. He topped the arrangement with a single starfish. That small detail really made that wall. Here is a link to Barri Leiner Grant’s house so you can see it and I can avoid any copyright issues. So add a starfish, an antique pediment, a sign, a framed sports pennant or your own decorative piece to pull a group of frames together. It’s those small details that will make your collection something memorable.


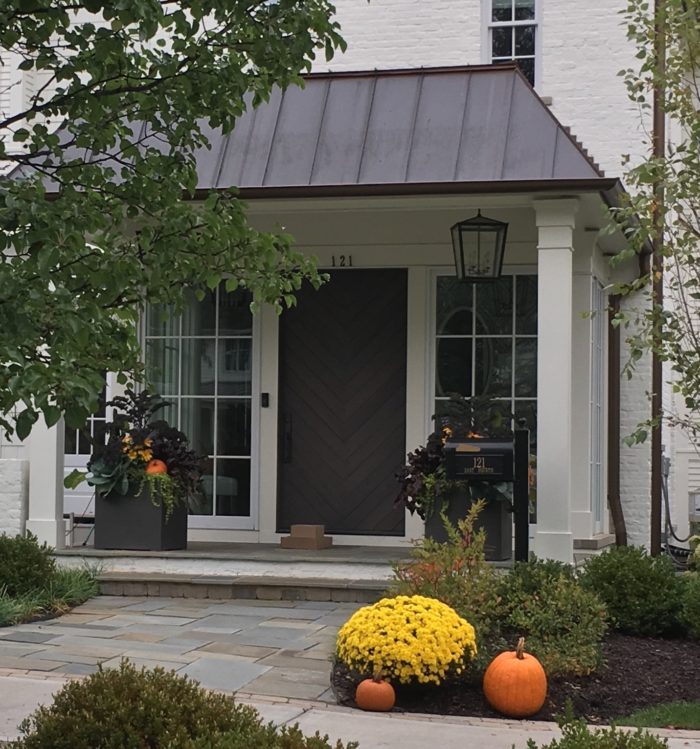
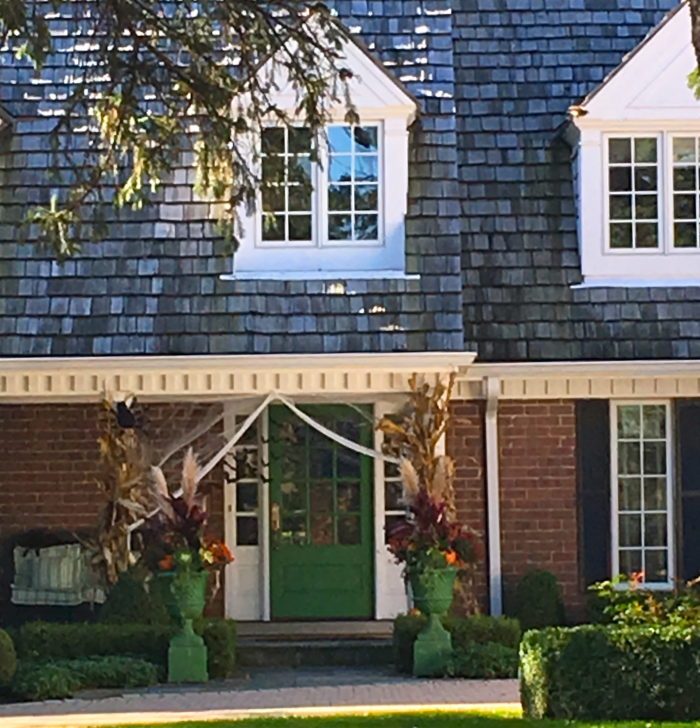 This beautiful green door makes a statement I love how the homeowners painted these planters to match. When you have a bold statement color like this kelly green I think it really pulls the look together when you have a pots or some other detail like a bench that repeats that color. I like the height of the corn stalks and the green kale with the orange pumpkins.
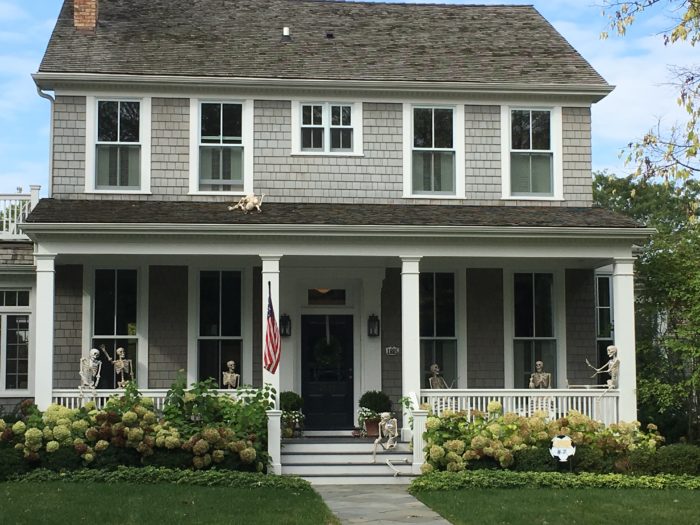 These homeowners have a sense of humor. I love the different posses that they have for their skeleton porch party.
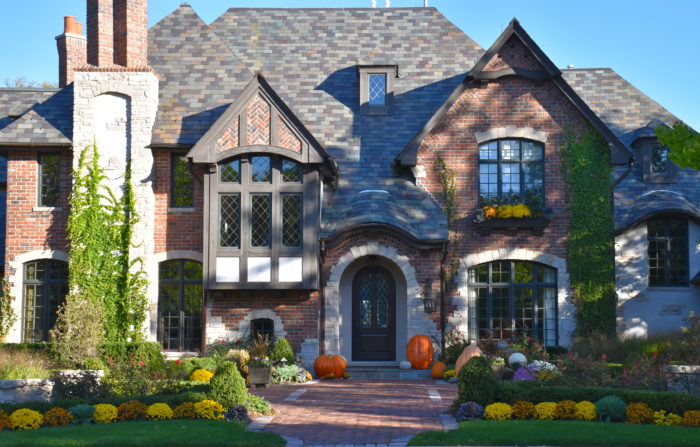
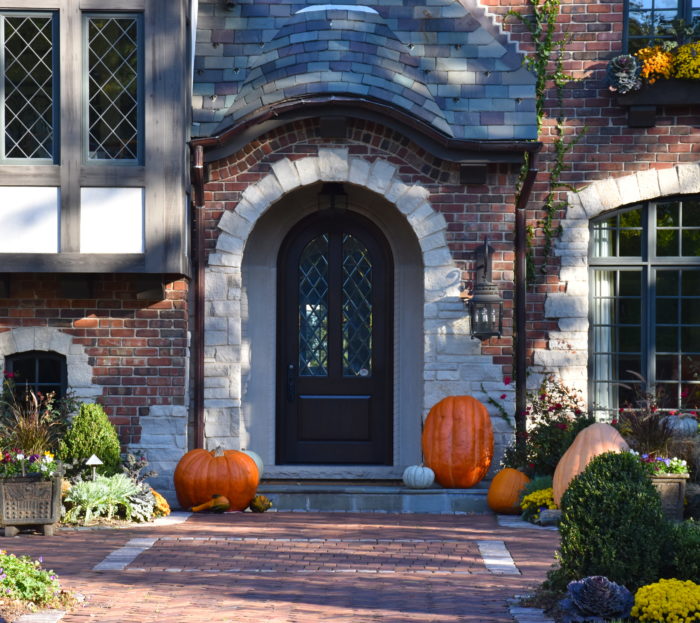
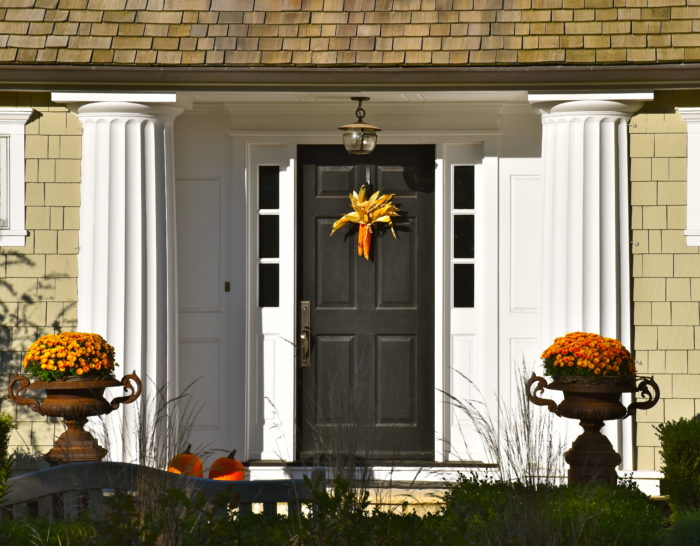
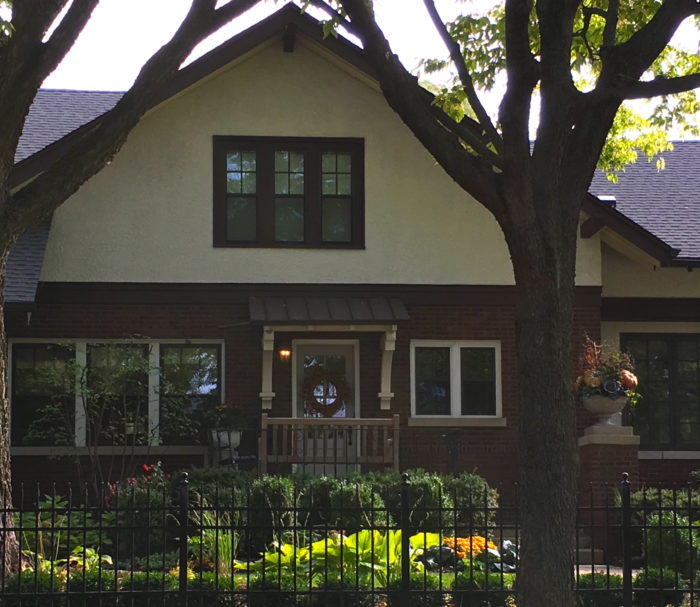 Finally to end this post, here is another beautiful craftsman style home. The garden surrounding this house is lovely. The door is trimmed with a bittersweet wreath and look at that planter with the pumpkins. So many pretty houses all dressed for the season. How fun it has been to stop and enjoy the view.

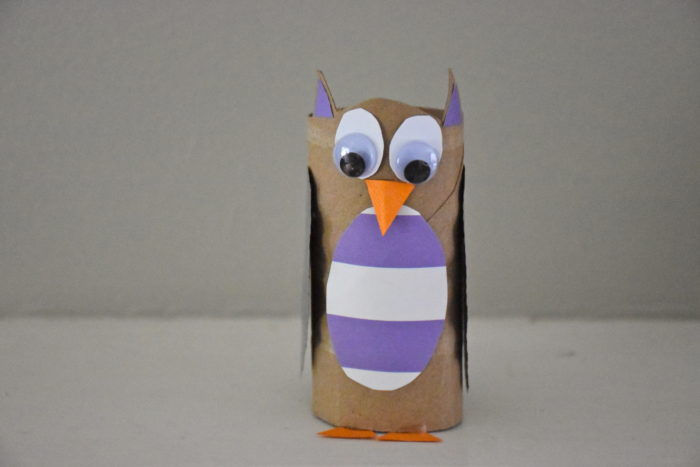
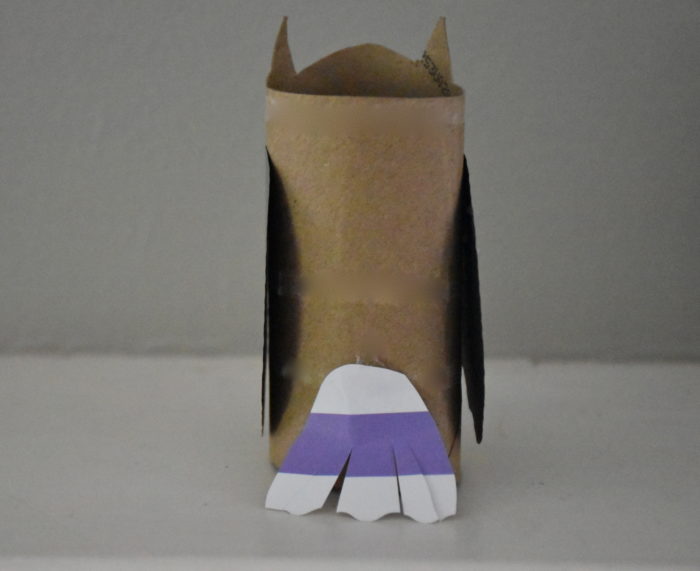
 Then I cut out all of the paper pieces using several different patterns of paper I had left over from other projects. I have an oval stencil set that I used to make some of the pieces and then I cut the other pieces out free form but I have traced my shapes out below so you could print the picture as a pattern or just use it as a guide. The wings have a little scalloped edge that I made with some scrapbooking scissors.
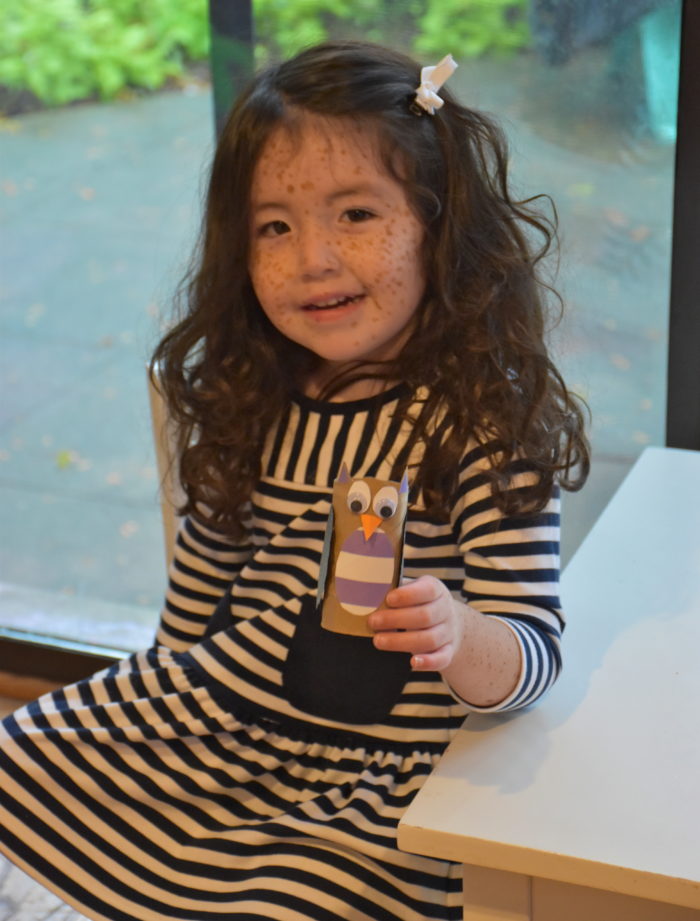
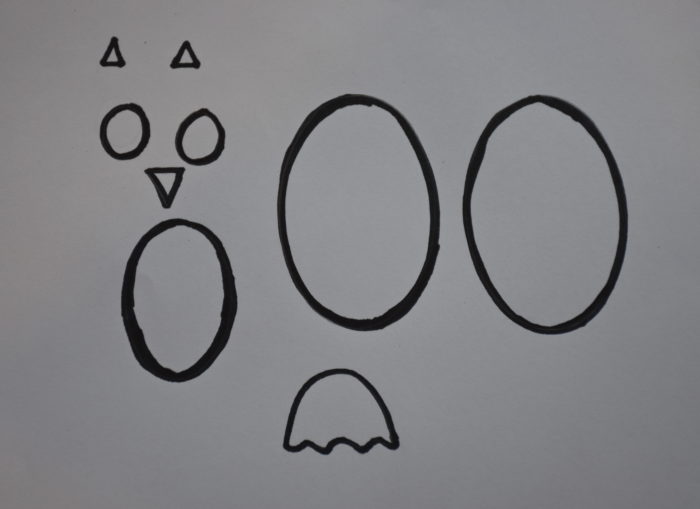 Here is a close up of the one my youngest daughter made. She loved the purple paper and I think it made a cute owl.