Peachy Pound Cake

Peach Pound Cake Recipe

I have been on a short kitchen break because our air conditioner went out over the weekend, which happened to coincide with a mini heat wave that we had here in Chicago. There is something about the kitchen being nearly 90 degrees that drains all my creative thinking and desire to bake. So I spent a good bit of time with my girls in the backyard sprinkler. Desperate times call for desperate measures and now thankfully I am back in the kitchen living the good life with air conditioning.

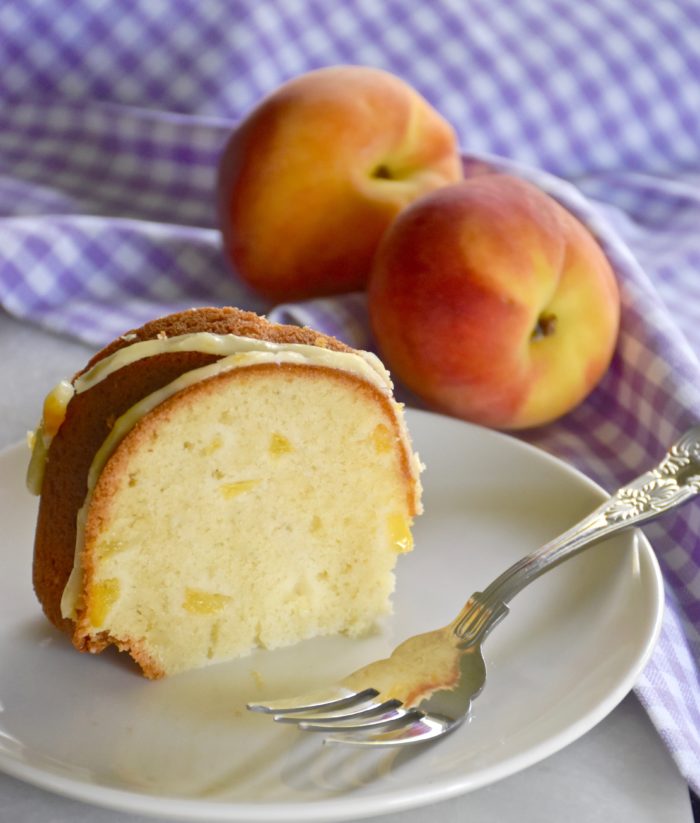
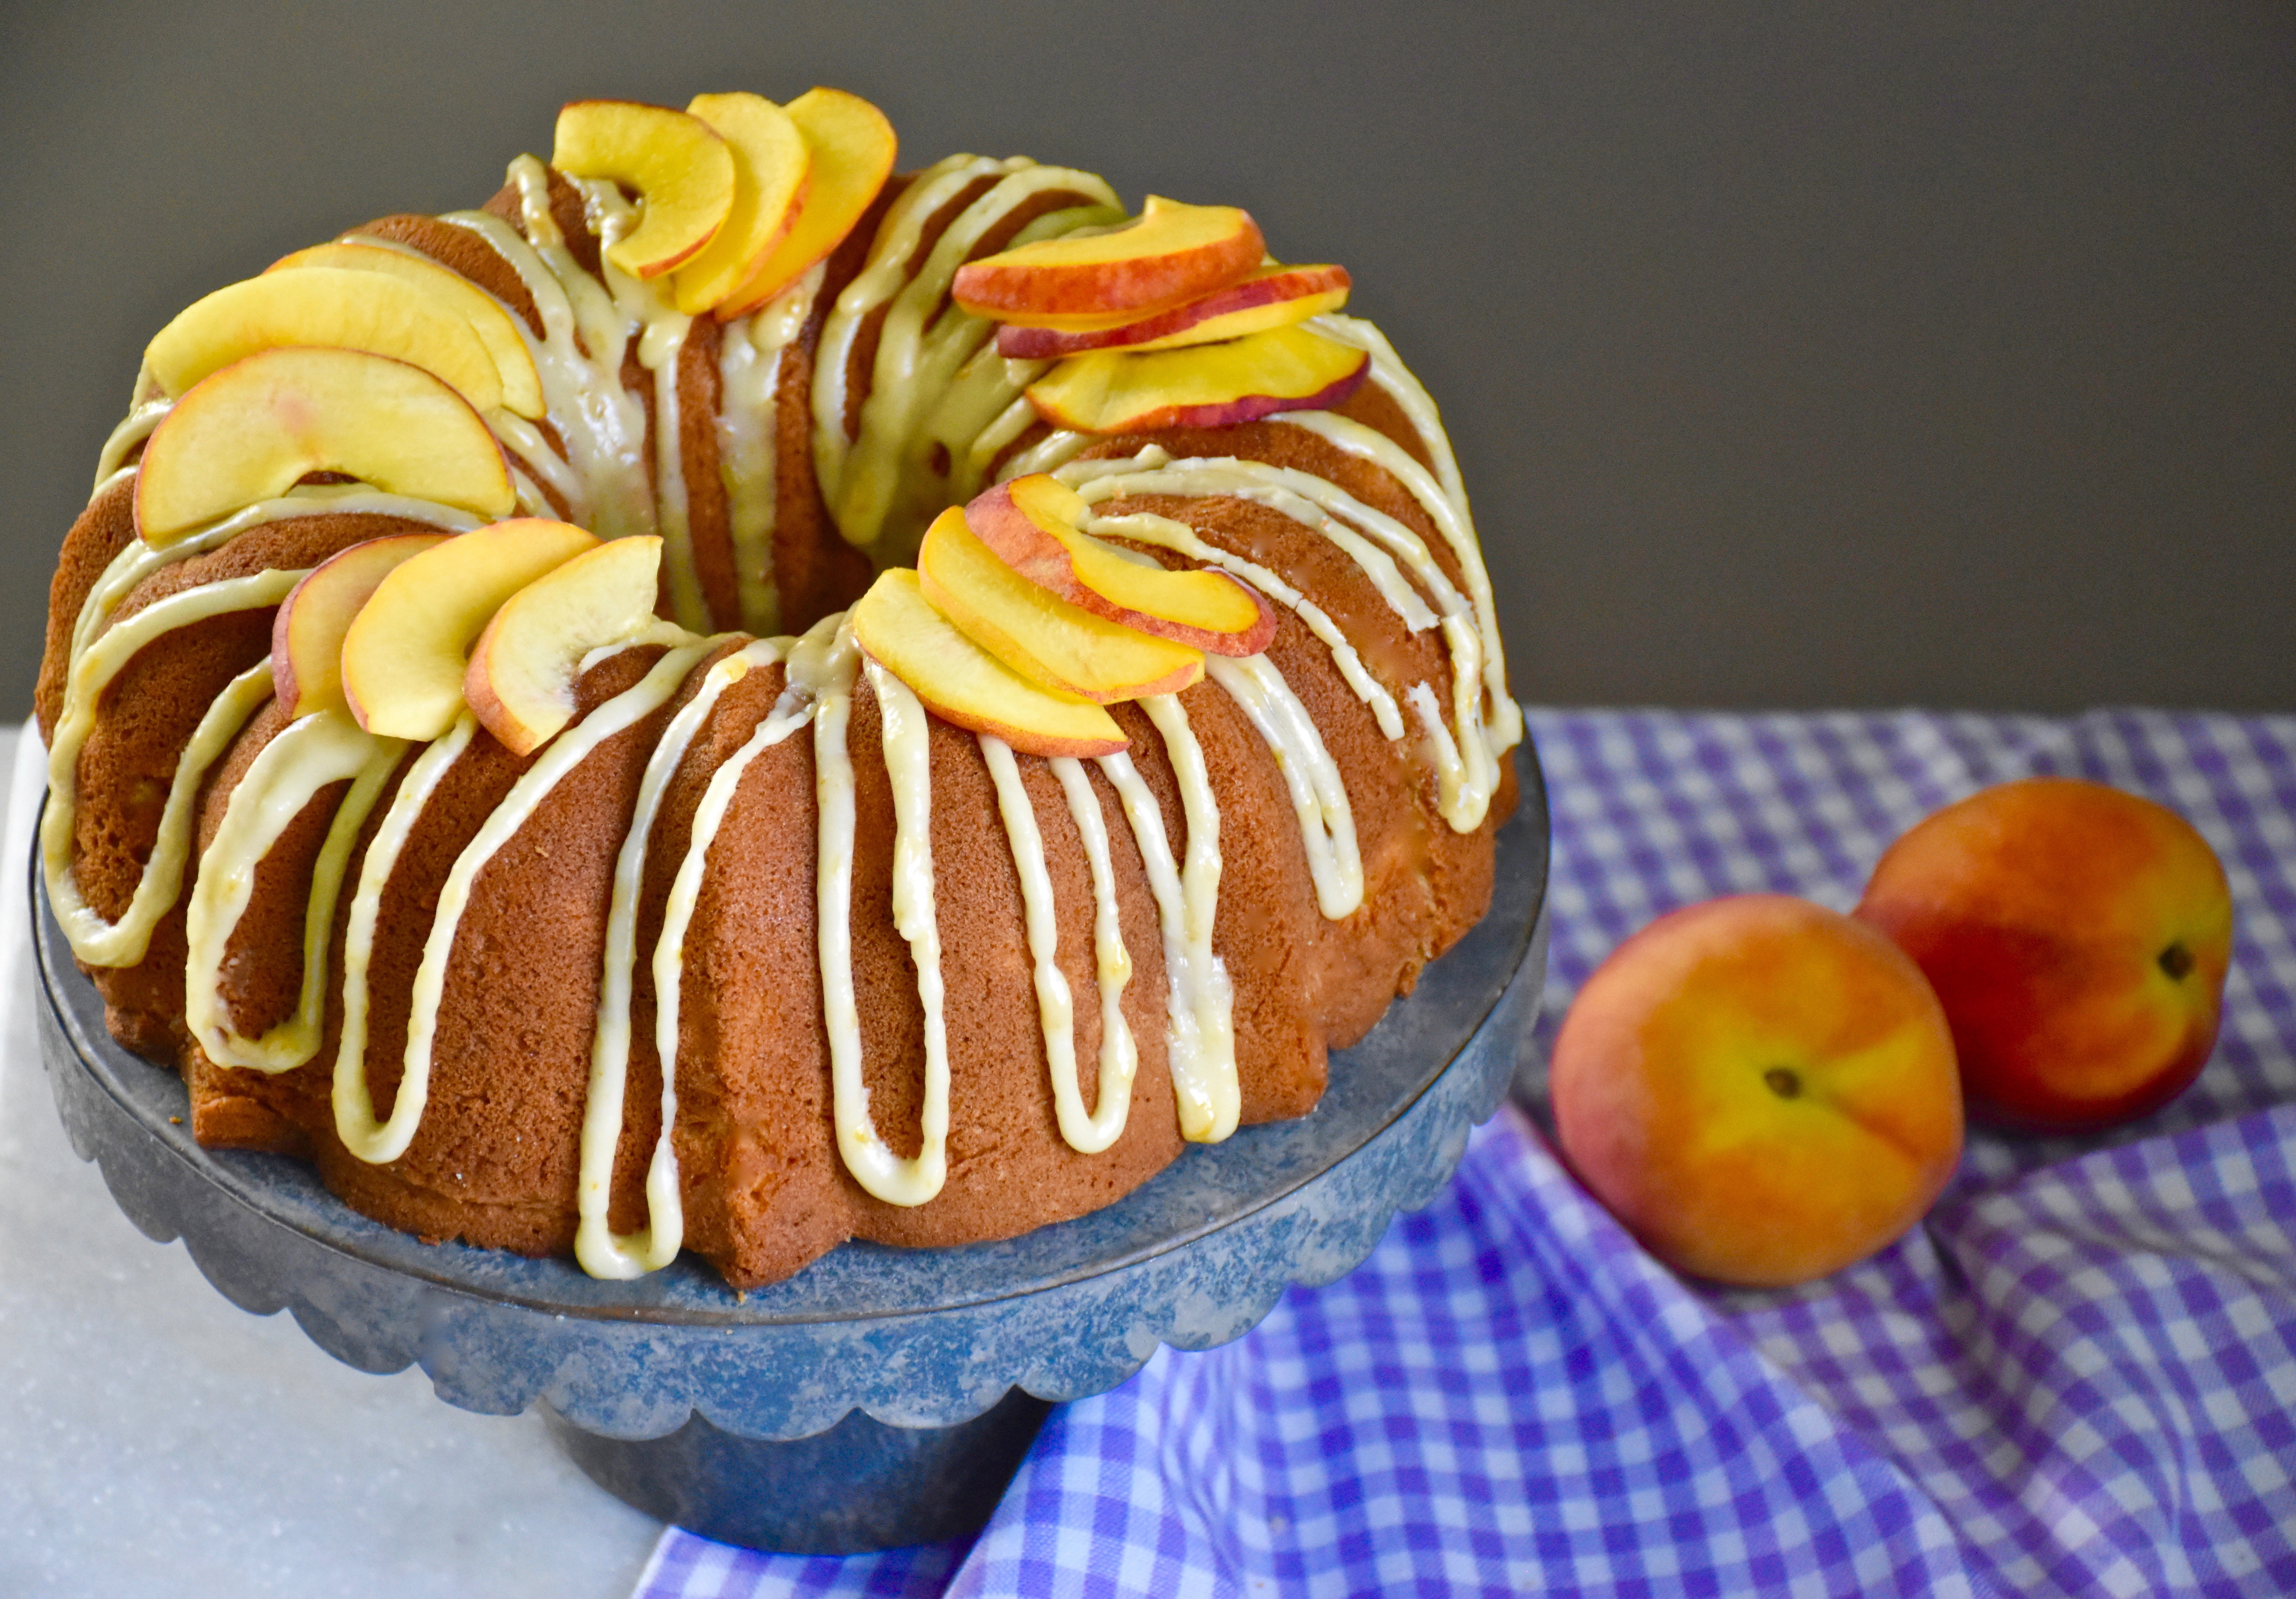
One of the best parts of summer besides air conditioning is peaches season. There is nothing in this world like a sweet peach. I had been waiting for summer peaches and thinking about creating a peach cake for a while now. After testing a few ideas and deciding what type of cake to make I found a winning combination peaches and pound cake. Pound cakes are great because their sturdy buttery texture bakes beautifully when fresh fruit to the batter. The other great thing about them is that they tend to be less fussy cakes, that don’t need lots of decoration to be delicious. So this cake is definitely a new favorite in our house.

Peachy Pound Cake 

  • 2 ( 1 1/2 cups) peaches, peeled and diced
  • 3 sticks of butter, room temperature (let it sit out of the fridge for at least an hour)
  • 2 cups granulated sugar
  • 6 eggs, room temperature
  • 1 tablespoon vanilla extract
  • 1 teaspoon baking soda
  • 1/2 teaspoon of salt
  • 1/2 cup buttermilk
  • 4 cups of cake flour

Preheat your oven 350 degrees. I have a convection oven that runs slightly hot so I set my oven to 330 degrees.

First get your fresh peaches prepared. My trick for peeling peaches is to have a small sauce pan with boiling water. Then make an X-shaped cut on the bottom of your peach. Submerge your peach in the boiling water using a slotted spoon for 30 to 40 seconds. Then rinse your peach in cold water and the skin will peel right off and it will be easy to dice into pieces. If you are making this cake out of season and using frozen peaches then make sure they are drained well on a plate lined with paper towels because the extra moisture could create an issue.

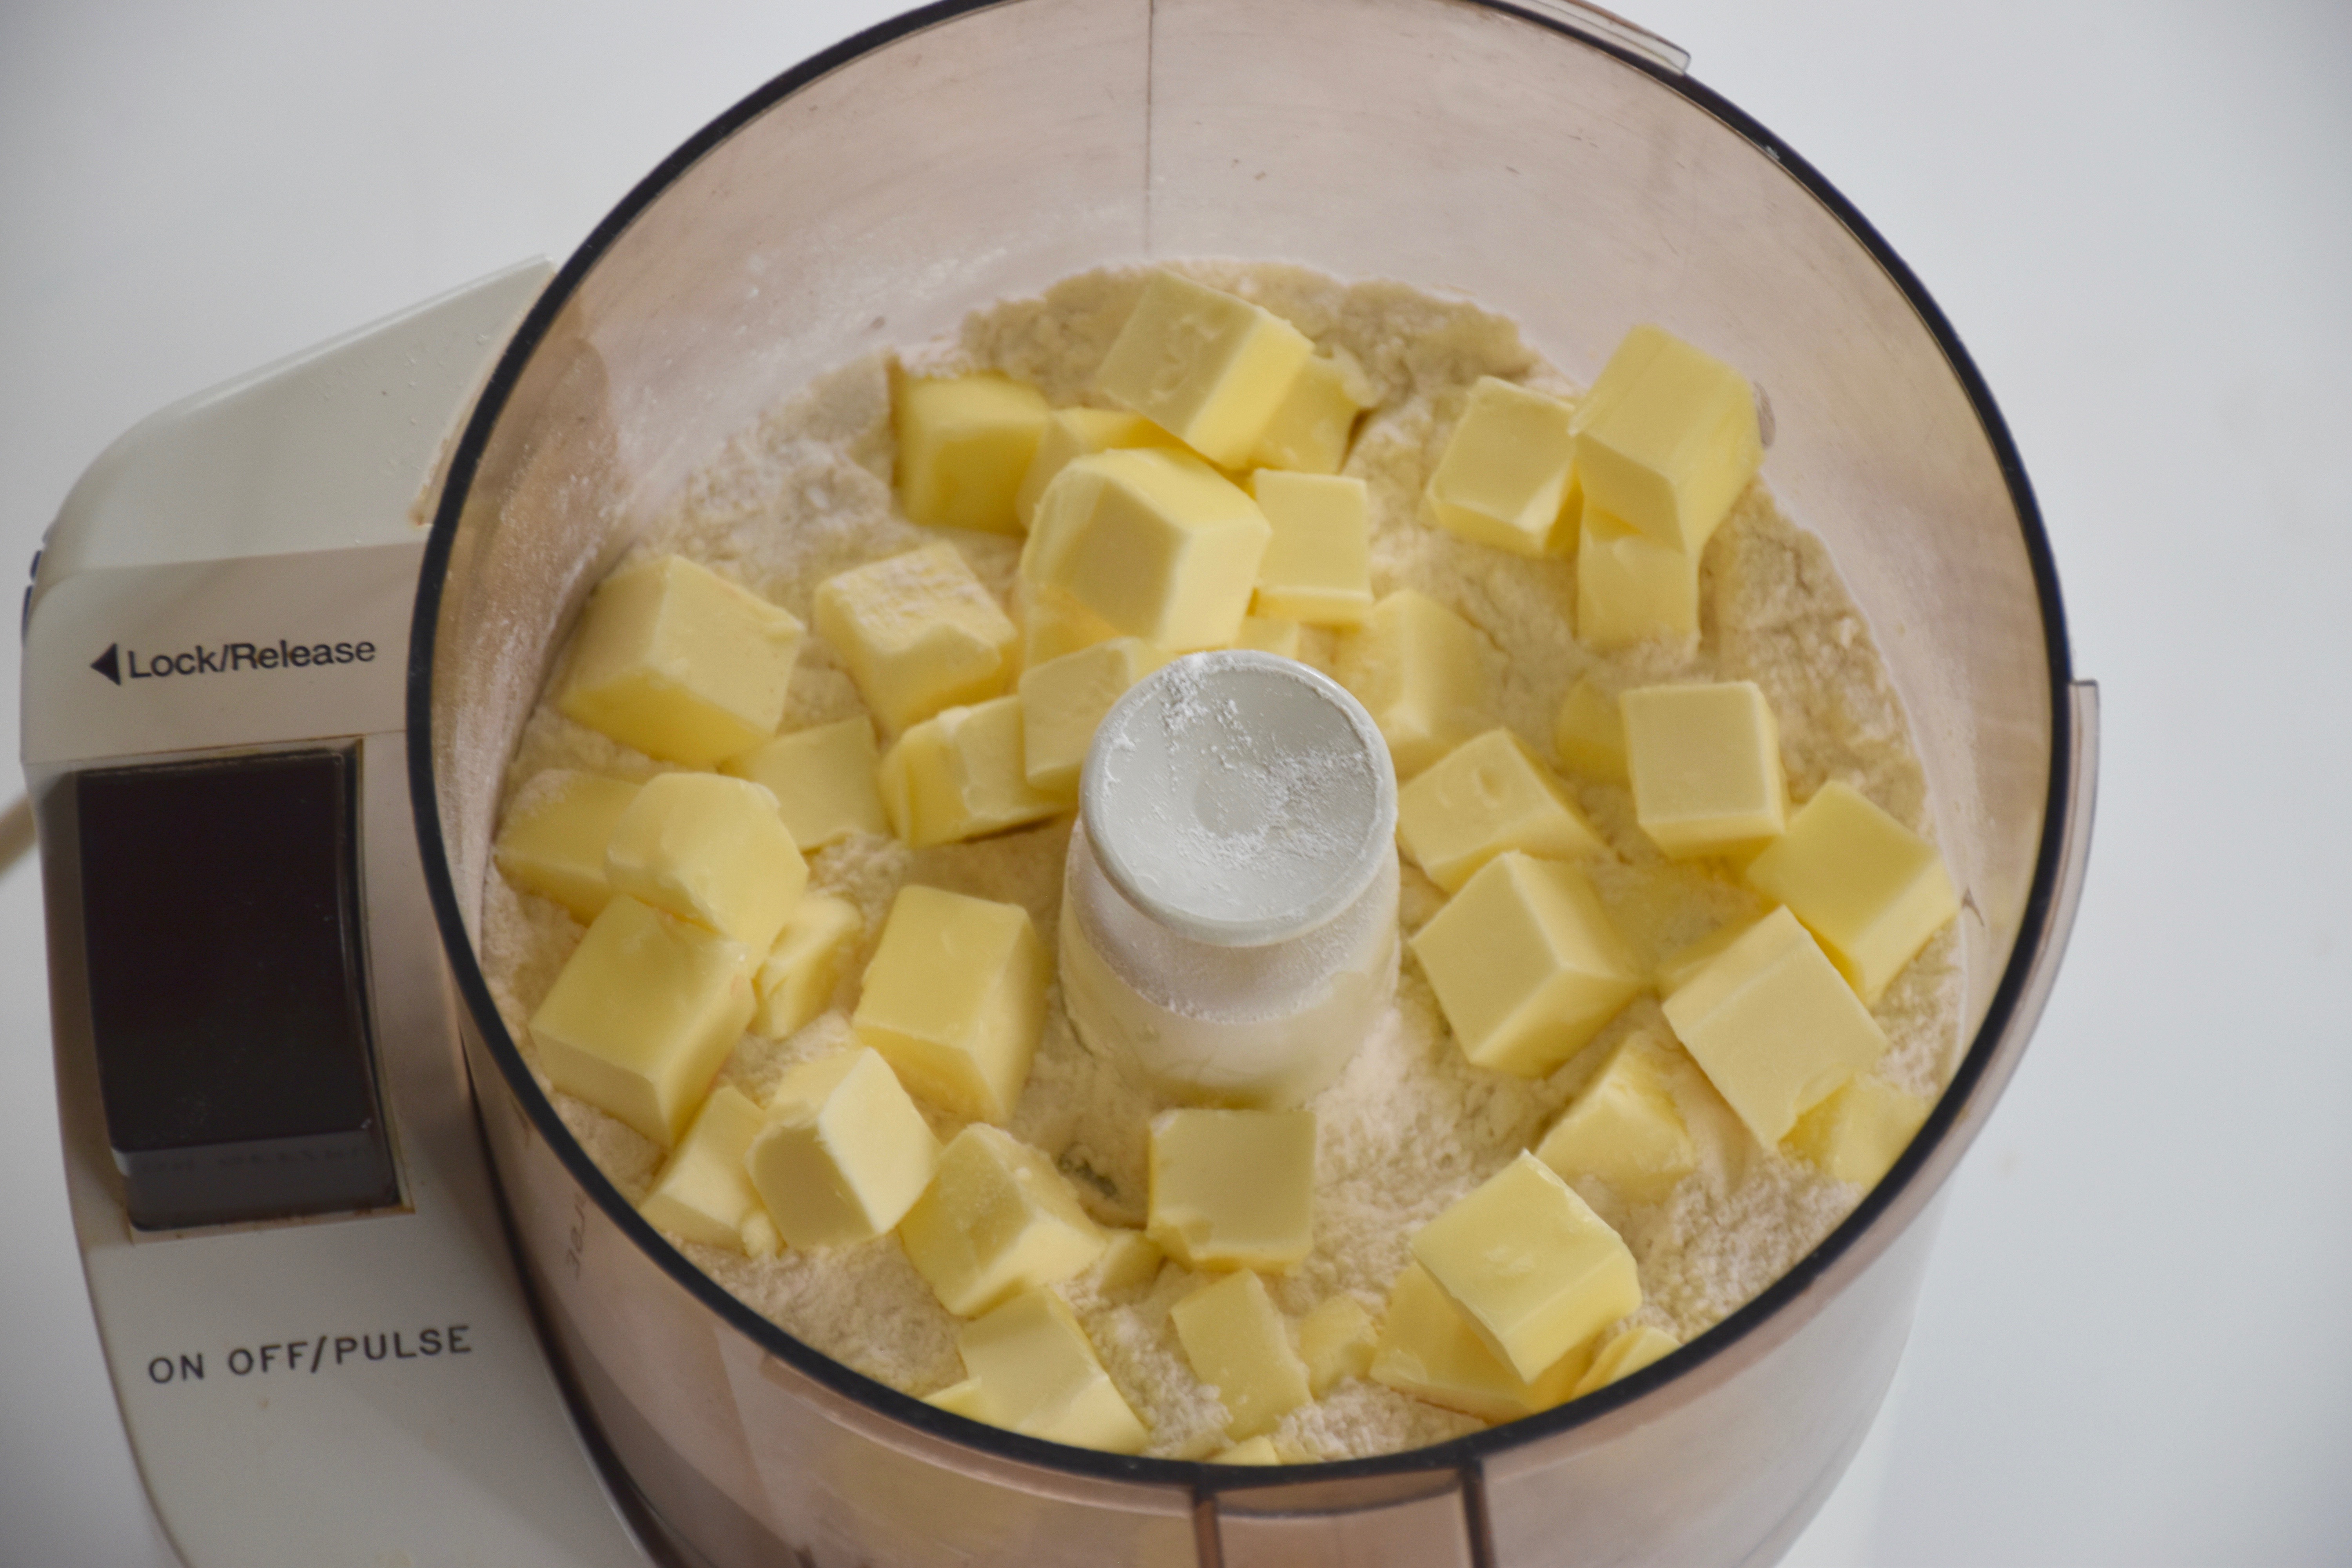
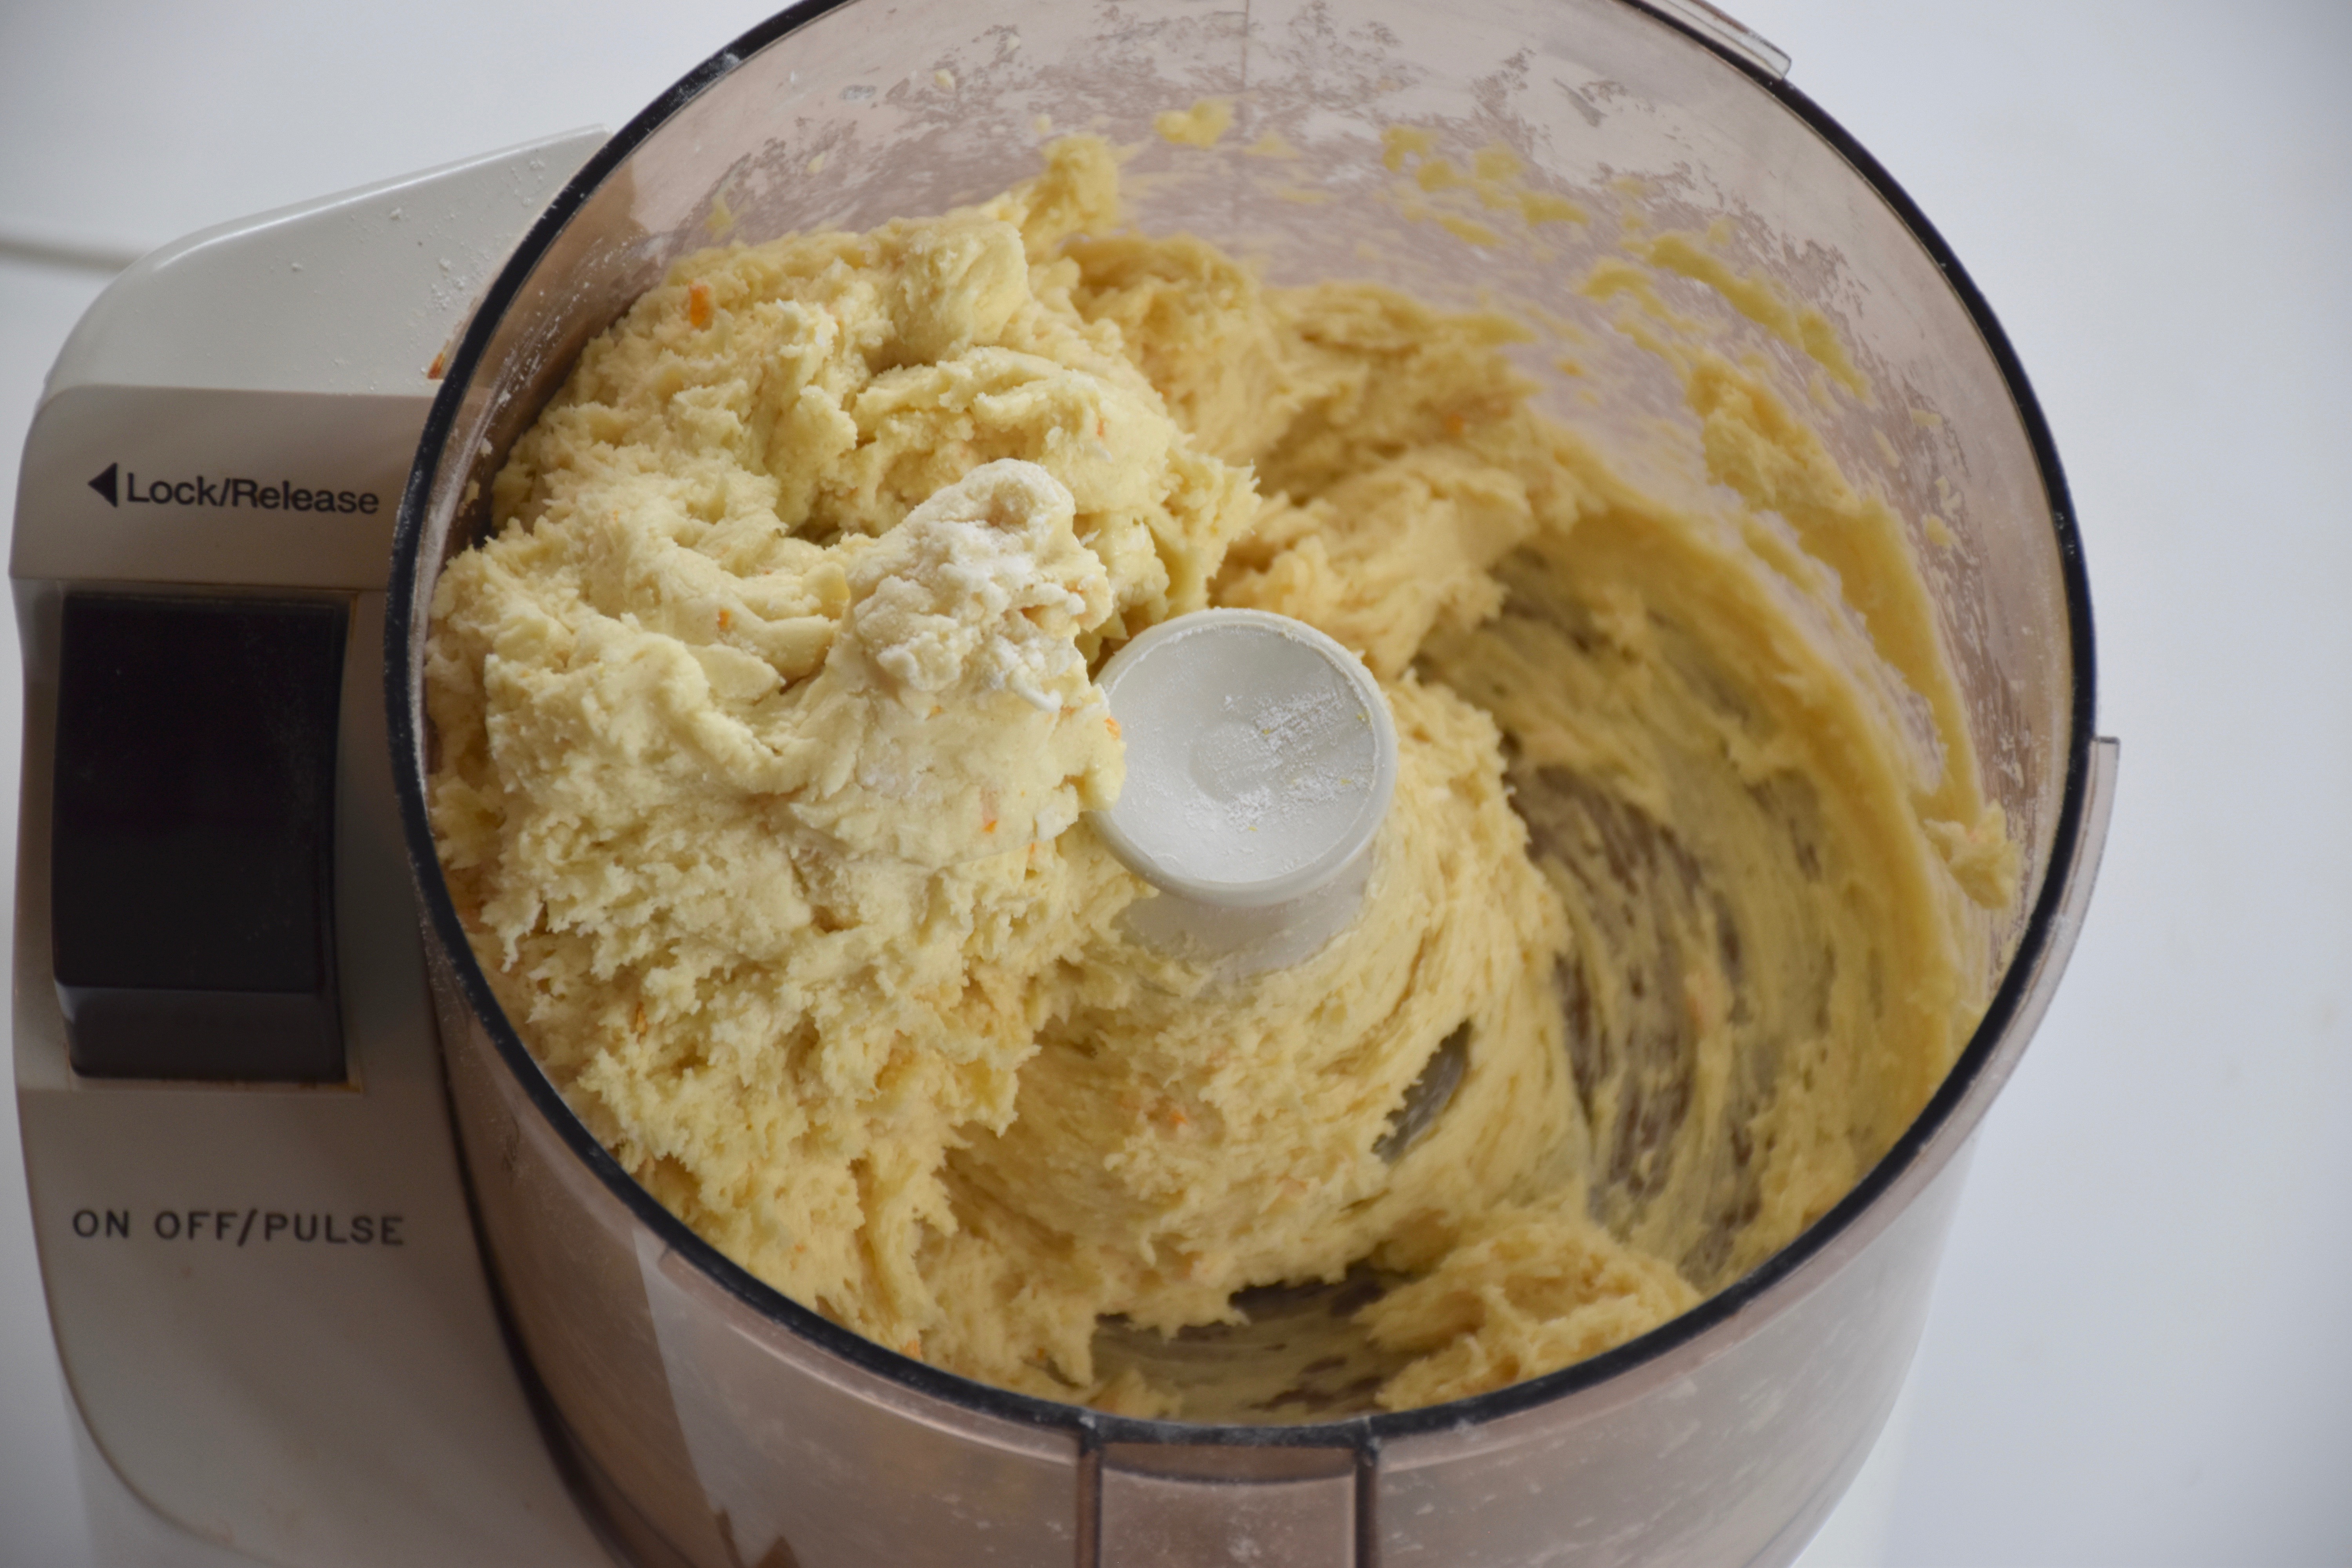
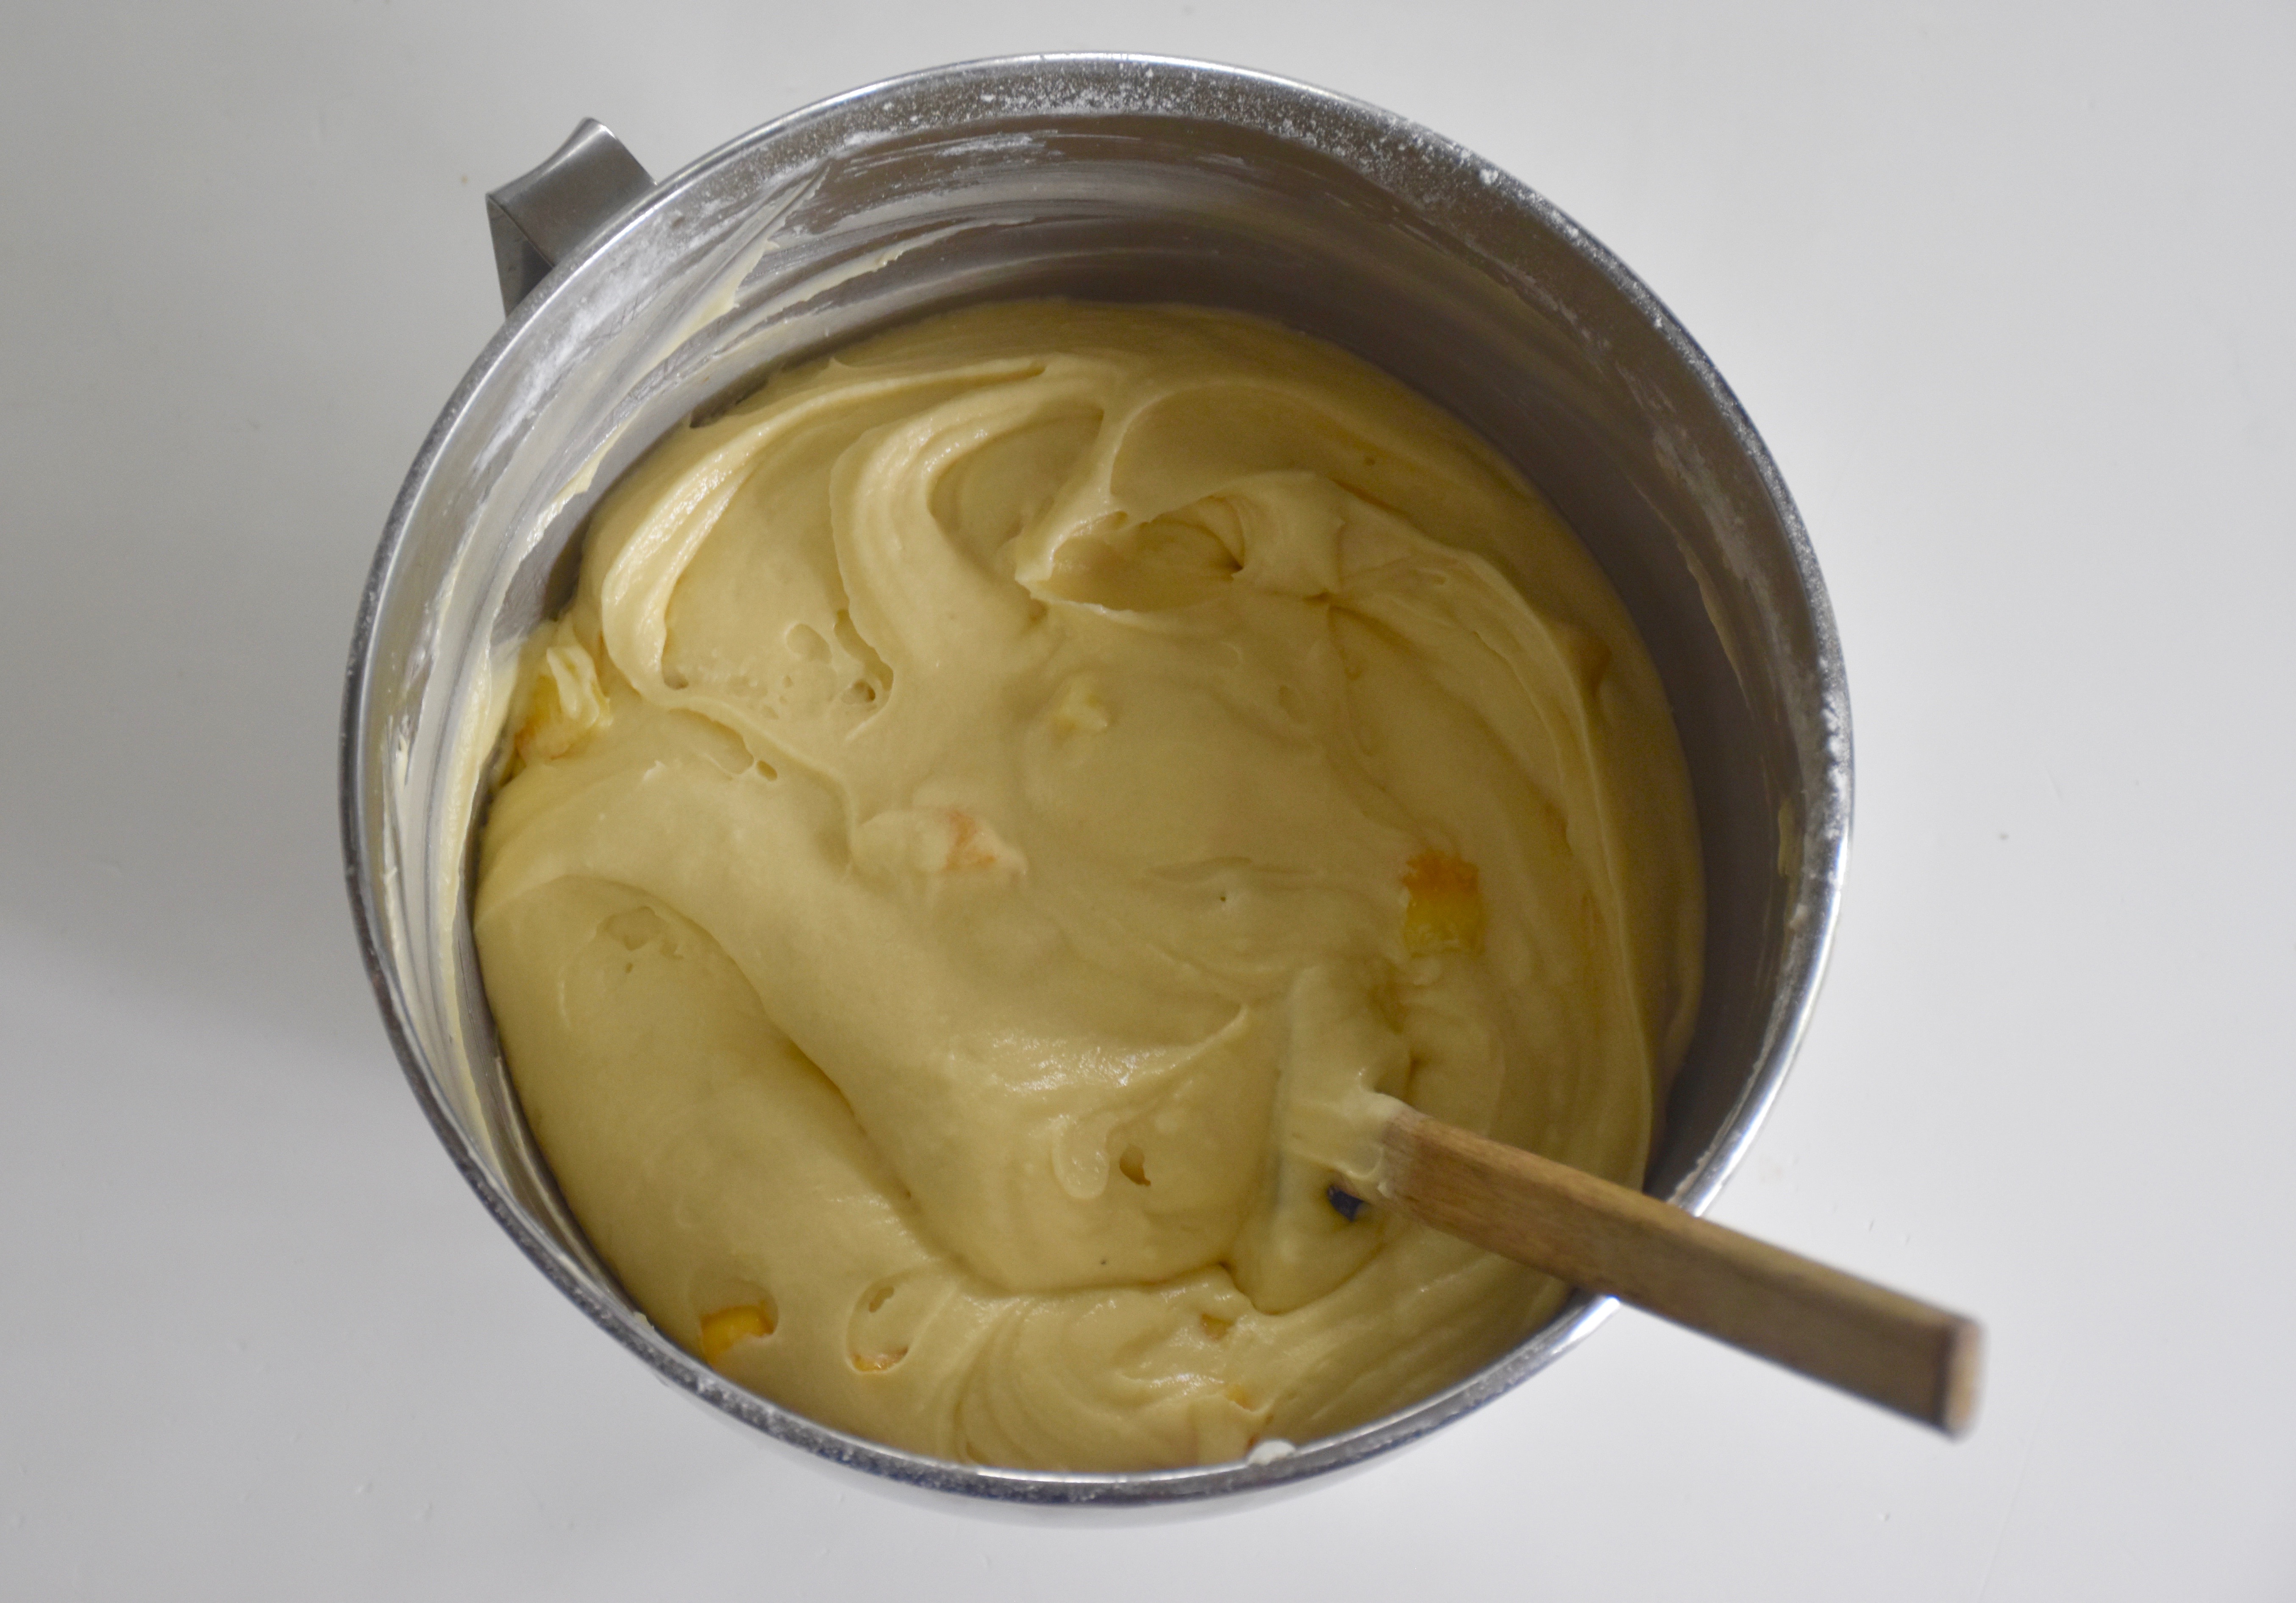
Next in a large bowl of your stand mixer cream or mix together your butter and sugar on medium speed for about two minutes until the butter mixture gets light and fluffy. Then add in your eggs individually and until they are all well incorporated.

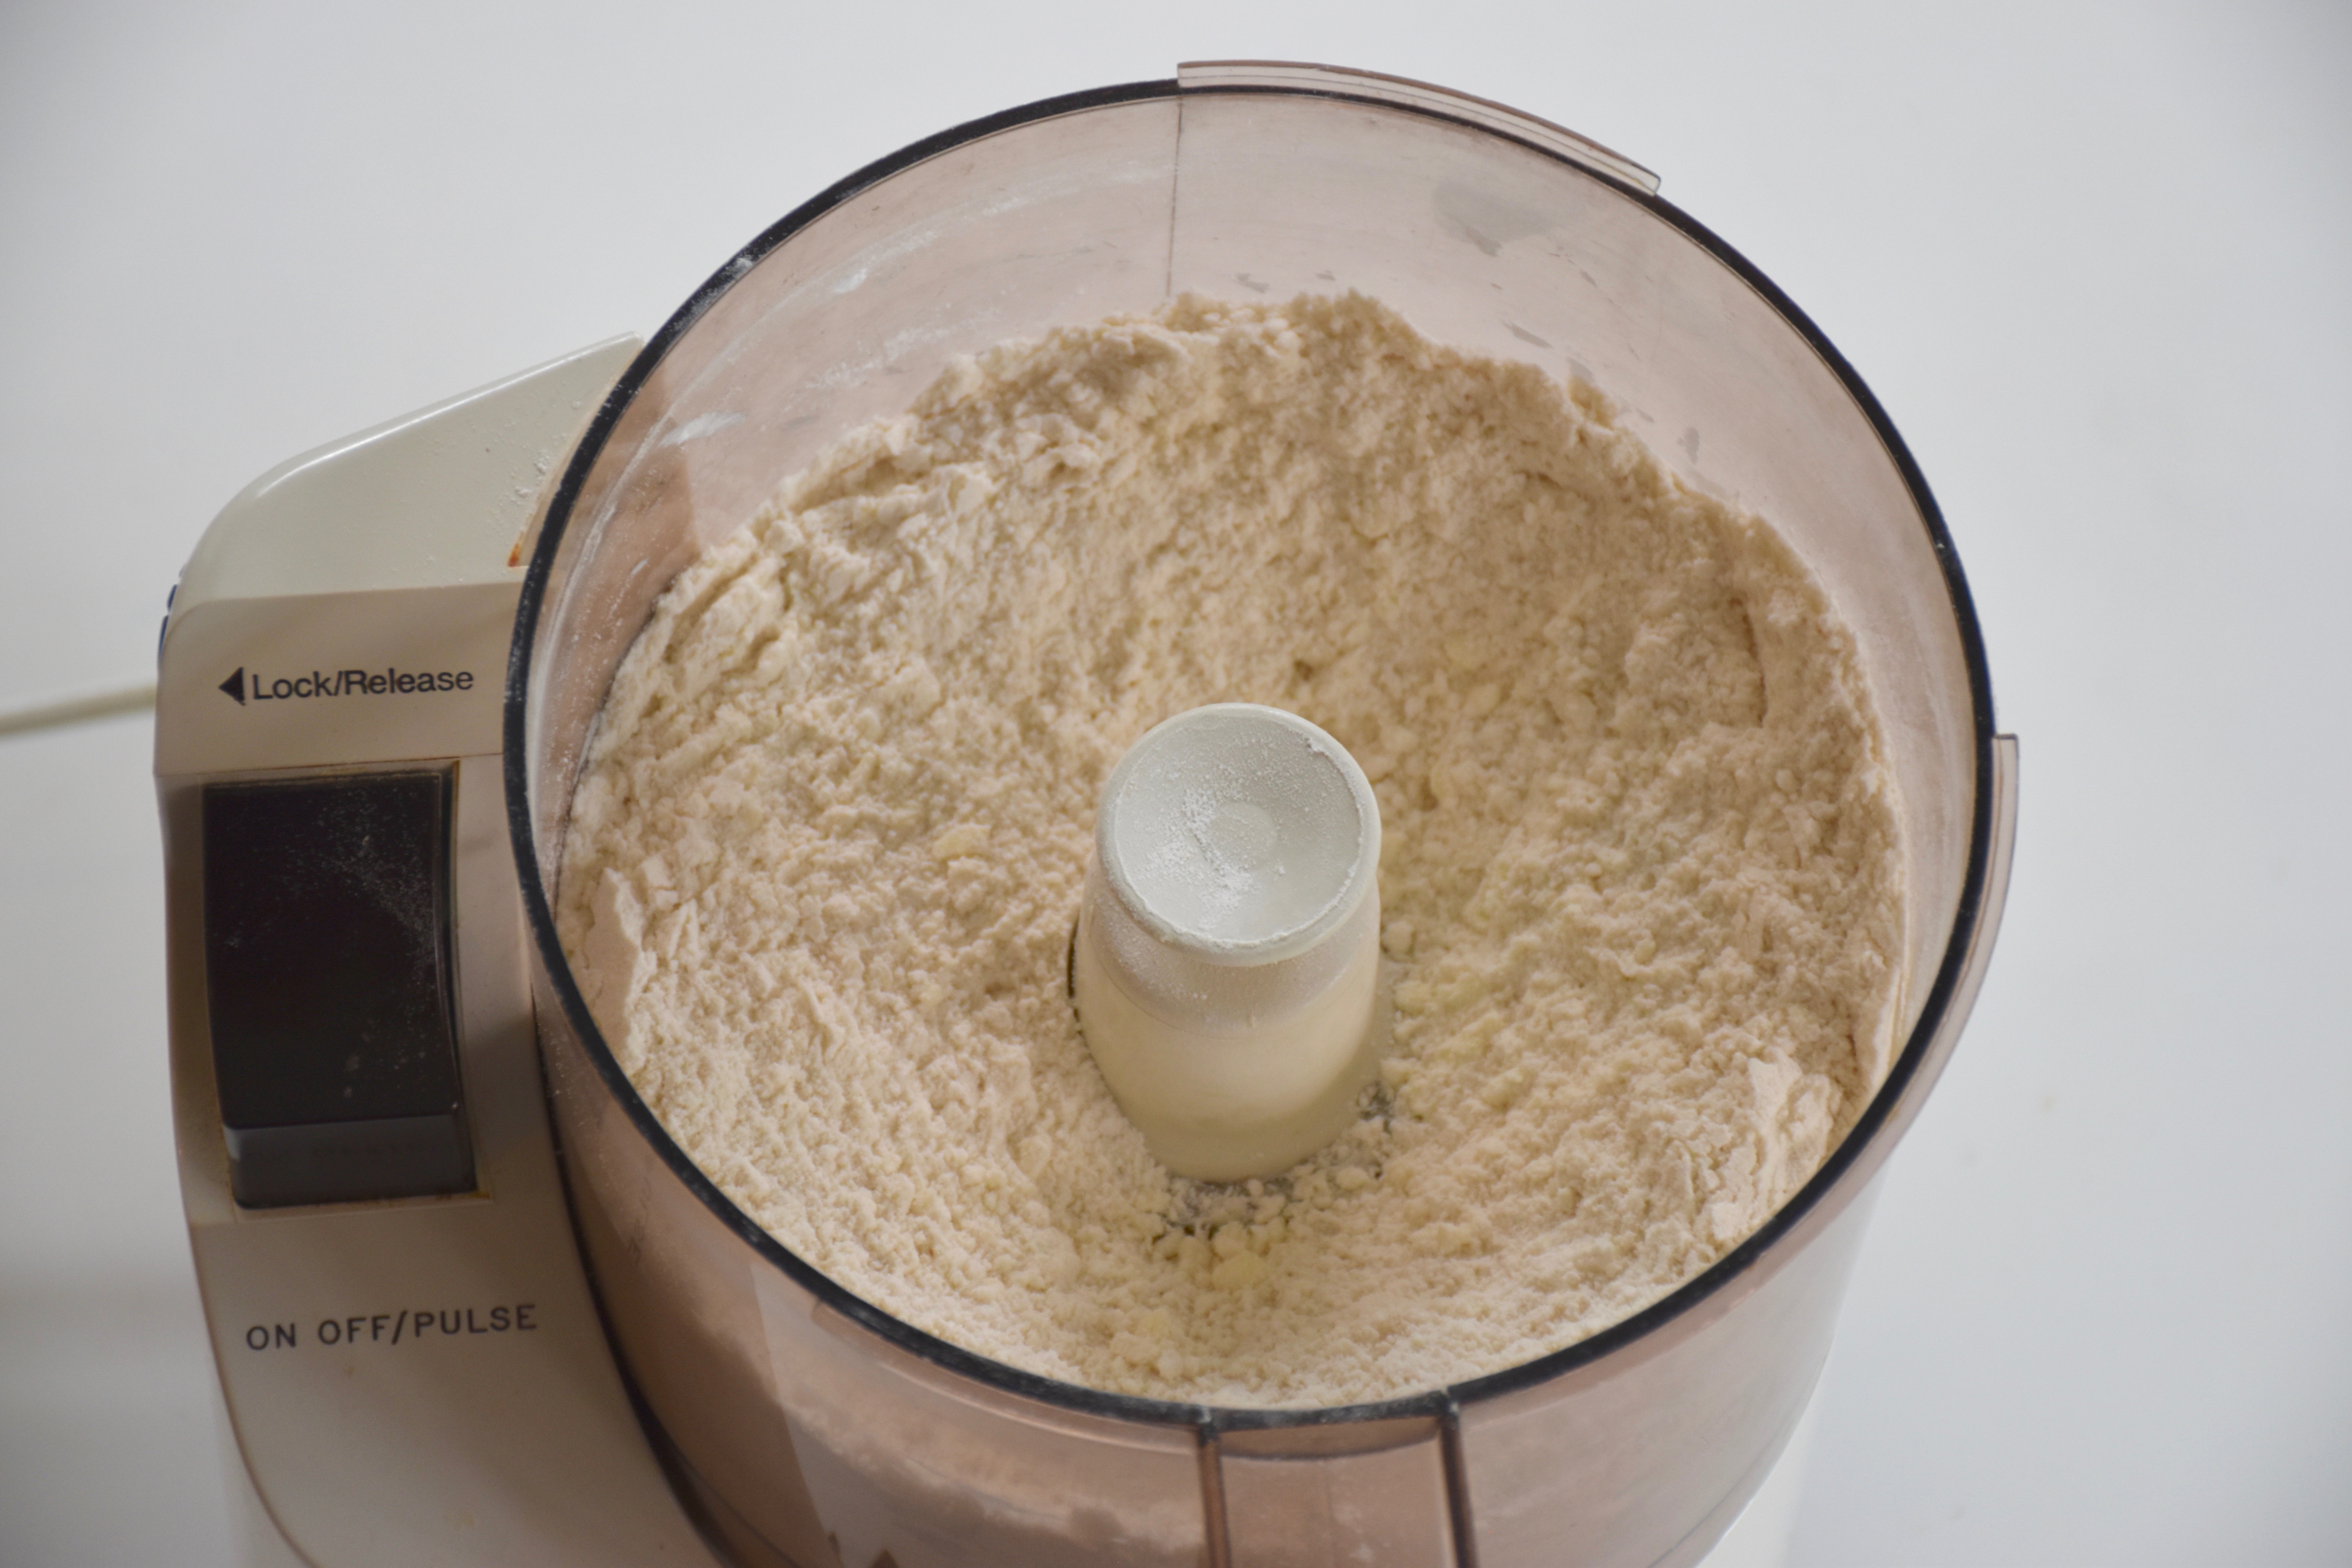
Next add in your vanilla, baking soda and salt. Then add in 2 cups of your cake flour along with 1/4 of a cup of the buttermilk and beat that on low spend until just mixed in. Then add the remaining cake flour and buttermilk taking care not to over mixture your batter. Finally, mix in your fresh peaches.

Then evenly pour your cake batter into a 10 inch bundt cake pan or 10 inch tube pan. Make sure your cake pan is well-greased and floured. I like to use Baker’s Joy spray which I find works better than anything else when it comes to ensuring that your cake comes out the pan perfectly.

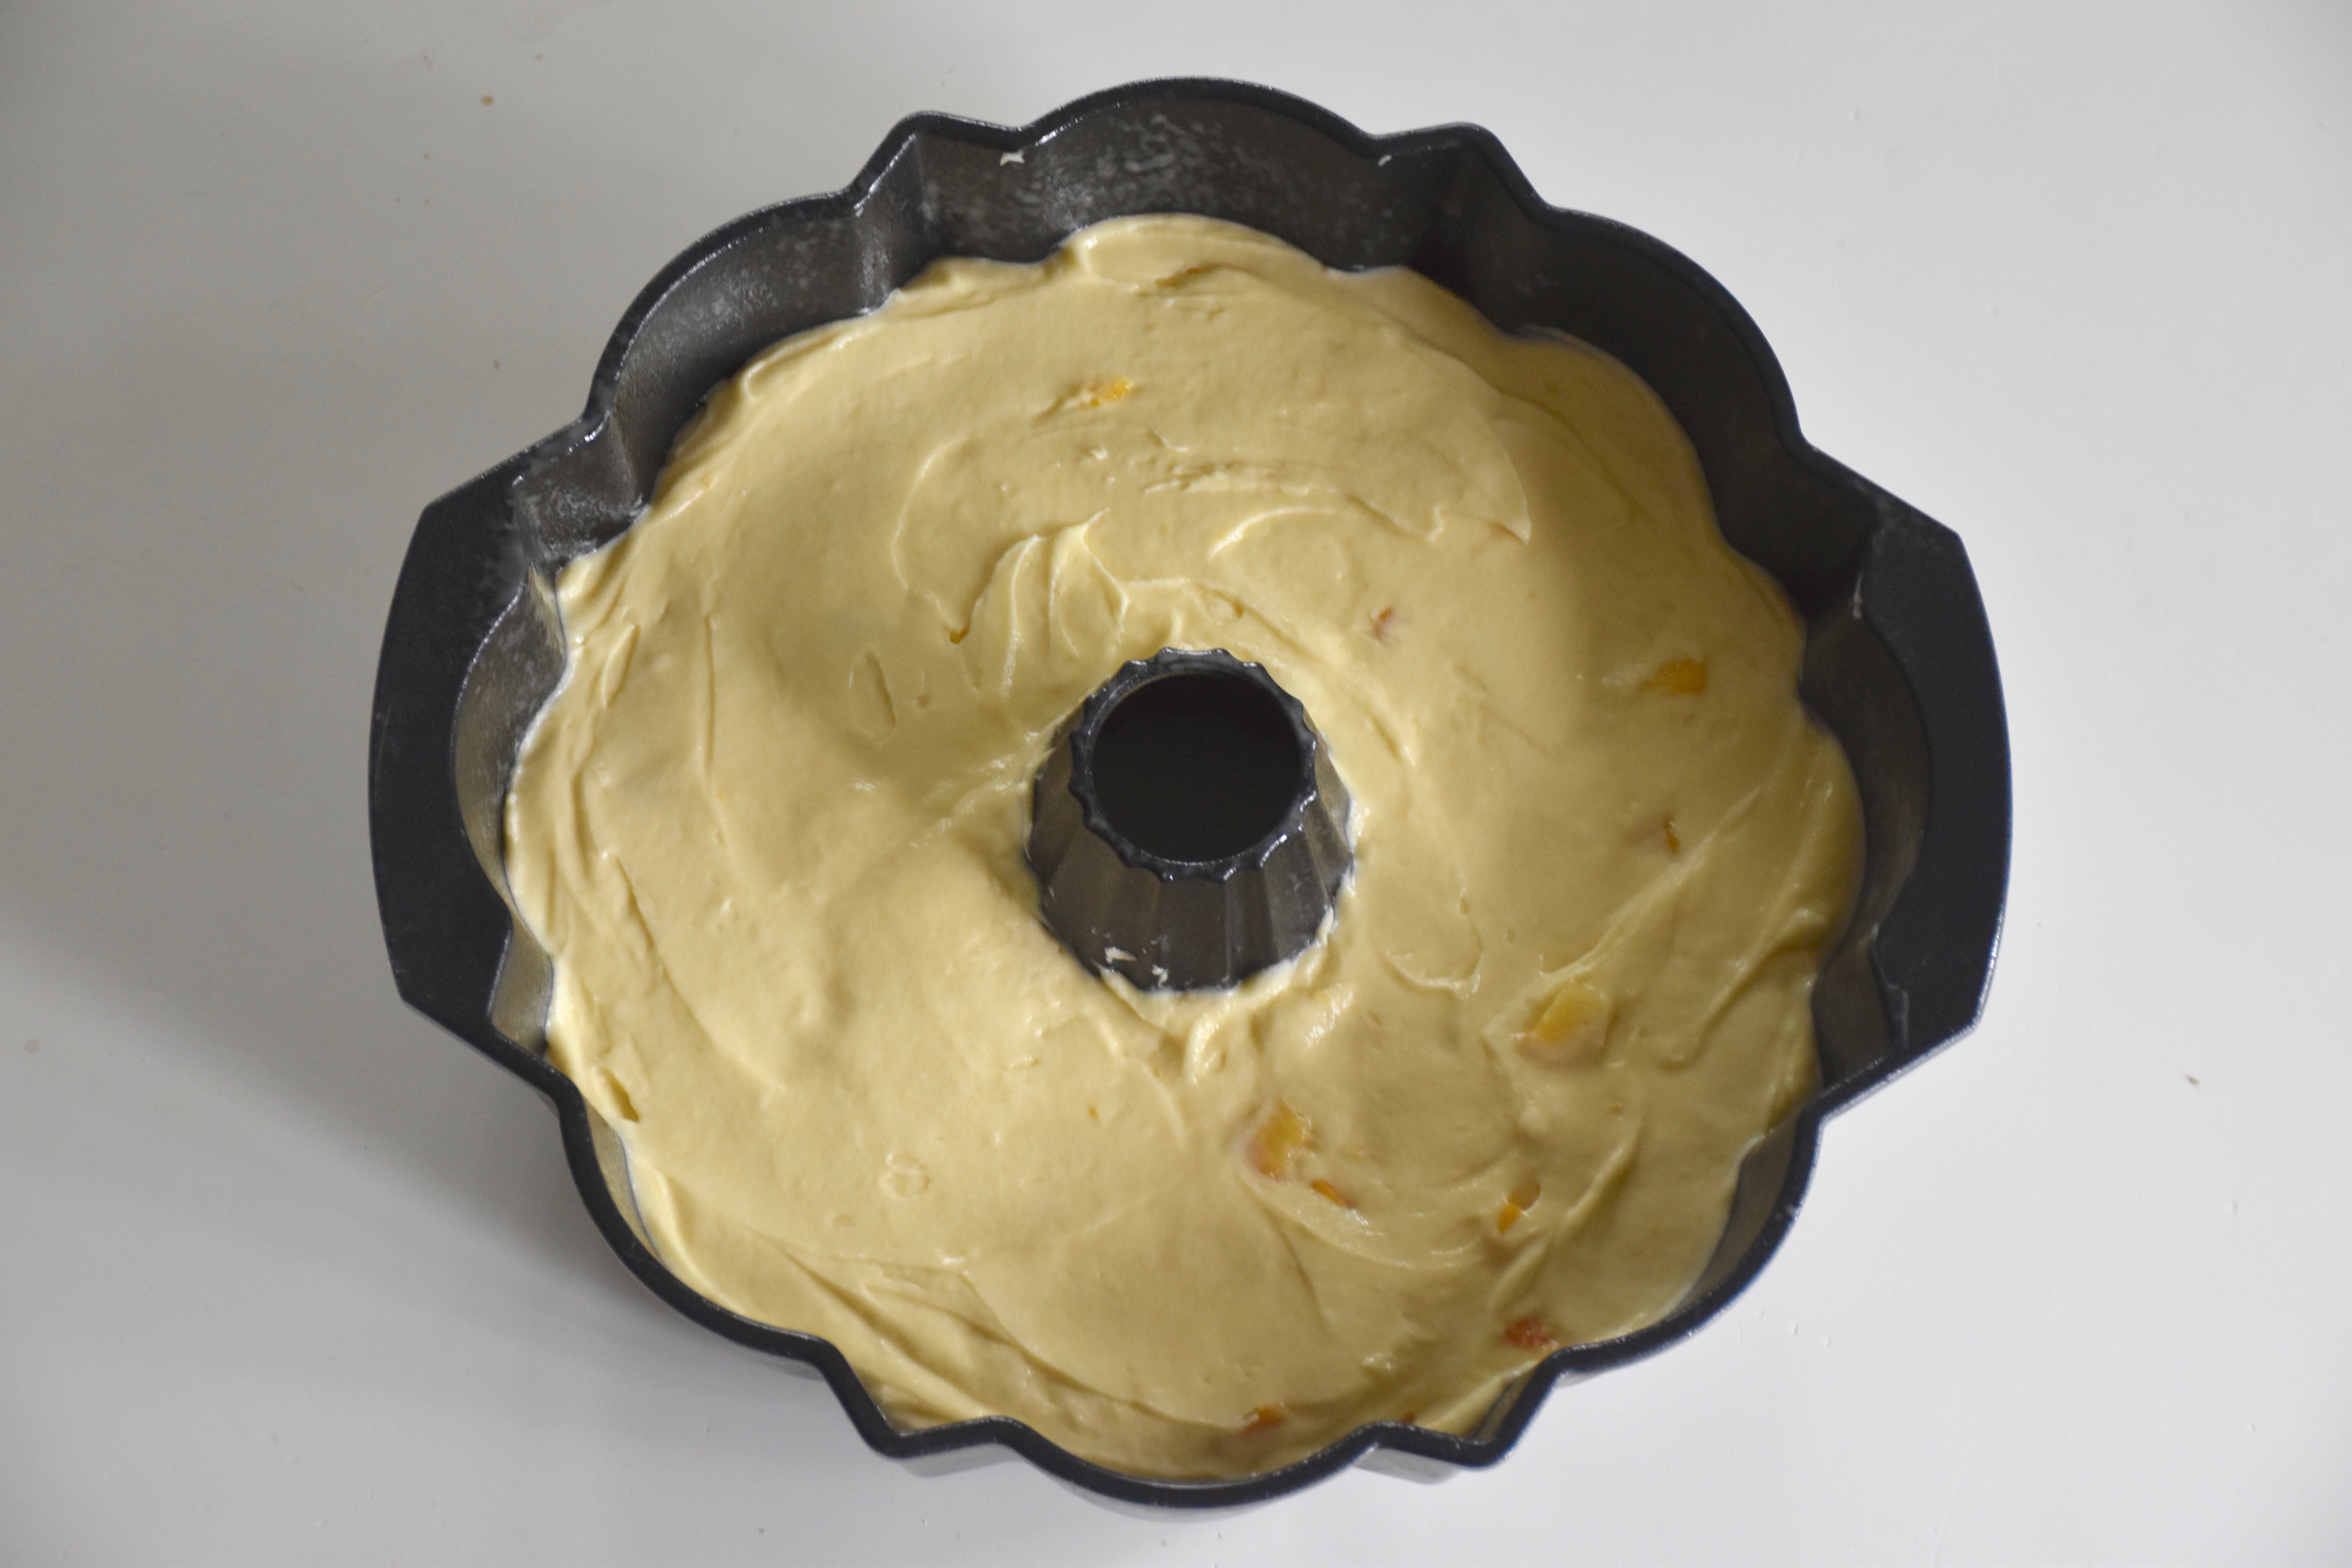
Then bake your bunt cake for 60 minutes. If you are using a tube pan, then when I tested it in my light sided aluminum pan I found it took close to 75 minutes to bake. So keep an eye on your cake. You will know it’s done when you can put a toothpick or wooden skewer in it and it comes out clean.

Then let your cake cool in the pan for at least 15 to 20 minutes and then you will be ready to plate it and add the best part the drizzled icing.


Peach Drizzle Icing

  • 1/4 cup peach preserves
  • 1/4 cup peach schnapps
  • 2 cups powdered sugar
  • 2 Extra peaches sliced for decoration or serving

In a small sauce pan over medium heat whisk together your peach jam and the schnapps then whisk in your powder sugar until the sugar melts and the mixture is thick and smooth.

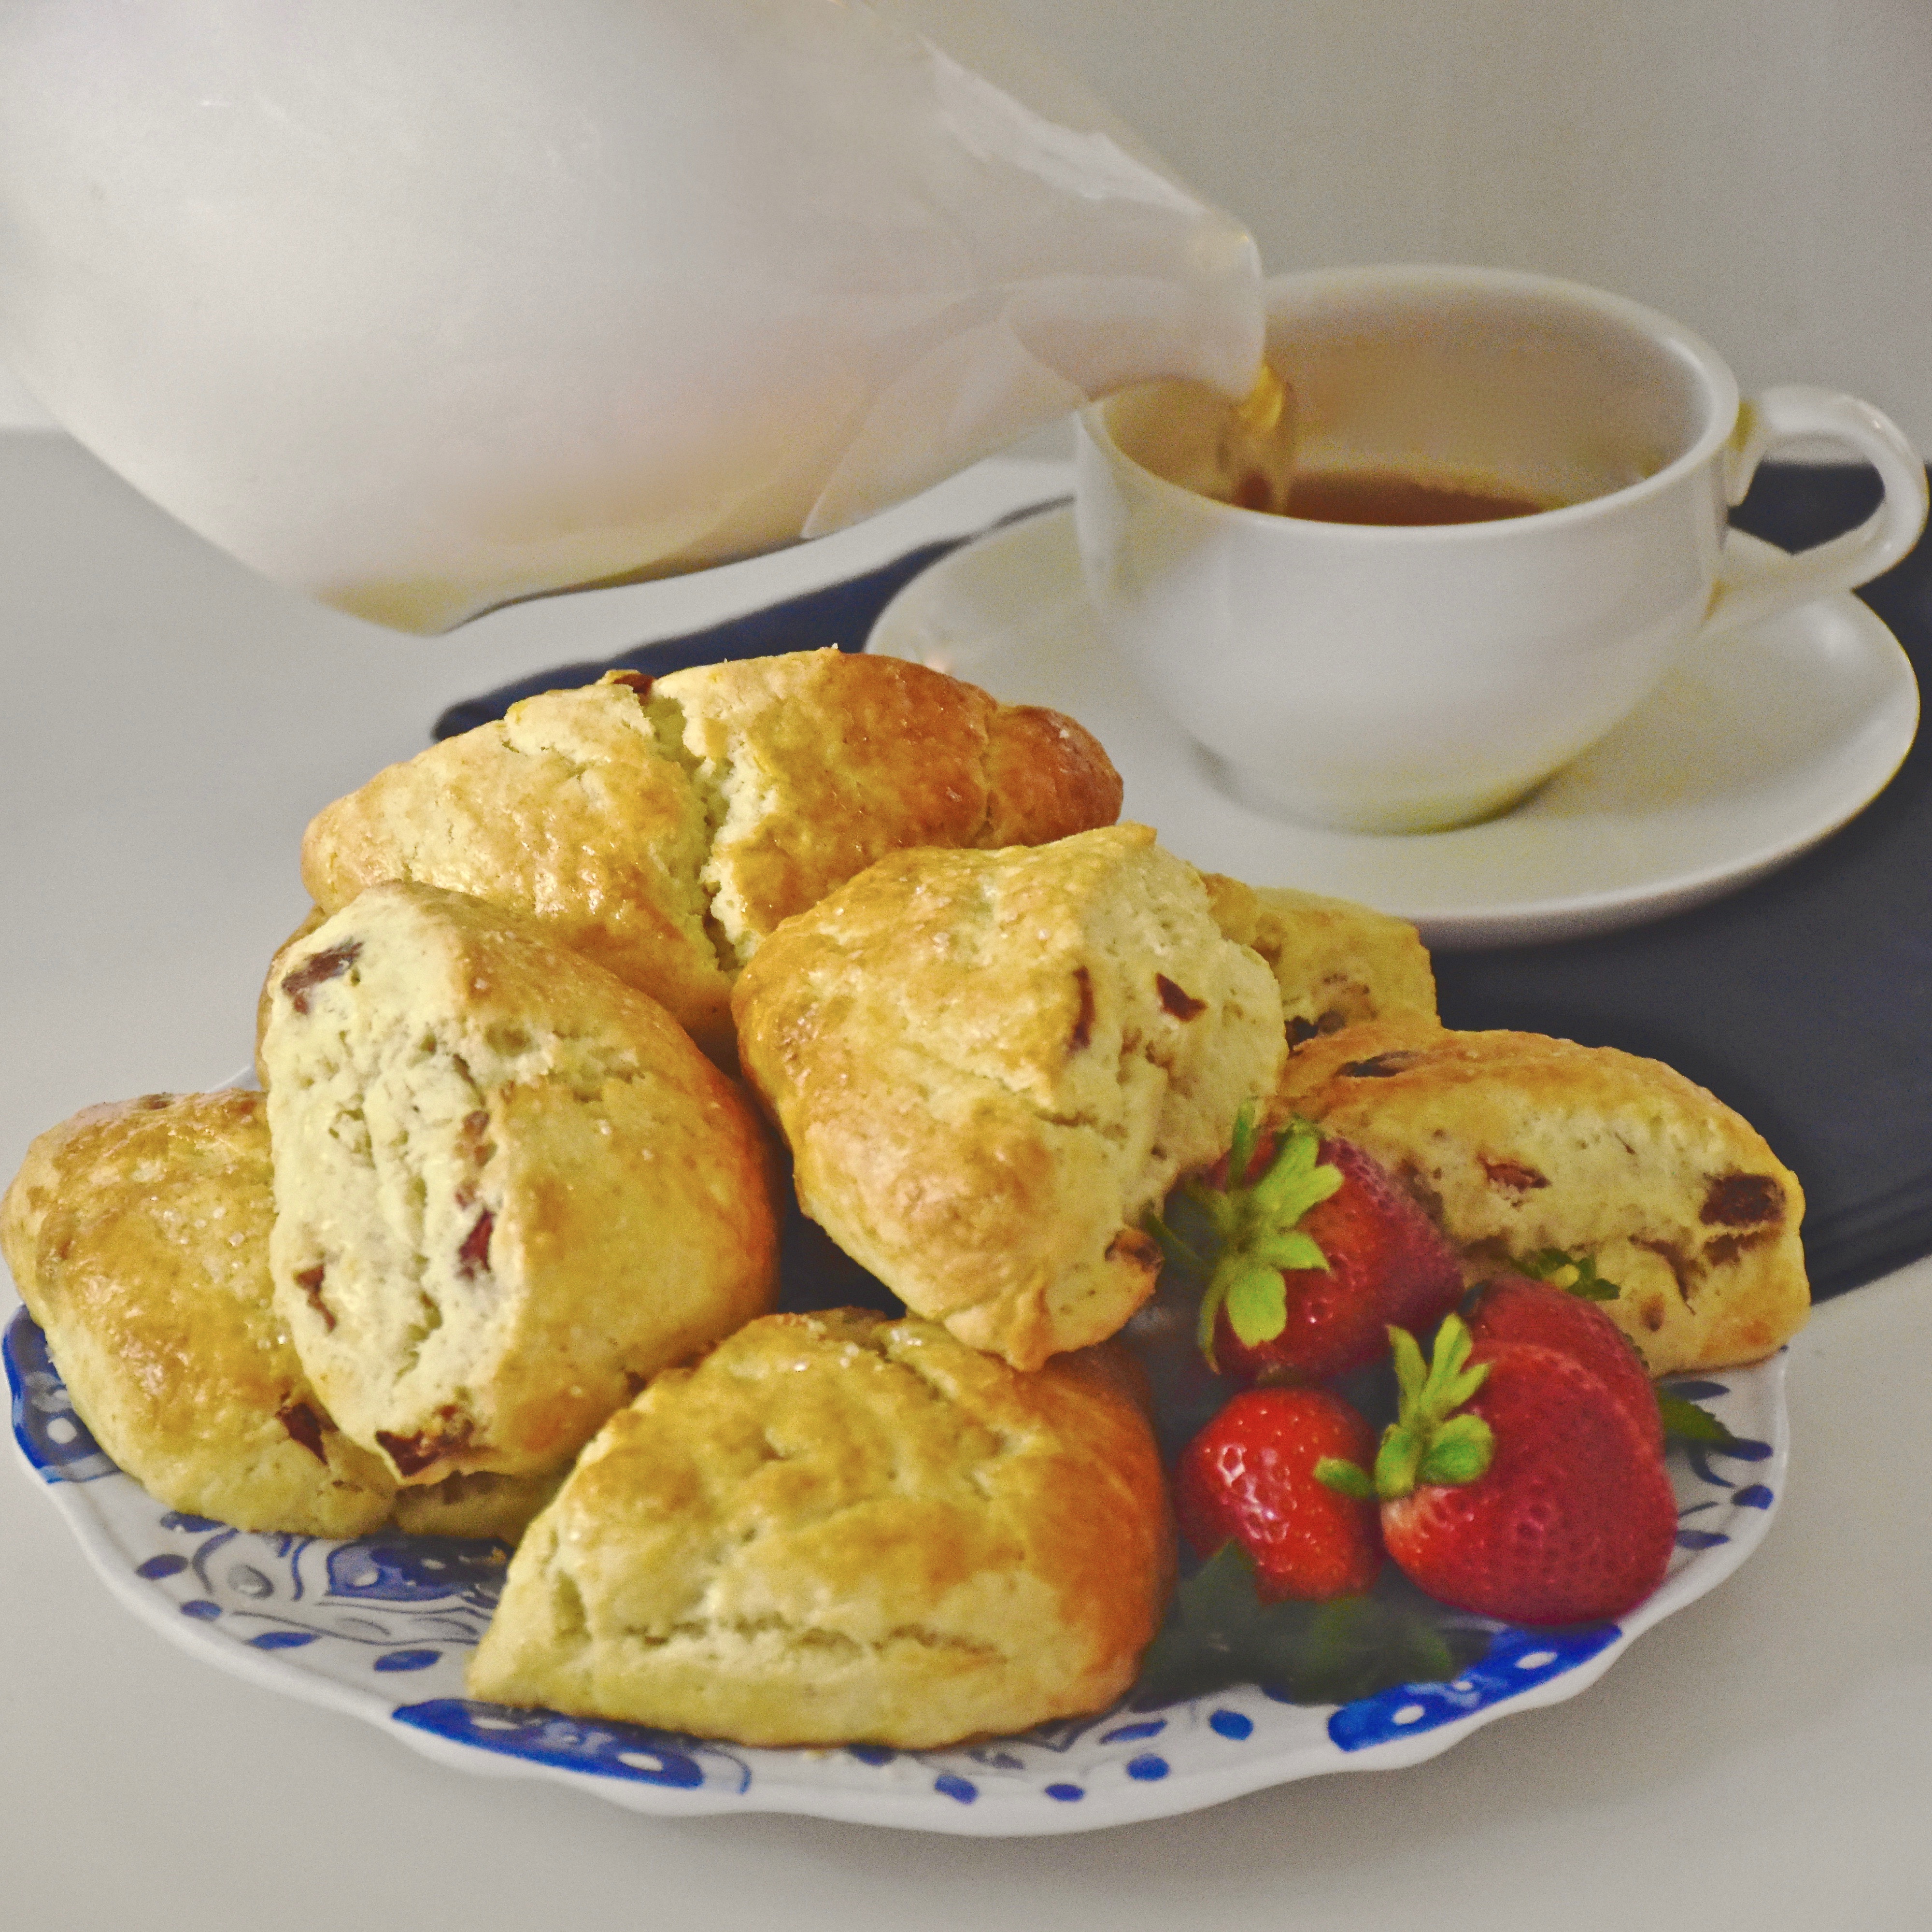
Then you can let the peach icing cool a bit and drizzle it on using a pastry bag or you could serve it warm and spoon it over your cake with some additional sliced peaches and ice cream. No matter how your serve it don’t skip making the peach drizzle because it is one of the best parts of this cake.

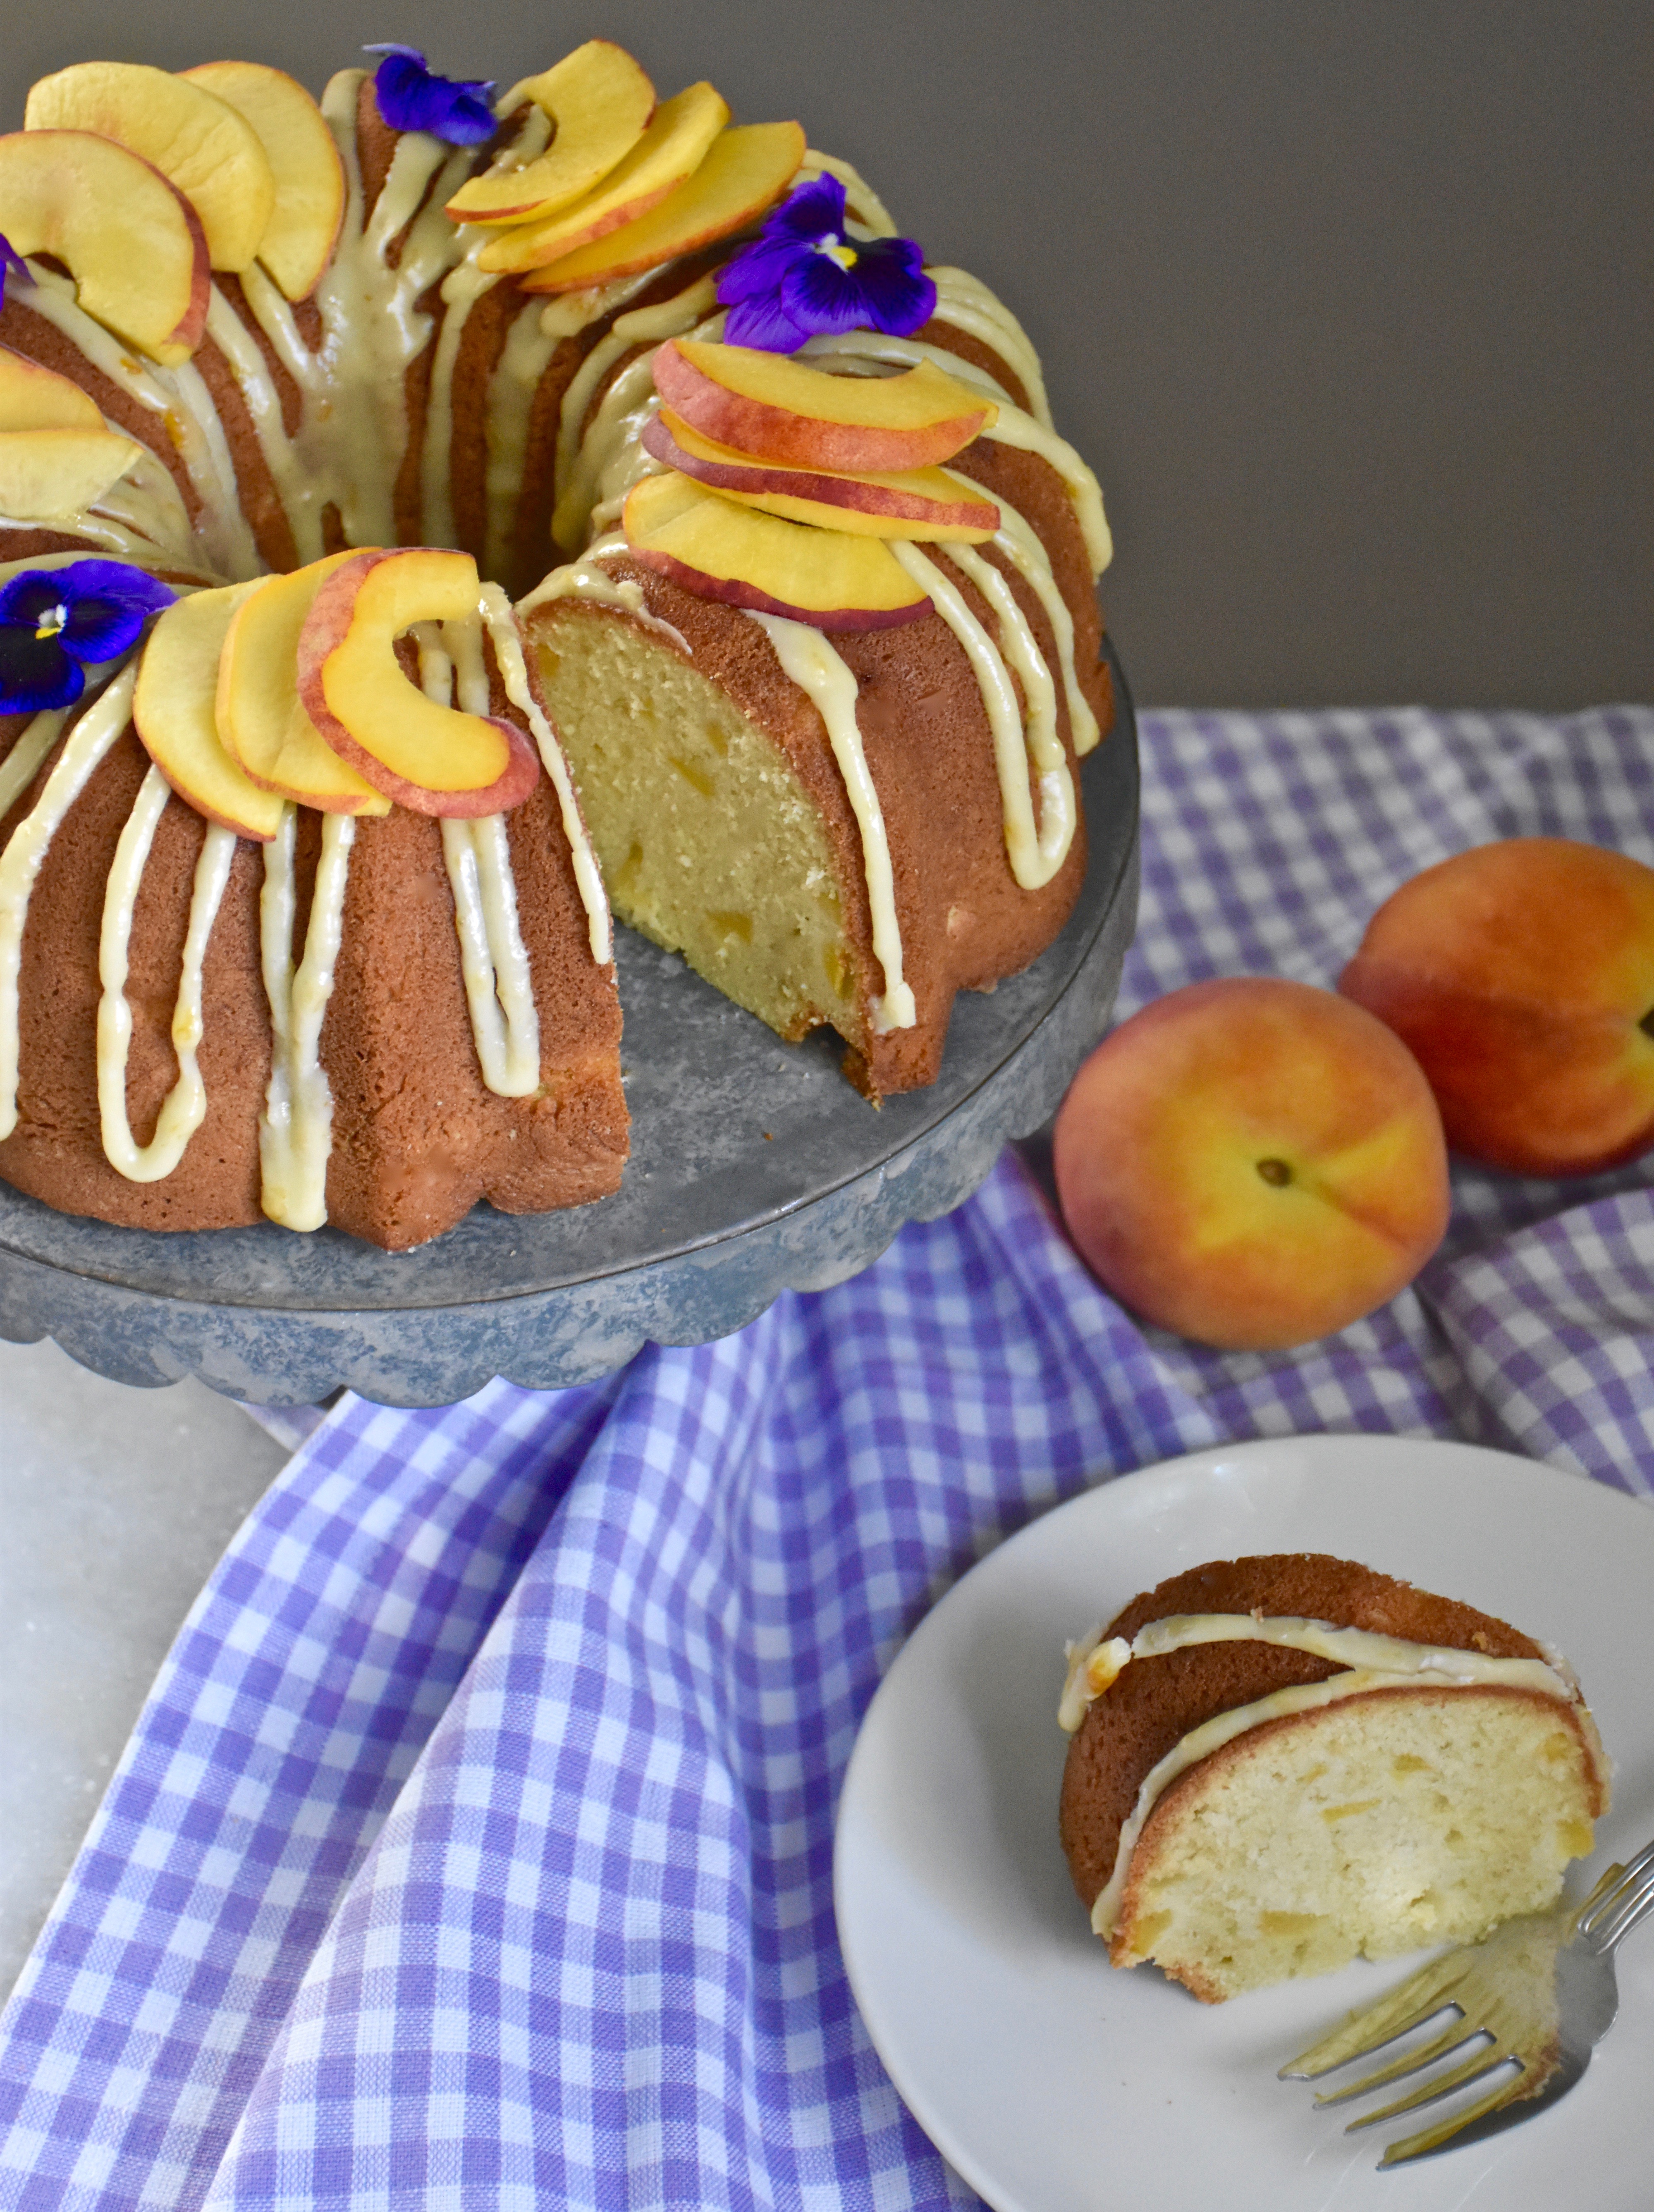
Summer cake at it’s best. Made even better with extra peaches and ice cream. This sweet buttery peachy pound cake is definitely worth a little time in the kitchen.

When Chalk Paint Saves The Day

Have you ever had that lovable but eclectic furniture piece that felt just a little out-of-place? Maybe it’s old or you found it or it belonged to someone special, but something about it just doesn’t quite work with the style of your home.

I have had quite a few of those pieces that have found their way into my home and over the years and I have discovered that there is nothing like chalk paint when it comes to rescuing or recreating a piece. It’s thick velvety formula requires little prep work and it glosses over a chipped or less than perfect finish better that an other paint I have tried. The wide array and depth of colors have made me fall in love with something all over again.

Oh the possibilities: a color card with all the pretty shades of chalk paint.

So if you have that piece, the one with the great lines and lots of potential then I have a few tips and thoughts about all those paint choices and projects.

Create A Custom Layered Look With Inexpensive Chalk Paint

First, although I like the Annie Sloan brand you can still get great results using a less  expensive craft store brand like Folk Art, Decor Art or Art Minds. Sometimes a small project like picture frames just doesn’t need the investment in a quart of the more expensive paint. Here are some custom picture frames I created for my daughters’ bathroom using Art Minds chalk paint to create a coastal styled look.

The 1960’s tile floor has chipped tiles that have seen better days, but if you have a more weathered look and can’t redo the whole thing than I say run with it. Get some large bath mats and create a bright-colored shabby chic beach house styled bathroom.

This is what the frames from Hobby Lobby looked like originally. I liked the molding style but the big black distressed marks weren’t my favorite look.

So I painted a base layer with some left over water based house paint that I had used in our master bathroom and then once it was dry I added on a layer of white chalk paint.

I applied three coats of chalk paint on top using a circular brush motion which gave me a slightly crackled finish where you can see hints of the aqua underneath. Then I took some fine grain sand paper and lightly sanded the edges so you could see more of the pretty aqua color along the molding detail. The distressed coastal styled finished was exactly what I wanted for these pretty oyster shell prints.

White Chalk Paint Can Give Dull Old Pieces A Sculptural Look

Another project I took on recently was this old luggage rack that I found at an estate sale. The straps and finish had seen better days, but the wood frame was solid so I decided to give it an update to match the decor in our guest room.

I removed the fabric straps and staples that held them underneath and then I painted the whole piece in a bright white chalk paint from Annie Sloan. I have found that when painting furniture it is best to paint outdoors on plastic sheeting, because newsprint tends to stick to furniture legs. I like to start painting one coat with the finished or front side up then let it dry and flip it over and paint it from underneath. Then let that coat dry and follow it up with by more top coat. I find that painting those three coats give you the coverage you need to get an even and smooth finish. Then I sanded down any rough spots with a fine grain sandpaper and then once I wiped it clean I applied some clear wax to seal the finish

Some new paint and decorative trim give this luggage rack a whole new lease on life. It’s amazing the difference that just a little chalk paint can make.

Ooh la la the difference just a little white chalk paint can make.

Don’t Banish The Boring Brown Hand Me Down Paint It With White Chalk Paint For A Fresh New Look

Now for one last make over I though I would share a before photo of my daughter’s bed that my mom and I painted a month ago.

This old Jenny Lind bed had been in my brother’s room years ago, but the brown finish wasn’t exactly what I had in mind for my daughter’s shabby chic room. So we painted it white.

I secured a plastic painting cloth to the fence with some clothes pins which  made it a great place to paint an otherwise awkward piece like this headboard. The spindles were a bit tricky because the thick chalk paint tended to drip a bit, but I found that if you focused on painting them all the way around and not just on one side that the finish was better. It took three coats of paint and some sanding with a sandpaper sponge that could flex around the spindles to get the smooth finish that I wanted. Annie Sloan chalk paint is thicker that the craft store brands which makes it good for furniture, but I found it requires more sanding to achieve a smooth finish.

Once I was done sanding it smooth, I wiped it clean and used a natural fiber brush to seal it with a thick layer of clear wax. When the wax set a bit I buffed it with some smooth paper towels. The wax is a bit sticky at first but as it dries and cures it gives the matte finish a slight sheen. The wax takes 30 days to fully cure but I found it gives it a good protection against little fingerprints and messes.

Helpful Tips For Chalk Painting

  • I find it’s helpful to have two natural bristle brushes for painting. One larger round brush that makes corners, edges easier and a smaller flat brush for details.

  • Store your washed paint brushes in a plastic ziplock bags. It keeps brushes from getting to dry and stiff between coats.

  • Avoid mixing your wax brushes and paint brushes. Have a separate smaller set of brushes for the wax.

  • Don’t worry too much about small imperfections because a light sanding will take care of any small drips or brush stroke marks.

  • If you apply a clear sealing coat of wax I found it looks better if you buff it with a rag or smooth paper towel like the Viva brand. The buffed wax will give your matte finish just a bit of shine.

  •  If you are painting furniture then try sanding your piece with a fine grain sanding sponge. The flexibility of the thin sponge makes it ideal for getting a smooth and even finish.

  • Chalk painting is fun and part of the look is for it to be distressed, so play with the paint and sanding until you get the look you want.

These are the paints and paint brushes I used for my most recent projects.

Chalk paint can definitely save the day when it comes to reinventing old furniture pieces. It’s easy to use and I have found that it is much more forgiving than other types of paint. Even if painting isn’t exactly your thing, then you can still get great results. I have painted lots of furniture over the years, but I have to say that chalk paint is definitely my favorite go to paint. I am working on another more colorful project now so I will have to share a few more photos when it’s all finished. Maybe you have a great chalk paint story or tip of your own. I would love to hear about it and if you had thought about using chalk paint and just weren’t sure then maybe this will give you the confidence to turn that old eclectic frame or furniture piece into something you love.

Caramelized Onion Dip

Texas 1015 Onion Dip

This caramelized onion dip is one of my very favorites. It’s easy to make and it’s always a hit. Every time I make it I think of the head clerk of the State Jail Court, Ms. Sally. Sally is an amazing cook and the best part of being chief of that court was her lunches. Sally loved to host these elaborate themed lunches featuring her signature dishes and then we would all help by bringing the side dishes. I brought this dip the first time she made burgers and it was on her special request list for every burger day after that. It makes a great dip for chips and veggies, but as I learned from those burger days it is particularly good as a burger topping as well. The sweet caramelized onions with the earthy sage and the slight tanginess of the sour cream make it so good that you might invent your own new favorite dish to serve it on.

Caramelized Onion Dip (Makes 3 cups)

This recipe is adapted from a recipe from the Hearty Boys: Dan Smith and Steve McDonagh

  • 2 tablespoons butter
  • 3 medium sweet Vidalia or Texas 1015 onions, thinly sliced (4 cups of onion slices)
  • 6 fresh sage leaves, chopped and divided
  • 1 cup good quality mayonnaise
  • 1 cup sour cream
  • 1 teaspoon kosher salt
  • 1/4 teaspoon pepper
  • Potato chips, carrot sticks, cucumber slices or your favorite dipping sides

In a large skillet melt your butter over medium heat then add your onions and sauté them over medium to medium low heat stirring occasionally until your onions caramelize and turn a deep golden brown

This will take 20 to 25 minutes, but the flavor the caramelized onions give this dish is amazing.

Then once your onions are caramelized add in three chopped sage leaves and cook them with your onions for an additional minute.

Those four cups of onions that seemed like a lot when raw will cook down to just a cup when caramelized.

Then let your onions and sage cool. Next in a medium-sized mixing bowl mix together your mayonnaise, sour cream, salt, pepper. Then garnish the top with the remaining  three sage leaves, chopped and add a garnish of a few whole leaves on the side if you want a fancier presentation.

So if you are looking for a side to share for your next summertime grilling or burger night then give this onion dip a try. You can make this dip a day ahead because the flavors only get better as they sit in the fridge and marry together.


Children’s Book Inspired Room

Have you ever found a children’s book character that you just love? I was searching for some artwork for my youngest daughter’s room when I came across some illustrations and a book by Sarah Jane Wright called Lola Dutch. The book is about delightfully creative girl named Lola who makes even small things an adventure. So much about this sweet, tenacious and sometimes over the top character reminds me of my girls. So when I learned that Wright had also designed a line of fabrics I was curious.

My youngest daughter has been on a campaign to get a “big girl” bed of her own since I worked on her sister’s room this spring. So as I was putting plans together for her room I had been thinking about a wooden headboard that had a little song bird on it from Ballard Designs. My youngest has a favorite pink fleece blanket with little pastel colored birds on it. She adores this blanket and can’t go to sleep at night without it. Since this favorite blanket goes everywhere with her I had thought about incorporating it into her new room, but I hadn’t found the right fabrics and bedding to pull the whole look together.

When I saw Sarah Jane’s fabrics I loved that they immediately made me feel like I had stepped into a children’s book. The bright colors and whimsical birds and bunnies made me smile. I am all for having the furniture a major pieces of a child’s room be more sophisticated so they can grow with your child, but I still believe that there should be some fun and playful elements to a young child’s room. The imagination and sense of play that my girls have is so great that I want my daughter to have a room that encourages that.

So when I saw this fabric with a little bunny in a field of tulips I knew my daughter would love it.  The bright tulips in pinks, oranges and reds were happy and joyful and that bunny with the scarf is just too funny.

A bright pop of color for an otherwise more ordinary blue chair.

The fabric also went with a bright watercolor print that I was considering from Wisteria.

So I ordered some fabric and this week I began sewing pillows and working on a few projects to begin pulling the whole room together. Bright pink pom-pom trim added just the right touch for this small accent pillow.

Checking out the new pillows in my other daughters room to see how the size and pattern work on a twin bed.

Then I worked on some other pillow cases for her bed using some of Sarah Jane’s other fabrics from her Sommer collection. The bunnies, birds and tulips add just the right whimsical touch and the bright blue fabric works with the existing blue pieces in the room. Finally, as a way to add a personal touch I took some old eyelet dresses she had when she was little and I used them as trim for her pillows. She loved the idea and sat and watched as I began to cut the trim and piece together the fabric.

It’s amazing how fast they grow. I saw this white dress in a box as we were pulling out old dresses to work with and I thought it feels like it was just yesterday that she wore this. How in the world is she turning four this summer? This is going to be a fun project to work on. I can’t wait to see it all jump off the pages and come together for my own sweet  “Lola Dutch” because there is no such thing a too much decorating fun.

Living in the Dream House

We were pulling out of the preschool carpool line and my youngest daughter says “mom where are we going next?” My littlest one loves to going places and is always hoping we are going somewhere new after school. Before I can answer my oldest chimes in and says “We are going somewhere. We are going  to the dream house, right mom?” Her response surprised me and took it took me a minute to understand that she was talking about our house. Perhaps our girls have seen a few too many Barbie episodes on Netflix, but the idea that my daughters consider our house the “dream house” is sweet and it caused me to rethink what a “dream house” really is?

I must admit before this I had never pulled in my driveway and thought “dream house,” but my daughter maybe right. There are lots of cottages, bungalows, colonials, casitas, farmhouses and ranch style homes may have a bit of character, but there is something about that them that make me smile and love them even more. It’s the color and personality of these homes that makes me stop and wonder what life is like inside that dream house?

I love this robin’s egg blue door against the soft grey shingles.  The boxwood planters and gas lights make this small home stand out. It’s all the small details that make the curb appeal on this home really shine.

This is another home my mom sent me a photo of that I love. The bright lime colored door with the grey and white striped awnings and the modern wooden lawn-chairs. These details gives this older more traditional bungalow a more modern look.

This Cape Code styled cottage is one of my personal favorites. I love the landscaping with its curvy flower beds and all the beautiful black accents with the door, light fixture and address plate that pull the whole polished look together.

This isn’t your typical colonial style house. The light painted brick and the front entry covered in a climbing vine add visual interest and cause the landscaping to stand out. All the little details like the faux bois garden bench and the glass lanterns made me stop and notice this house.

I love a good front door and this deep blue-green color draws you in and adds some color to this modern Spanish styled home. The architectural details on the doorway are something special that make this house anything but ordinary.

A Texas farmhouse with these amazing red doors that catch your eye and make you want to walk through that iron gate.

Then there is this pink door that I passed and just had to stop to see. This small white brick house makes me smile. It’s those black and white awnings and that preppy pink door that make it stand out. The traditional brass pineapple door knocker and address numbers put a twist on traditional and make this fabulous pink color work. 

Has your house ever lost a bit of that dream house feeling? The architectural style, size or age of your home isn’t everything, these houses prove that small details can make a big difference. So give your house some personality: paint a tired old door a new bright color, update your hardware or use some pots or planter boxes to add a little curb appeal. There is something to loving your home for what it is or could be. A dream house doesn’t have to be limited to that perfect magazine worthy home. As my daughter reminded me, it’s loving and giving life to what you have that makes it the dream.

Summer Burgers With Tomato Onion Jam

Burgers in our house will never be the same because I have discovered the sweet tangy goodness of tomato onion jam. This jam is so delicious that I might never go back to standard ketchup. The first time I tasted a tomato jam was at a local gastro-pub called Neat Kitchen. My husband ordered their bison burger that is served with  tomato jam and when he shared a bite with me I had serious burger envy. So we made a sandwich trade and being the wonderful husband that he is he shared half of his burger with me. That burger was so good that for a time I had a hard time thinking about ordering anything else from their menu. So with summer grilling season here, I decided that I had to create my own. Summer brings with it great produce like heirloom tomatoes and sweet Vidalia onions, so making your own tomato jam is easy way to bring summer’s very best to your table.

Tomato Onion Jam- (Makes one cup, but this recipe can easily be doubled)

  • 3 heirloom tomatoes, diced
  • 1 medium sweet yellow onion, diced (My favorites sweet onions are Vadalia onions or Texas 1015 onions)
  • 2 cloves of garlic, minced
  • 1 tablespoon butter
  • 1/2 cup light brown sugar
  • 1 tablespoon apple cider vinegar
  • 1/2 teaspoon kosher salt

First, core and dice your tomatoes and chop your onions and garlic.

Then melt your butter in a large skillet and sauté your onions over medium low heat until your onions begin to turn translucent.

Add in your garlic tomatoes, brown sugar, cider vinegar and salt and continue to cook them over medium heat for 20 to 25 minutes storing occasionally.

As you can see, your onions and tomatoes will cook down to a thick syrupy jam that will coat the back of your spoon.

Let your jam cool a few minutes before you serve it and there you have it. If you are making it ahead it will keep covered in your fridge for up to a week. It’s my new favorite topping for burgers. A summer grilling game changer that will transform your kitchen into gourmet gastro-pub.

As a side note: this week I have felt a bit like I was on that episode of Friends where Monica makes way too much jam and Joey is eating it with everything. As I was recipe testing and making several different batches of my tomato onion jam, I tried pairing it with the breaded chicken I was making for dinner and found it made an absolutely amazing sauce.

I just pan fried some bread crumbed chicken cutlets with some olive oil and just a touch of butter. Then I served some tomato jam on top and with a side of parmesan mashed potatoes and it was so good that I would definitely make it again to share it with friends. So no matter what you pair it you have to try this tomato onion jam. It’s one of my favorite recipes that I have created this year. Come back next week because I am sharing another one of my all time summer favorites.

Southern Magnolia Cake

Chocolate Magnolia Cake

Have you ever baked your own birthday cake? My birthday was last week and husband still doesn’t get why I would want to make my own cake. The simple answer is: I just love to bake. Sometimes it’s just fun to lose track of time for a bit and start creating something beautiful. Usually when I bake layer cakes they are for someone else, so occasionally I enjoy getting to spend a little time creating something I love. This year I wanted a Southern styled cake so I made a favorite of mine Mexican Chocolate cake with cinnamon and I decided to make a single magnolia sugar gum paste flower for the top.

I have loved magnolia trees since I was a kid and used to climb and play in our neighbor Opal’s large Southern magnolia. The old tree took up most of her front lawn and it had lots of low branches that made it perfect to play in. In the spring the magnolia trees would bloom and the neighborhood would look beautiful with all the trees covered in these large creamy white flowers. So I thought that a Southern Magnolia would be just the right touch for the top of my cake.

This is a new sugar flower for me so I took some photographs along the way so you could see how I created this sugar gum paste flower.

First you can buy ready-made sugar gum paste at the craft or baking supply store. I like the Wilton brand. Next depending on the type of flower you are making you will want to get some petal shaped cutter and molds. Craft stores like Michaels and Hobby Lobby carry some but if you want a specialty flower, like a magnolia or a peony then you will likely need to order them online. My two favorite places to find cake supplies are Global Sugar Arts or Sugar Art Studio.

So to make my magnolia the first thing I did was to create the center. I took a small ball of gum paste and used a silicone mold to create the center and then I painted it using a little yellow and brown gel based food coloring. I mixed my food coloring with a tiny bit of lemon extract (you can also use vodka as well). The extract makes the food coloring easy to paint on, but it dries better than water because the alcohol in the extract evaporates.

Then while my center was drying I rolled out a thin sheet of gum paste and cut two sizes of petals. I cut three smaller petals for the inside and six large petals for the base of the flower. Sugar gum paste dries out quickly so once you get your petals cut you want to work quickly to shape them into your flower.

First I shaped the center by overlapping the petals and using just a bit of water on a paint brush to stick the edges of the petals together. I place the center in a small votive candle holder while I worked on the next layer of petals.

Then I overlapped a shaped my outer petals to form the outer layer of petals.

Then to allow it to dry and hold its shape I used aluminum foil to create a doughnut like ring to help hold the flower base then I used some smaller pieces of foil to hold up some of the petals for added dimension. Finally, I added my golden yellow center.

After I finished the flower I tinted some sugar gum paste green with some gel food coloring and I rolled it out thin on a silicone mat and cut it to fit my leaf mold. Next I pressed my mold together so my leaf had veining on either side.

Once I molded my leaves I used a dry paint brush to dust on some edible luster dust (you can find this online or at a cake supplies store) so you could see the veining on the leaves. I used gold dust on the backs of the leaves and the center of the flower and I used a kiwi green colored dust for the front of the leaves.

Then I let my leaves dry following a slight curve on a shallow bowl so they would look more realistic. Real leaves tend to have a bit of a curve to them.

Then finally I dusted my flower petals with a white pearl dust to give them a little shimmer. The flower will need at least four hours to dry so I usually make it the day before. However if protected from moisture, these flowers unlike the real ones will keep for years.

Now if only I could give you a taste of the cake because the decorating may be fun, but the very best part is getting to eat it. So who says you can’t bake your cake and eat it too.

A Garden Tour Of Chicago’s Tulips

The days of snow and frost are gone and everything around me is blooming. The trees once bear just weeks ago are now fully dressed in their bright green leaves. There is nothing that makes you appreciate spring more than a cold and snowy winter. There are some beautiful benefits to all those chilly Chicago days and I am reminded of that most  when the tulips begin to bloom. Tulips bulbs require freezing temperatures before they flower, so I only planted tulips once when I lived in Texas because they had to take up precious real estate in my refrigerator for several months before they were ready to plant.

Tulips are one of my favorite flowers, so after seeing so many beautiful tulips in our neighborhood last year I decided to plant some in our yard this fall. Although popular in Europe and most closely associated with the Netherlands, tulips actually originated in Persia and Turkey. The Europeans gave the flower the name “tulip” because the flower was often worn in Turkish turbans as a decoration and the word tulip was derived from the Persian word for turban. Tulips are a beloved flower that is said to symbolize true love. Taking in all the beautiful tulips around me, it’s clear why gardeners everywhere love these flowers. 

The red tulips that filled the garden beds around this Tudor style home in my neighborhood made me feel like I was visiting an English Garden.

I love to contrast of vibrant red tulips against the purple flowers and the red bud tree.

Here is another view of the gorgeous side yard.

Tulips’ sculptural silhouette also make them a stunning flower in a more modern garden and home. I love bright mix of colors used as a boarder around these flower beds and the pink tulips in the planters are perfection.

The pink tulips make a pretty spring statement in small bunches around the front walk of this home.

A classic colonial all decked out with blue muscari border in front of a dazzling array of tulips in red, yellow, white and orange.

Just a small bunch of red tulips gives this yard a pop of color and it creates a welcoming entrance to this modern farmhouse.

Finally, I thought I would share a few pictures of our spring garden. Our magnolia tree in bloom and white tulips in the flower beds. A close up of our crab apple tree with its pink blossoms and the pink and white tulips that surround it.

However, my favorite part of our yard is our back patio. My girls and I planted over 200 bulbs this fall. The tulips and blue muscari have made our back yard feel like a special garden getaway.

We have loved spending as much time as possible soaking in the warmer weather and taking in the beauty of these gorgeous flowers. Trying to enjoy the tulips for as long as possible I planted two different varieties.

The white emperor tulip is an early bloomer so it was the first to flower.

Followed later by the pink striped salvo tulips which are in full bloom now as the white tulips have begun to fade.

I added some early spring color before the tulips bloomed with some purple violas and pansies.

The blue mascari gives some color to a more shady spot in the yard, as the hostas begin to fill in for the summer. Spring has been glorious here, so I hope you enjoyed a small tour of the beautiful tulip season here in Chicago.

Strawberry Scones

Strawberry Scone Recipe

A few years ago when the Duke and Duchess of Cambridge (Will and Kate) were married a couple of my coworkers celebrated in the wee hours of the morning as they watched all the live television coverage of the wedding. In keeping with the royal wedding fun they decided to have scones and tea. All of that 3 a.m. royal wedding watching can leave a girl hungry. So in honor of the royal wedding of Prince Harry and Meghan this weekend I thought I would share my recipe for scones. The British love their scones and for good reason these flakey butter pastries are delicious and fairly simple to make. Many British recipes for scones tend to be more understated because they serve their scones with clotted cream and jam or lemon curd. More traditional flavors tend to include currants or dried fruit.

So after I spent sometime researching classic recipes and I decided to create my own scones. Remembering some delicious strawberry scones I had years ago on a trip to San Francisco, I decided to use strawberries instead of the usual currents or dried fruit.

Strawberries can be tricky to use in muffins and baked goods because they have a high water content and they tend to turn everything pink if you over mix them. So instead of using dried fruit, I decided to use freeze-dried strawberries. These dried strawberries are sweet and they become soft when you bake them. They also preclude some of the moisture issues that can come when you bake fresh strawberries. These freeze-dried strawberries are usually found in the dried fruit aisle, but in one grocery store I found them on the baking aisle. These scones are buttery and flakey on the outside with a tender and sweet crumb on the inside. They easy to make. If you have ever made homemade pie dough or biscuits the technique is similar.

Little heart shaped strawberries for the special occasion.

Strawberry Scones- Makes 8

  • 2 cups flour
  • 1 tablespoon baking powder
  • 1/2 teaspoon salt
  • 2 tablespoons sugar
  • 1 1/2 sticks of cold butter,cut into small pieces
  • 1 teaspoon fresh orange zest
  • 2 eggs, lightly beaten
  • 1/2 cup heavy cream
  • 1/2 cup freeze-dried strawberries broken into small pieces
  • 1 egg mixed with a tablespoon of water for an egg wash
  • 2 tablespoons of white sanding sugar, optional

Preheat your oven to 400 degrees

In the bowl of your food processor mix together your flour, baking powder, salt and sugar. If you don’t have a food processor then you can use a large bowl and then cut your butter in using a pastry blender or your fingers, but the food processor make it much quicker.

Cut your butter into small pieces. Then on a high-speed pulse your food processor until the butter is cut into tiny crumbs. It took me less than 30 seconds. You don’t want to over do it because you want to have little bits of butter evenly distributed in your dough.

Next add your orange zest by evenly coating it in your butter and flour mixture. The flour will keep the zest from sticking together in one big clump.

Then lightly whisk together your egg and cream and slowly pour them through the chute of your food processor while you mix it into the flour. Be careful not to over mix. As soon as your dough comes together stop mixing.

As you can see my dough is just slightly sticky. Mary Berry says that slightly sticky dough makes great scones.

Next if you want extra flakey scones then take your pastry dough and chill it in the fridge for 15 minutes. I just take the bowl of my food processor and stick it in my fridge.

Then after your dough has slightly chilled you are ready to add in your strawberries. On a lightly floured surface, carefully knead in your strawberries. Then roll your dough out into an even log and cut it into four equal portions.

Next using your hands or a rolling pin shape each portion of dough into a 4 inch square. Then use a serrated knife to cut each square diagonally into even triangles.

Finally in a small bowl whisk together one egg and one tablespoon of water to make an egg wash. Then brush the tops and sides of your scones so they get a pretty golden finish when they bake. If you are feeling fancy, you could also add some decorative white sugar sprinkles.

Then because I have a convection oven that runs a little hot I turned my oven down to 375 degrees and baked my strawberry scones on a hot baking stone for 15 minutes. If you don’t have a baking stone you could just line a baking pan with parchment paper to keep your scones from sticking when they bake. Keep an eye on your scones you want them to turn a golden brown color on top. Depending on your oven it could take 15 to 20 minutes to bake.

So pour yourself a cup of tea and enjoy watching all the festivities, fascinators and fashion statements at the royal wedding. These strawberry scones are a delicious way to celebrate any morning.

Mother Daughter Decorating

“When you are brought up in a home where beautiful things are appreciated it encourages your own life long pursuit.”

Charlotte Moss

My love for decorating and creating beautiful things is something that was nurtured and learned from my mother. I grew up watching her arrange flowers and creating new holiday decorations and I loved the joy and difference it added to our house. However, one of my favorite projects was my high school bedroom. My mom helped me redecorate my room in my own style. An earlier lover of all things blue and white and Ralph Lauren I decided I wanted a country styled room with an iron bed and painted furniture. My mom and I picked out an unfinished dresser and nightstand and she helped me paint it in a shabby chic blue crackle finish with a blue floral stencil. It has been years ago since we took on that project, but it instilled in me a love of painting and decorating. I was inspired as I saw the things I imagined come together to create a beautiful room. I had a place that was mine and I could see and feel the difference it made to live in a room you loved. That bedroom was my first decorating project and I still have the furniture we painted together. I still love the dressers and nightstand we painted and those pieces are in my daughters’ rooms now.

This is the night stand my mom and I painted years ago.

This past week my mom came to visit and to help me with another special project. This time we were painting an old bed and decorating my oldest daughter’s “big girl” room. We had fun chalk painting the bed frame in the backyard (I will have to write another post about chalk paint later) and creating a garden inspired bedroom filled with all the pretty pink and white details that my daughter loves. We rearranged the furniture and art. We also made room for the new art board I created to showcase my daughter’s love of drawing.

The old picture frame I found in the trash now has a new use as a pin board to showcase my daughters artwork.

We shopped at Target and Home Goods for the new bedding and accessories that would add just the right shabby chic touch. The finished room is now filled with special memories of our fun together.

There is a small needlepoint picture stitched by my mom and button artwork and a ribbon flower wreath that I made. Small but personal touches made with love. One of the great decorating lessons I have learned from my mom is that thoughtfulness in the details is what often makes a room truly memorable and special.

The pink bedspread came from Rachel Ashwell’s Shabby Chic line at Target. The two bed pillows were something custom I made from the remains of the extra duvet cover that I used to upholster the art board and the old crib sheet from my daughter’s toddler bed. My sewing skills are fairly basic, but I got creative to add a few dressmaker like details. I used a simple pillow case as my pattern. Then I used the ribbon tied edges from the duvet on the side opening of my pillow.

This gave me a pretty and professional looking edge without lots of extra work.

Then because the white crib sheet had less fabric to work with I decided to add a ruffled edge using an old summer dress my daughters had outgrown.

I carefully cut off the bottom ruffle and sewed it around the opening of my pillowcase.

This finishing detail gave the pillow just the right shabby chic look that I wanted.

My daughter who was worried about giving up her old toddler bed, now loves her new room. It’s filled with all the magical cottage garden details she likes and I can’t wait to see how she continues to personalize it by adding her own artwork and treasures.

It’s a great gift to have the opportunity to choose what your room looks like and to fill it with things you love. My mom’s love of beauty and creativity helped shaped who I am today and I hope that my daughter feels that same joy in her new room.

A favorite photo of my mom and daughter together.

Now stay tuned, I am going to have to gear up for my next project this summer, because watching this room transformation has caused my three-year old to declared herself “BIG.” My youngest daughter now has a vision of her very own “big girl” room with hot pink and purple. So the fun and the decorating continues.

Happy Mother’s Day!

Contact Us