
“Arts and crafts keep you sane.” Mary Engelbreit
There is nothing like getting lost in a great art project. We have had a bit of cabin fever in our house with all of the snow we had recently. However, this week brought some warmer temperatures and a little rain. It’s been weeks since we have seen our lawn and the rain helped thaw our yard. Seeing bits of green has me looking forward to spring. This past Monday was a school holiday so we put on our rain boots and headed out to the craft store to find a rainy day project.
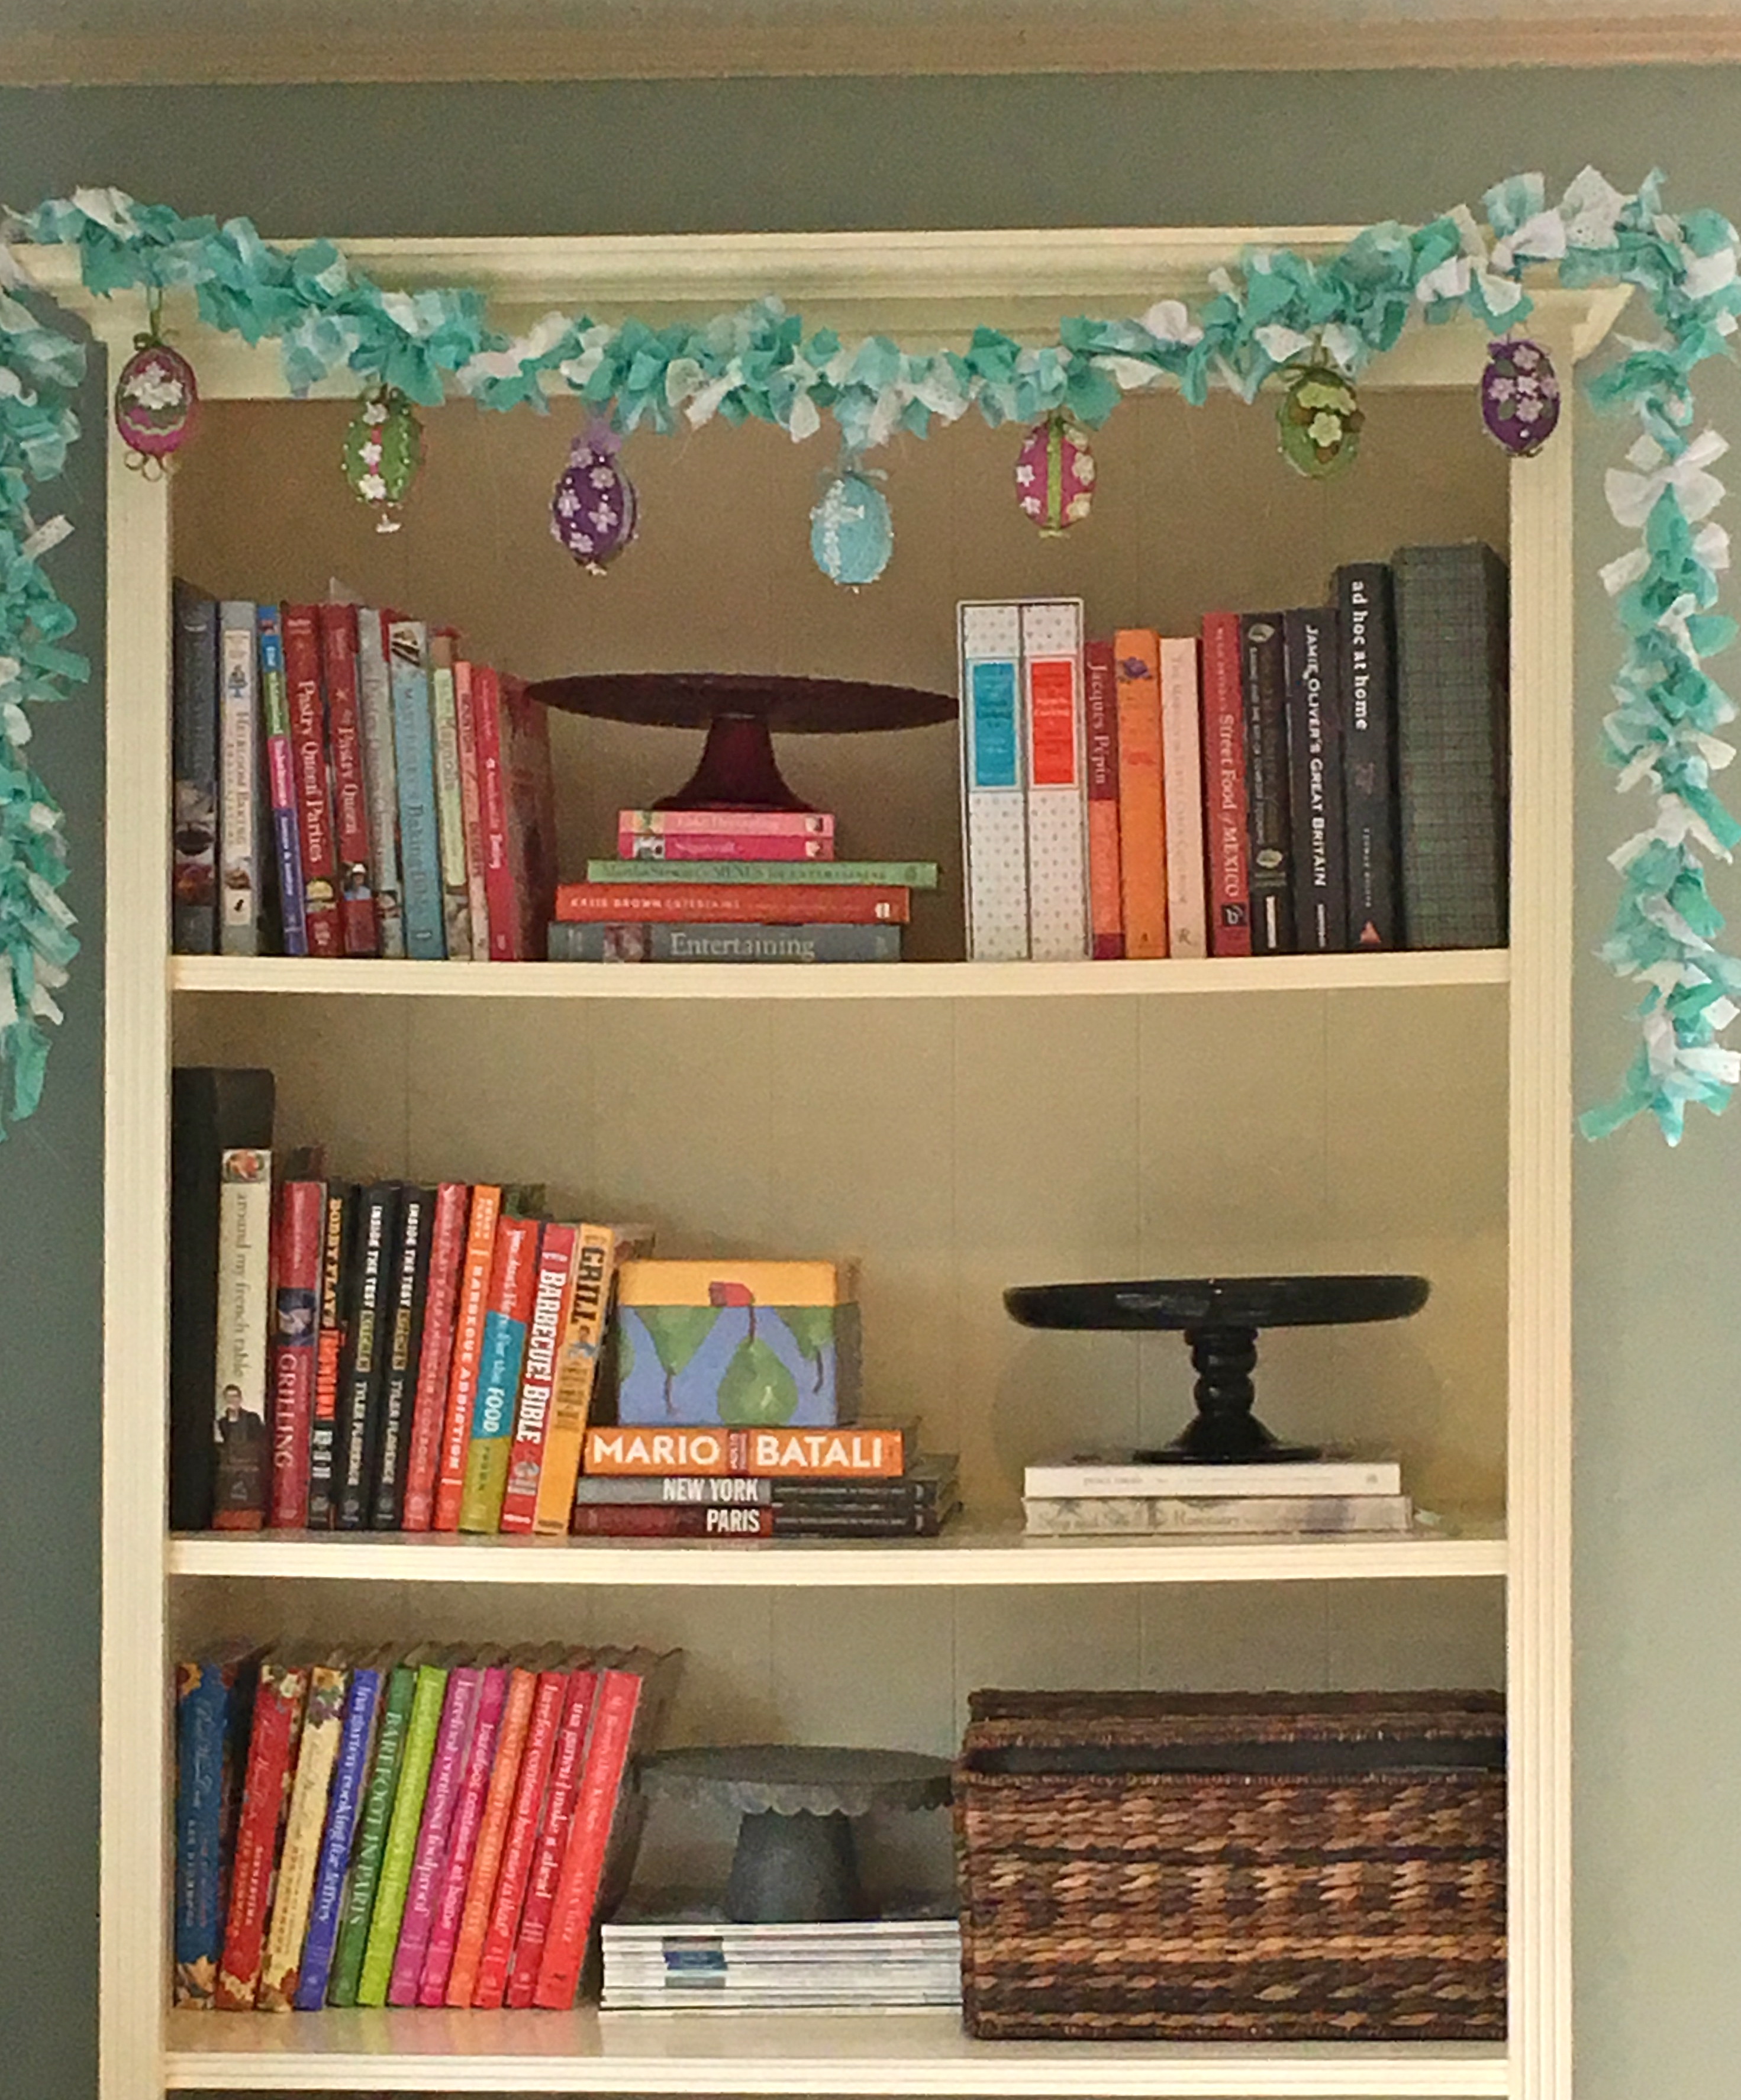
My girls are getting old enough to notice that in our house we are always celebrating and looking forward to the next holiday or season. When Valentines Day was over this year my little one began asking what was next, so we talked about Easter. We were in the car on the way home from school and she wanted to start decorating for Easter immediately. She was excited as I pulled the box out of the basement because she wanted to help me hang the Easter garland. I have a set of vintage styled eggs I made a few years ago that look like a set my grandmother made.
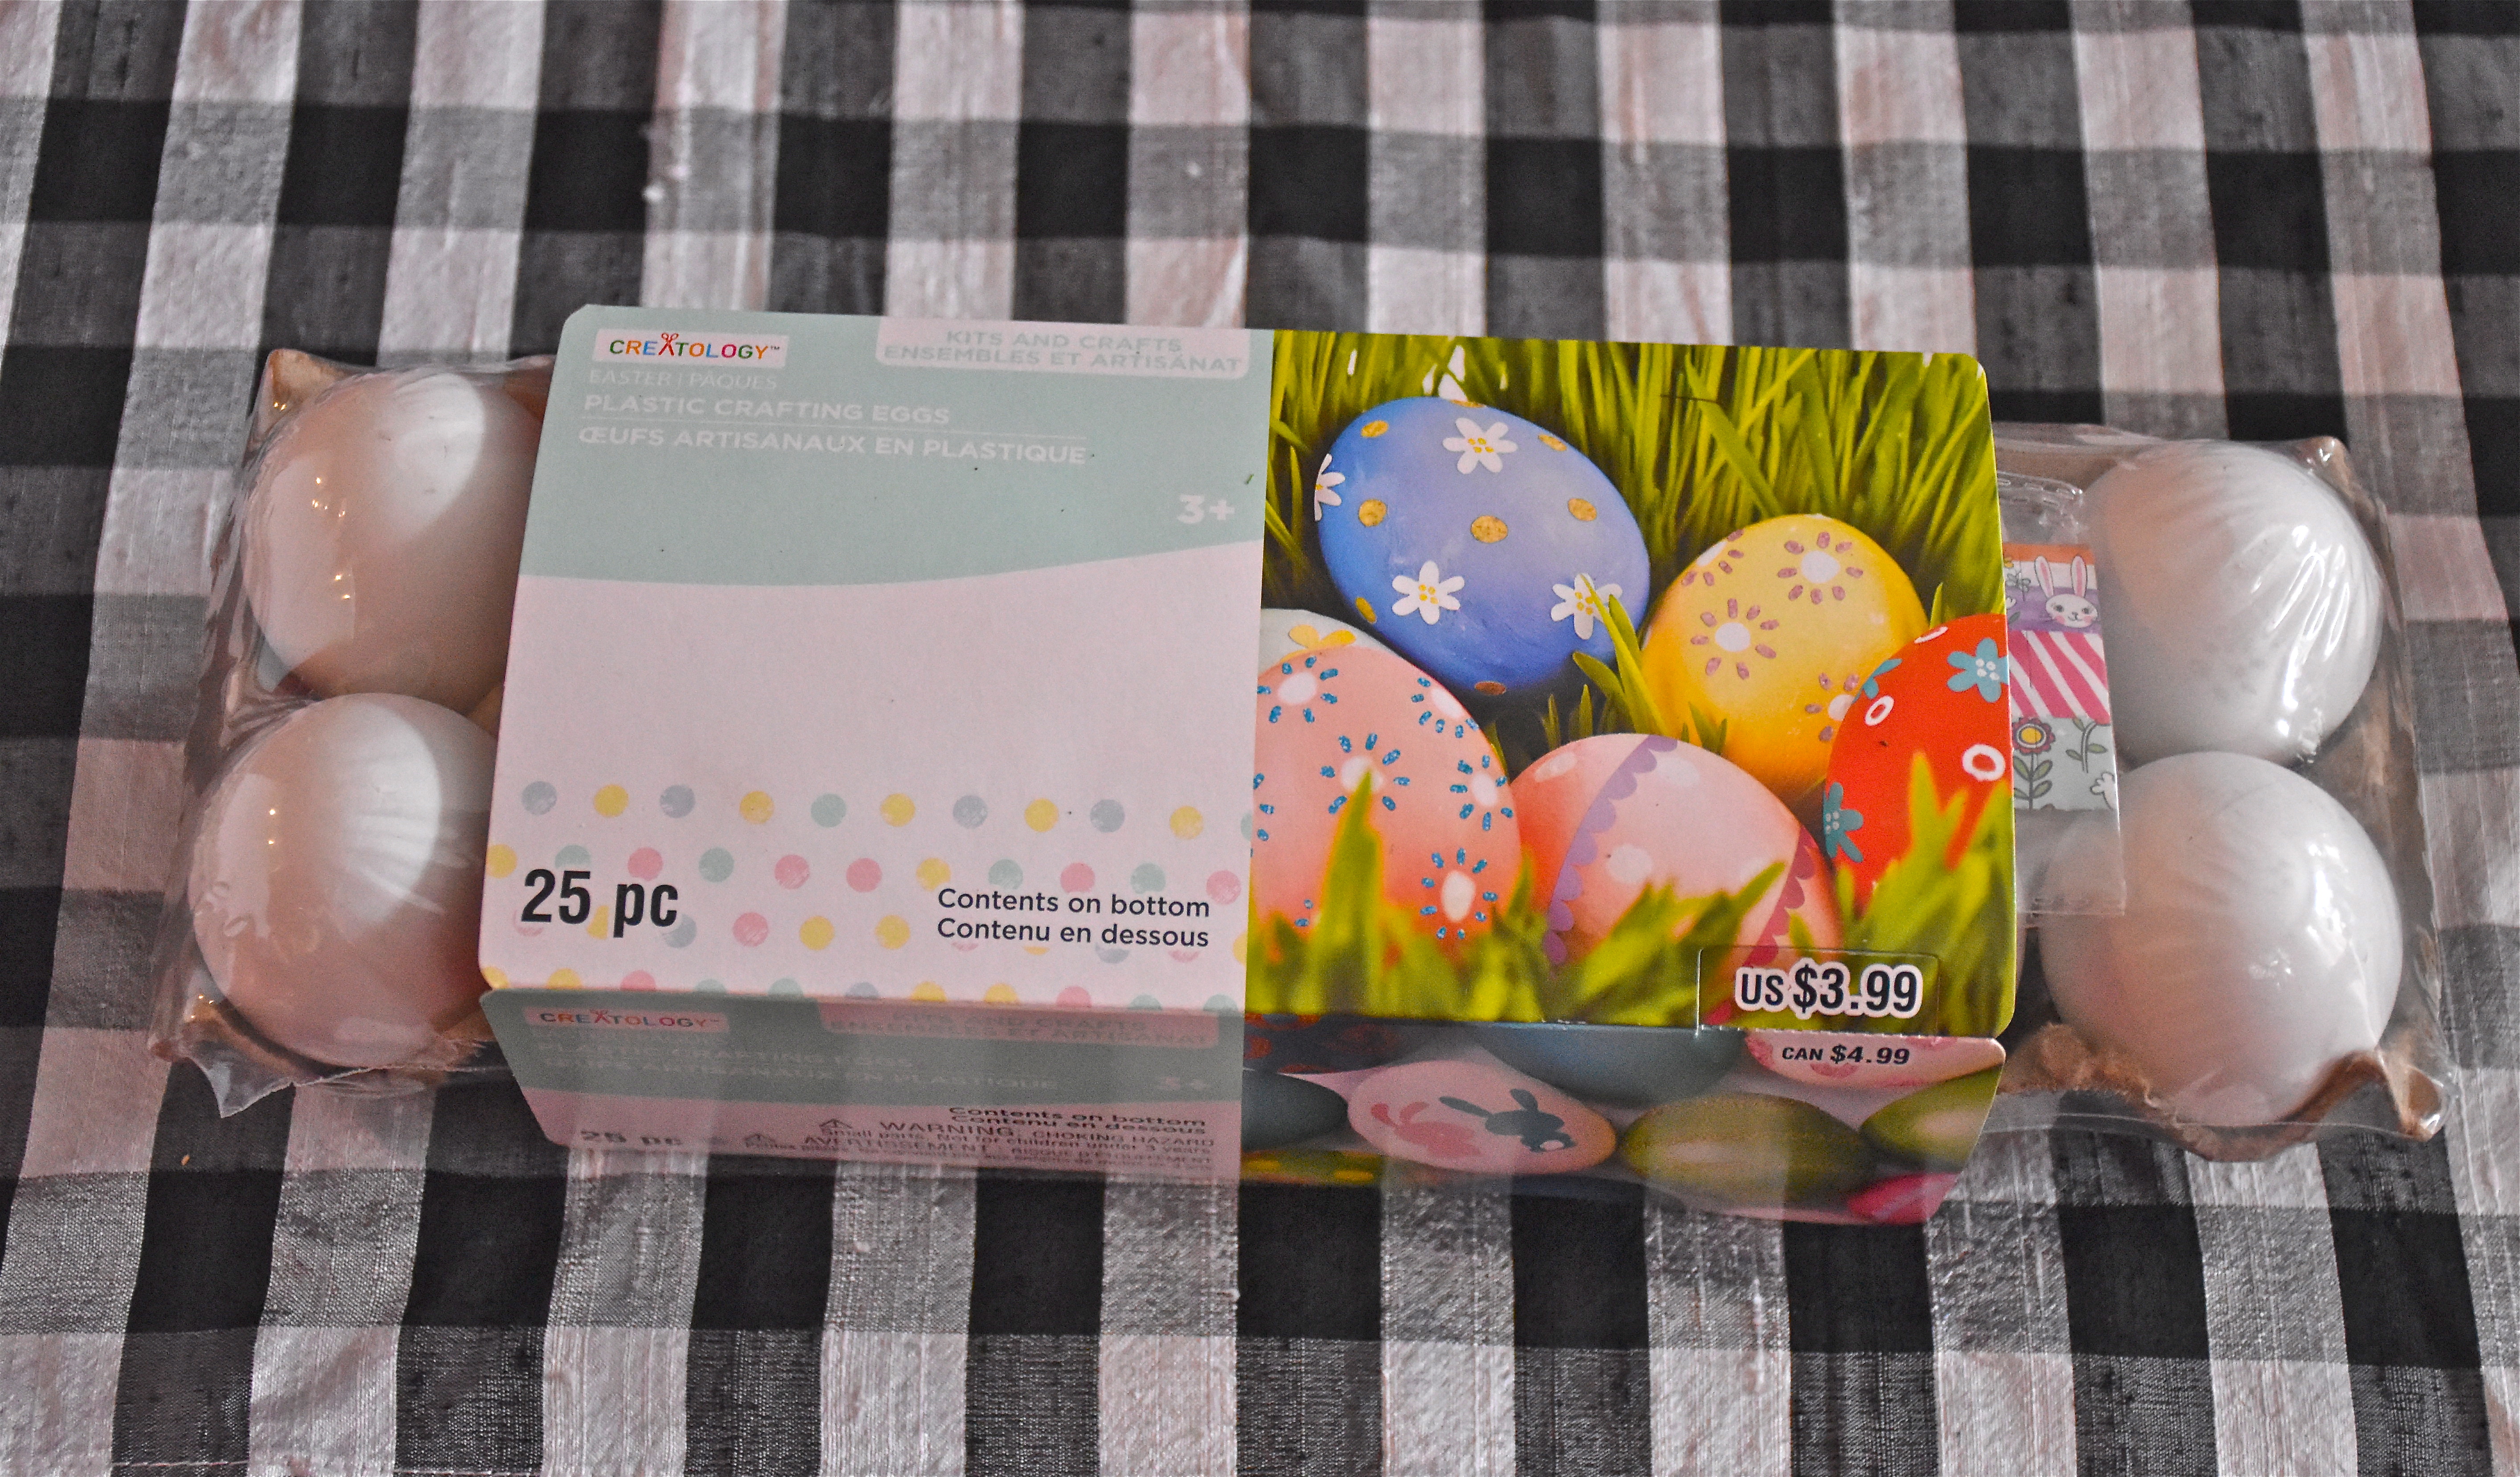
Since we have been decorating for Easter in our house, I thought my girls might have fun painting some eggs. While we were in Michaels I spotted these white plastic eggs and I began thinking that my girls might like to make some decoupaged eggs so we got a jar of Mod Podge glue as well.
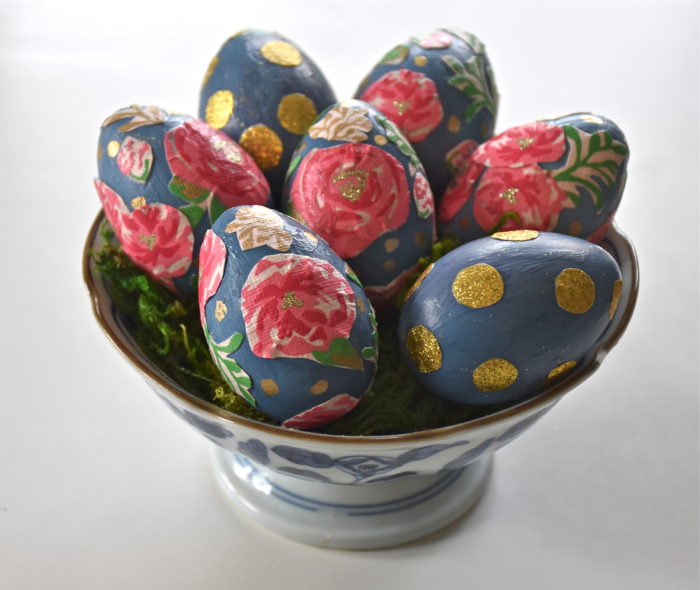
The project was a huge hit in our house. My girls were so pleased with their eggs that I thought I would share some pictures and a few tips.
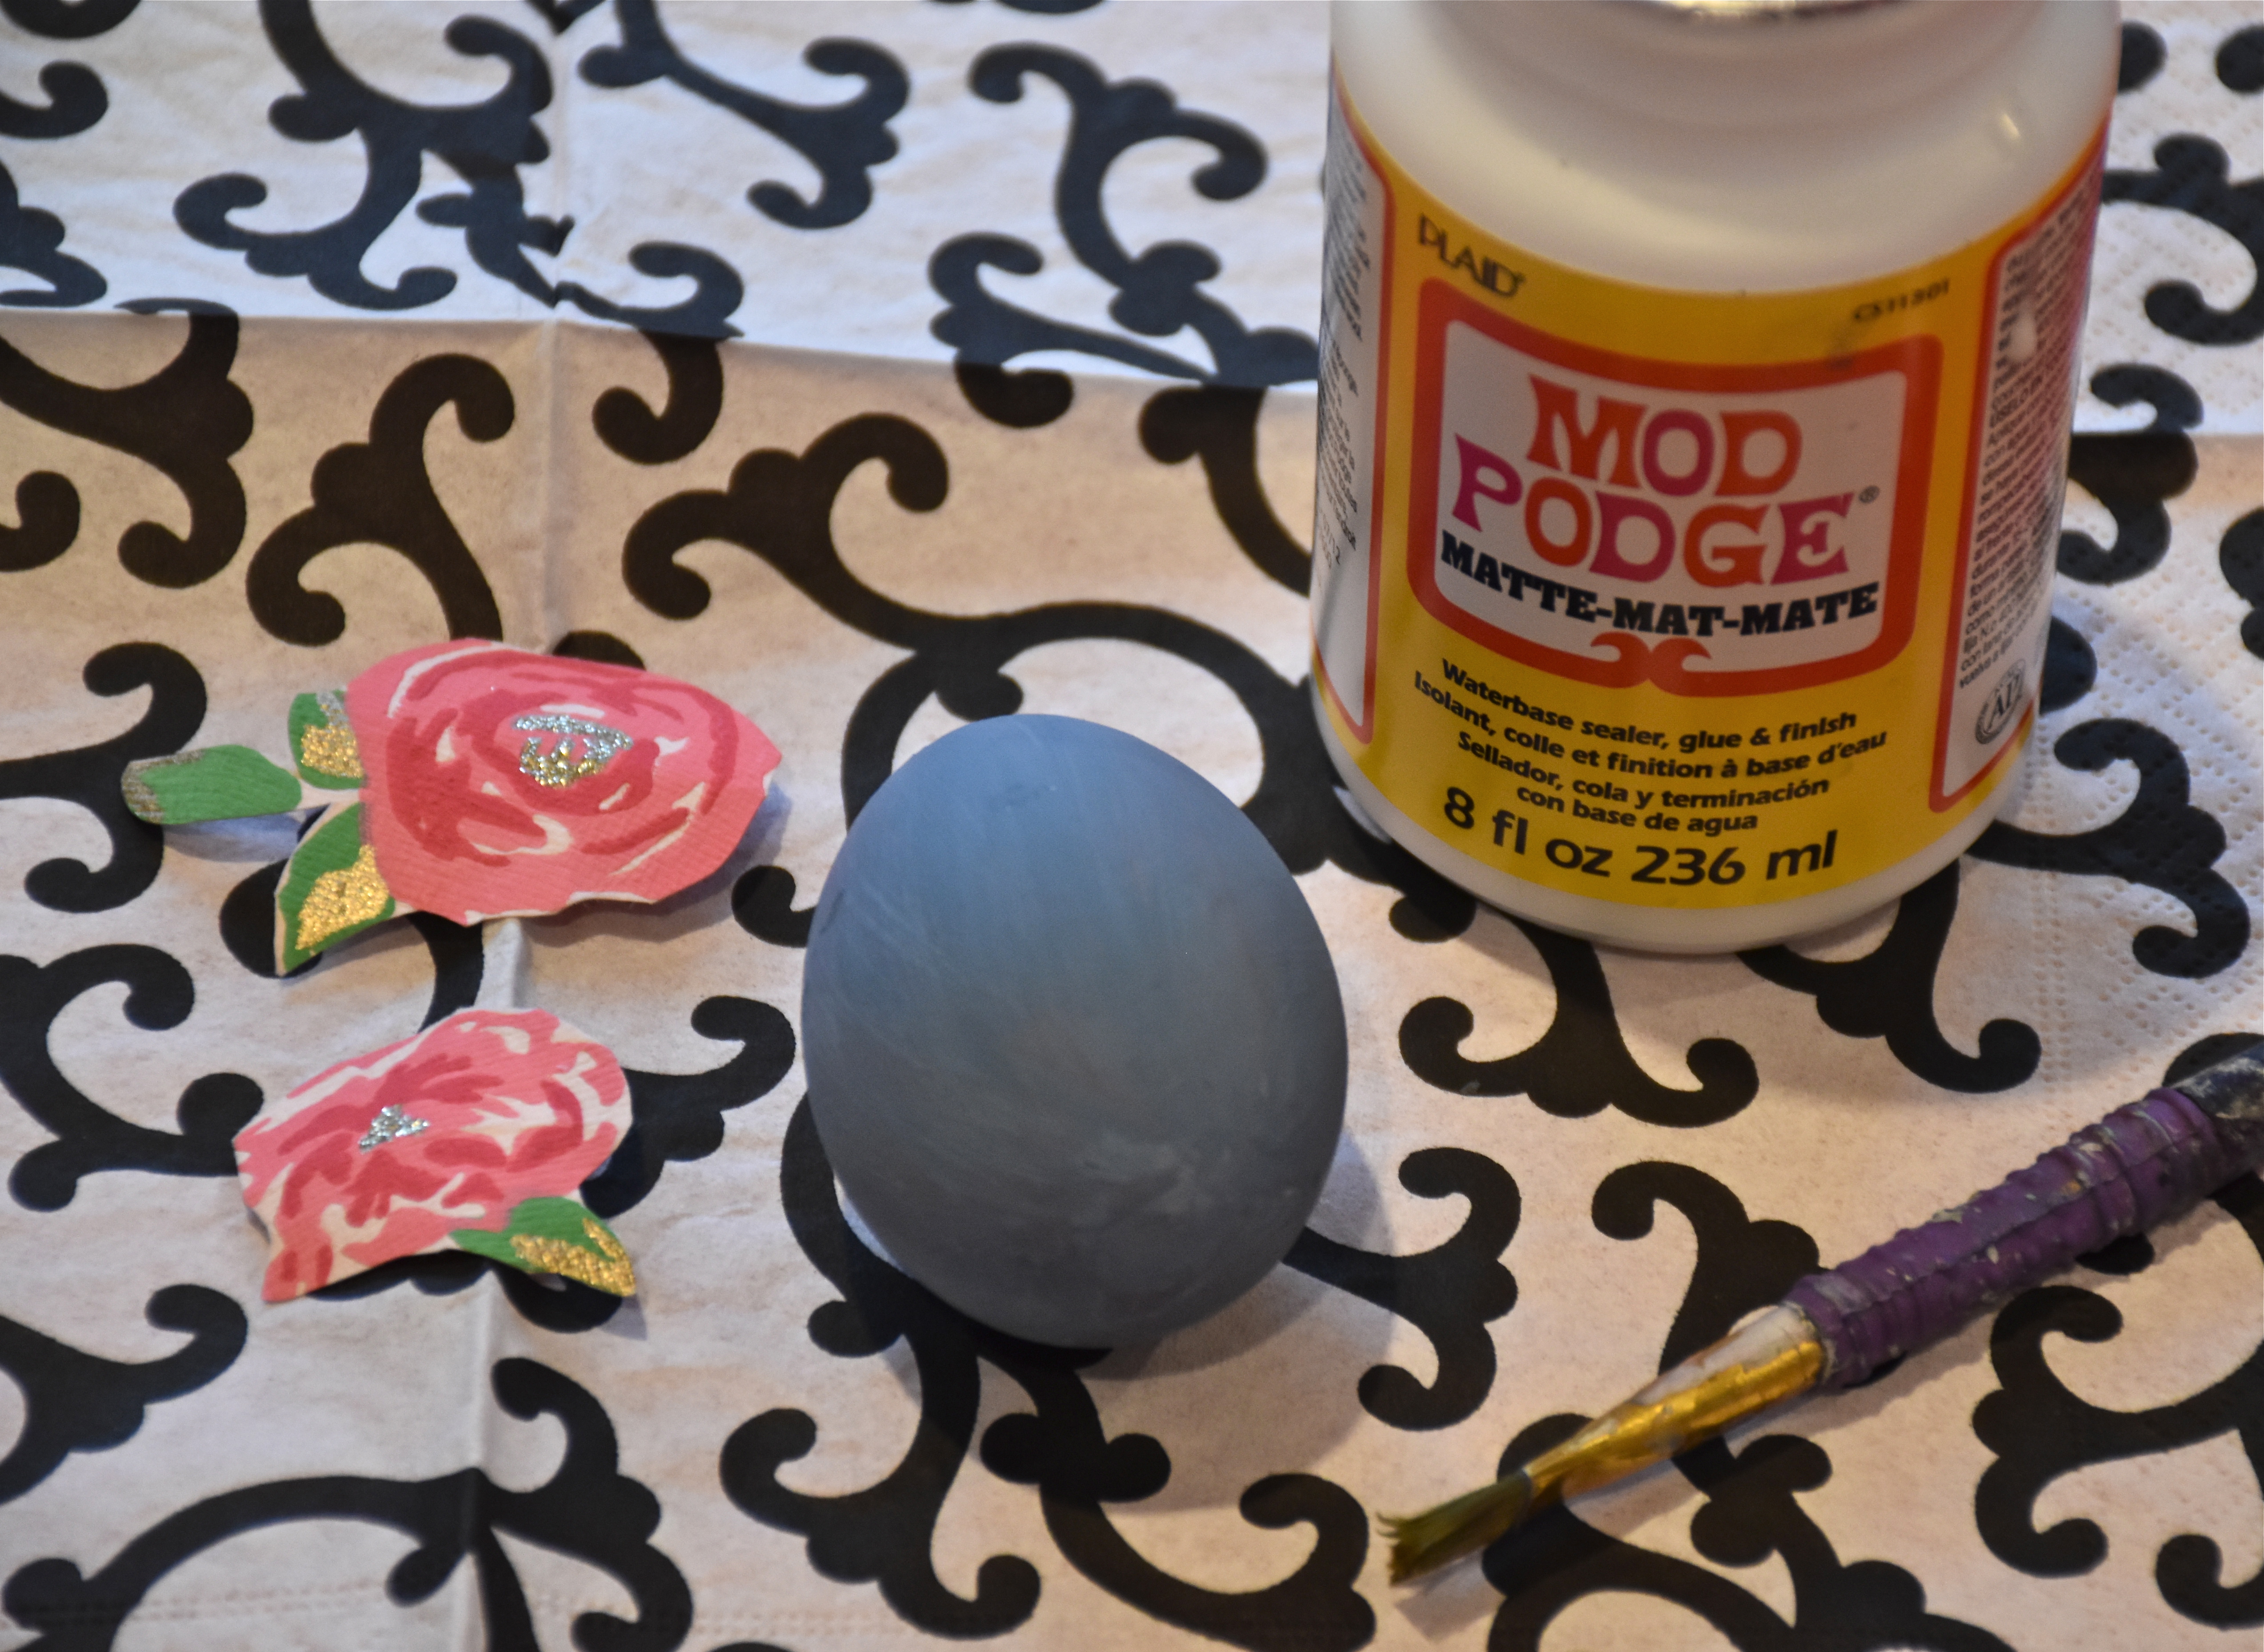
First, we painted our eggs with a water based milk paint that I had from a previous project, but you could use an acrylic craft paint as well. These plastic eggs were easy to paint, the only hard part for my girls was waiting for them to dry. Then I used a small scale floral wrapping paper I found at Marshals and we cut out some flowers and leaves. My girls needed a little help with the detailed cutting of the leaves, but my oldest would start the cutting out the roses and I would finish it.
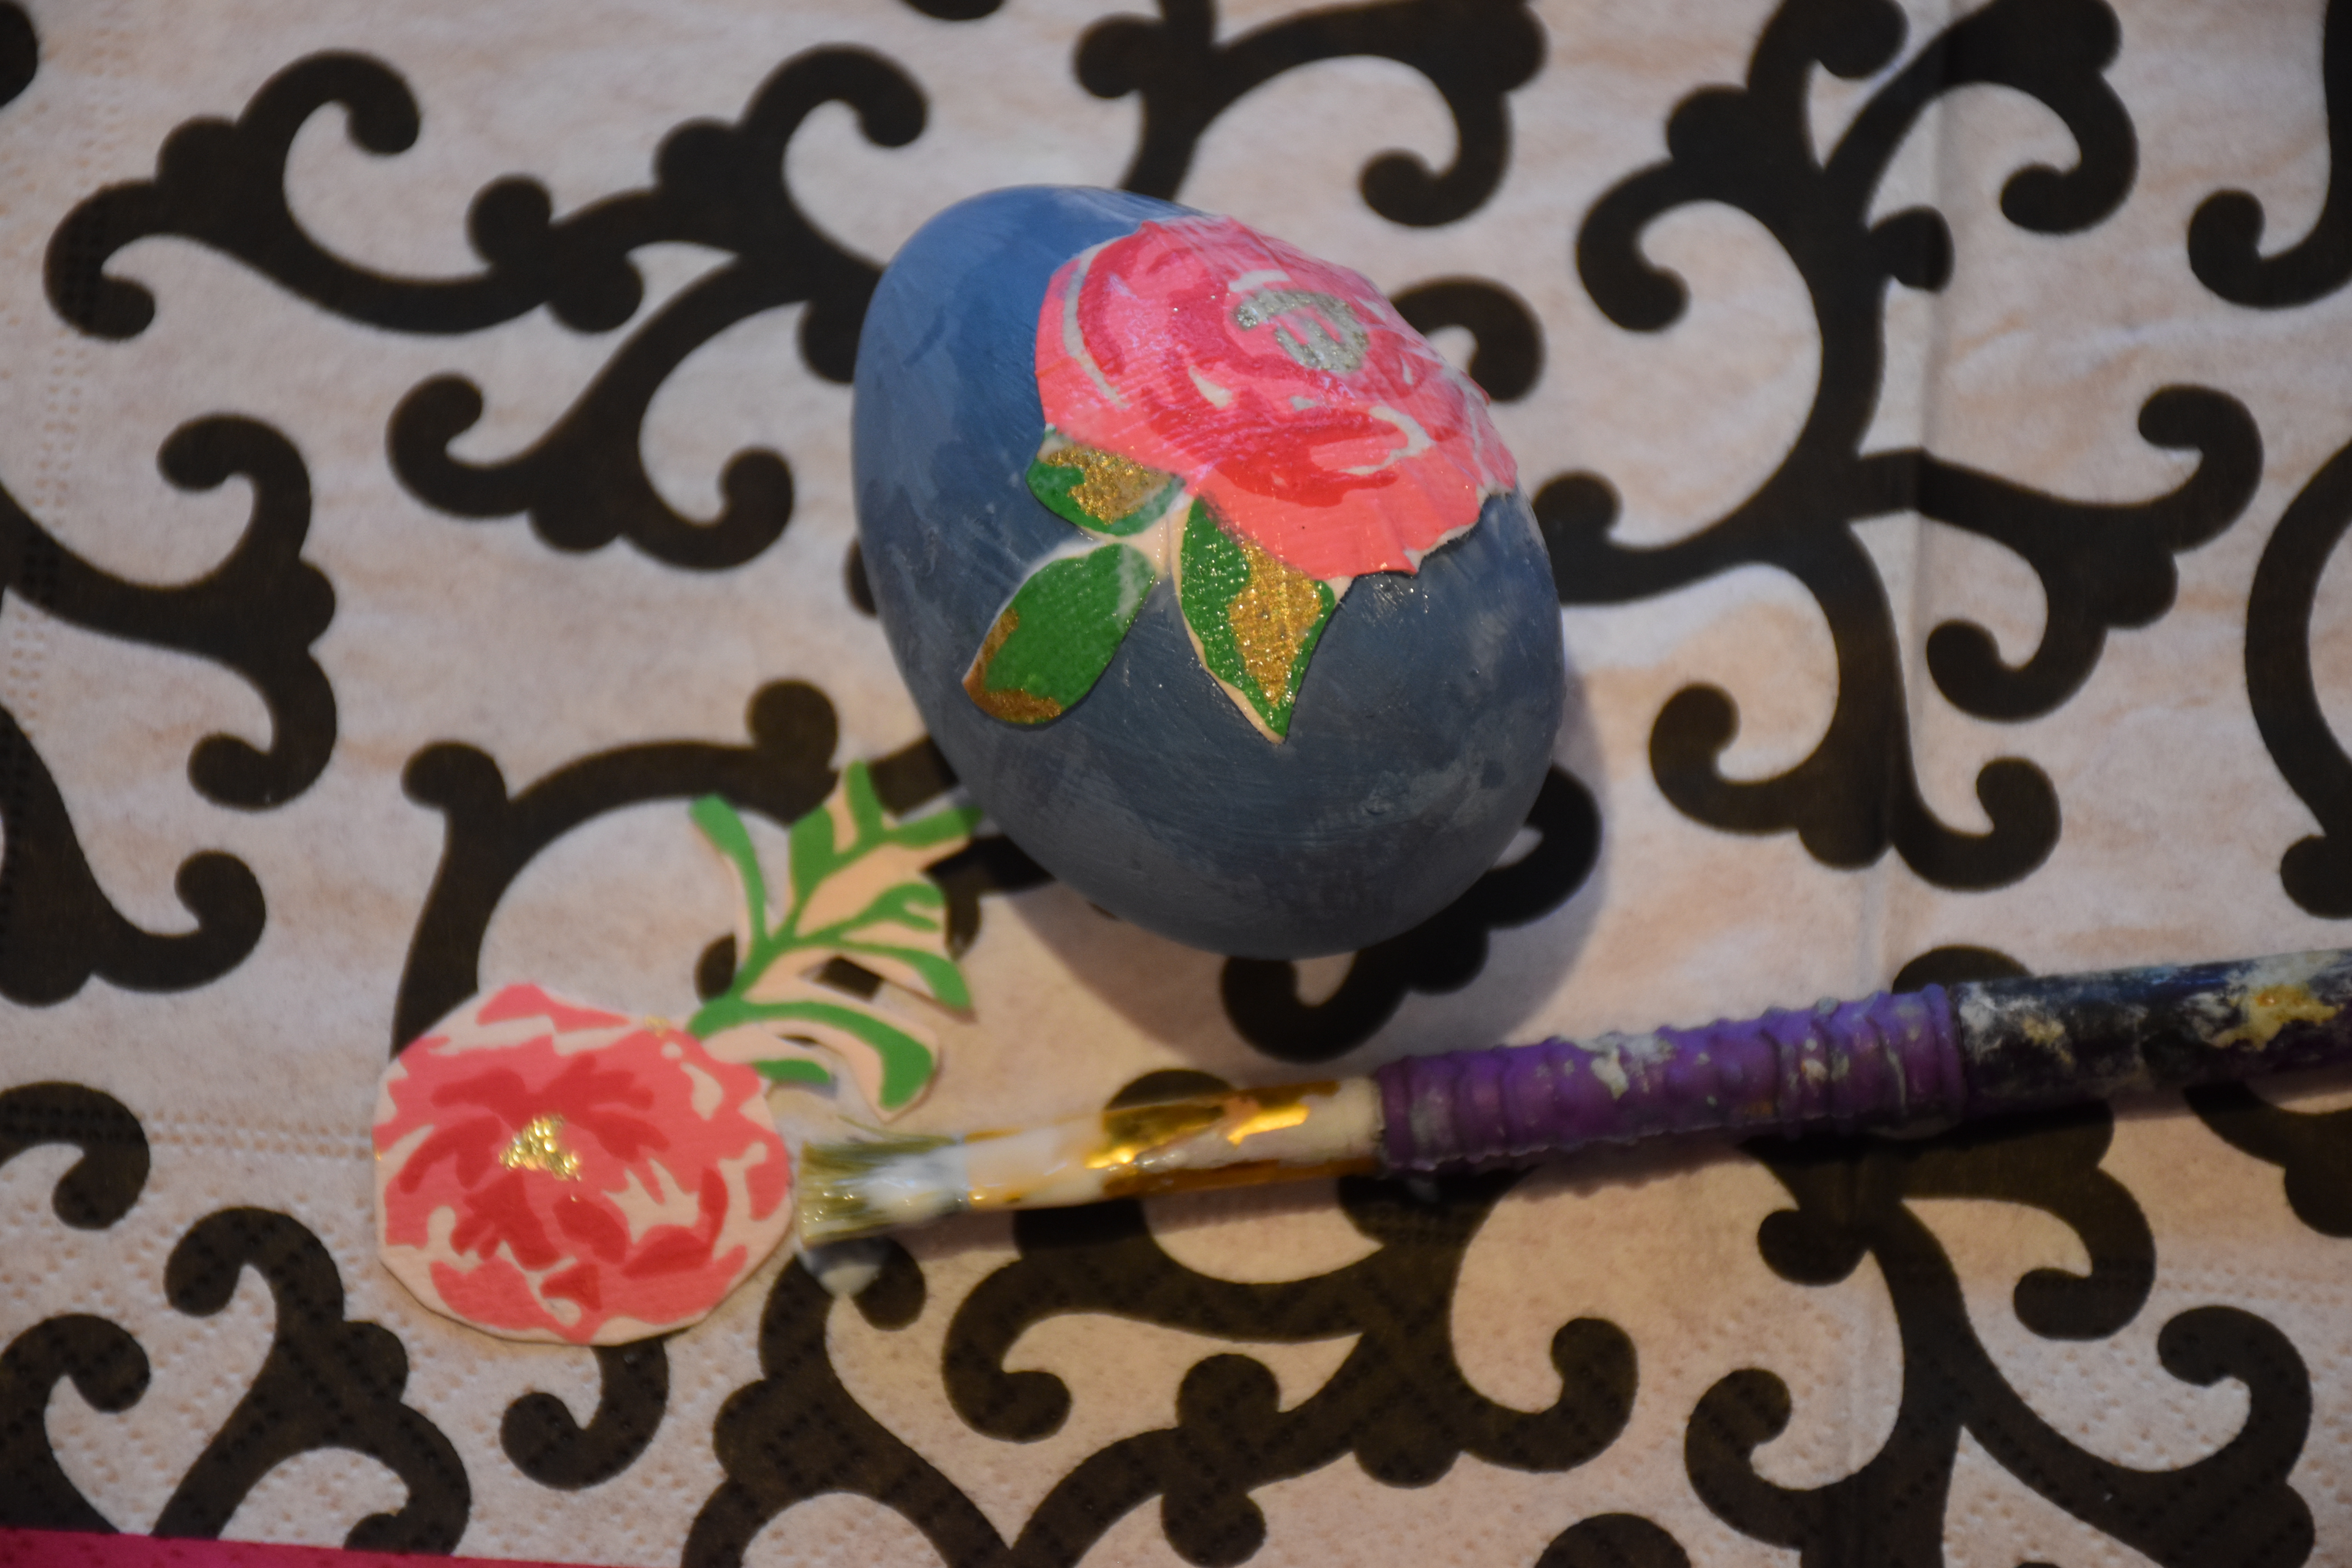
Then the trick to attaching the flowers is to be generous with the Mod Podge. Use a paint brush to paint some glue on the back of the cut out. This will help soften the paper and make it easier to apply and bend the cut out to the shape of your egg. Then brush more Mod Podge on top and use your fingers if needed to smooth out any bumps or loose edges. Then keep layering on your flowers or pattern until you are happy with the look.
Then when all your paper pieces are in place seal the entire egg with one last even coat of Mod Podge. The Mod Podge will be white in color when it goes on, but it will dry clear.
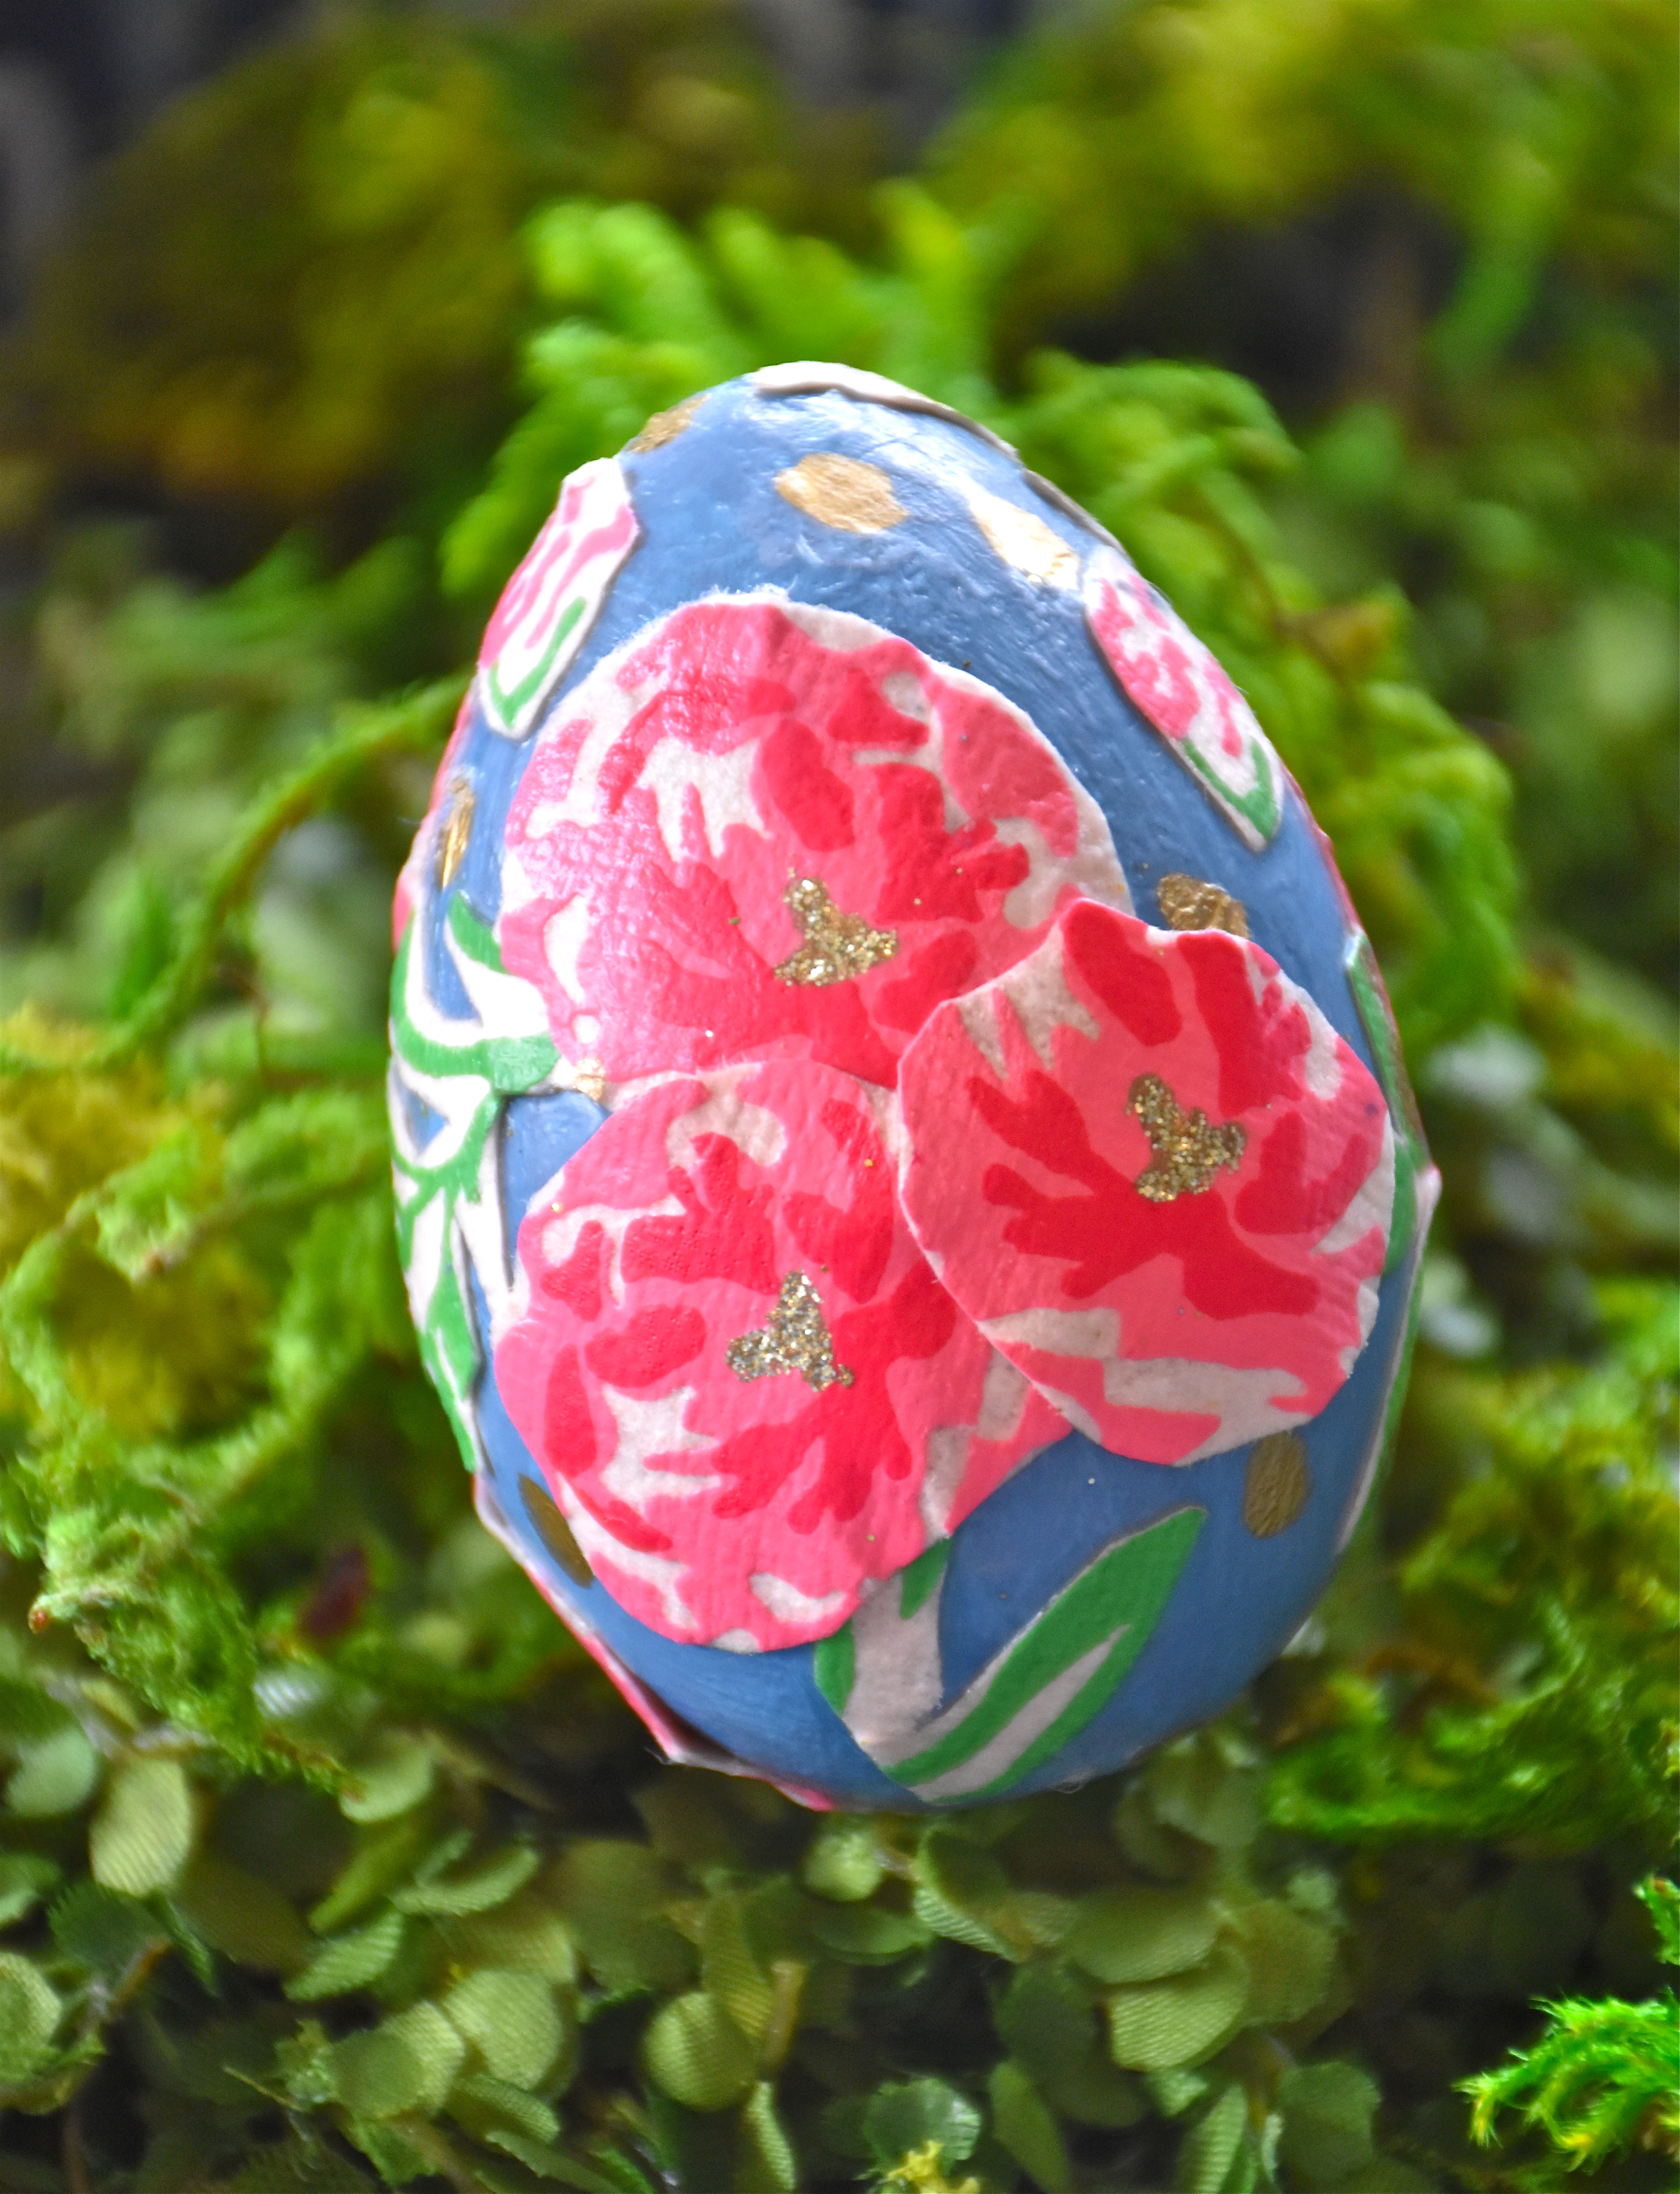
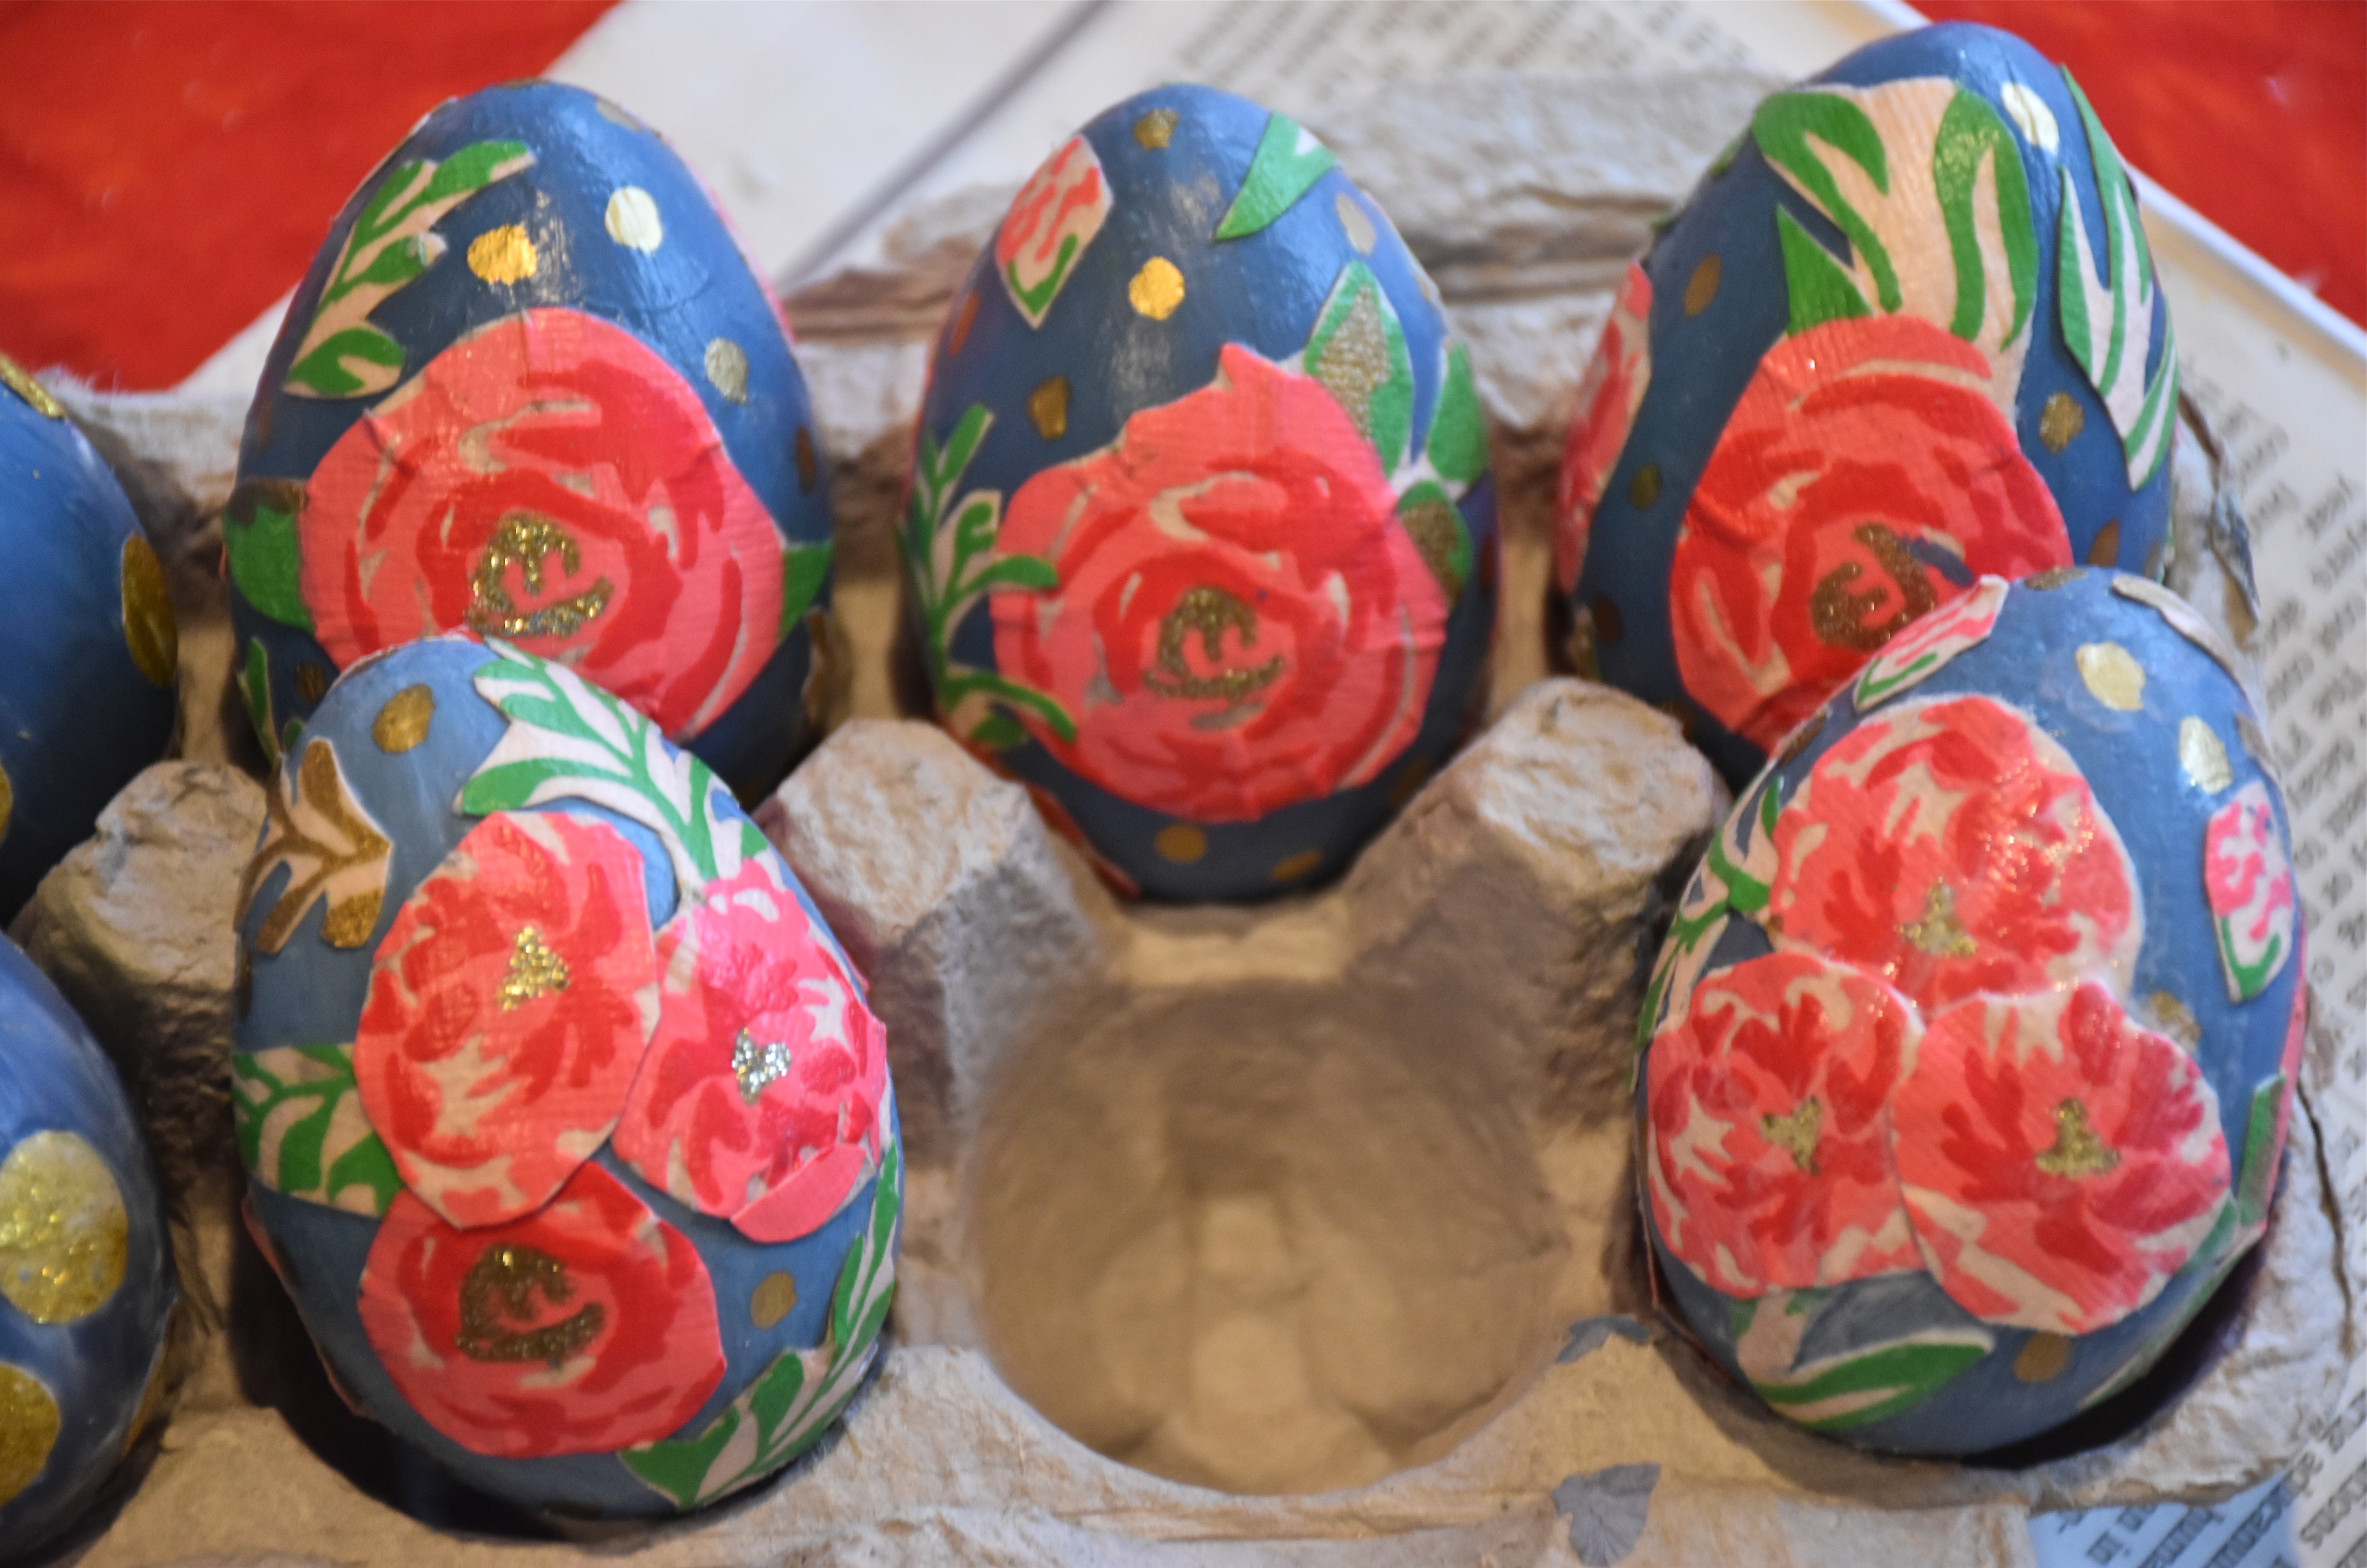
Finally, to finish off our floral eggs I added some gold dots with a paint pen once the eggs were dry.
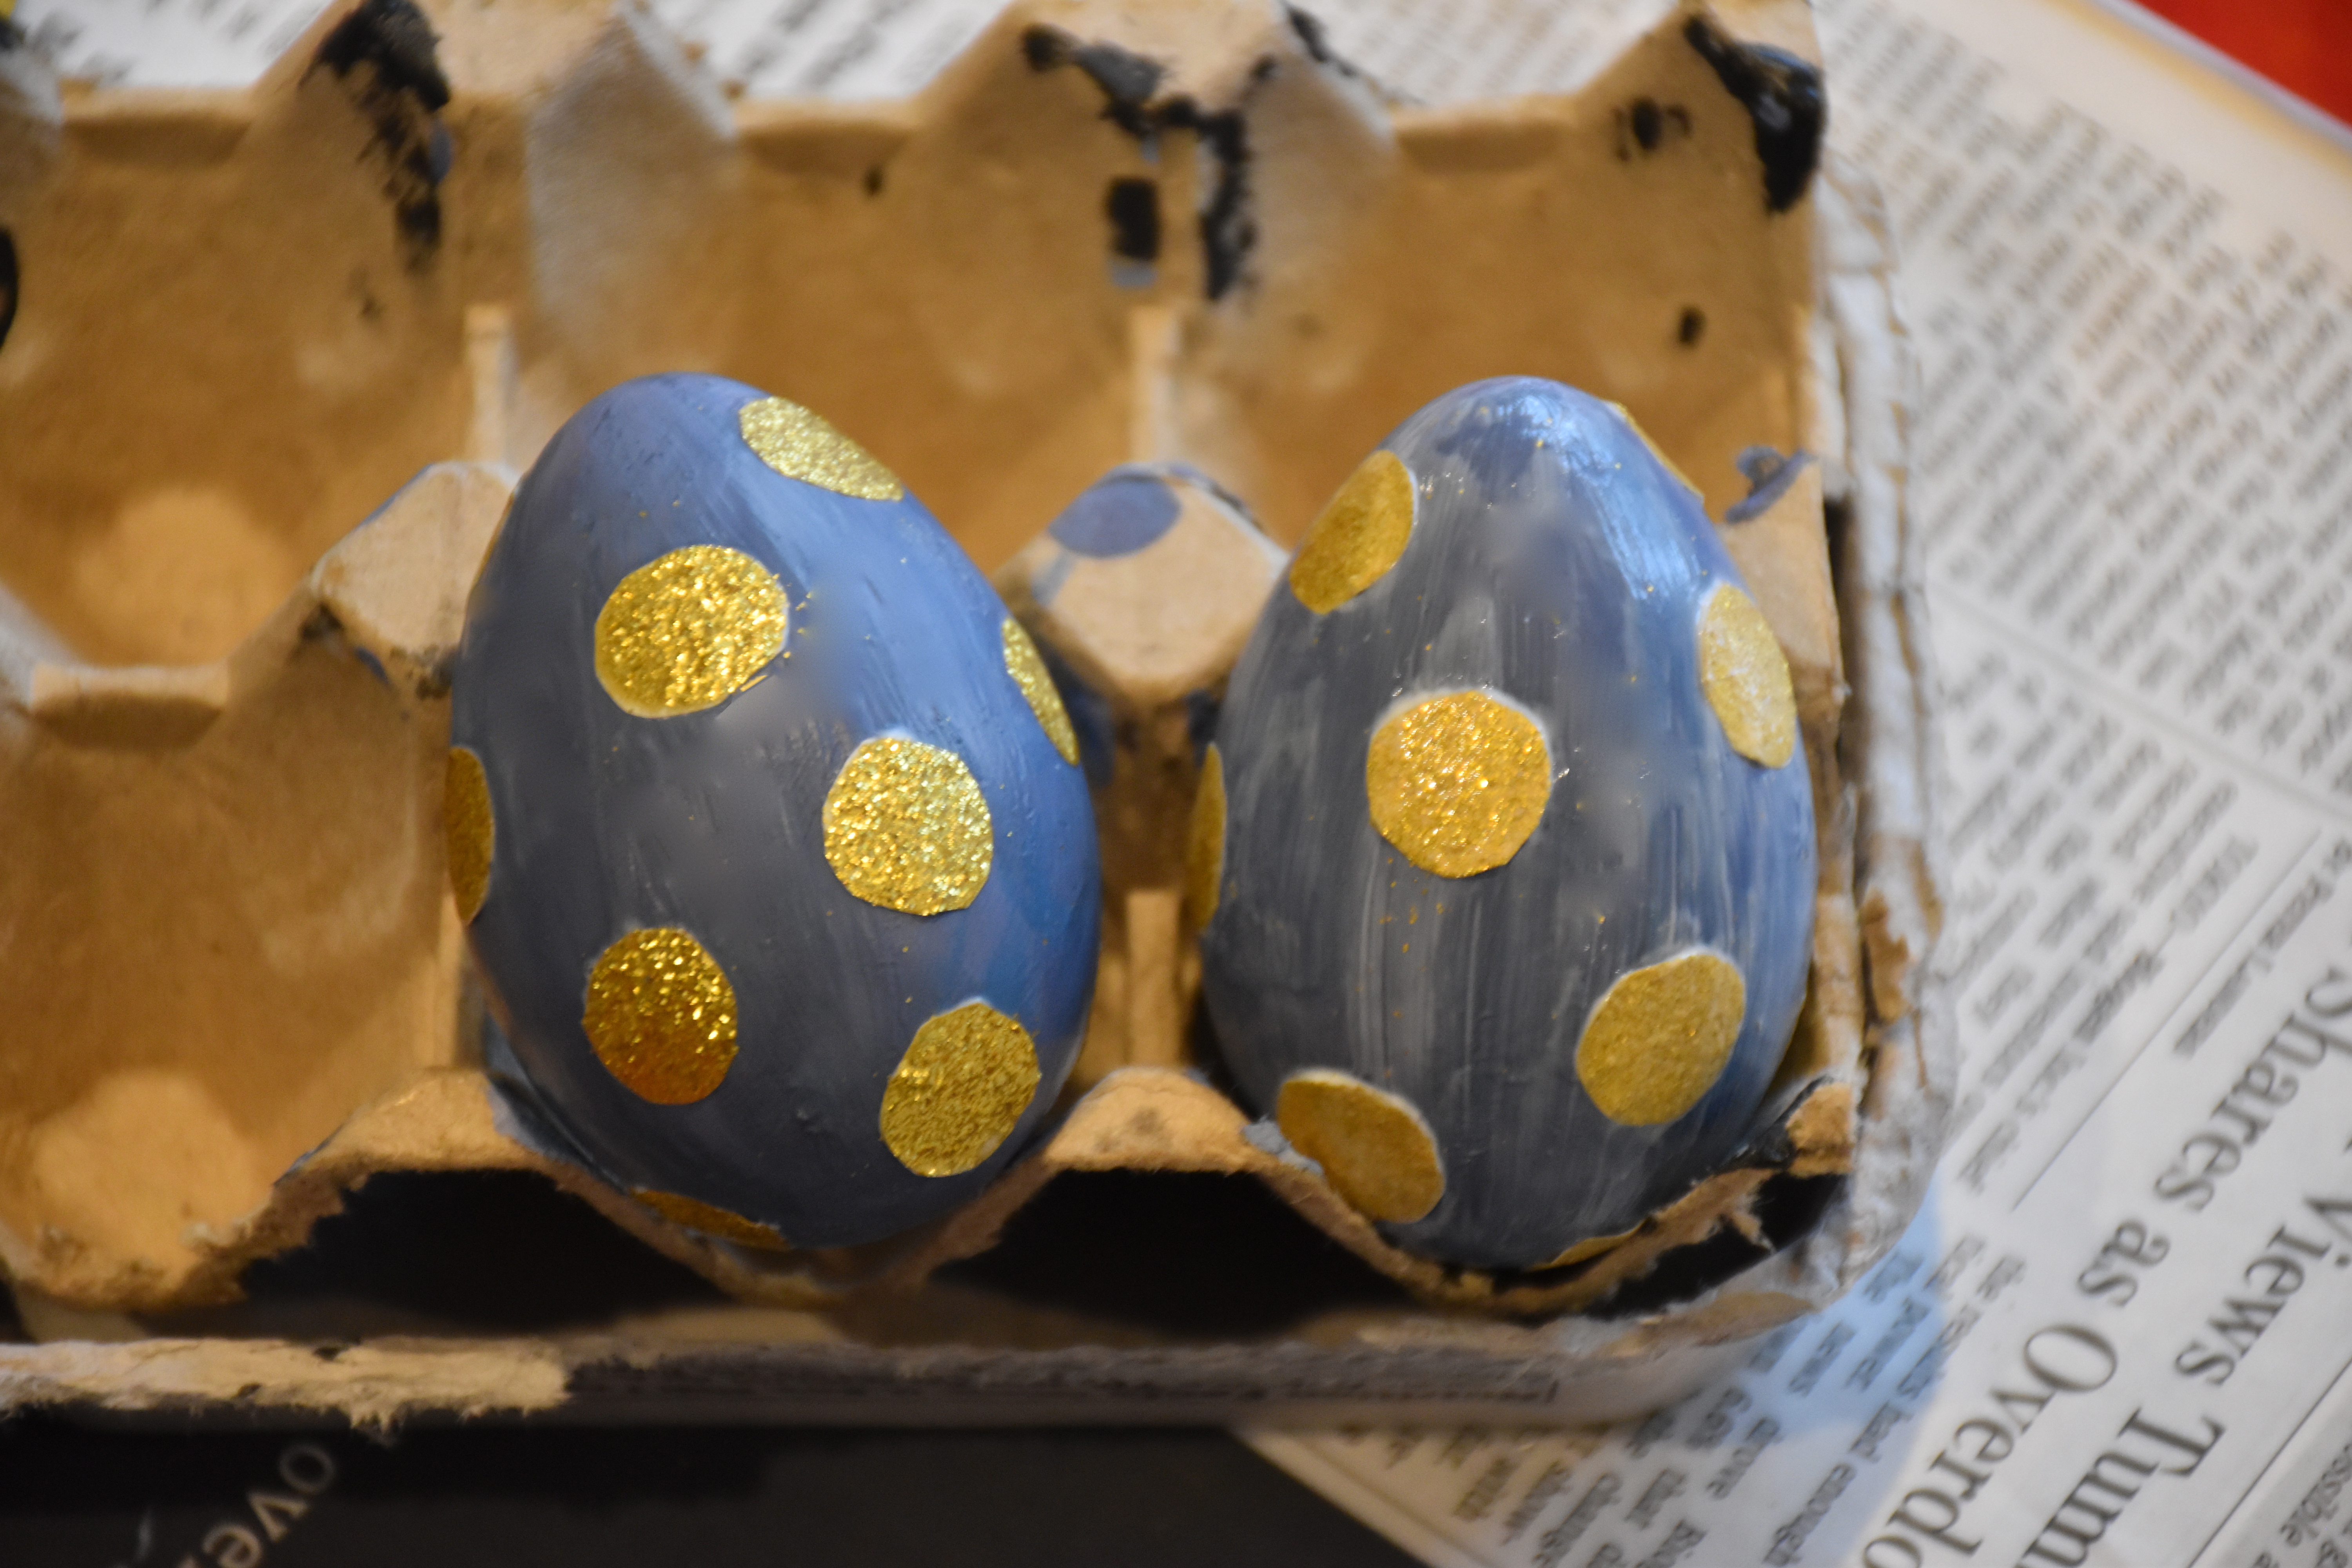
Then to add some variety we made some gold polka dot eggs using another wrapping paper I had from Target that had gold dots. We used the same technique to attach them to these eggs.
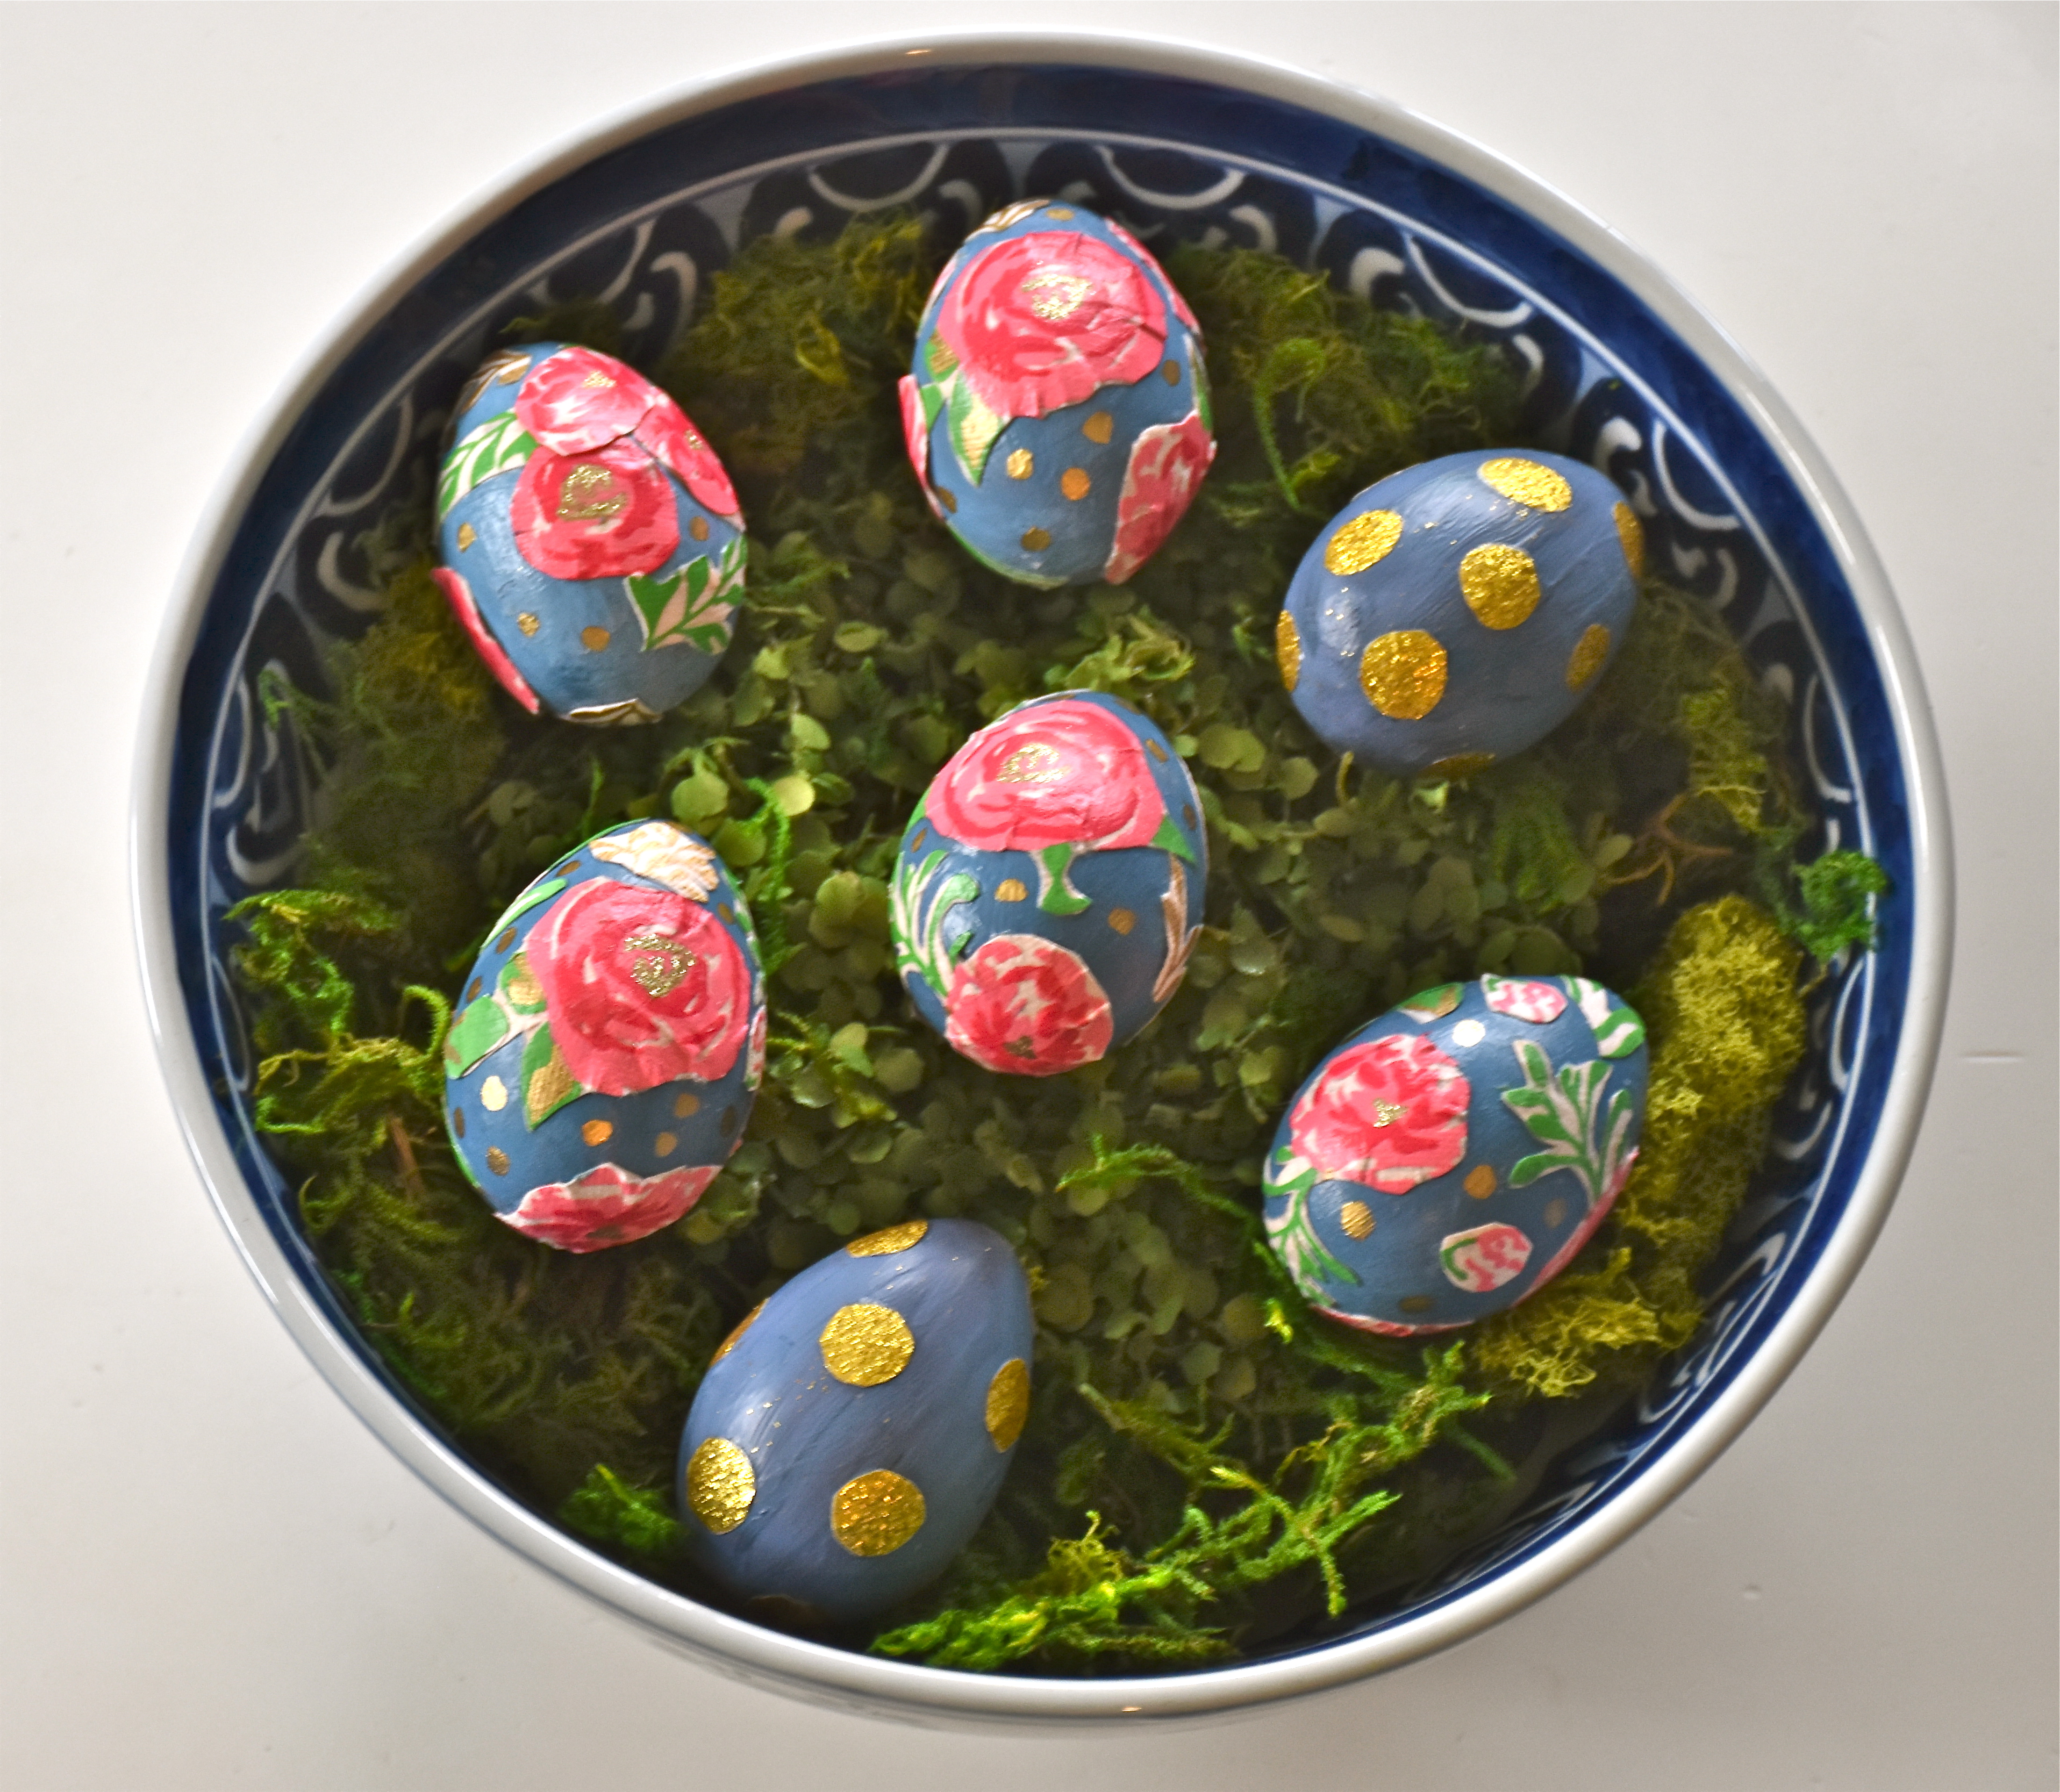
These decoupage eggs were fun. My daughters were all smiles making these eggs and I love how they came out. This was one of those projects that I made up as we went along, but the end result was so pretty that I think I am going to use them to decorate our Easter table this year. So if you are looking for an easy spring art project then give these decoupaged eggs a try. You can use any wrapping paper, newsprint, sheet music or paper napkin design you want to embellish your own custom eggs.