
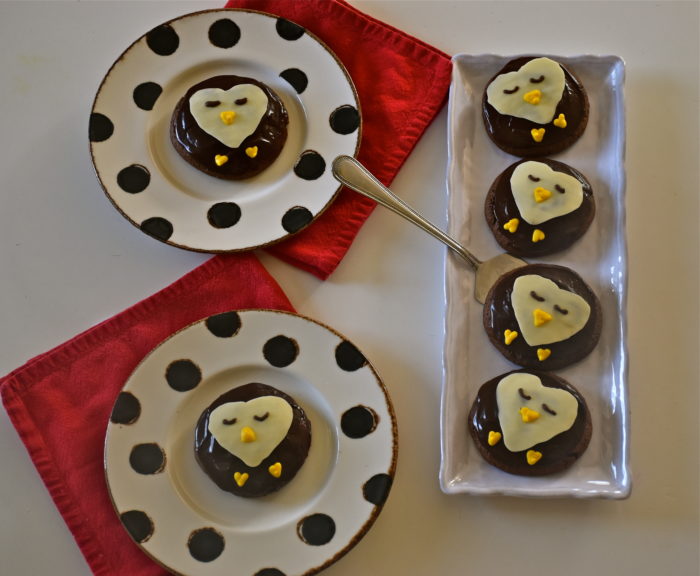
There is something magical about sugar and all the amazing things you can bake. Holiday baking is especially fun because whimsical cookies and cakes get to play a special role in celebrations with family and friends. So with the holiday season here I wanted to create a new holiday themed cookie that’s a twist on a classic: penguin black and white cookies. I must admit a have a certain weakness for black and white cookies. They are definitely one of my all time favorite desserts. I recently read a cookbook called The Weekend Baker by Abigail Johnson Dodge. It’s been out there for a while now, but it was new to me and I loved it. One of the recipes that caught my eye that I wanted to try was her chocolate black and white cookies, but I wanted to give my cookies a holiday look so instead of the traditional half black and half white chocolate dipped cookies I decided to turn my cookies into festive holiday penguins.
Although they are traditionally called black and white cookies they are actually more like tiny cupcake tops frosted in chocolate ganache. They are definitely decadent and sure to satisfy any chocolate lover. My girls absolutely adored the little penguin decorations. So if you are looking for something fun to share with your family or as a gift for others then I have cookie for you. There is a little basic chocolate work involved but as always I have step by step pictures that will guide you through it all. You can even bake the cookies a day or two ahead and frost them when you are ready.
Chocolate Black and White Cookies (Makes 16 Large Cookies)
- 2 cups flour
- 2/3 cup natural unsweetened cocoa powder
- 1 teaspoon baking powder
- 1/2 teaspoon baking soda
- 1/2 teaspoon kosher salt
- 12 tablespoons of butter at room temp
- 1 1/2 cup granulated sugar
- 2 eggs
- 1 teaspoon vanilla
- 1/2 cup sour cream
- 2/3 cup hot (but not boiling) water
Preheat your oven to 375 degrees.
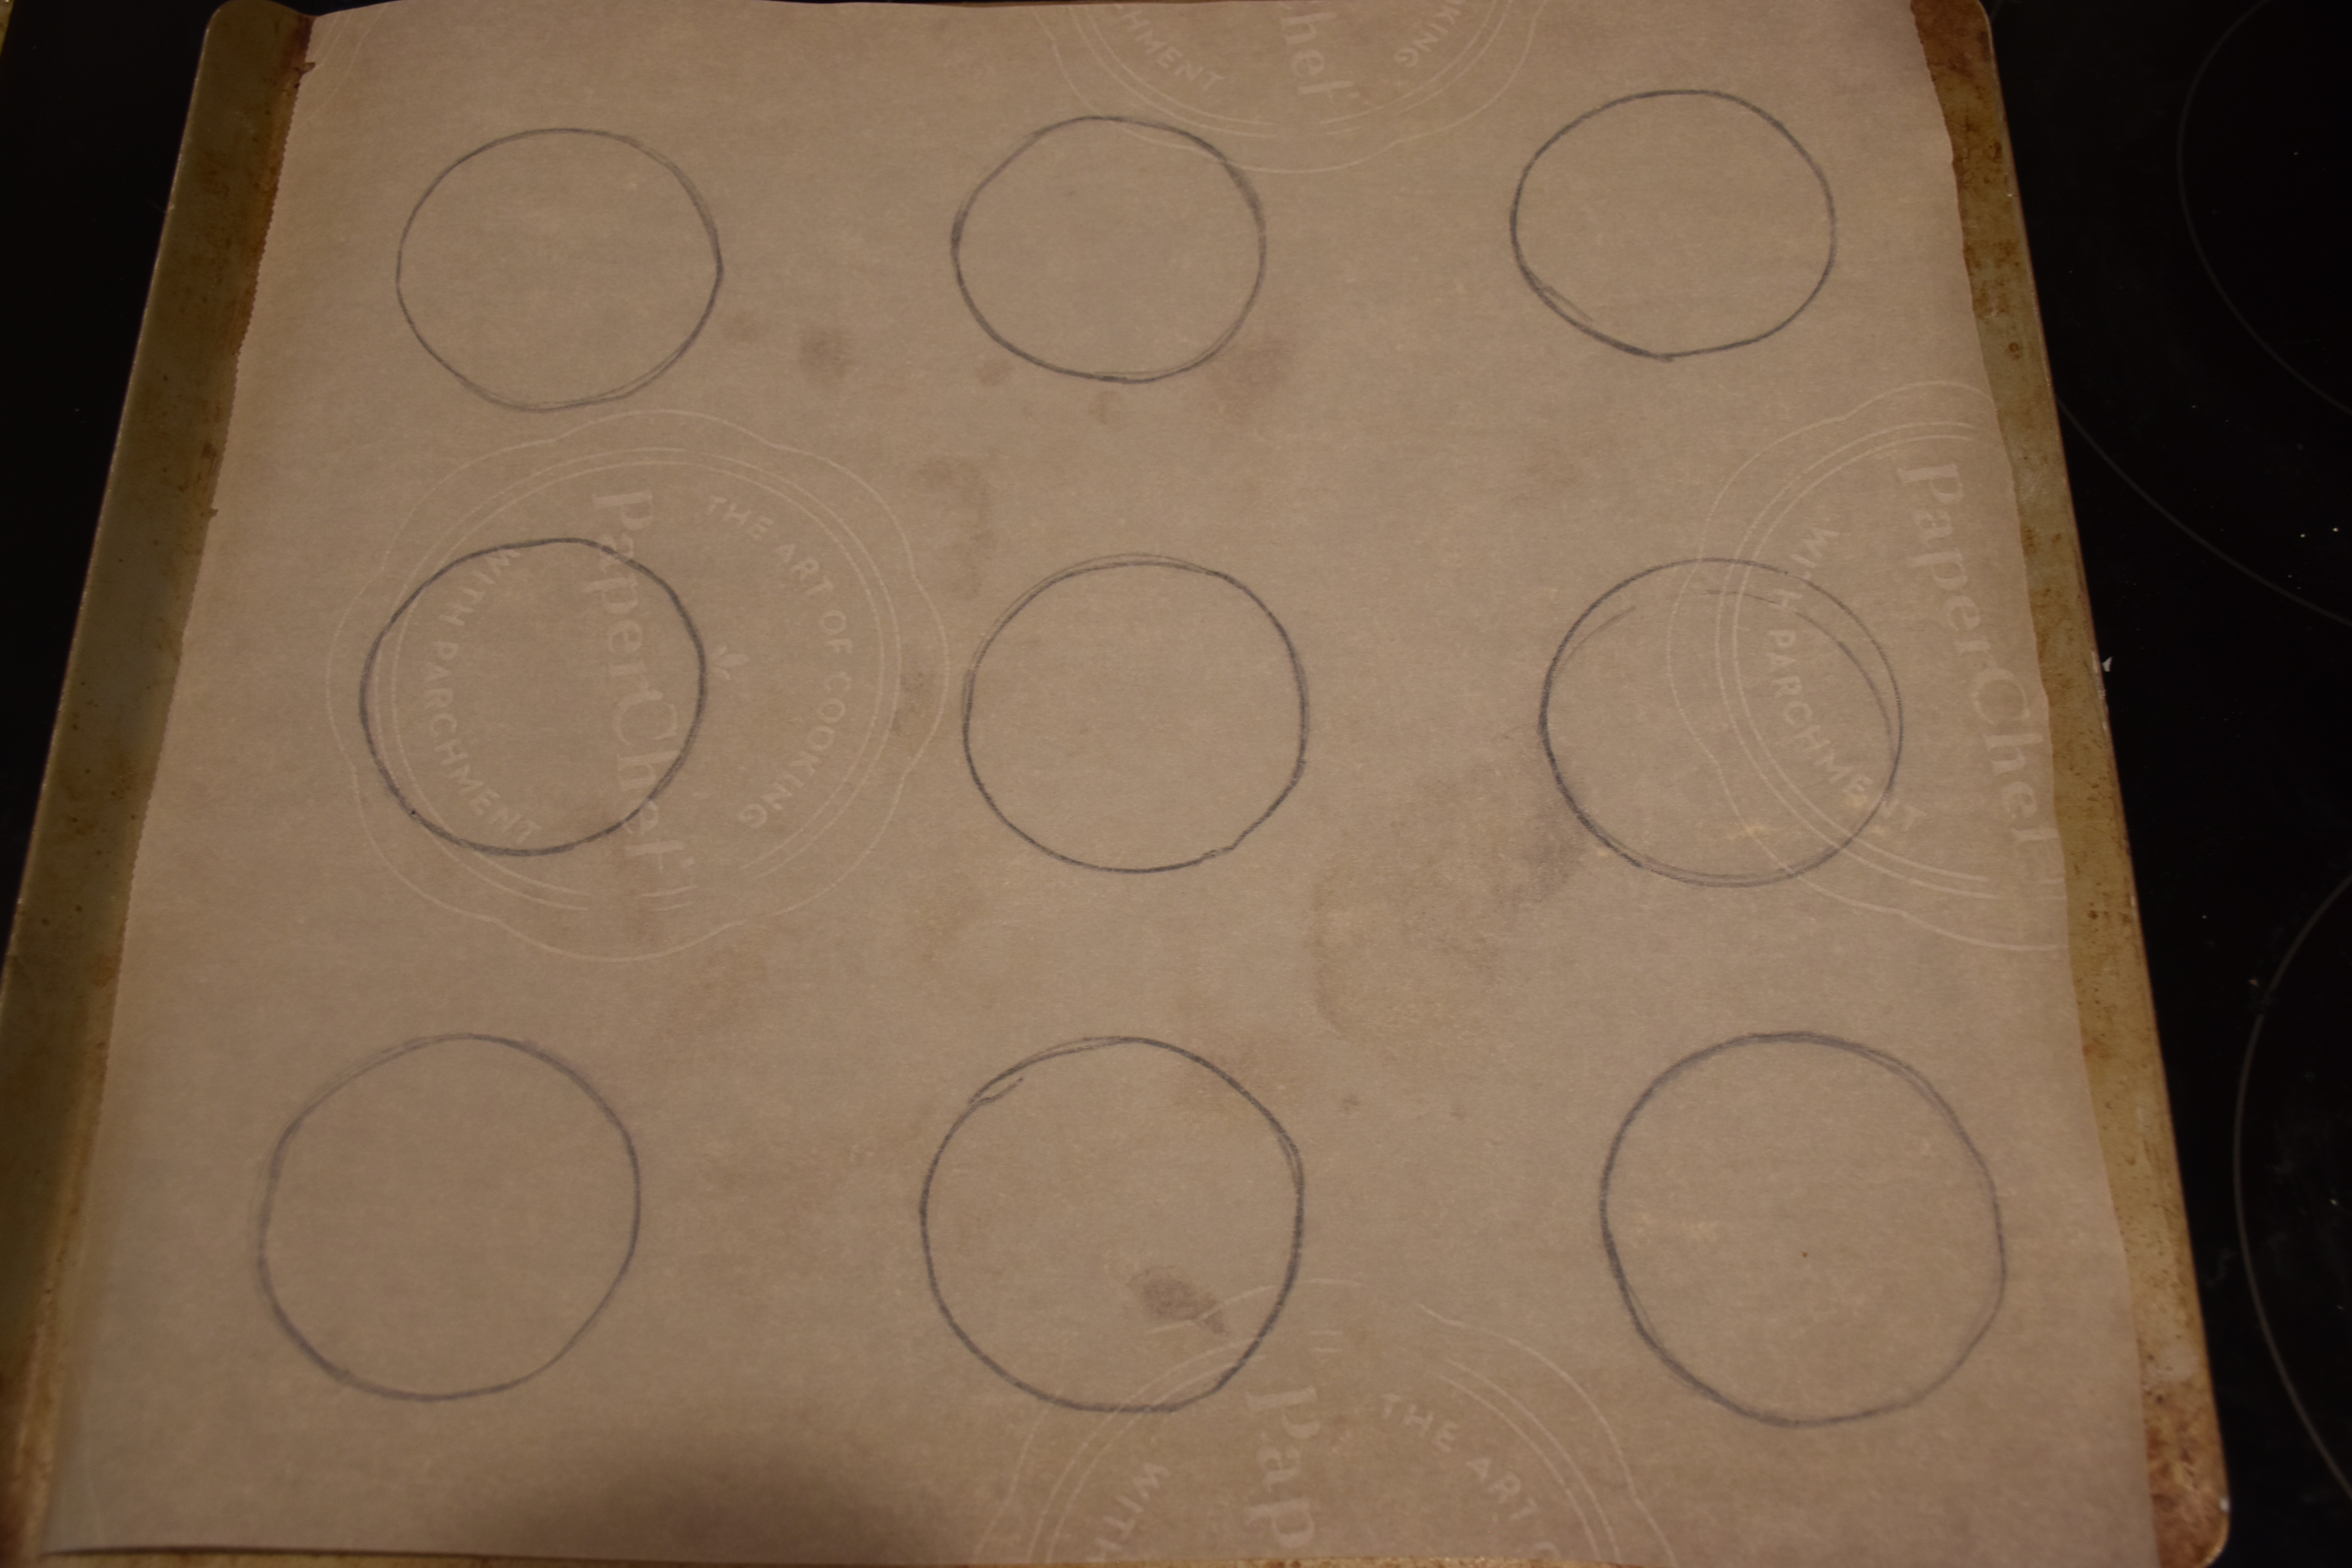
Next get you baking pans ready by creating parchment paper liners which will make it easy to remove your cookies from the baking sheet. I also traced some 2 1/2 inch circles on my baking sheet using the bottom of a standard baking powder tin as a guide. You don’t have to trace circles but I found it helpful so all my cookies were the same size. Then flip the side with your markings towards the baking sheet so the writing doesn’t touch the cookies.
Now you are ready to make your cookie batter. In medium bowl mix together your dry ingredients including your flour, cocoa, baking powder, baking soda and salt. Then in the bowl of your mixer fitted with a paddle attachment mix together your butter on medium speed until smooth. Then scrape down the sides of your bowl and add in your granulated sugar and beat on medium speed until it is light and fluffy.Then add in your eggs one at a time beating after each addition. Then add in your vanilla and sour cream. Then add half of your flour mixture and mix it until it is just incorporated and then mix in the rest of the flour. Finally add in your hot water and mix until just blended.

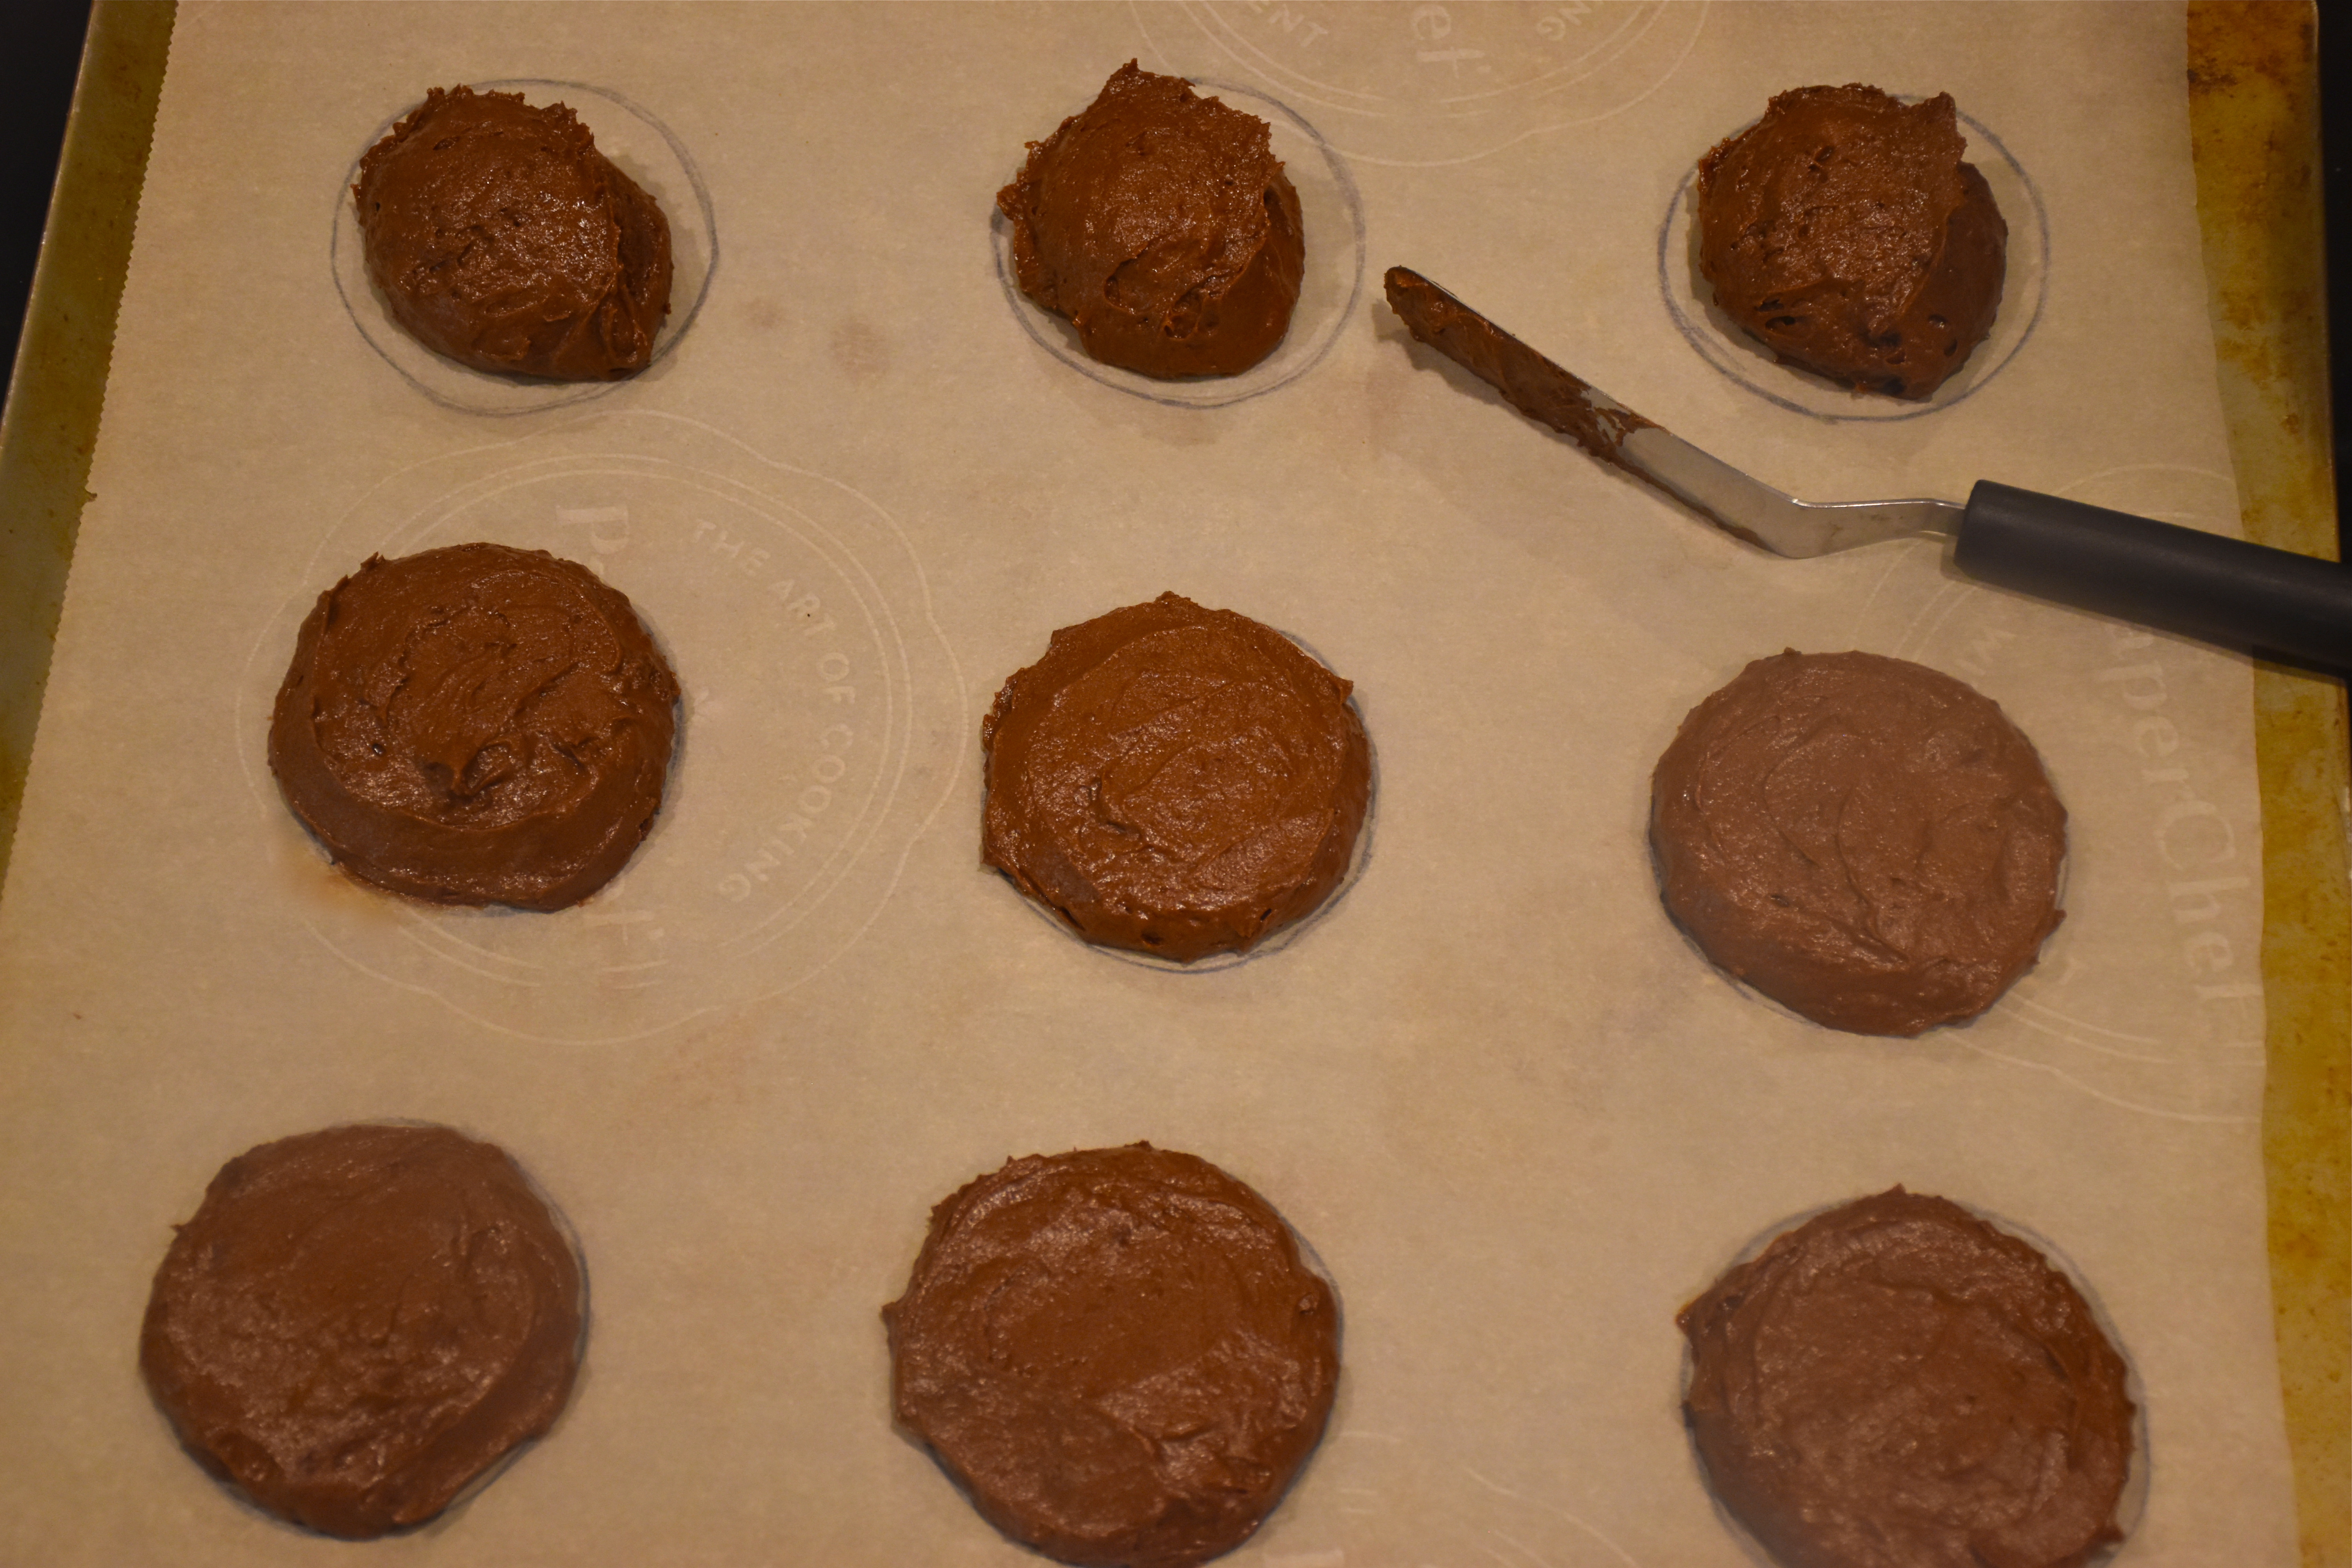
Then make your cookies by dropping the batter onto each circle. I used an ice cream or cookie scoop that is 2 inches across or you could also measure two tablespoons of batter. Once your batter in on the parchment paper lined baking sheet use a separated spatula or table knife to spread you batter to evenly fill the 2 1/2 inch circle you drew.
Then you are ready to bake your cookies. I like to bake one sheet at a time on the middle rack to make sure the heat is evenly distributed in my oven. Bake for 10 to 14 minutes. I found that my metal baking sheet baked in exactly 10 minutes but the batch I had on my baking stone took closer to 13 minutes. You can test your cookies by putting a toothpick in the center to make sure it comes out clean. Your cookies will puff of like little cupcake tops but the bottoms will be smooth.
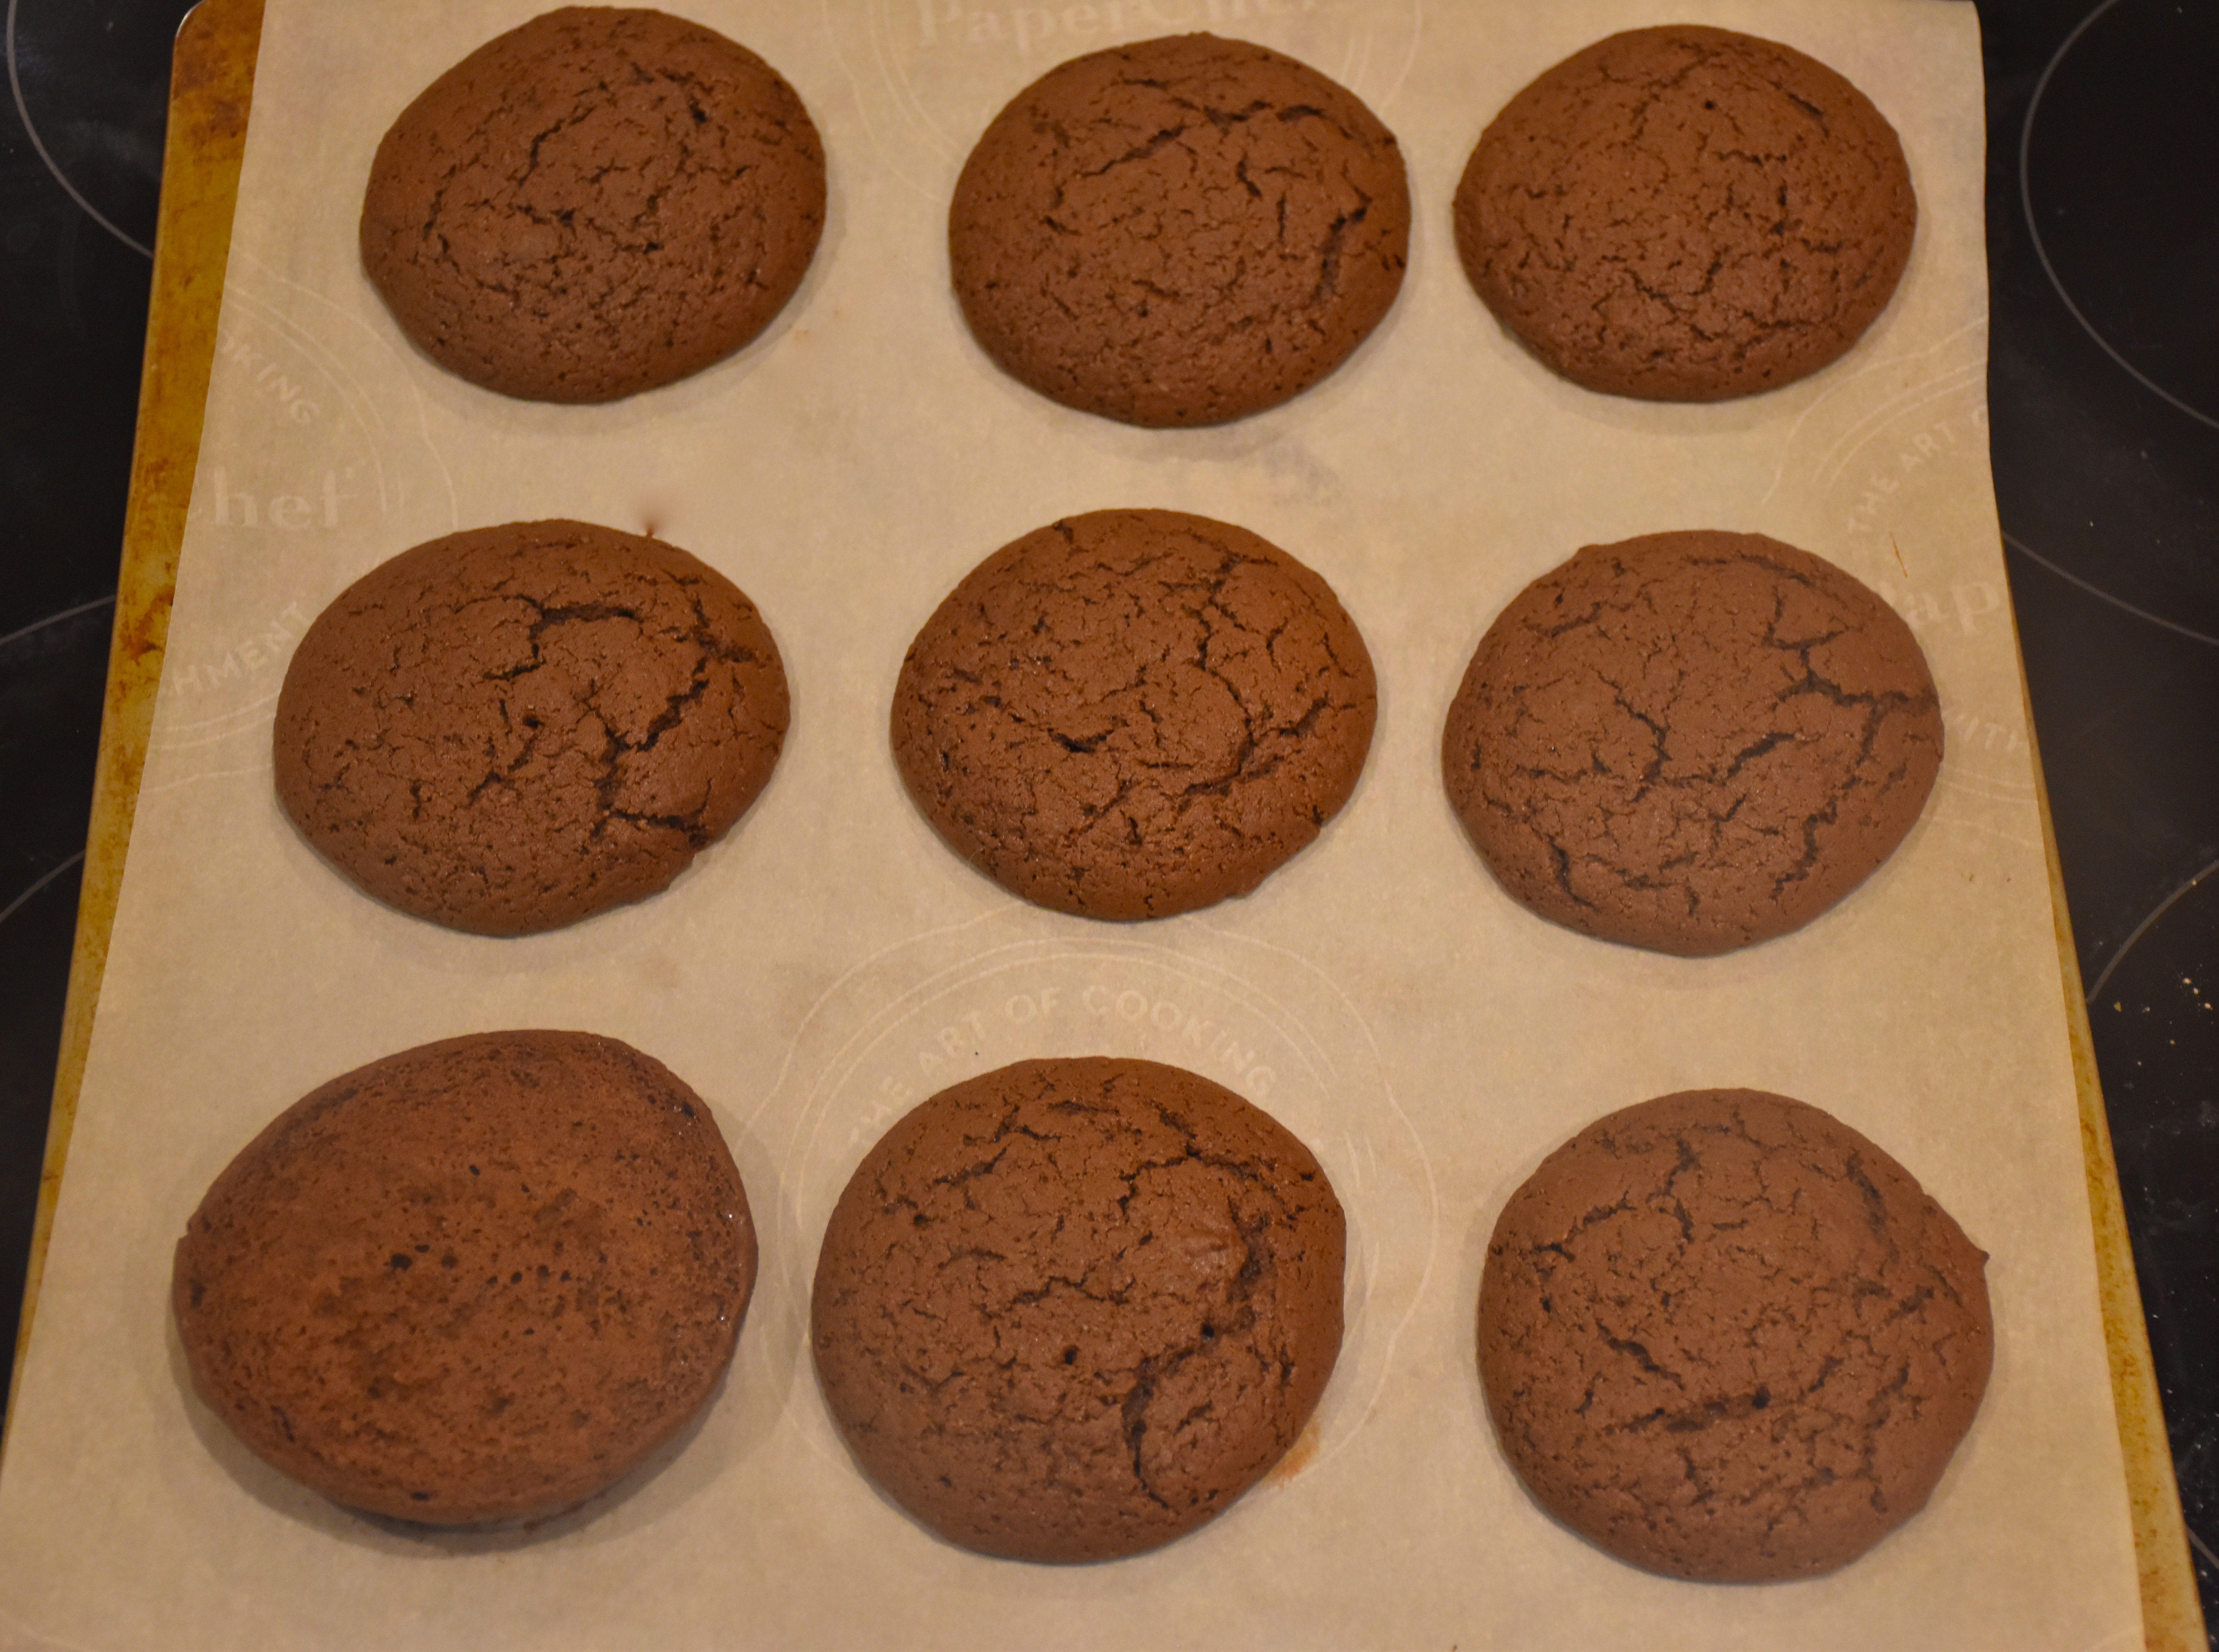
Let your cookies cool before you frost them.
Meanwhile make your chocolate decorations. To make your penguin decorations you will need:
Penguin Decorations
- 1 1/2bars (6oz) of white chocolate, divided
- Yellow gel food coloring
- 2 oz of semi-sweet chocolate
- 3 plastic pastry bags
- parchment paper
To make your penguin faces you are going to want to melt 1 bar(4 oz) of white chocolate in a small microwave safe bowl. Heat for 1 minute then stir and heat for an additional 30 seconds and stir again. If it is not quite melted then heat for an addition 15 seconds.
Now pour your white chocolate into your pastry bag and snip a small opening in the tip. Then I drew 16 two inch and a half inch hearts on my parchment paper and I took my melted chocolate and piped the outside borders of my heart and then I spread some chocolate in the center using a table or butter knife.
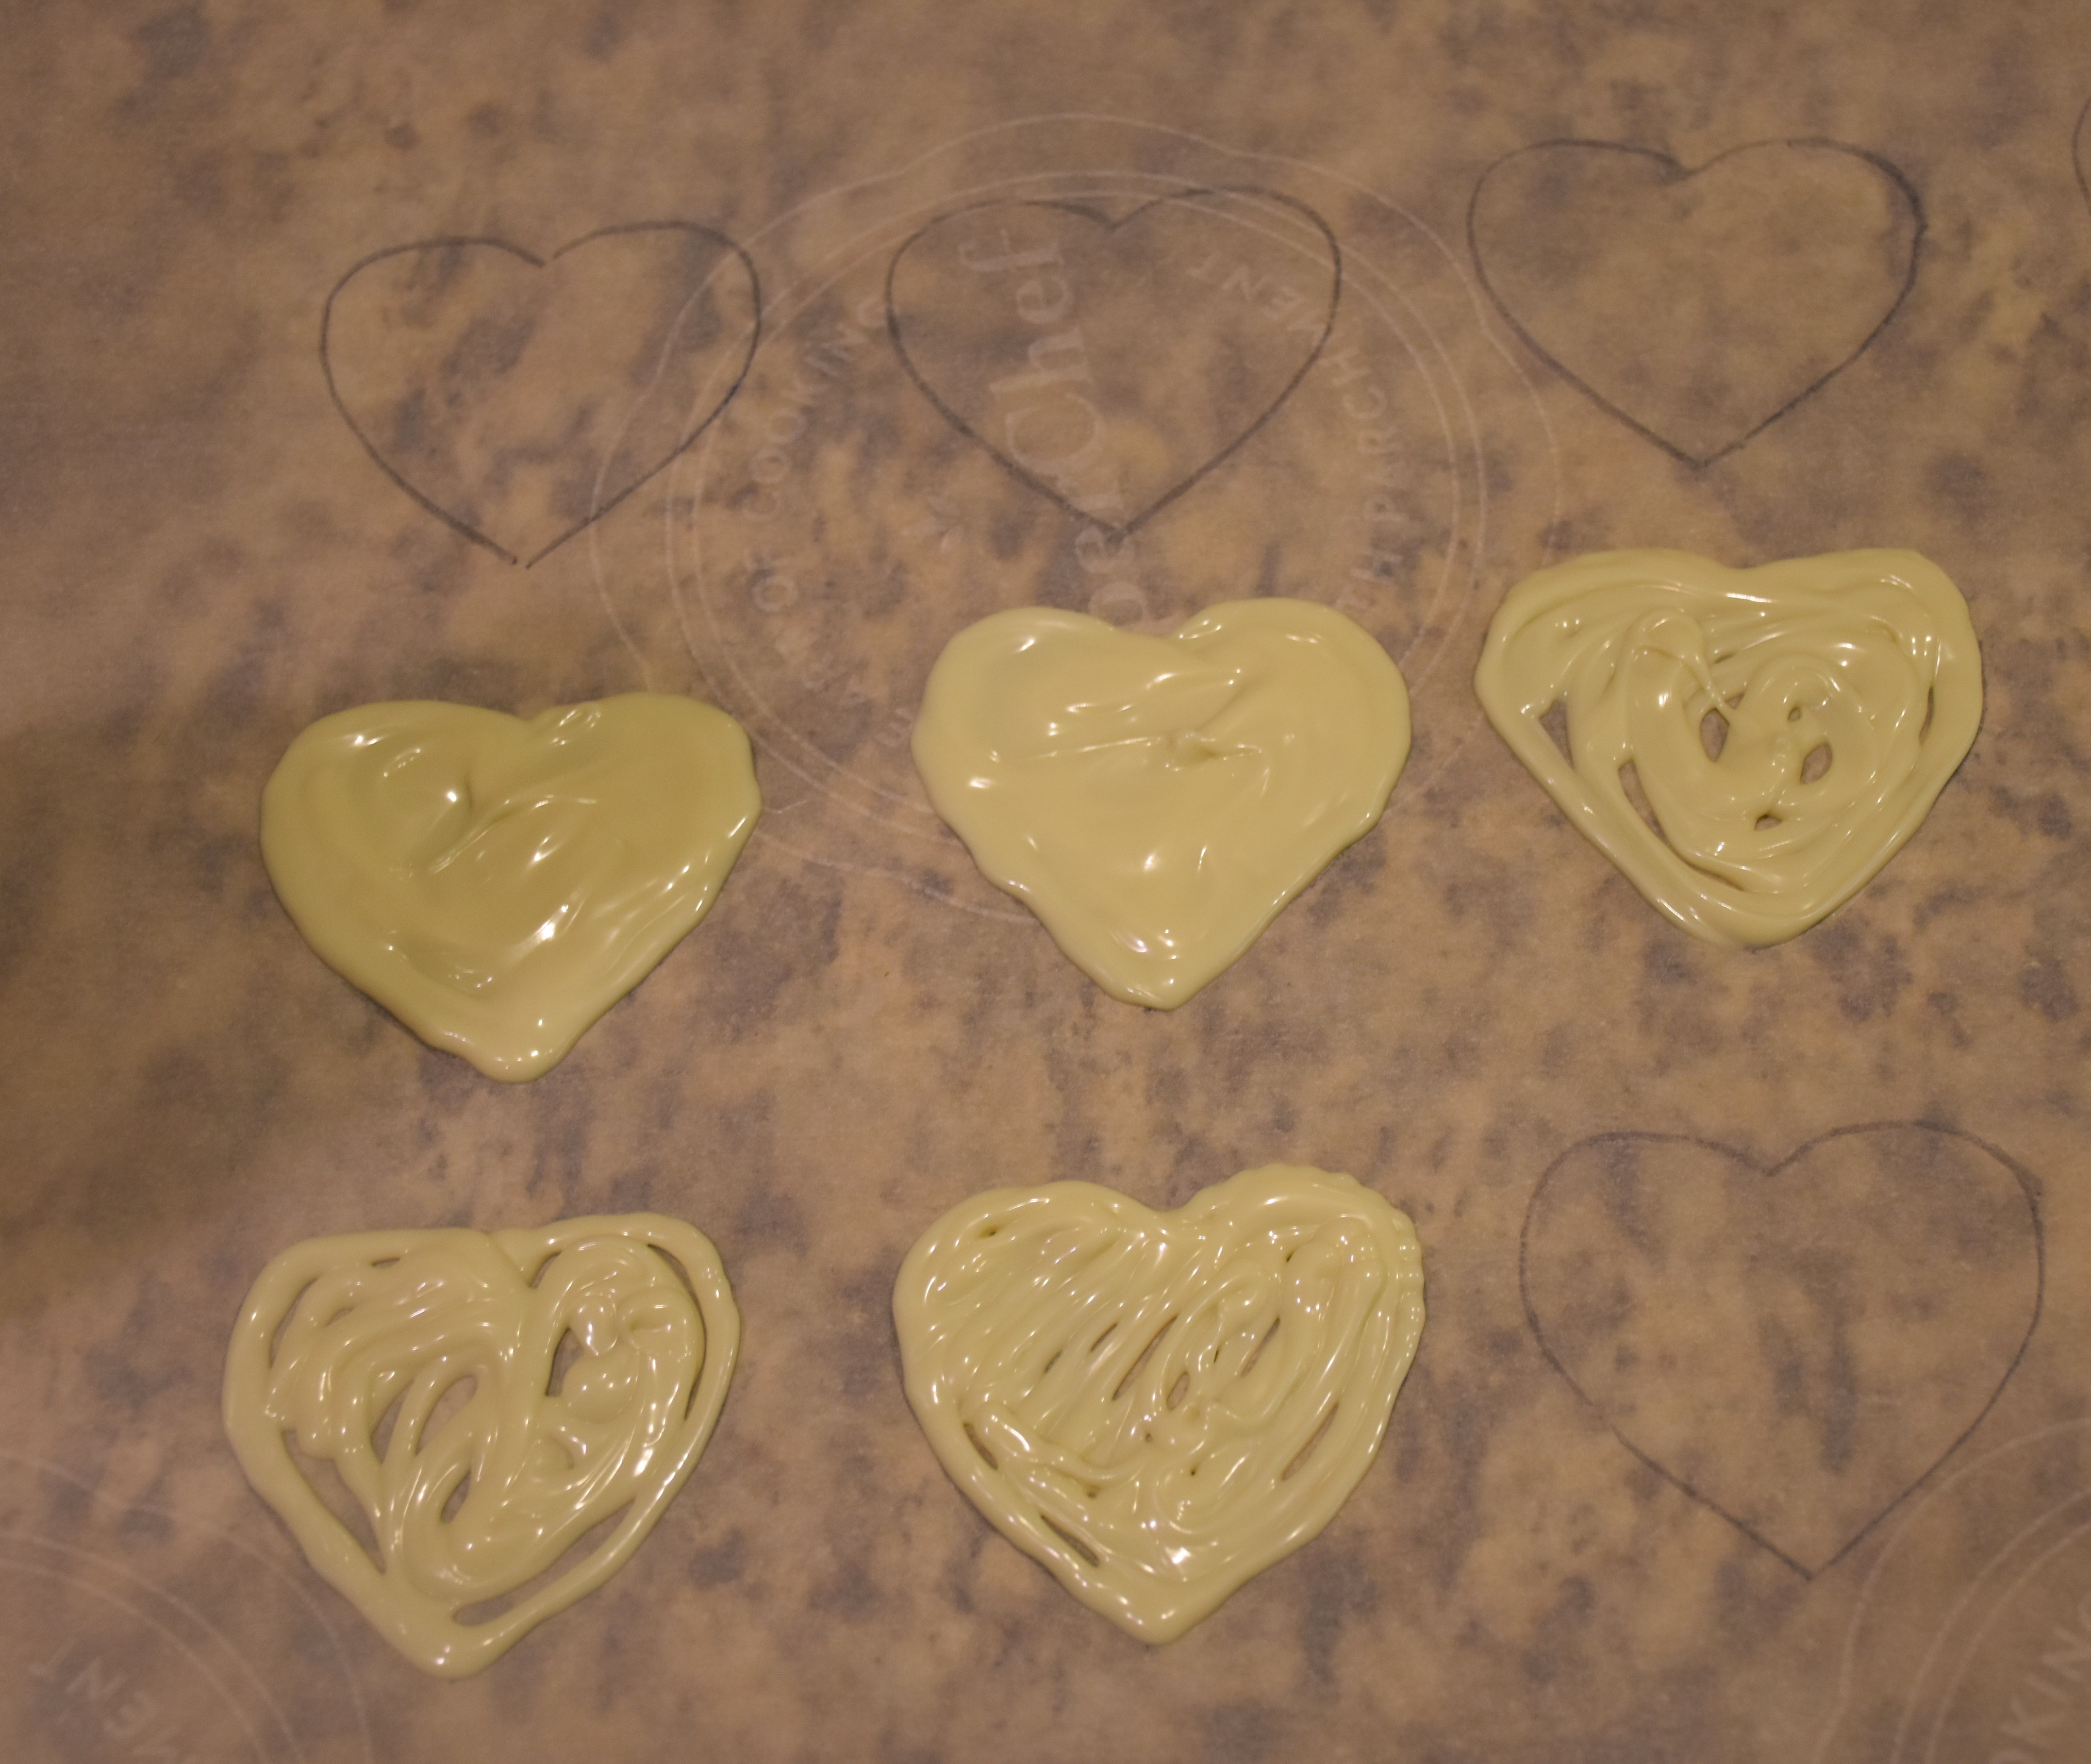
Then put your hearts in the fridge to firm up for 7 to 10 minutes. Meanwhile get your yellow colored chocolate ready to make a beak and feet. Melt the remaining 2 oz of chocolate in your microwave bowl for a minute then stir and if needed heat for an addition 30 seconds. Then add in a few drops of your yellow food coloring and stir until it is evenly colored. Then pour that chocolate in another pastry bag. This time I used a round writing tip but if you don’t have one you could still cut a small hole in the tip.

Now pour your yellow chocolate into your pastry bag and snip a small opening in the tip. Then take your hearts out of the fridge and flip your white chocolate hearts over to the smooth backside. Then take your yellow chocolate and pipe a small heart shaped beak and two feet for each cookie.
Then to make eyes melt 2 oz of semi-sweet chocolate following the same technique and pour it in a pastry bag and draw two little eyes which look like an upside-down rainbow or U shape.
Then put your chocolate faces in the fridge until you are ready to frost your cookies.
Chocolate Ganache
- 5 oz of semi sweet chocolate
- 1 tablespoon of butter
- 1/4 cup whipping cream
In a small microwave safe bowl mix together your chocolate and butter and melt for one minute and stir and then for an addition 30 seconds and then a additional 15 seconds until it is melted. Then stir in your room temperature cream and you will have a thick and glossy chocolate ganache to spread on the tops of each of your cookies.
Use a separated spatula or table knife to spread you chocolate ganache on each cookie. Then while the ganache is still soft place on your white chocolate face and feet.
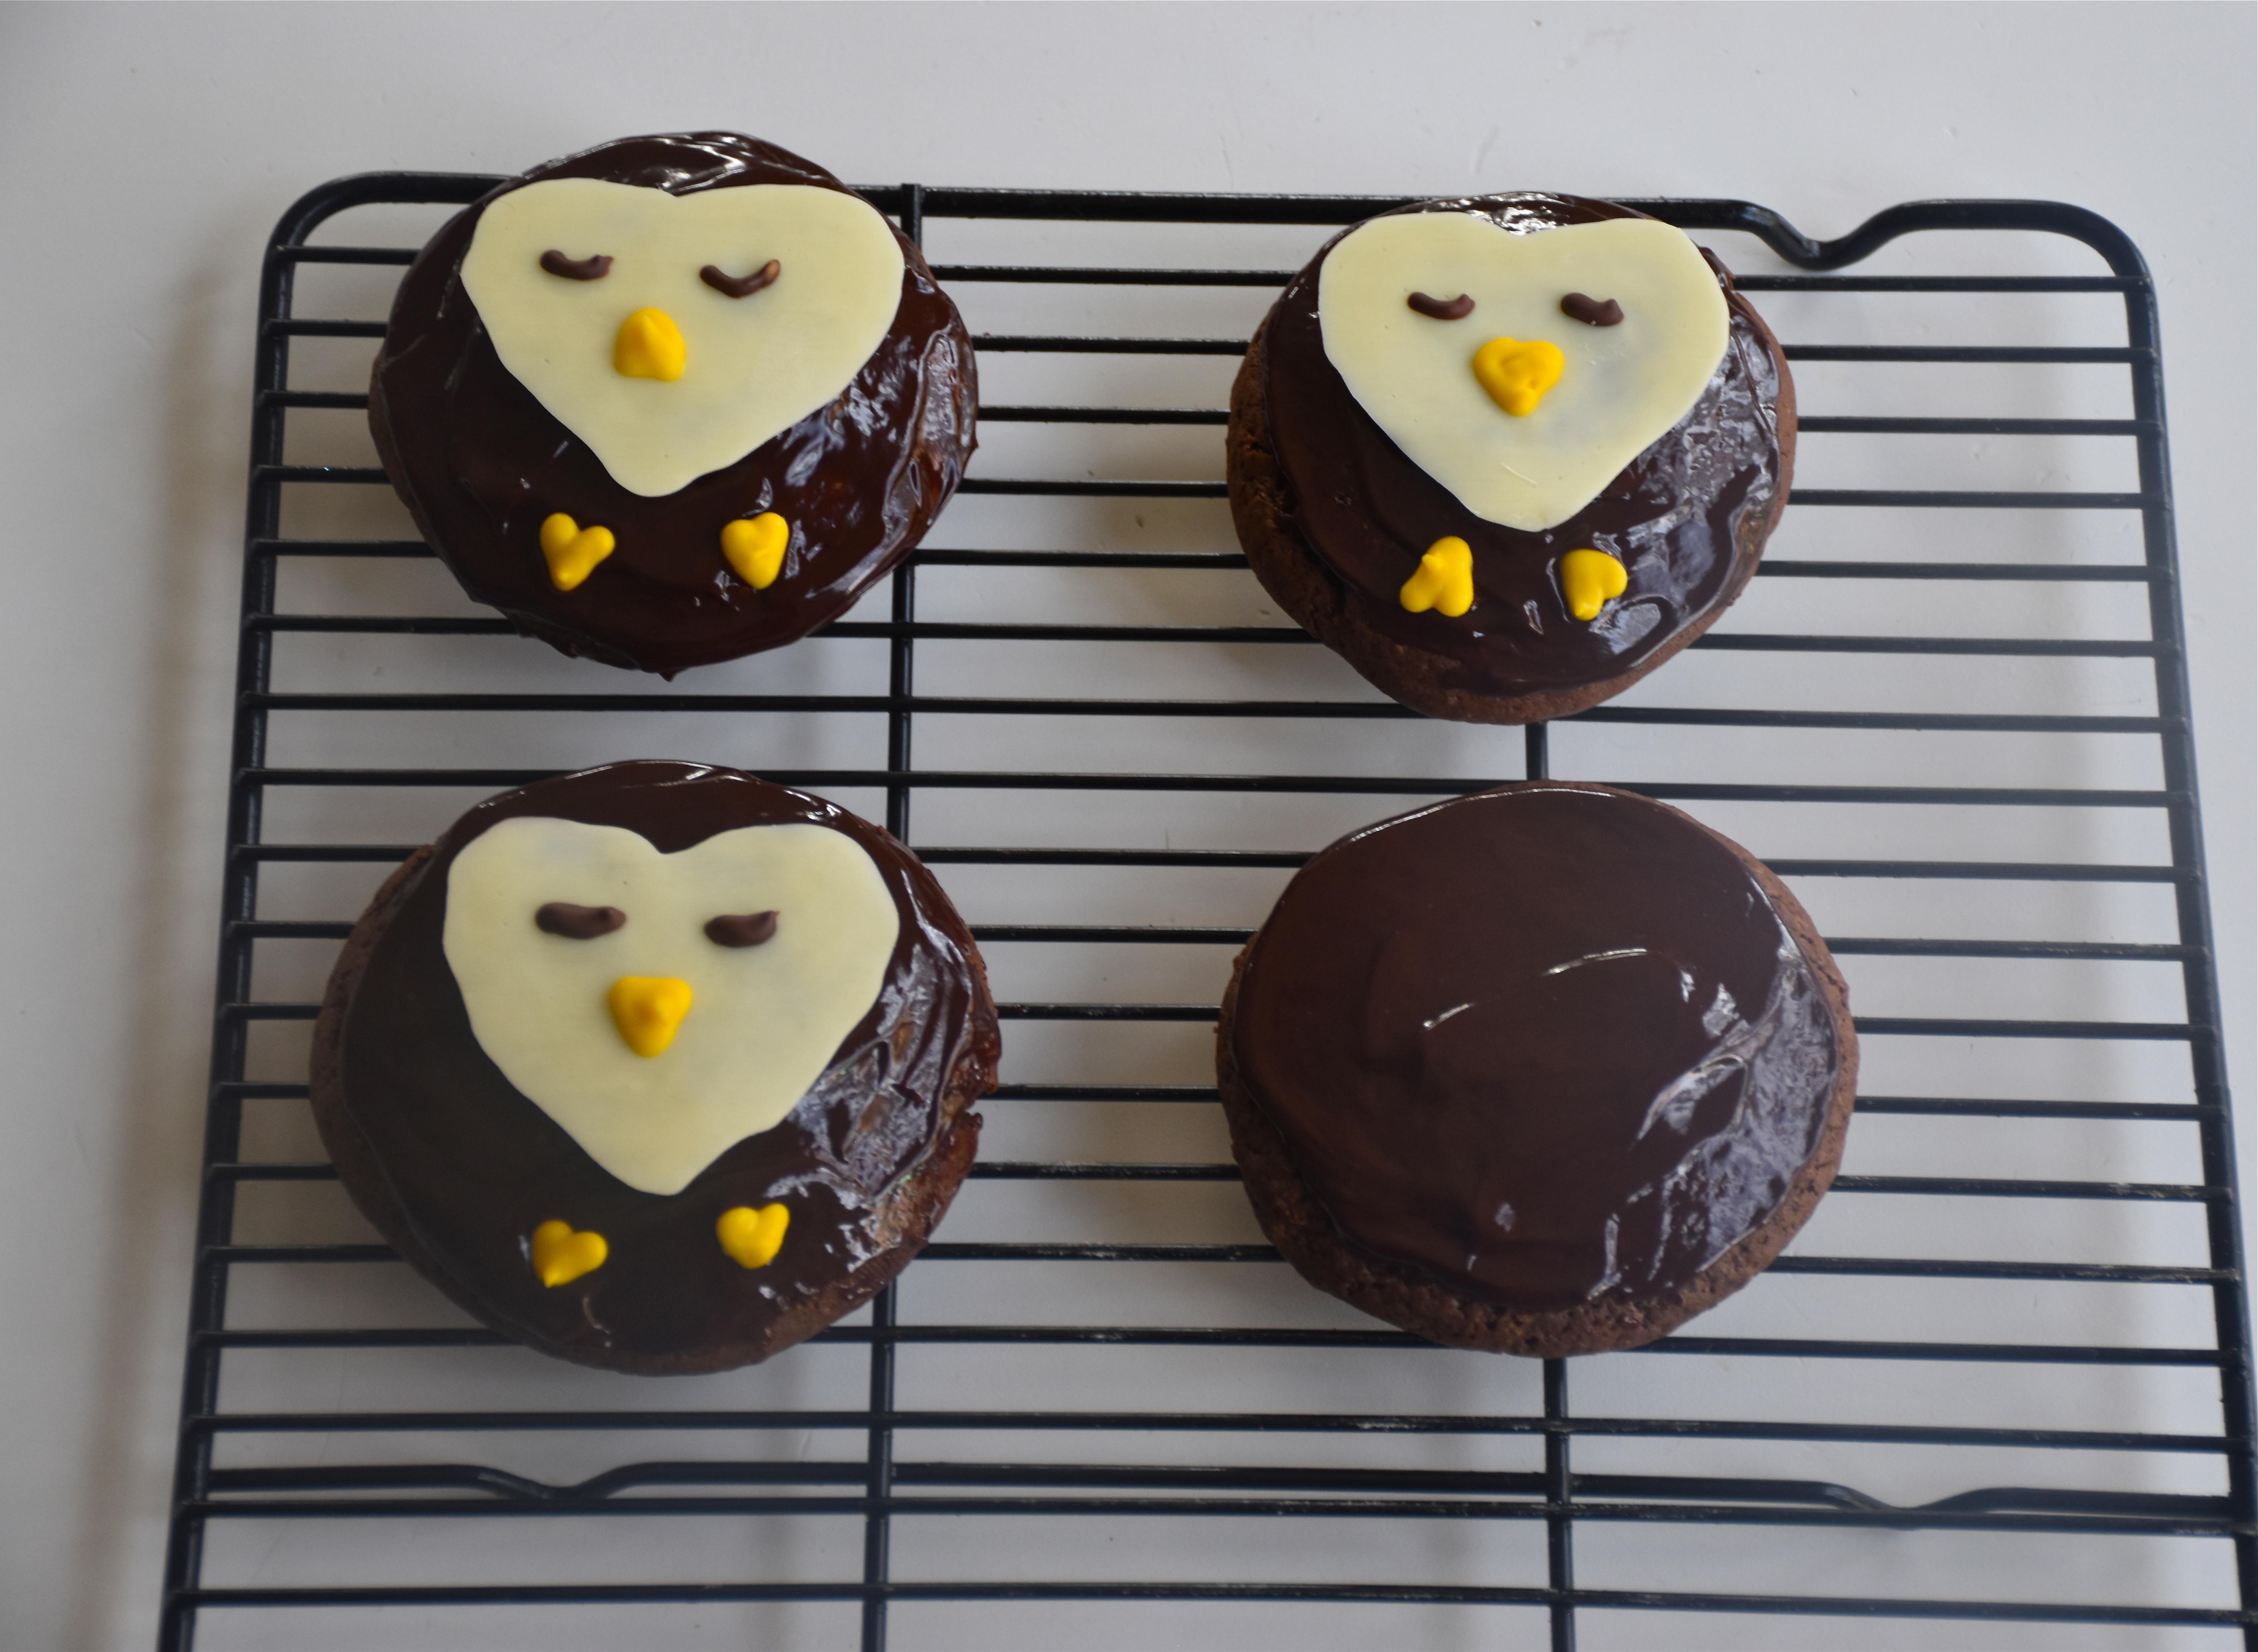
Place your cookies on a tray in your fridge and let the chocolate firm up a bit. There you have it Penguin black and white cookies. They are every bit as delicious as they are cute. Just like penguins these cookies are best kept stored in the cold of your fridge. Happy holiday baking!
